Directions
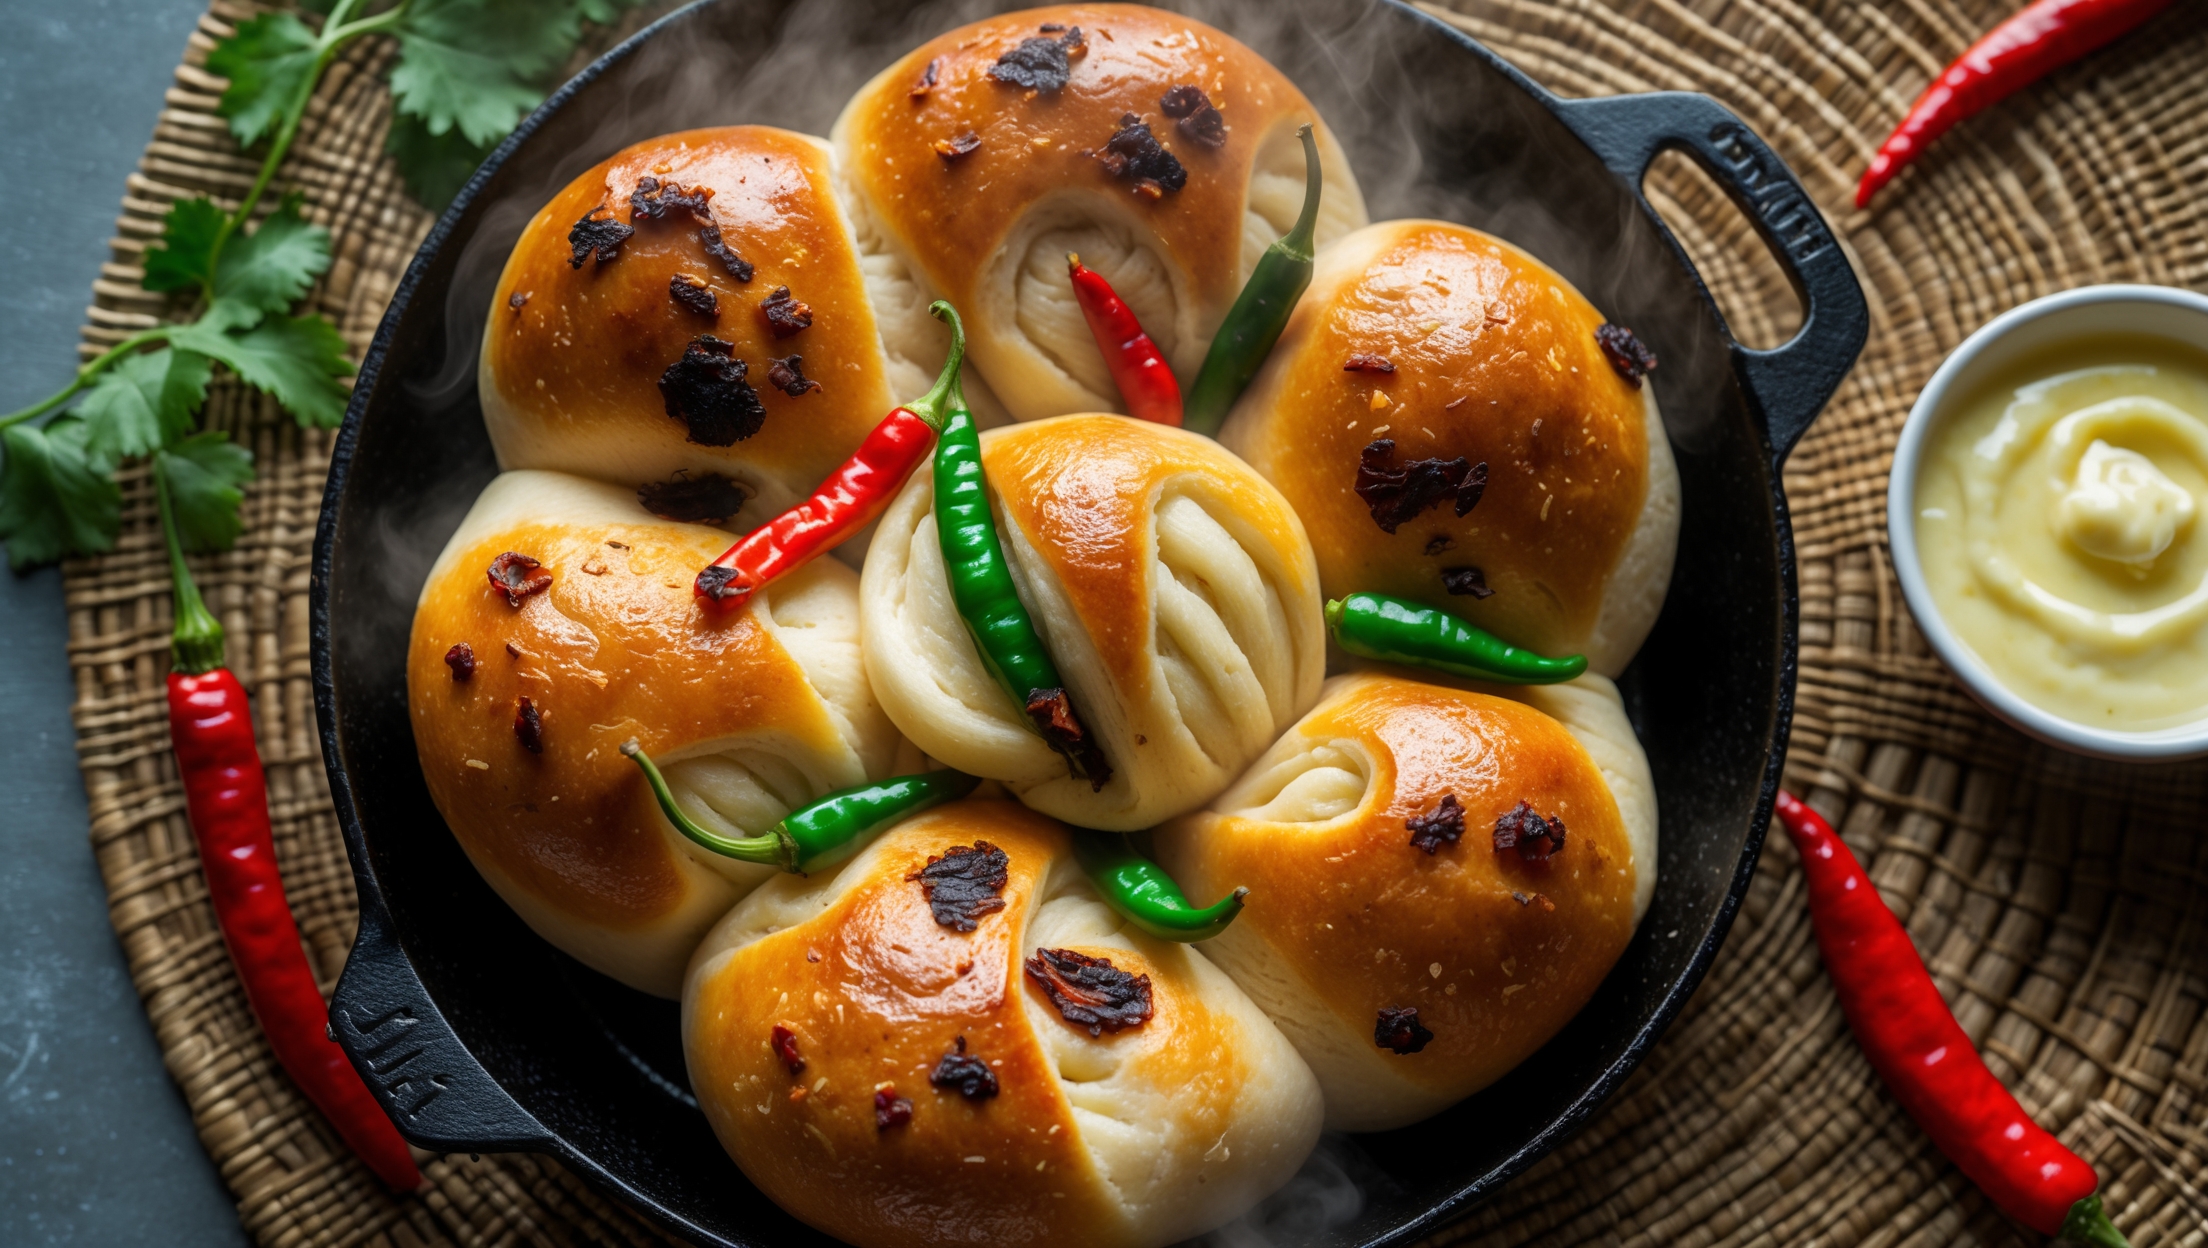
<ol class="no-list-style"><li class="MethodStepper"><h4 class="step-title">Step 1</h4>In a small pan, sauté the diced onion until translucent, about 3-4 minutes. Add the garlic and cook for another minute until fragrant. Add half of the chopped chilies and cook for 2 minutes until slightly softened. Remove from heat and allow to cool completely. This pre-cooking process tames the raw heat of the chilies while preserving their flavor.</li><li class="MethodStepper"><h4 class="step-title">Step 2</h4>In a large bowl or the bowl of your stand mixer, combine the flour, yeast, salt, and sugar. Make a well in the center. Ensure the salt doesn't directly contact the yeast as it can inhibit fermentation.</li><li class="MethodStepper"><h4 class="step-title">Step 3</h4>Warm the milk to about 38°C (100°F) – it should feel just warm to the touch, not hot. Pour the warm milk into the well along with the egg and softened butter. Mix on low speed with the dough hook or by hand until everything comes together into a cohesive dough.</li><li class="MethodStepper"><h4 class="step-title">Step 4</h4>Increase the mixer speed to medium and knead for 8-10 minutes until the dough becomes smooth, elastic and pulls away from the sides of the bowl. If kneading by hand, turn the dough onto a lightly floured surface and knead for about 10-12 minutes. The dough should pass the windowpane test – when stretched, it should become thin enough to see light through without tearing.</li><li class="MethodStepper"><h4 class="step-title">Step 5</h4>Form the dough into a ball and place in a lightly oiled bowl. Cover with cling film or a damp cloth and let rise in a warm place for 1-1.5 hours, or until doubled in size. The slow rise develops flavor and texture in your bread.</li><li class="MethodStepper"><h4 class="step-title">Step 6</h4>Once the dough has doubled, gently punch it down to release air bubbles. Turn onto a lightly floured surface. Flatten it into a rectangle and sprinkle the cooled onion-chili mixture, half the cubed mozzarella, and half the grated Gouda evenly across the surface.</li><li class="MethodStepper"><h4 class="step-title">Step 7</h4>Fold the dough over the filling and knead gently to incorporate the ingredients throughout the dough. This creates pockets of cheese and spice throughout the bread. If the dough becomes sticky, dust with minimal flour as needed.</li><li class="MethodStepper"><h4 class="step-title">Step 8</h4>Divide the dough into 10 equal portions (about 85-90g each). Take each portion and flatten slightly, add a small cube of the remaining cheese in the center, then fold the edges over to seal the cheese inside. Shape into a smooth ball by pulling the sides down and tucking underneath.</li><li class="MethodStepper"><h4 class="step-title">Step 9</h4>Grease your cast iron skillet or baking tin generously. Arrange the dough balls in the pan, placing one in the center and the rest around it. Leave some space between them as they will expand during the second rise. Cover again and let rise for 30-45 minutes or until visibly puffy.</li><li class="MethodStepper"><h4 class="step-title">Step 10</h4>Preheat your oven to 180°C (350°F) while the dough is on its second rise. When the dough is ready, brush the tops with half of the melted ghee or butter. Sprinkle with the remaining fresh chilies, ground Sichuan pepper (if using), and the chopped coriander.</li><li class="MethodStepper"><h4 class="step-title">Step 11</h4>Bake in the preheated oven for 25-30 minutes, or until the bread turns a deep golden brown and sounds hollow when tapped on the bottom. If the top browns too quickly, loosely cover with aluminum foil.</li><li class="MethodStepper"><h4 class="step-title">Step 12</h4>Remove from the oven and immediately brush with the remaining ghee or butter. Sprinkle with the remaining grated cheese while still hot, allowing it to slightly melt on the surface. This creates an irresistible aroma and appearance.</li><li class="MethodStepper"><h4 class="step-title">Step 13</h4>Let the bread cool in the pan for 10 minutes before transferring to a wire rack to cool slightly. Ema Datshi Bread is best enjoyed warm when the cheese is still melty. Serve as a side with soups or stews, or simply on its own as a flavorful snack.</li></ol>