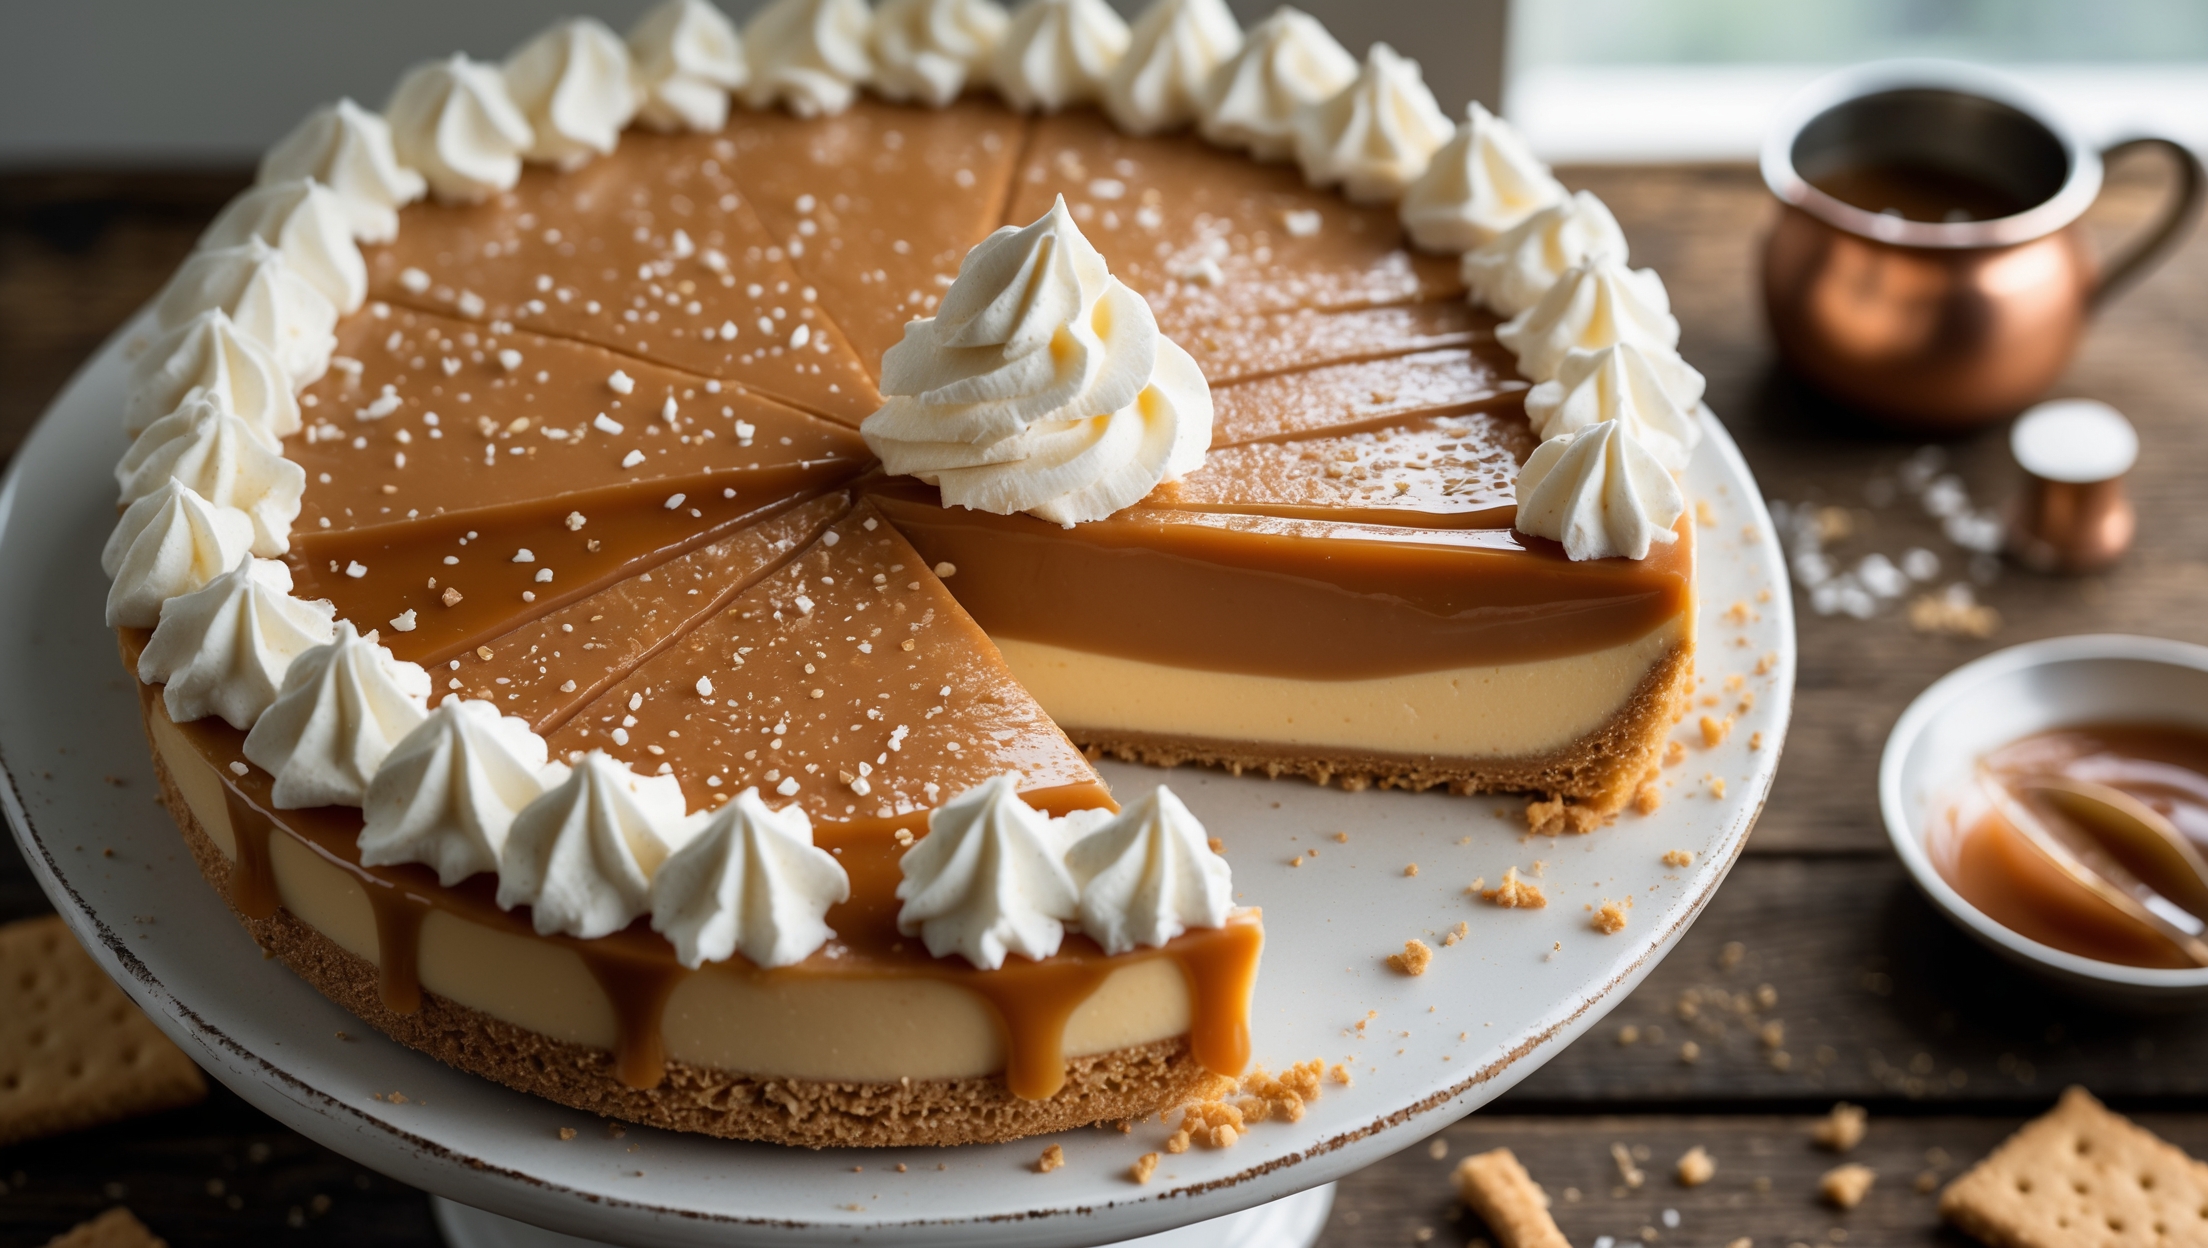
Directions
<ol class="no-list-style"><li class="MethodStepper"><h4 class="step-title">Step 1</h4>Preheat your oven to 180°C (350°F). In a food processor, pulse the graham crackers until finely ground. If you don't have a food processor, place crackers in a sealed bag and crush with a rolling pin. The texture should resemble damp sand when properly crushed.</li><li class="MethodStepper"><h4 class="step-title">Step 2</h4>Transfer the crumbs to a bowl and mix in the sugar and salt. Pour in the melted butter and stir until the mixture resembles wet sand. The butter acts as the binding agent, so ensure every crumb is coated for a crust that holds together perfectly.</li><li class="MethodStepper"><h4 class="step-title">Step 3</h4>Press the mixture firmly into the bottom and up the sides of your pie dish. Use the bottom of a measuring cup to compact the crust evenly - this prevents a crumbly crust that falls apart when sliced. Bake for 10 minutes until lightly golden and fragrant. The pre-baking step creates a barrier that prevents the filling from making the crust soggy.</li><li class="MethodStepper"><h4 class="step-title">Step 4</h4>While the crust cools, prepare your filling. In a large bowl, whisk the dulce de leche until smooth. If it's too firm, warm it slightly in the microwave for 20-30 seconds. Gradually whisk in the heavy cream until fully incorporated - don't rush this step as proper emulsification creates the silky texture we're aiming for.</li><li class="MethodStepper"><h4 class="step-title">Step 5</h4>Add the eggs and egg yolks one at a time, whisking well after each addition. The eggs provide structure to the custard while the additional yolks add richness and that luxurious mouthfeel. Stir in the vanilla extract and salt, then pass the mixture through a fine-mesh sieve to ensure a perfectly smooth filling without any egg bits.</li><li class="MethodStepper"><h4 class="step-title">Step 6</h4>Reduce oven temperature to 160°C (325°F). Place the cooled crust on a baking sheet (this makes it easier to handle), then carefully pour in the filling. The baking sheet also catches any potential overflow. Bake for 25-30 minutes, until the edges are set but the center still has a slight wobble - like a gently set gelatin. The residual heat will continue cooking the custard as it cools.</li><li class="MethodStepper"><h4 class="step-title">Step 7</h4>Allow the pie to cool completely at room temperature (about 2 hours), then refrigerate for at least 4 hours or overnight. This chilling time is crucial for the filling to fully set and for the flavors to develop.</li><li class="MethodStepper"><h4 class="step-title">Step 8</h4>Just before serving, prepare the whipped cream topping. In a chilled bowl (cold equipment helps achieve maximum volume), beat the cold heavy cream with powdered sugar and vanilla until soft peaks form. Be careful not to overwhip - we want cloudlike cream that holds its shape but still looks pillowy, not stiff or grainy.</li><li class="MethodStepper"><h4 class="step-title">Step 9</h4>Spread or pipe the whipped cream over the chilled pie. For the finishing touch, gently warm the additional dulce de leche until it's just pourable (but not hot), then drizzle it over the cream in a decorative pattern. If desired, sprinkle with a few flakes of sea salt to enhance the caramel flavor with a sophisticated sweet-salty contrast.</li><li class="MethodStepper"><h4 class="step-title">Step 10</h4>For clean slices, dip your knife in hot water and wipe it dry between cuts. Serve chilled within 2 days for the best texture and flavor. If you notice any weeping from the whipped cream after a day, simply blot it gently with a paper towel before serving.</li></ol>