Directions
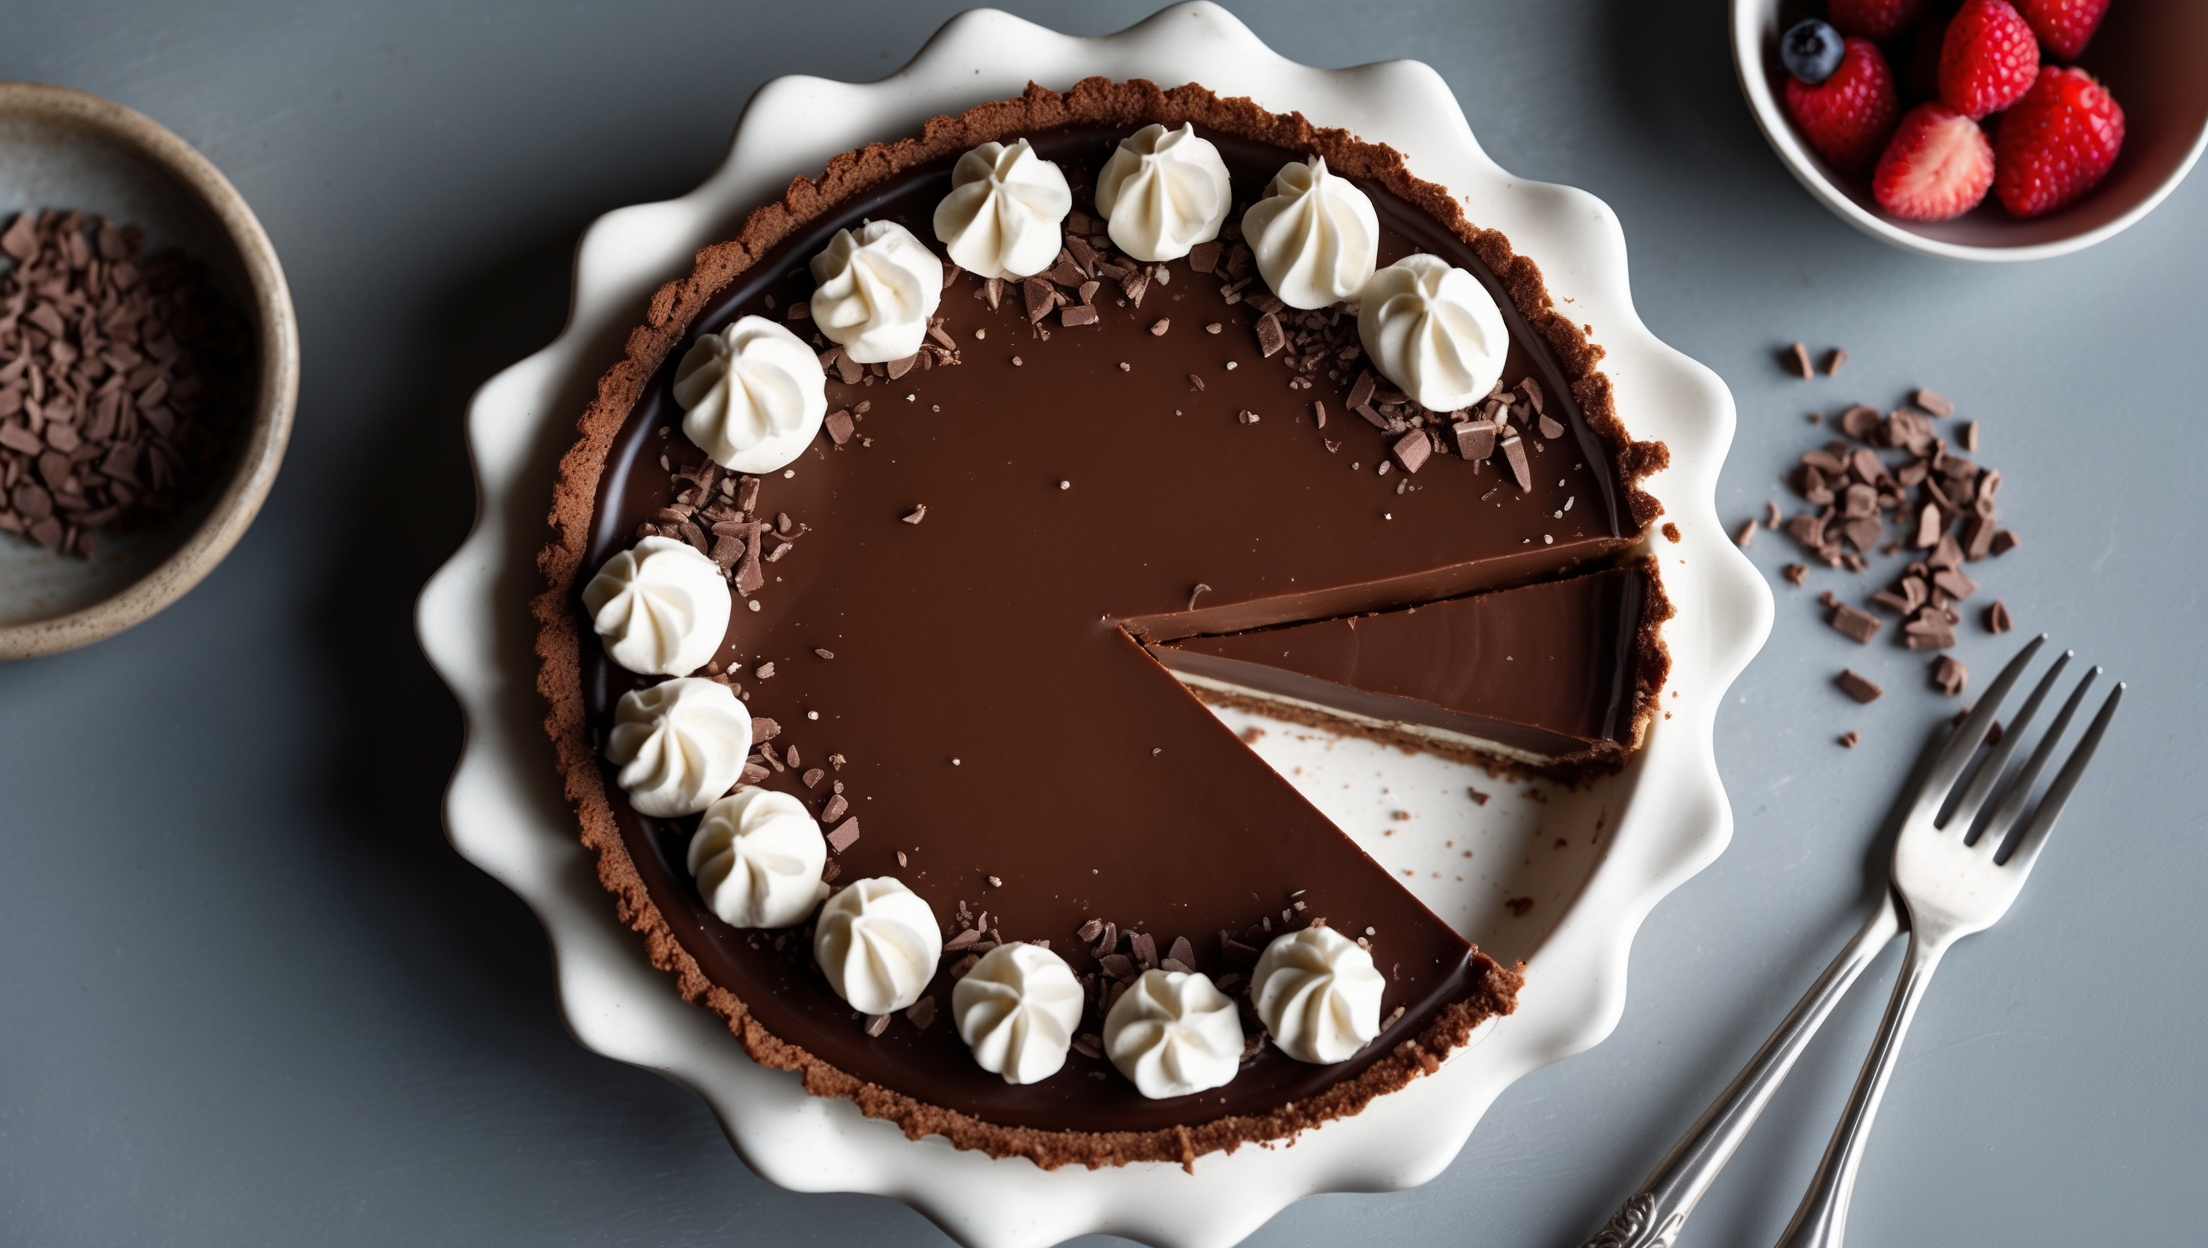
<ol class="no-list-style"><li class="MethodStepper"><h4 class="step-title">Step 1</h4>Start with the chocolate crust. Preheat your oven to 180°C. In a food processor, pulse the chocolate biscuits until they form fine crumbs. Add the melted butter, sugar, and salt, then pulse until the mixture resembles wet sand and holds together when pressed between your fingers. The butter not only binds the crumbs but creates a barrier that prevents the filling from making the crust soggy.</li><li class="MethodStepper"><h4 class="step-title">Step 2</h4>Press the crumb mixture firmly and evenly into the bottom and up the sides of your pie dish. Use the bottom of a measuring cup to compact the crust – this will help prevent crumbling when you serve the pie. Bake for 10 minutes until set and fragrant. The brief baking solidifies the butter and creates a more stable base. Remove and let cool completely on a wire rack.</li><li class="MethodStepper"><h4 class="step-title">Step 3</h4>For the chocolate filling, place the chopped dark chocolate in a large heatproof bowl and set aside. In a medium saucepan, whisk together the milk, heavy cream, sugar, cornstarch, cocoa powder, and salt. Heat over medium heat, whisking constantly until the mixture begins to steam but not boil.</li><li class="MethodStepper"><h4 class="step-title">Step 4</h4>In a separate bowl, whisk the egg yolks. Gradually add about 120ml of the hot milk mixture to the egg yolks while whisking constantly – this is called tempering and prevents the eggs from scrambling. Once combined, pour the egg mixture back into the saucepan with the remaining milk mixture, whisking continuously.</li><li class="MethodStepper"><h4 class="step-title">Step 5</h4>Return the saucepan to medium heat and cook, whisking constantly, until the mixture thickens and begins to bubble in the center, about 4-5 minutes. You'll notice the resistance against your whisk increasing as the custard thickens. Continue to cook for an additional 1-2 minutes after bubbling begins – this ensures the cornstarch is fully activated for a stable filling.</li><li class="MethodStepper"><h4 class="step-title">Step 6</h4>Remove from heat and immediately pour the hot custard through a fine-mesh sieve over the chopped chocolate. Let sit for 2 minutes to allow the chocolate to melt, then gently whisk until smooth and no chocolate pieces remain. Add the softened butter and vanilla extract, whisking until fully incorporated. The butter adds a silky mouthfeel and sheen to the finished filling.</li><li class="MethodStepper"><h4 class="step-title">Step 7</h4>Pour the chocolate filling into the cooled crust, smoothing the top with a spatula. Press a piece of plastic wrap directly onto the surface of the filling (this prevents a skin from forming) and refrigerate until completely set, at least 4 hours or preferably overnight. Patience is key here – the filling needs ample time to set properly.</li><li class="MethodStepper"><h4 class="step-title">Step 8</h4>For the whipped cream topping, place your mixing bowl and beaters in the freezer for 15 minutes before beginning – cold equipment helps achieve maximum volume. Pour the cold heavy cream into the chilled bowl and beat on medium speed until soft peaks begin to form. Add the powdered sugar and vanilla extract, then continue beating until medium-firm peaks form. Be careful not to overbeat, which can turn the cream grainy.</li><li class="MethodStepper"><h4 class="step-title">Step 9</h4>Remove the plastic wrap from the chilled pie and top with the whipped cream, either spreading it evenly across the pie or piping it decoratively around the edges. The contrast between the dark filling and white cream creates a beautiful presentation. Garnish with chocolate shavings or a light dusting of cocoa powder.</li><li class="MethodStepper"><h4 class="step-title">Step 10</h4>For clean slices, dip a sharp knife in hot water and wipe dry between cuts. The pie can be stored in the refrigerator for up to 3 days, though the crust will gradually soften. For the best texture and flavor contrast, serve slightly chilled but not cold from the refrigerator – about 20 minutes at room temperature is perfect.</li></ol>