Cornish Pasty-Style Hand Pies Recipe

Ingredients
Equipment
Directions
FAQs
Find answers to your most pressing questions about this delicious recipe right here.
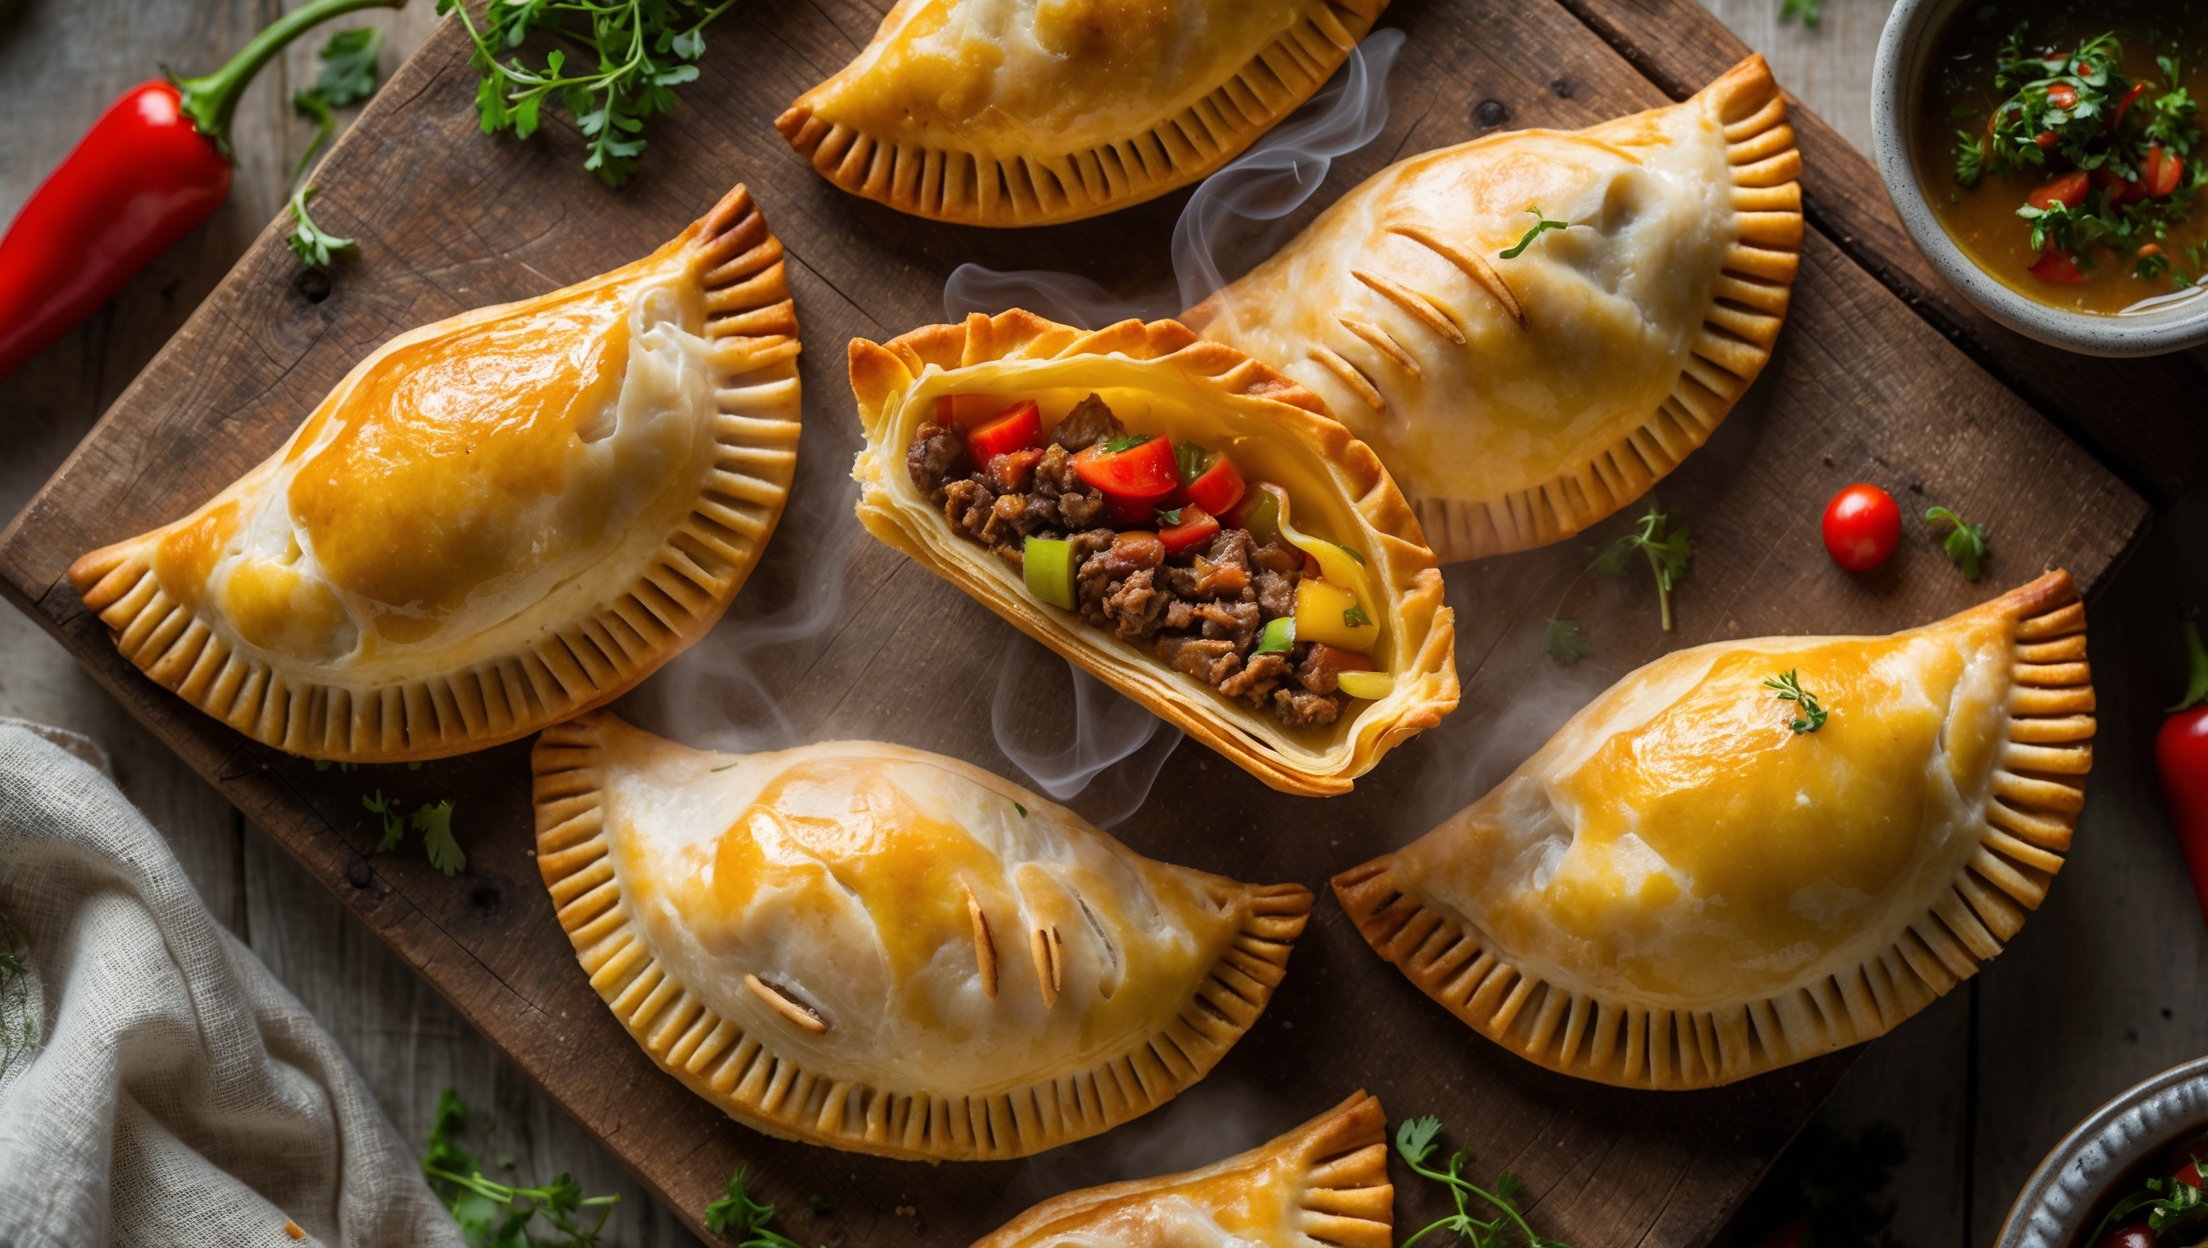
Traditional Cornish pasty-style hand pies require plain flour, butter, lard, beef skirt or chuck steak, potato, swede (rutabaga), onion, fresh thyme, and seasonings. The distinctive pastry uses both butter and lard for optimal flakiness, while the filling combines meat and root vegetables.
Learn how to cook Cornish Pasty-Style Hand Pies by first making flaky pastry with cold butter and lard, then filling with raw diced beef, potatoes and swede. Shape into half-moons, create the distinctive crimped edge, brush with egg wash and bake at 170°C fan for about 50 minutes until golden. The long cooking time allows the filling to create its own rich gravy inside.
The secret lies in using very cold fats (butter and lard), minimal handling of the dough, and proper chilling before rolling. These techniques prevent the fat from melting too early in the process, creating steam pockets during baking that result in those desirable flaky layers in the final pastry.
Yes, you can freeze assembled but unbaked hand pies for up to 3 months. Place them on a baking sheet until frozen solid, then transfer to freezer bags. When ready to bake, brush with egg wash and cook from frozen, adding about 15-20 minutes to the cooking time.
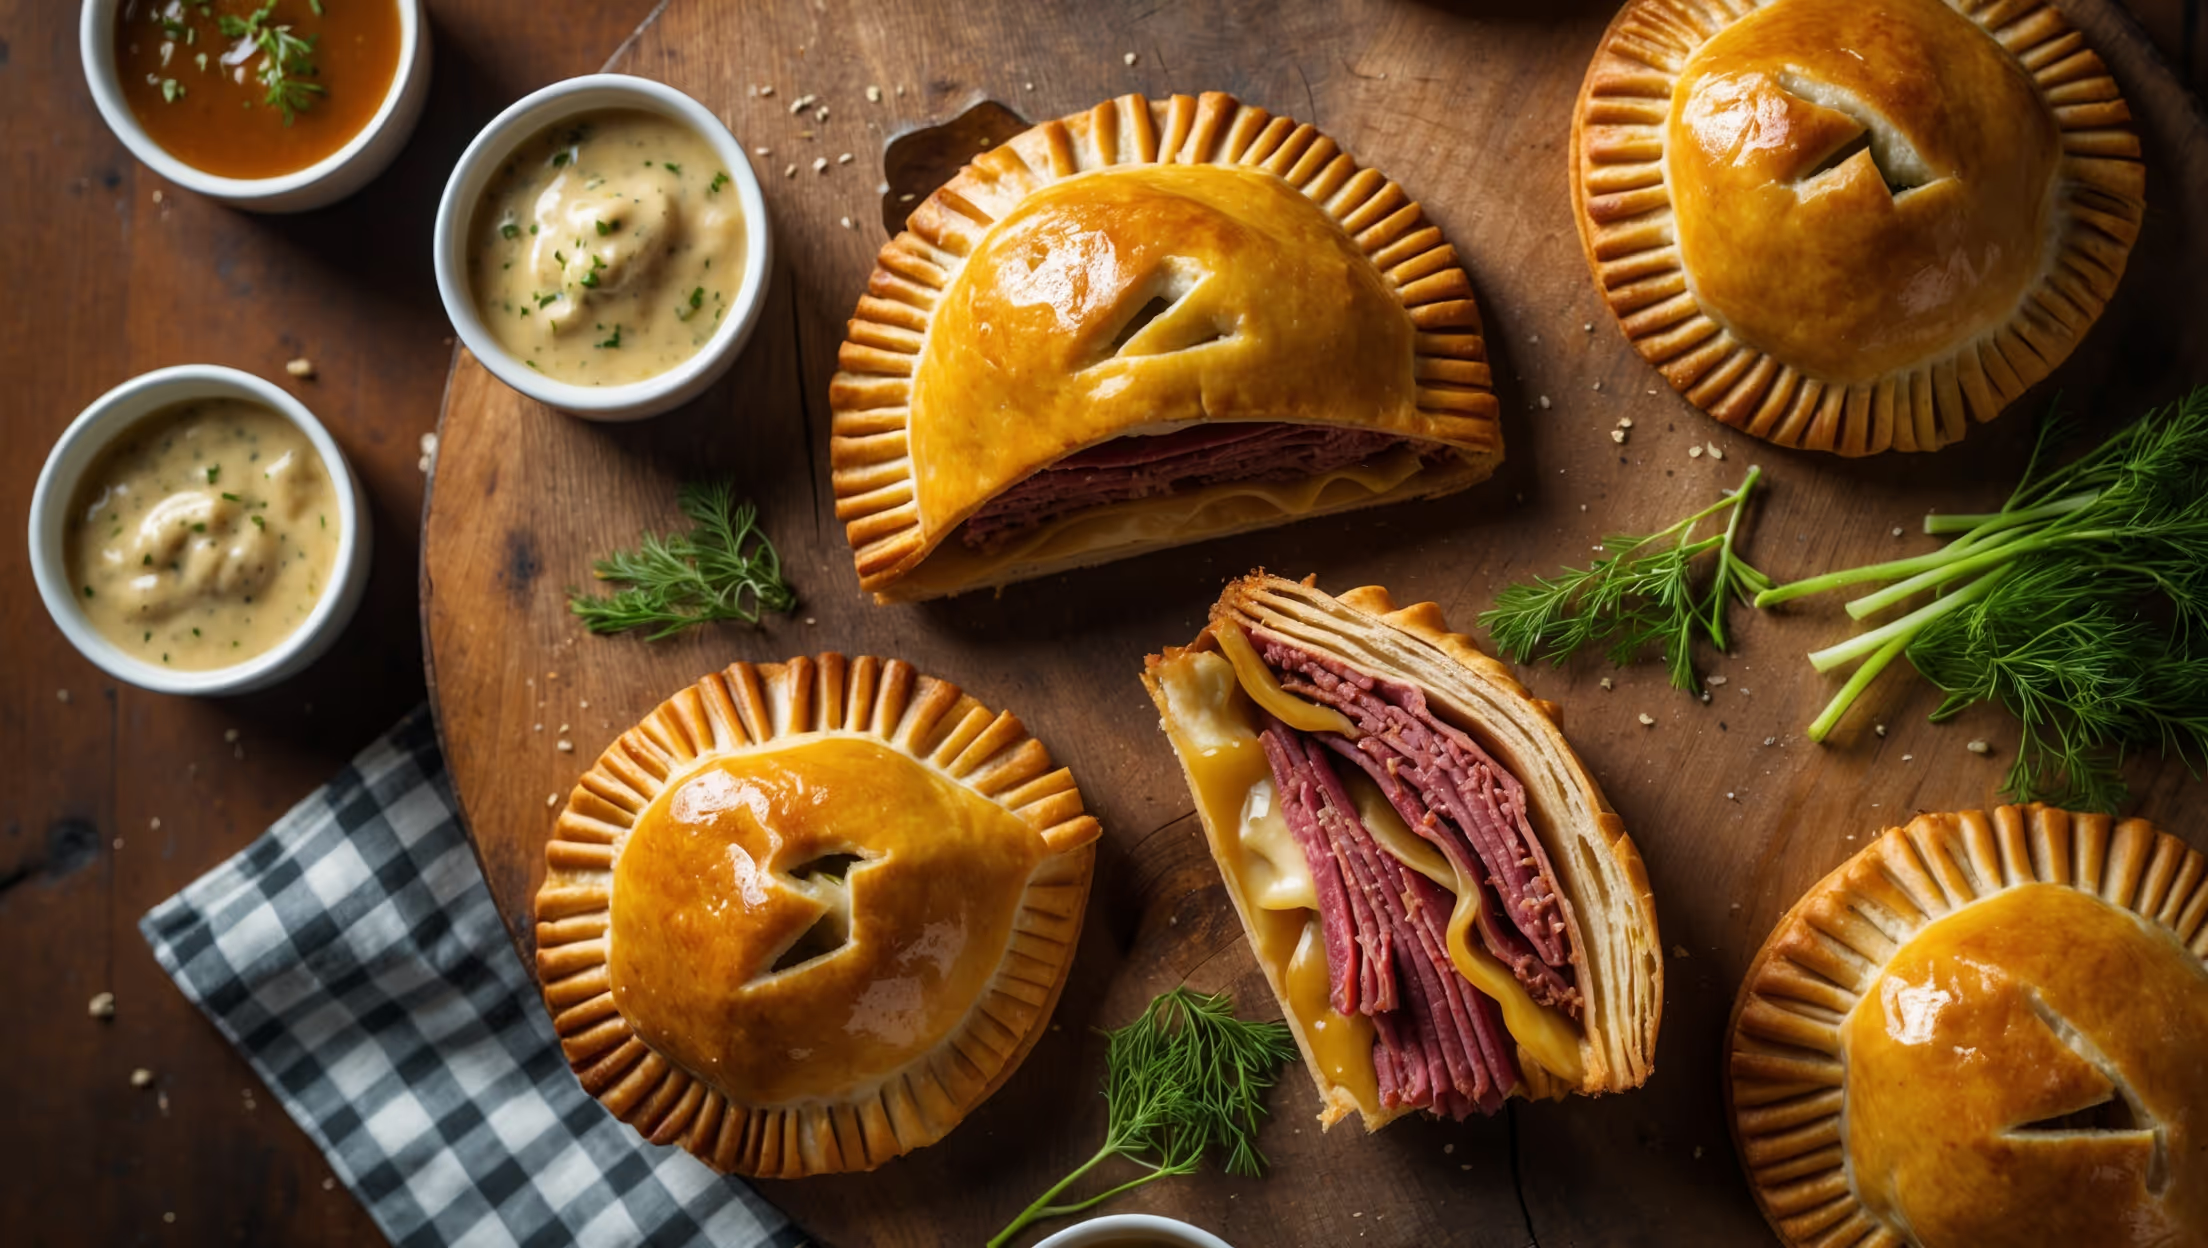
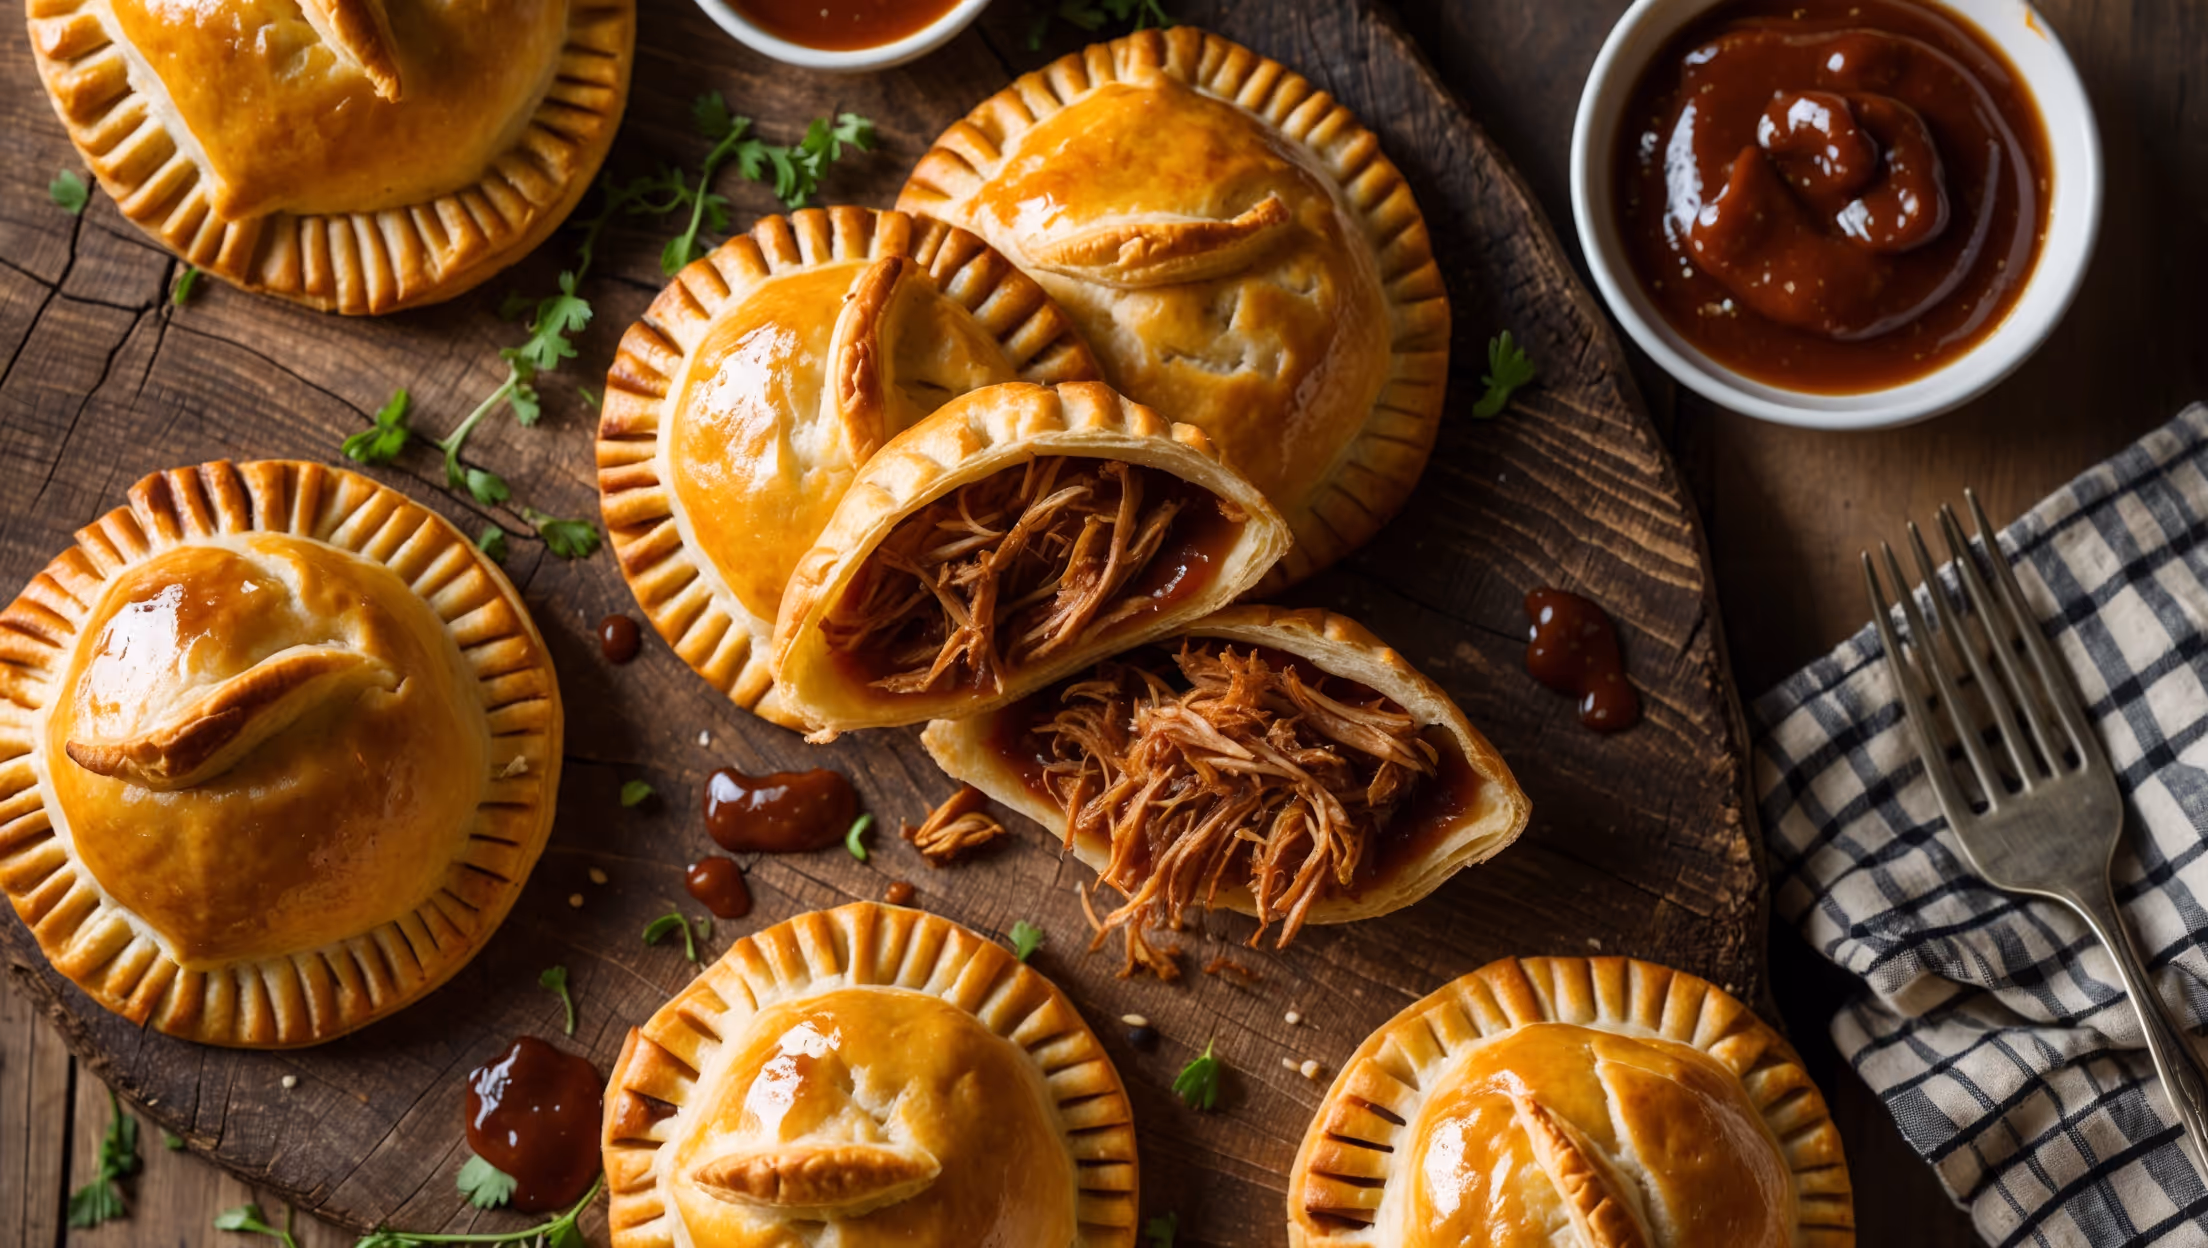
While beef is most common, traditional alternatives include lamb, pork, or even fish in coastal areas. Vegetarian versions use extra root vegetables with cheese. Miners historically had different fillings at each end—savoury main at one end and sweet fruit for dessert at the other.
Hand Pies
Try following recommended recipes