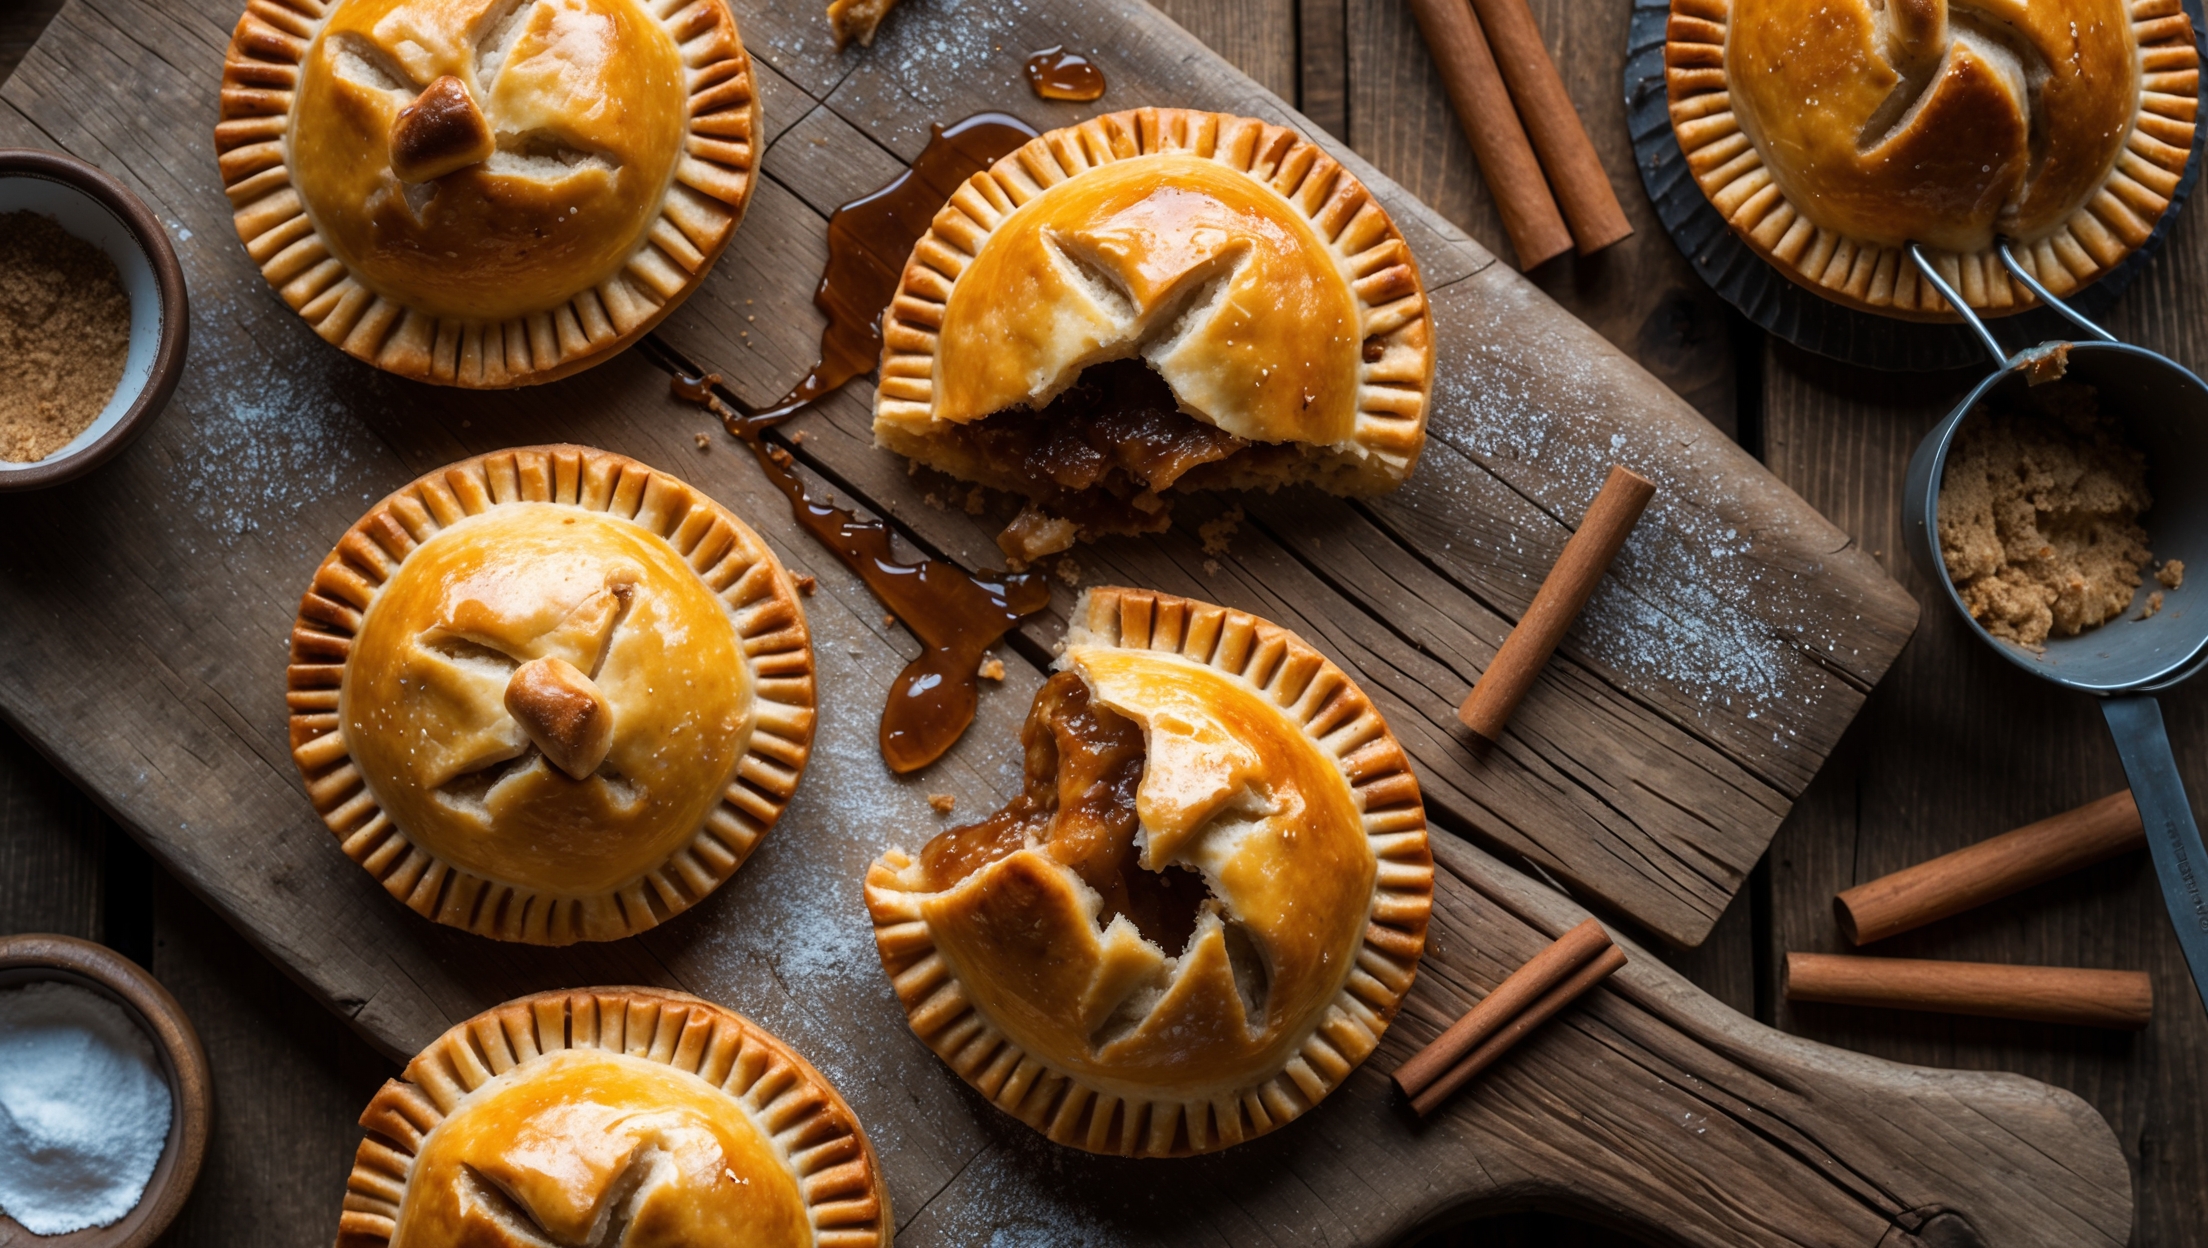
Directions
<ol class="no-list-style"><li class="MethodStepper"><h4 class="step-title">Step 1</h4>Start by making the pastry. In a large bowl or food processor, combine the flour, salt, and sugar. Add the cold cubed butter and pulse or use your fingertips to work it in until the mixture resembles coarse breadcrumbs with some pea-sized butter pieces remaining. These butter pieces are crucial as they create steam pockets during baking, resulting in flaky layers.</li><li class="MethodStepper"><h4 class="step-title">Step 2</h4>Gradually add the ice-cold water, 1 tablespoon at a time, until the dough just comes together when pinched. Be careful not to overwork or add too much water - this would develop gluten and make your pastry tough rather than flaky. Form the dough into a disc, wrap in plastic wrap, and refrigerate for at least 1 hour.</li><li class="MethodStepper"><h4 class="step-title">Step 3</h4>Meanwhile, prepare your filling. Melt the butter in a skillet over medium heat. Add the diced onion and cook until softened and translucent, about 5 minutes. Add the garlic and cook for another 30 seconds until fragrant. Add the corn kernels and cook for 3-4 minutes until tender but still with a slight bite. Season generously with salt and pepper.</li><li class="MethodStepper"><h4 class="step-title">Step 4</h4>Remove the skillet from heat and stir in the fresh thyme. Allow the mixture to cool completely before adding the grated cheese - adding cheese to a hot mixture would melt it prematurely, making assembly difficult and preventing those desirable cheese pulls when eating.</li><li class="MethodStepper"><h4 class="step-title">Step 5</h4>Preheat your oven to 200°C and line two baking sheets with parchment paper. Remove the chilled dough from the refrigerator and let it sit for 5-10 minutes to slightly soften for easier rolling.</li><li class="MethodStepper"><h4 class="step-title">Step 6</h4>On a lightly floured surface, roll the dough to about 3mm thickness. Using a 10cm round cutter or glass, cut out as many circles as possible. Re-roll scraps as needed to yield approximately 16 circles (for 8 hand pies).</li><li class="MethodStepper"><h4 class="step-title">Step 7</h4>Place 8 dough circles on the prepared baking sheets. Add about 1-2 tablespoons of filling to the center of each, making sure to leave a 1cm border around the edges. Be careful not to overfill or the pies may burst during baking.</li><li class="MethodStepper"><h4 class="step-title">Step 8</h4>Whisk together the egg and 1 tablespoon water to make an egg wash. Brush the border of each filled circle with egg wash - this acts as a glue to seal your pies. Top with the remaining dough circles and press the edges firmly to seal, then crimp with a fork for a decorative edge and to ensure they stay closed.</li><li class="MethodStepper"><h4 class="step-title">Step 9</h4>Cut a small slit in the top of each pie to allow steam to escape during baking (without this, your pies might burst at the seams). Brush the tops generously with egg wash to achieve a beautiful golden-brown color and sprinkle with sea salt flakes if desired.</li><li class="MethodStepper"><h4 class="step-title">Step 10</h4>Bake in the preheated oven for 22-25 minutes, or until the pies are golden brown and the pastry is cooked through. You may need to rotate the baking sheets halfway through for even browning.</li><li class="MethodStepper"><h4 class="step-title">Step 11</h4>Allow the hand pies to cool on the baking sheets for 5 minutes before transferring to a wire rack. While delicious served piping hot, be cautious of the filling which will be extremely hot. These hand pies are also wonderful at room temperature, making them perfect for picnics or packed lunches.</li></ol>