Directions
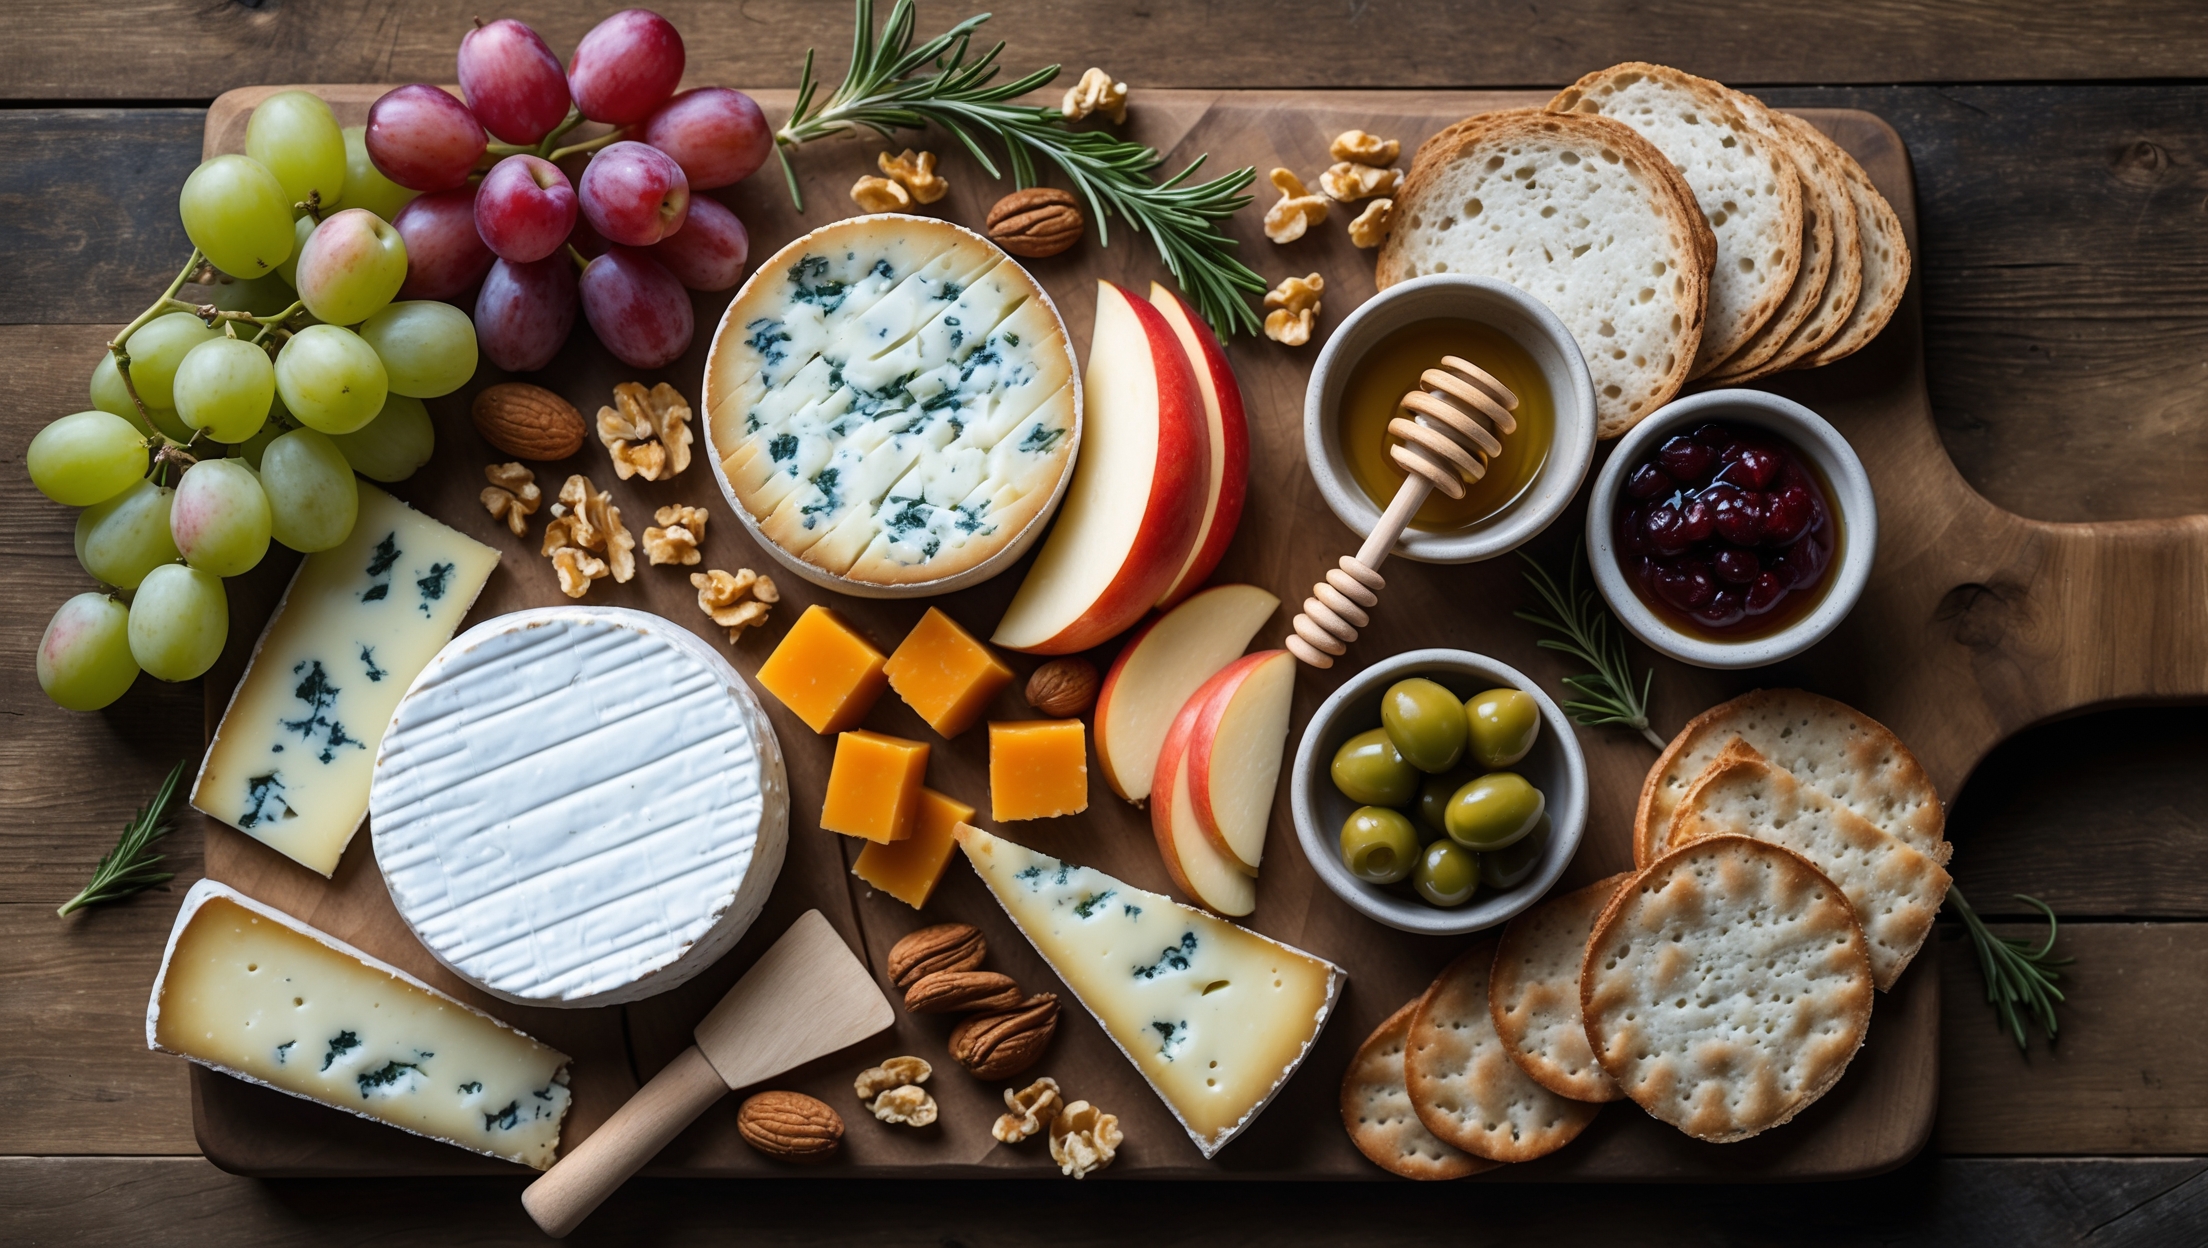
<ol class="no-list-style"><li class="MethodStepper"><h4 class="step-title">Step 1</h4>Remove all cheeses from refrigeration at least 1 hour before serving. Cheese should be served at room temperature (around 20°C) to allow full flavor development and optimal texture - cold cheese can taste muted and have a firmer texture than intended.</li><li class="MethodStepper"><h4 class="step-title">Step 2</h4>Select your serving board - wooden boards are traditional and provide a rustic appeal, while slate offers dramatic contrast with lighter colored cheeses. If using a wooden board, you may want to line it with parchment paper for easier cleanup.</li><li class="MethodStepper"><h4 class="step-title">Step 3</h4>Begin arranging by placing your small bowls for honey, preserves, and olives on the board first. These anchor points will help guide the rest of your arrangement and provide height variation. Leave enough space between them to accommodate the cheeses and accompaniments.</li><li class="MethodStepper"><h4 class="step-title">Step 4</h4>Arrange your cheeses next, keeping in mind the concept of "odd numbers" which is visually appealing. Place them in different areas of the board rather than clustering them together. Pre-slice hard cheeses partially, leaving some whole to prevent drying out. For soft cheeses, you can score the top or add a small knife for guests to serve themselves.</li><li class="MethodStepper"><h4 class="step-title">Step 5</h4>Add your cured meats, folding prosciutto into loose rosettes, fan-slicing salami, or creating small piles of thinly sliced meats. The red colors of the meat provide beautiful contrast against the board and cheeses.</li><li class="MethodStepper"><h4 class="step-title">Step 6</h4>Fill larger spaces with crackers and bread, creating small stacks or fans. Keep some separate from moist ingredients to maintain their crispness. Remember to provide different shapes and textures of crackers to complement various cheese types.</li><li class="MethodStepper"><h4 class="step-title">Step 7</h4>Add fresh and dried fruits in the remaining spaces. Bunch grapes can be divided into smaller clusters and placed in different areas. Slice apples or pears just before serving and toss with a little lemon juice to prevent browning.</li><li class="MethodStepper"><h4 class="step-title">Step 8</h4>Scatter nuts to fill any remaining small gaps, creating a sense of abundance without overcrowding. The varying textures add important contrast to the board.</li><li class="MethodStepper"><h4 class="step-title">Step 9</h4>Finish with fresh herb sprigs placed strategically throughout for color and aroma. Rosemary and thyme not only look beautiful but release pleasant fragrances when guests brush against them.</li><li class="MethodStepper"><h4 class="step-title">Step 10</h4>Place appropriate serving utensils with each cheese type - small knives for hard cheeses, spreaders for soft varieties. Add small forks or cocktail picks for olives and fruit. Remember, a thoughtful presentation includes making it easy for guests to serve themselves.</li><li class="MethodStepper"><h4 class="step-title">Step 11</h4>For final presentation, stand back and look for "holes" or imbalances in your arrangement. The ideal cheese board has a look of abundant variety while maintaining enough space between items for guests to easily identify and access each element. Serve immediately, or cover loosely with wax paper if preparing up to 2 hours ahead.</li></ol>