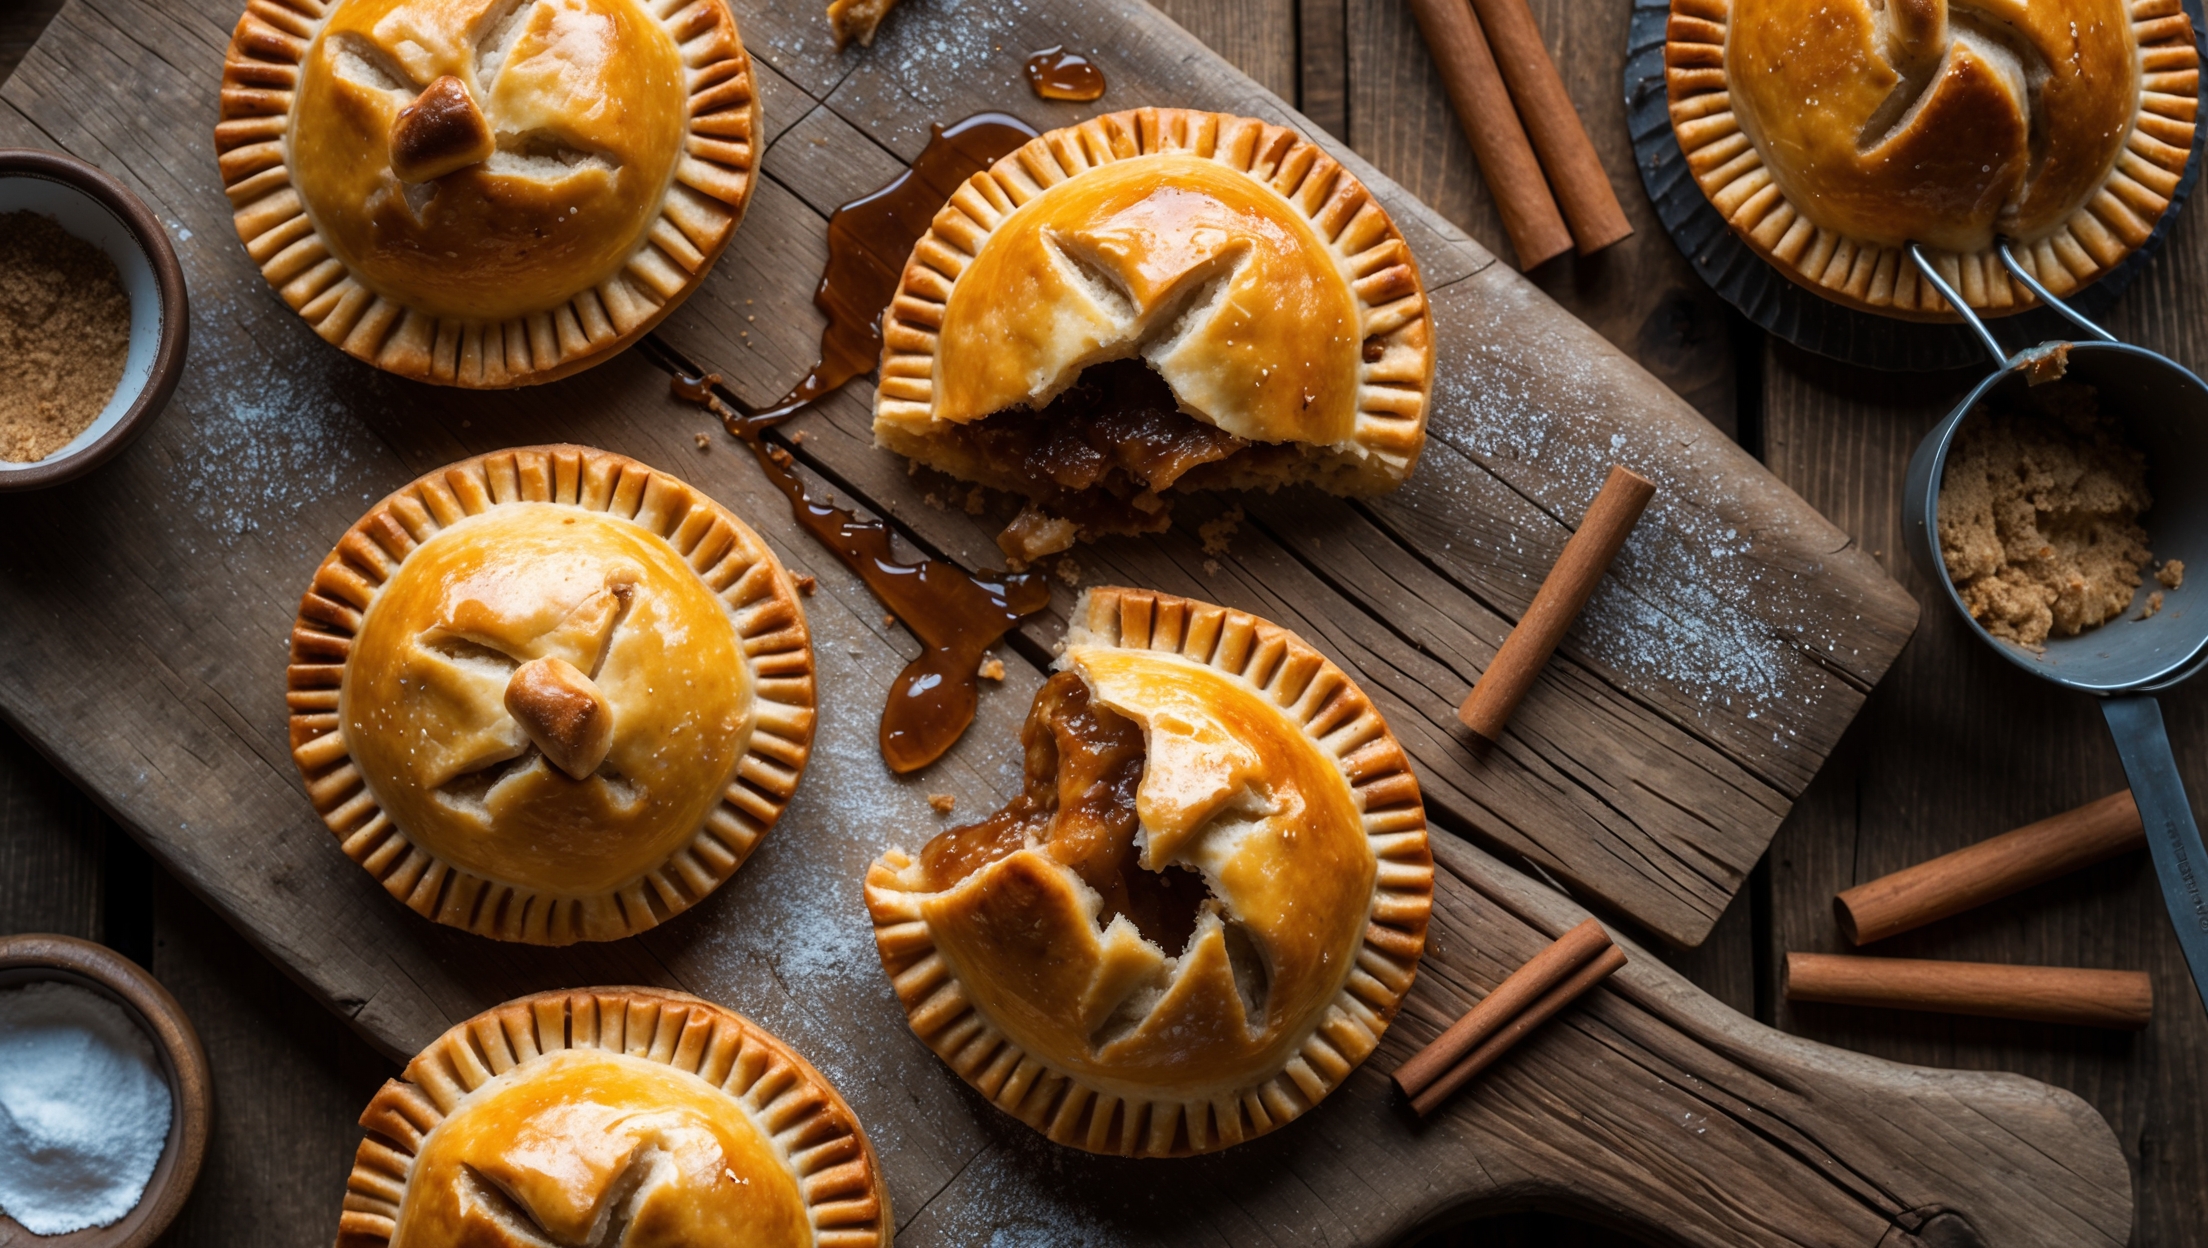
Directions
<ol class="no-list-style"><li class="MethodStepper"><h4 class="step-title">Step 1</h4>Start by making the pastry. In a food processor or large bowl, combine the flour, salt, and sugar. Add the cold cubed butter and pulse or use your fingertips to work it into the flour until the mixture resembles coarse breadcrumbs with some pea-sized pieces of butter remaining. These butter pieces are crucial for creating flaky layers in your pastry.</li><li class="MethodStepper"><h4 class="step-title">Step 2</h4>Gradually add the ice water, 1 tablespoon at a time, mixing until the dough just comes together. You may not need all the water - stop adding when the dough holds together when pinched. Don't overmix or your pastry will become tough rather than flaky.</li><li class="MethodStepper"><h4 class="step-title">Step 3</h4>Form the dough into a disk, wrap in plastic wrap, and refrigerate for at least 1 hour. Cold dough is easier to handle and results in flakier pastry as the cold butter creates steam pockets during baking.</li><li class="MethodStepper"><h4 class="step-title">Step 4</h4>While the dough chills, prepare your filling. Melt butter in a large saucepan over medium heat. Add onions and celery, cooking until softened but not browned, about 5 minutes. Add the garlic and cook for another 30 seconds until fragrant.</li><li class="MethodStepper"><h4 class="step-title">Step 5</h4>Add the diced potatoes and cook for 5 minutes, stirring occasionally. Sprinkle the flour over the vegetables and stir constantly for 2 minutes to cook out the raw flour taste. This roux will thicken your chowder filling.</li><li class="MethodStepper"><h4 class="step-title">Step 6</h4>Gradually whisk in the clam juice, milk, and cream, stirring constantly to prevent lumps. Add the bay leaf and thyme. Bring to a gentle simmer and cook, stirring frequently, until the potatoes are tender and the mixture has thickened, about 10-12 minutes.</li><li class="MethodStepper"><h4 class="step-title">Step 7</h4>Stir in the chopped clams and parsley, then season with white pepper and salt to taste. Remove the bay leaf. The filling should be thick enough to spoon into the pastry without being runny. Transfer to a bowl and refrigerate until completely cooled, at least 30 minutes. A cold filling prevents the pastry from becoming soggy before baking.</li><li class="MethodStepper"><h4 class="step-title">Step 8</h4>Preheat your oven to 200°C (400°F) and line two baking sheets with parchment paper. Remove the dough from the refrigerator and let it sit for 5-10 minutes to slightly soften for easier rolling.</li><li class="MethodStepper"><h4 class="step-title">Step 9</h4>On a lightly floured surface, roll the dough to about 3mm thickness. Using a 10cm round cutter, cut out 16 circles, re-rolling scraps as needed. Place 8 circles on your prepared baking sheets.</li><li class="MethodStepper"><h4 class="step-title">Step 10</h4>Place about 2 tablespoons of the cooled filling in the center of each of the 8 circles, leaving a 1cm border around the edges. Be careful not to overfill, or your pies may leak during baking.</li><li class="MethodStepper"><h4 class="step-title">Step 11</h4>Brush the edges with beaten egg, then top with the remaining dough circles. Press the edges firmly to seal, then crimp with a fork or create a decorative edge by pinching the dough between your fingers. This ensures your filling stays inside during baking.</li><li class="MethodStepper"><h4 class="step-title">Step 12</h4>Cut a small vent in the top of each pie to allow steam to escape. Brush the tops generously with beaten egg for a golden, glossy finish. For extra visual appeal, you can sprinkle with a little flaky sea salt.</li><li class="MethodStepper"><h4 class="step-title">Step 13</h4>Bake for 25-30 minutes, or until the pies are deeply golden brown. If they're browning too quickly, cover loosely with foil. The deep color indicates fully cooked, flaky pastry.</li><li class="MethodStepper"><h4 class="step-title">Step 14</h4>Allow the pies to cool on the baking sheets for 5 minutes before transferring to a wire rack. Serve warm or at room temperature. These hand pies are delicious on their own or accompanied by a light green salad for a complete meal. Enjoy your creation!</li></ol>