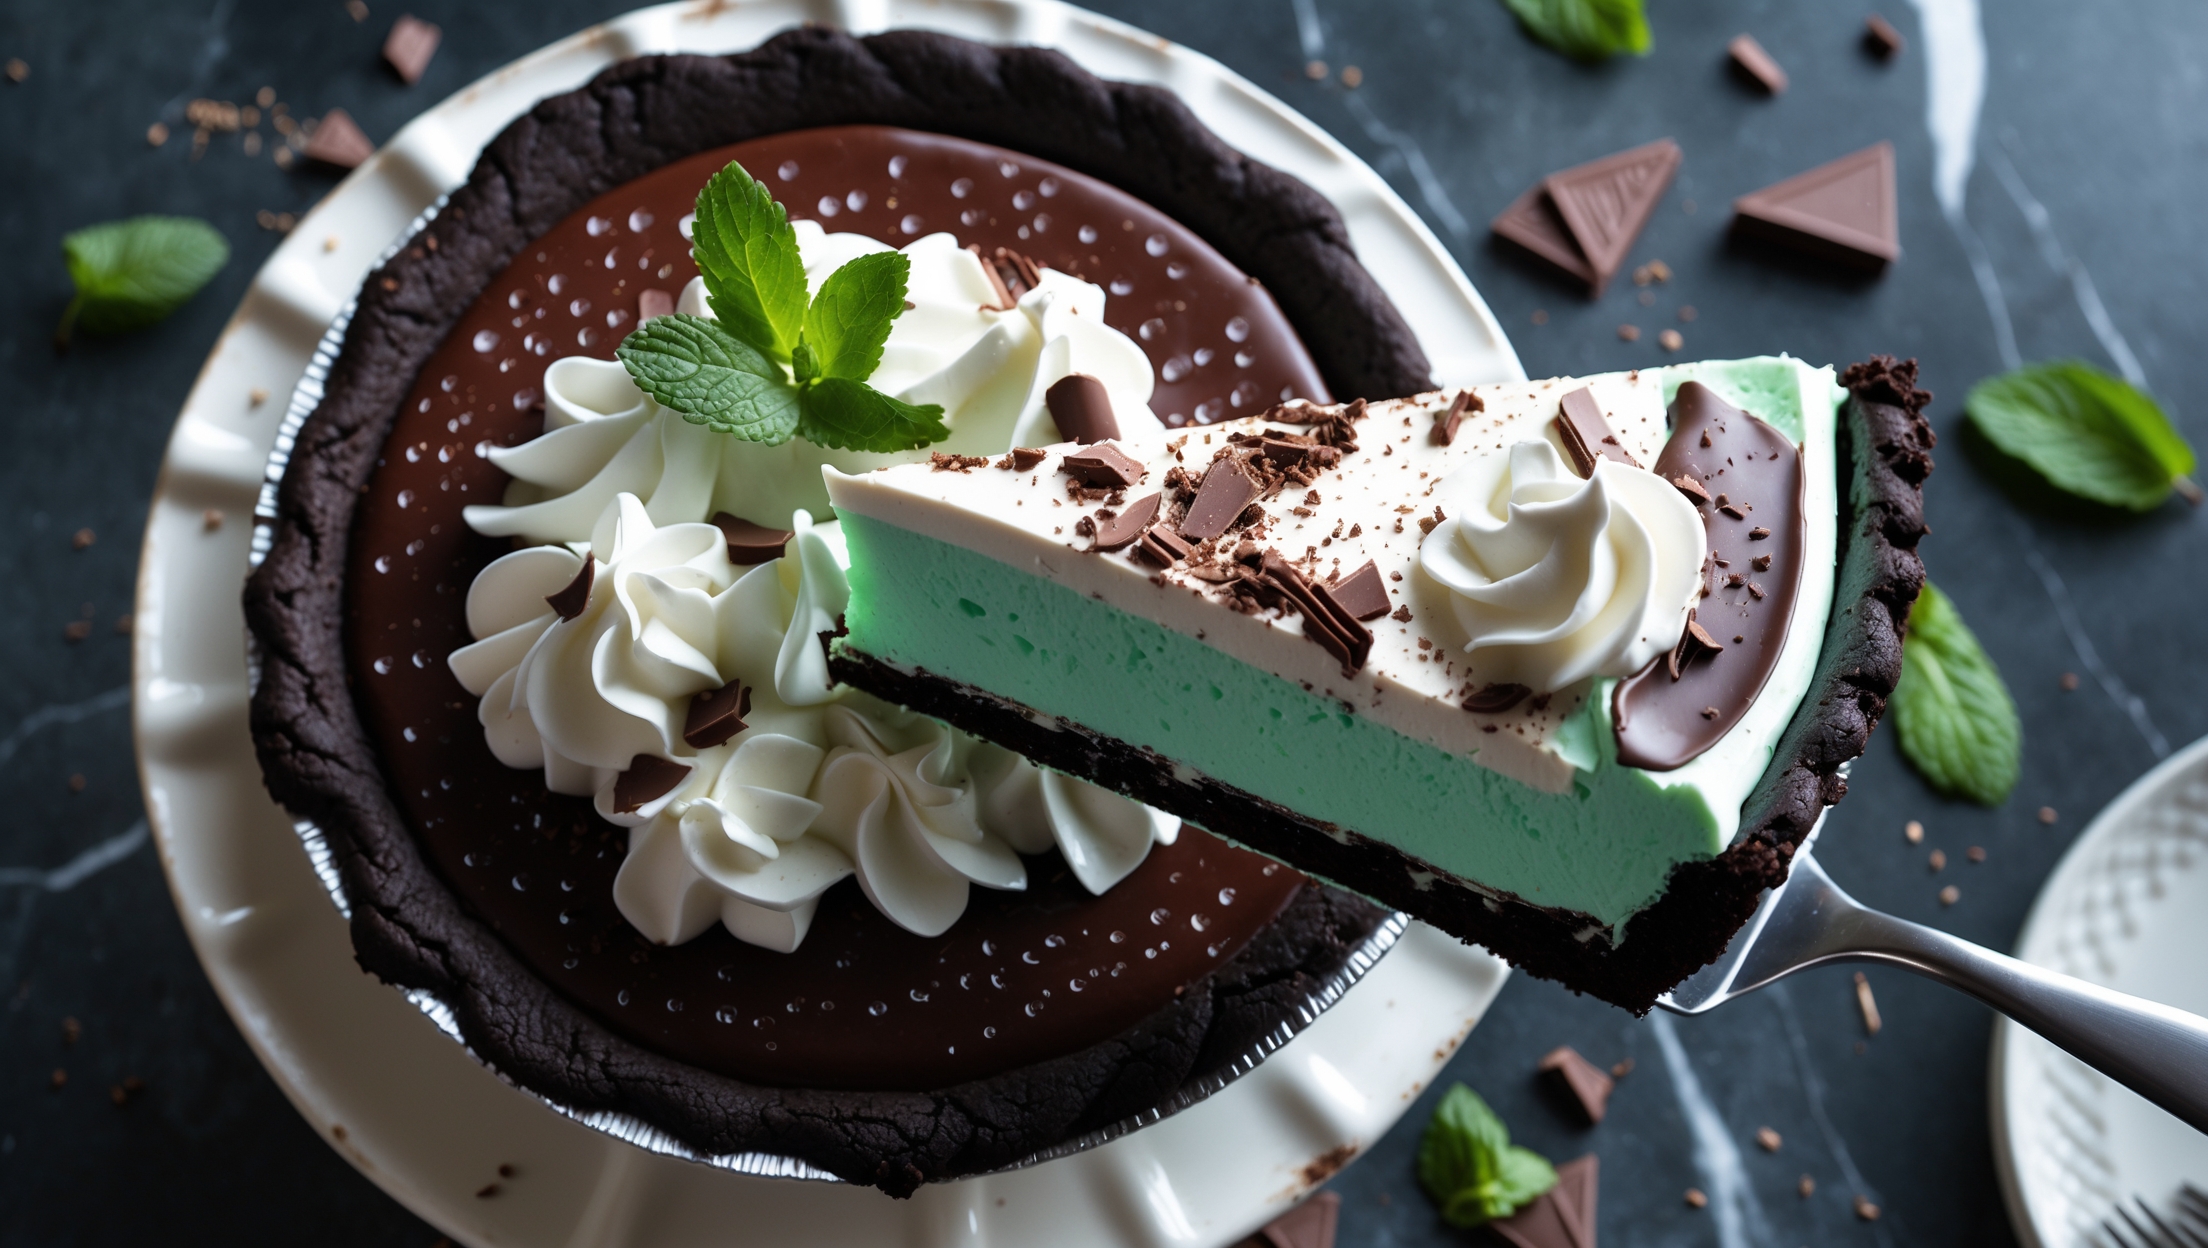
Chocolate Mint Cream Pie Recipe
Ingredients
Equipment
Directions
FAQs
Find answers to your most pressing questions about this delicious recipe right here.
This pie uses chocolate cookies and butter for the crust; heavy cream, mint leaves, sugar, egg yolks, and cornstarch for the mint filling; dark chocolate and cream for the ganache; and additional whipped cream with fresh mint and chocolate shavings for garnish.
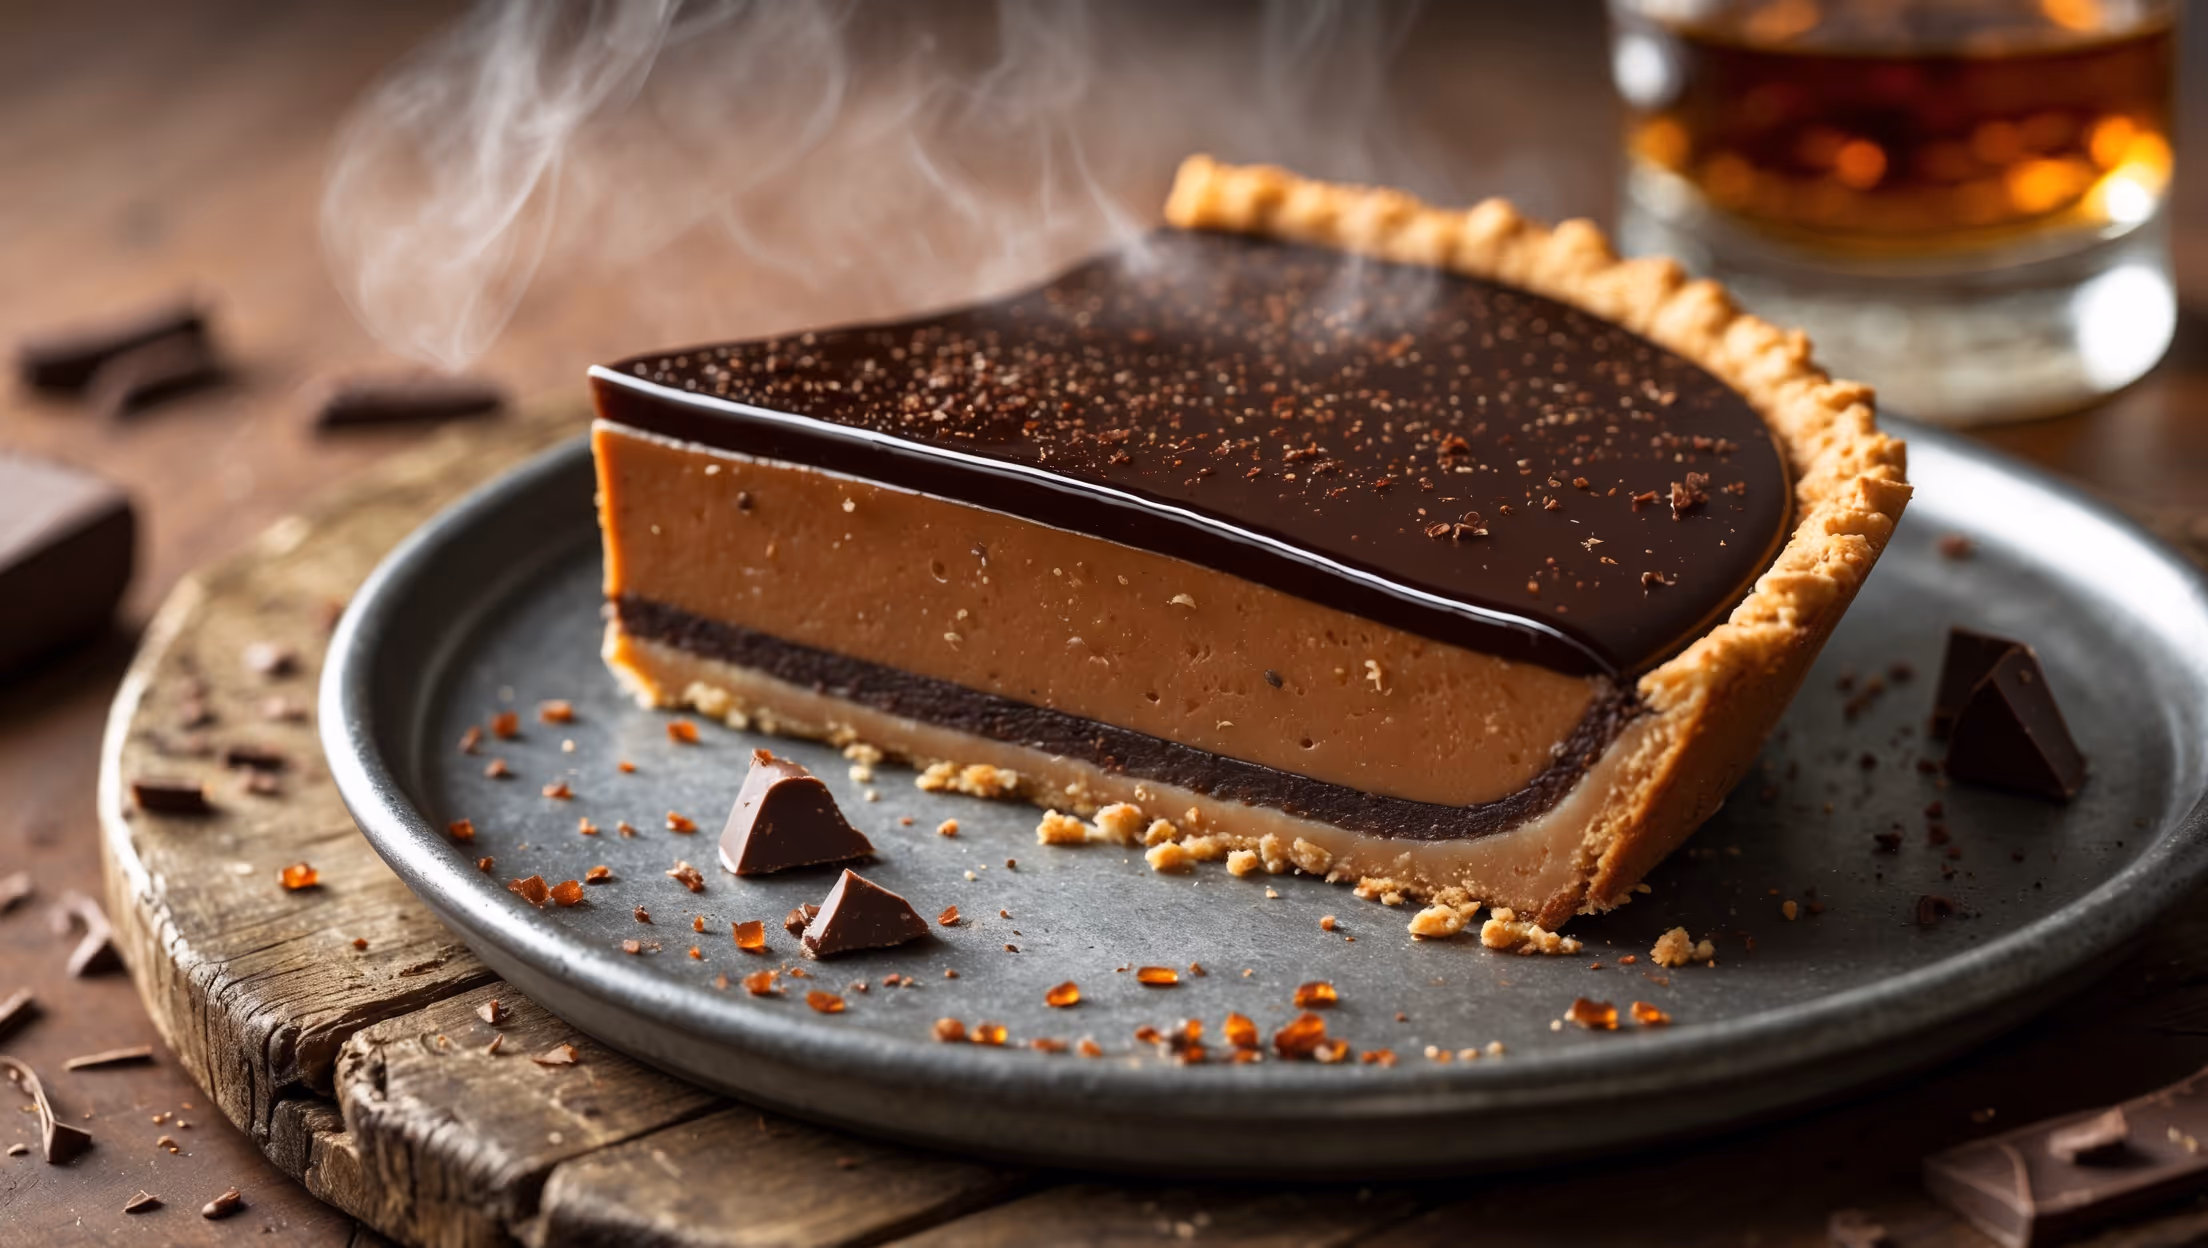
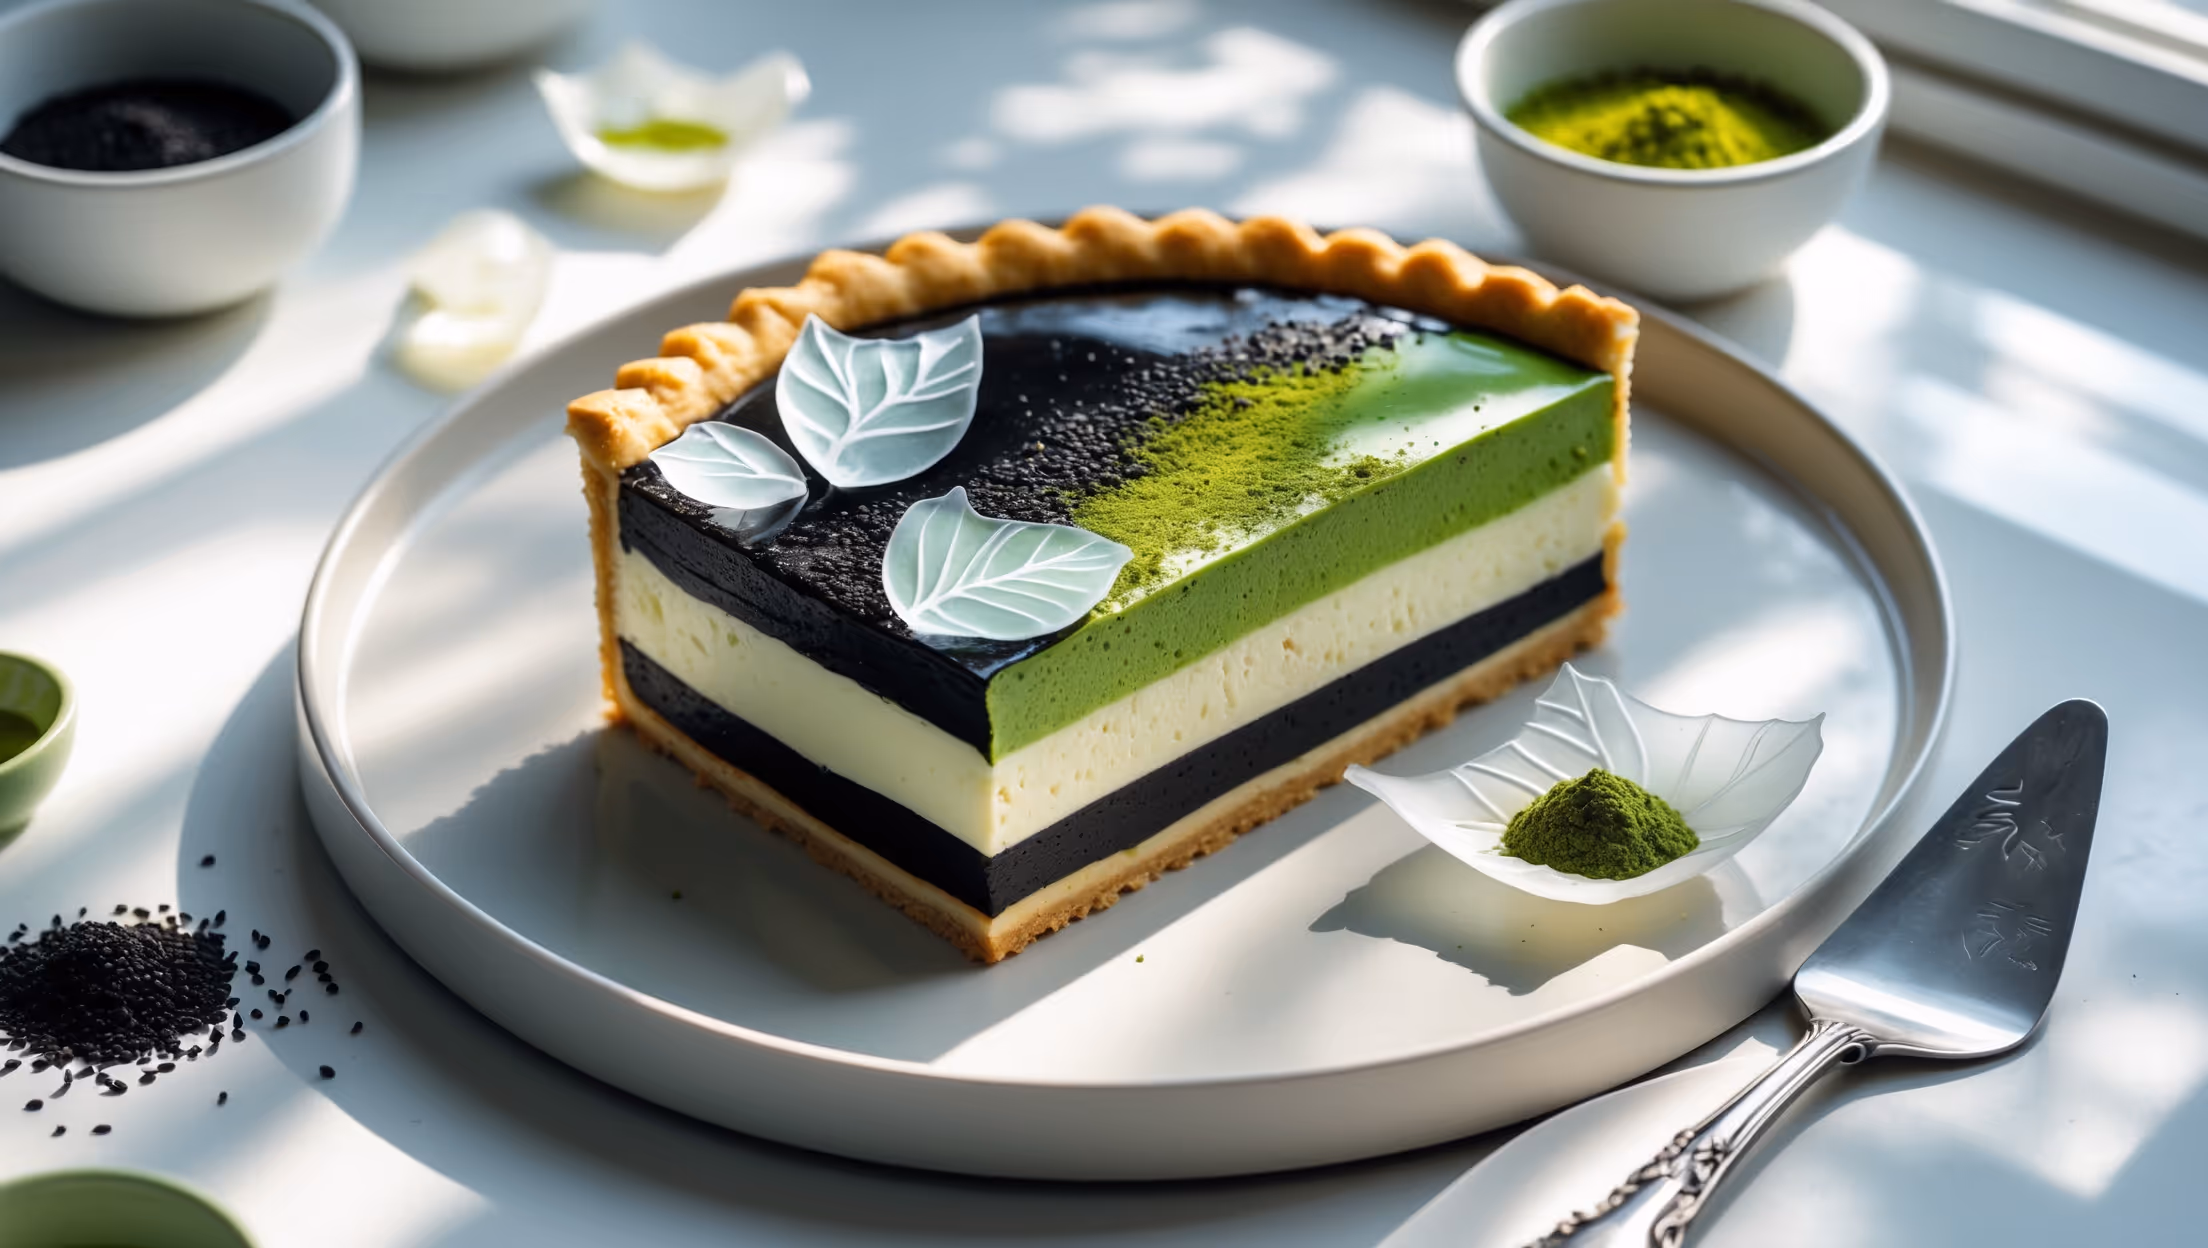
Learn how to cook Chocolate Mint Cream Pie by creating three distinct layers: a baked chocolate cookie crust, a no-bake mint cream filling (using fresh mint-infused cream folded with whipped cream), and a glossy chocolate ganache topping. The pie requires minimal actual cooking—just baking the crust and heating the custard mixture until thickened.
Yes, you can substitute 1 teaspoon of mint extract for the fresh mint leaves. Add it directly to the cooled custard mixture rather than steeping it. Fresh mint provides a more complex, natural flavour, while extract offers convenience and consistent potency.
Grainy ganache typically results from overheating the chocolate or temperature shock. Ensure your cream is hot but not boiling, let it sit with the chocolate before stirring, and add room temperature butter for smoothness. For setting issues, check your chocolate-to-cream ratio and allow adequate chilling time.
You can prepare this pie up to 24 hours in advance for optimal texture contrast between the crisp crust and creamy filling. The crust can be made 2 days ahead, and the mint filling can be prepared 1 day ahead, but assemble with ganache within 24 hours of serving for best results.
Cream Pies
Try following recommended recipes