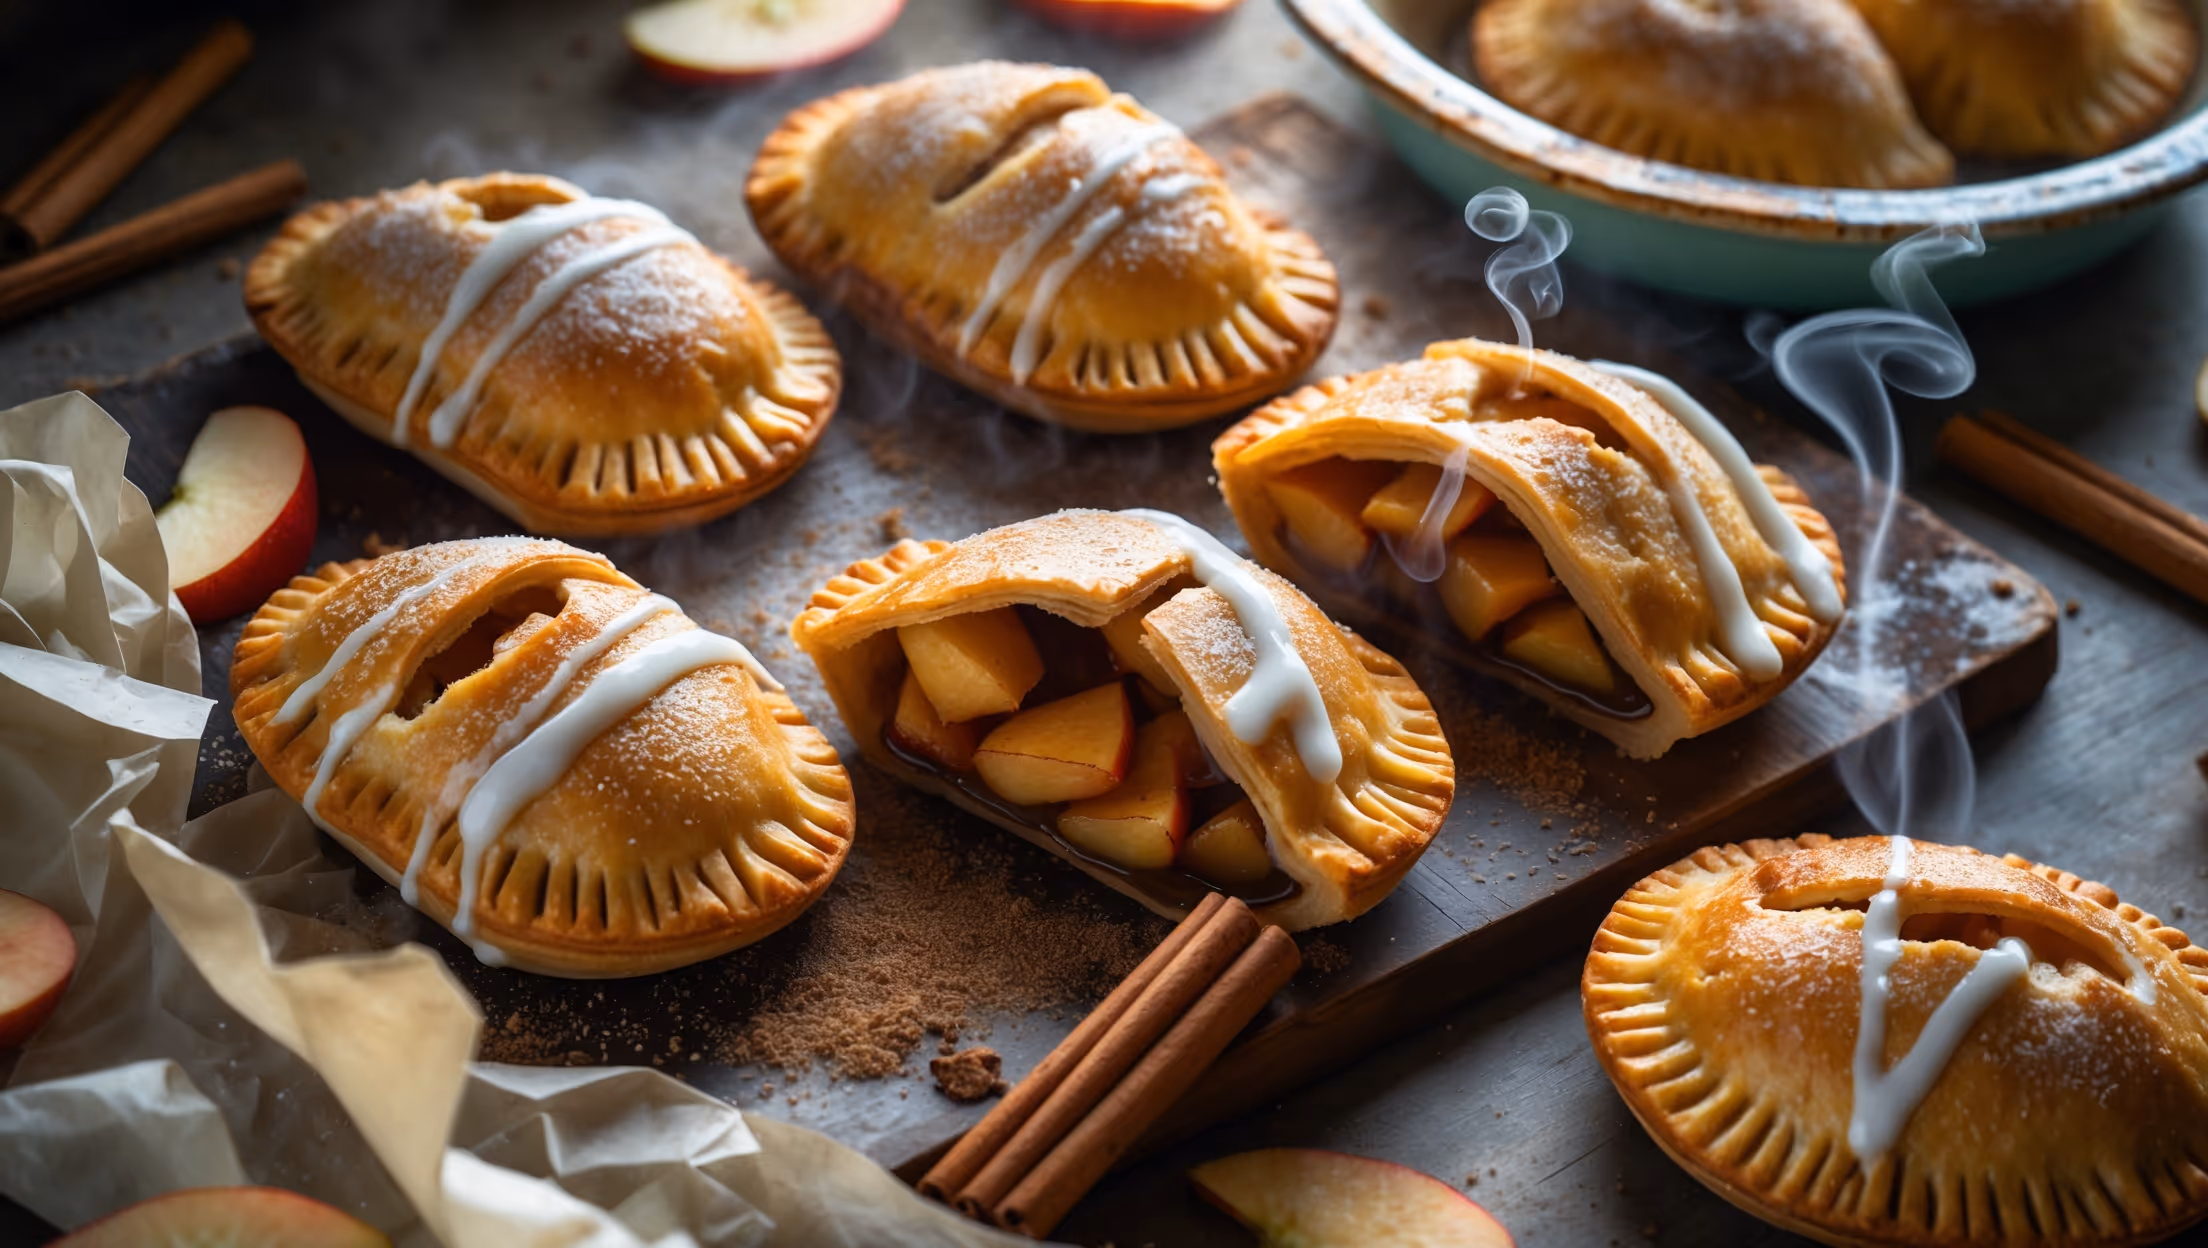
Chocolate Hazelnut Hand Pies Recipe
Ingredients
Equipment
Directions
FAQs
Find answers to your most pressing questions about this delicious recipe right here.
The main ingredients include all-purpose flour, cold unsalted butter, sugar, salt, ice-cold water, egg, milk, chocolate hazelnut spread (like Nutella), toasted hazelnuts, dark chocolate chips, and powdered sugar for dusting.
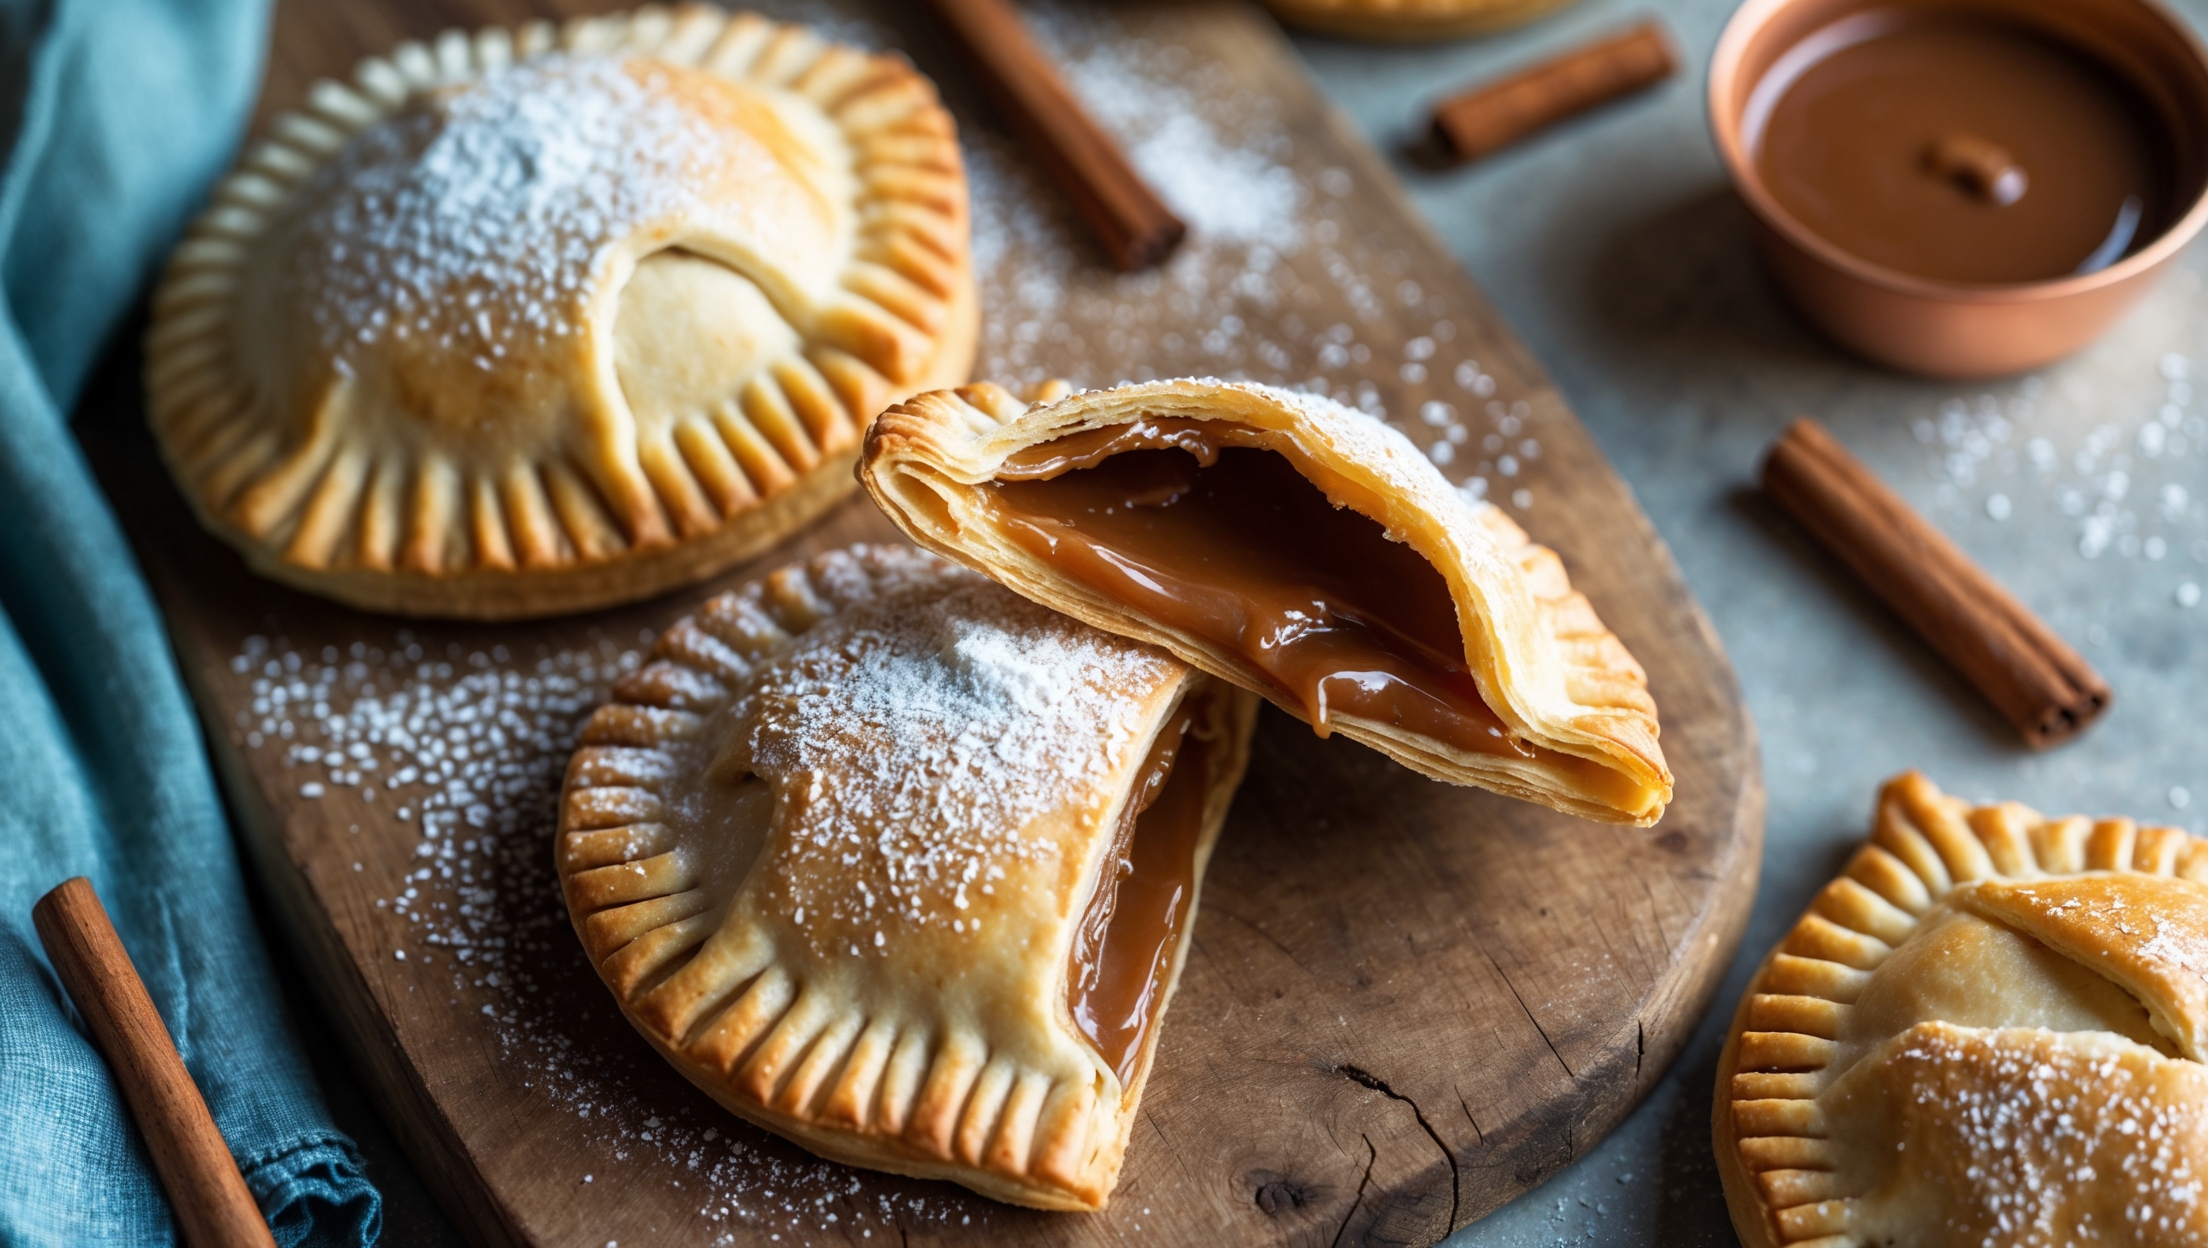
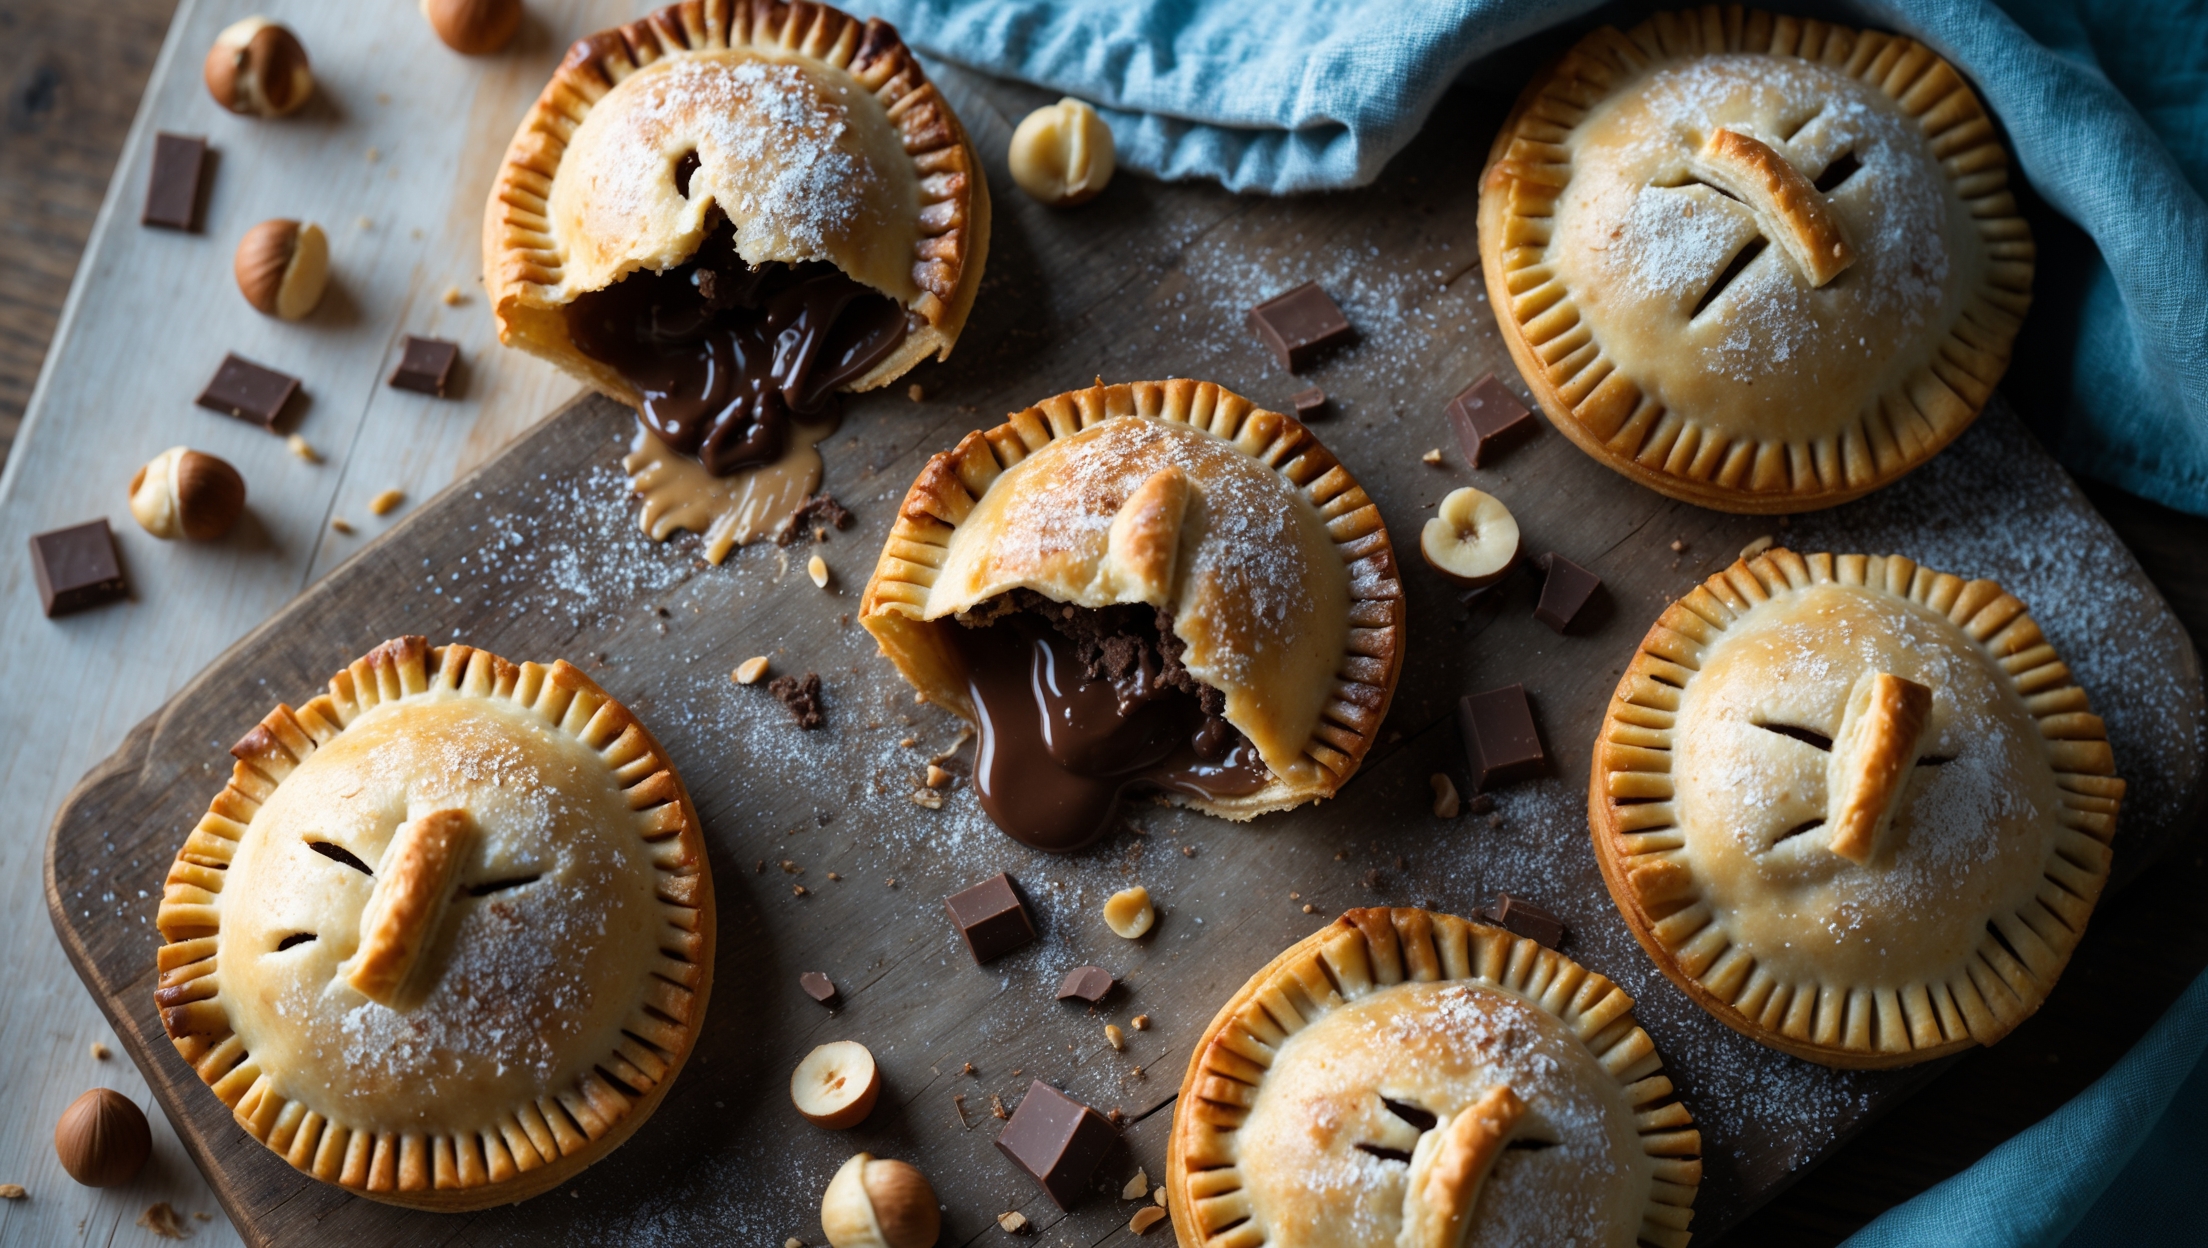
Learn how to cook Chocolate Hazelnut Hand Pies by making a flaky pastry with cold butter cut into flour, filling it with chocolate-hazelnut spread mixed with crunchy hazelnuts, sealing into individual pockets, and baking at 190°C until golden brown. The secret is keeping everything cold for maximum flakiness!
Absolutely! The pastry dough can be made up to 3 days in advance and stored in the refrigerator. You can also freeze the dough for up to a month - just thaw overnight in the fridge before rolling. This time-saving step actually improves flakiness by allowing the gluten to relax.
The key to flaky hand pies is using very cold butter and handling the dough minimally. Those visible butter pieces create steam pockets while baking, resulting in distinct layers. Work quickly, keep ingredients cold, and don't overmix - those pea-sized butter chunks are essential!
Certainly! Try homemade chocolate hazelnut spread, other nut butters mixed with chocolate, cookie butter, or jam. For a less sweet option, dark chocolate ganache works beautifully. You can also fill them with fruit compotes or custard for a completely different but equally delicious treat.
Hand Pies
Try following recommended recipes