Chocolate Hand Pies Recipe
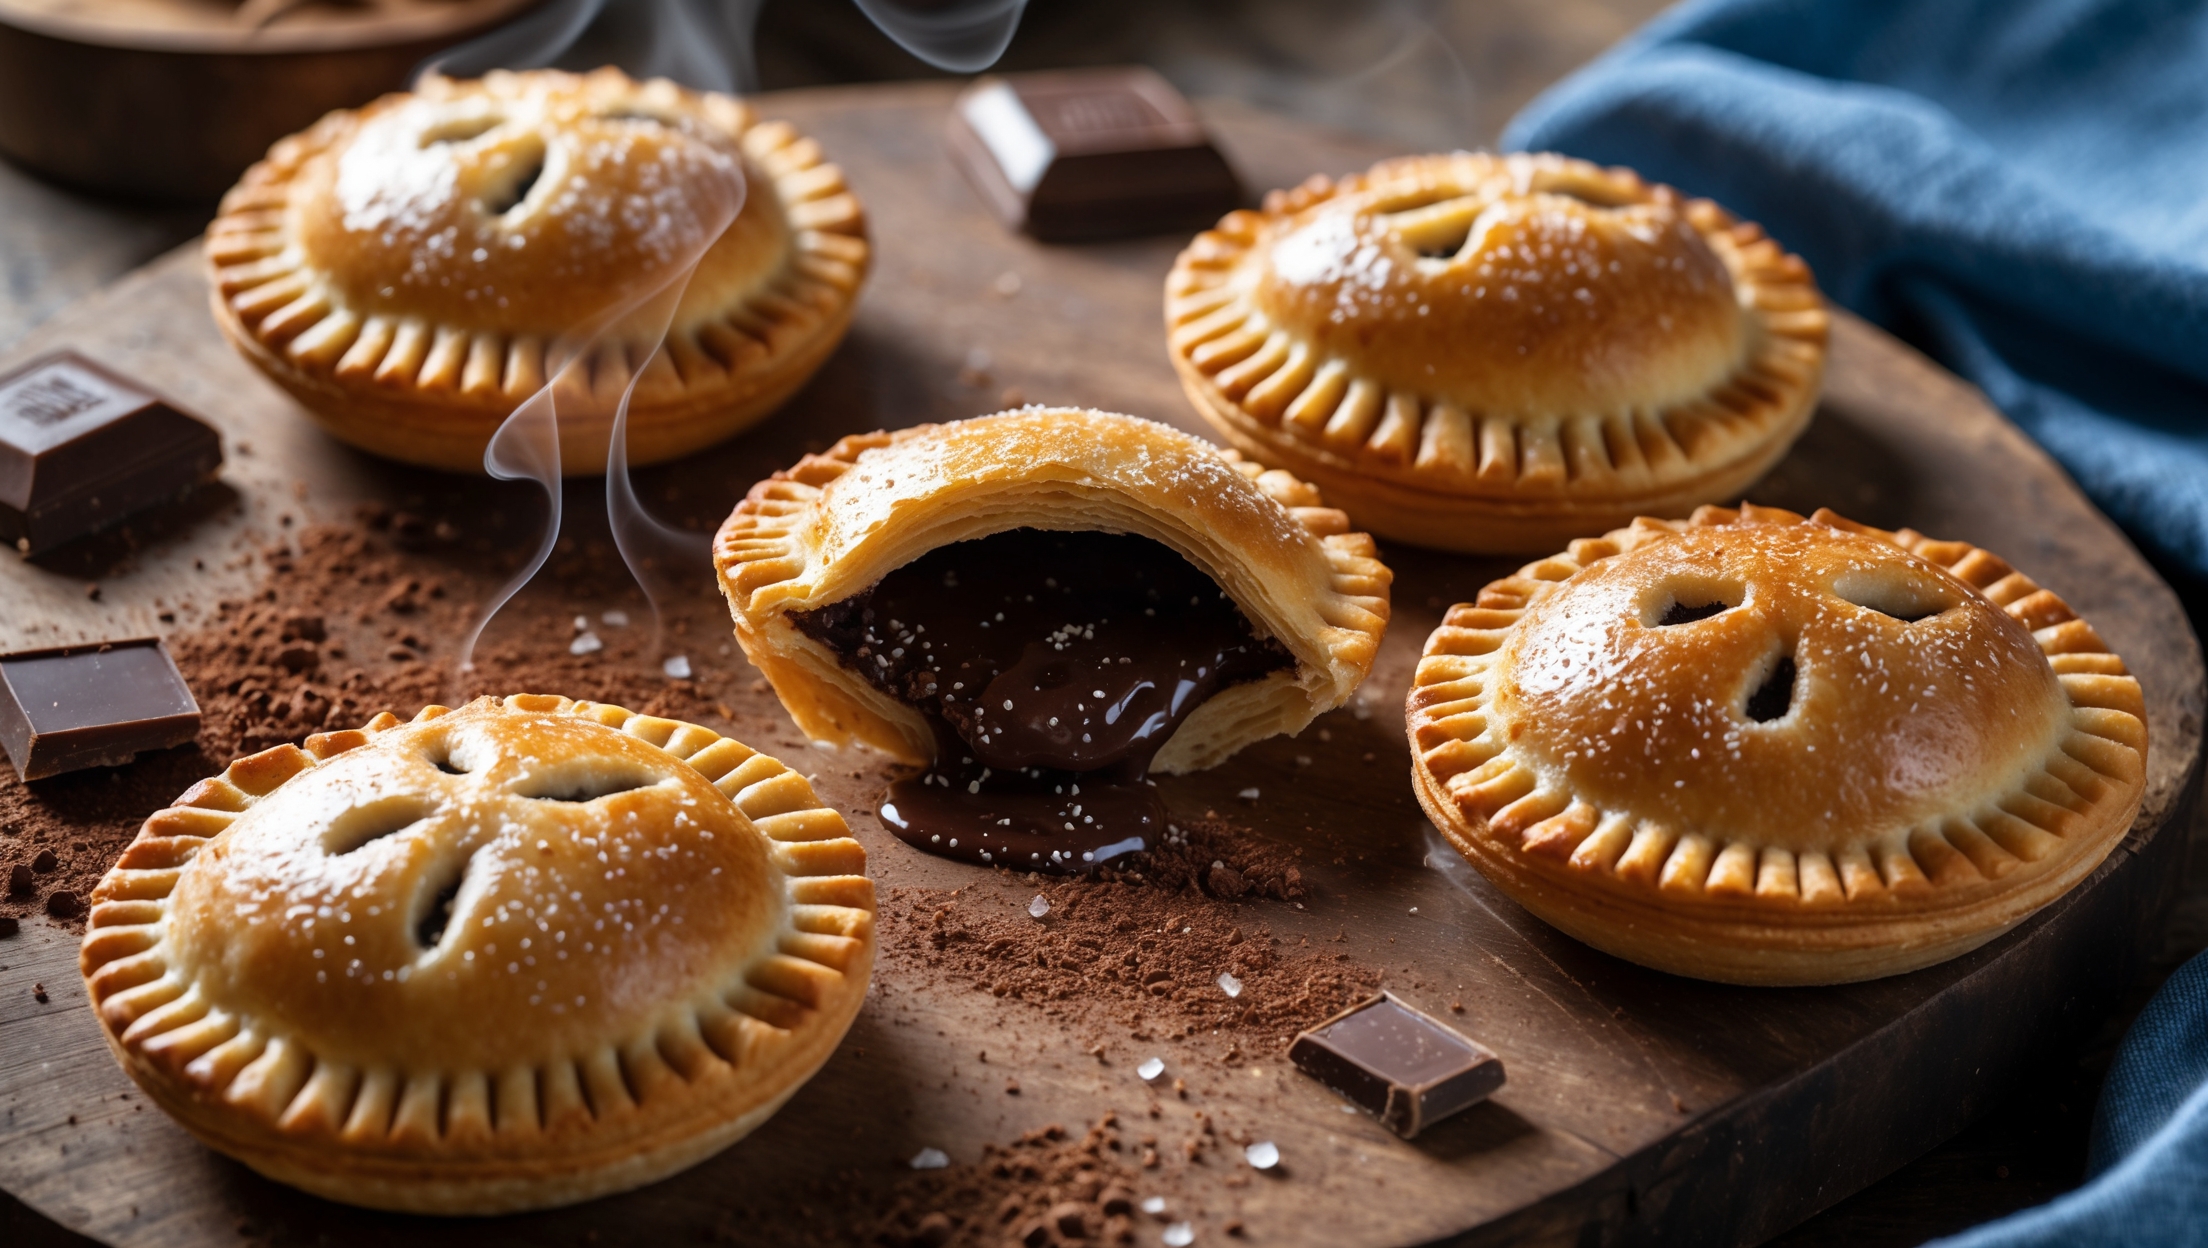
Learn how to make the best homemade chocolate hand pies with this easy baking recipe. Featuring a buttery, flaky pastry encasing rich chocolate filling, these portable treats are perfect for dessert on-the-go. Master the technique for beautifully crimped edges and achieve that perfect balance of crisp exterior and gooey center.
Difficulty:
Intermediate
Prep Time:
45 mins
Cook Time:
25 mins
Serves:
8 hand pies
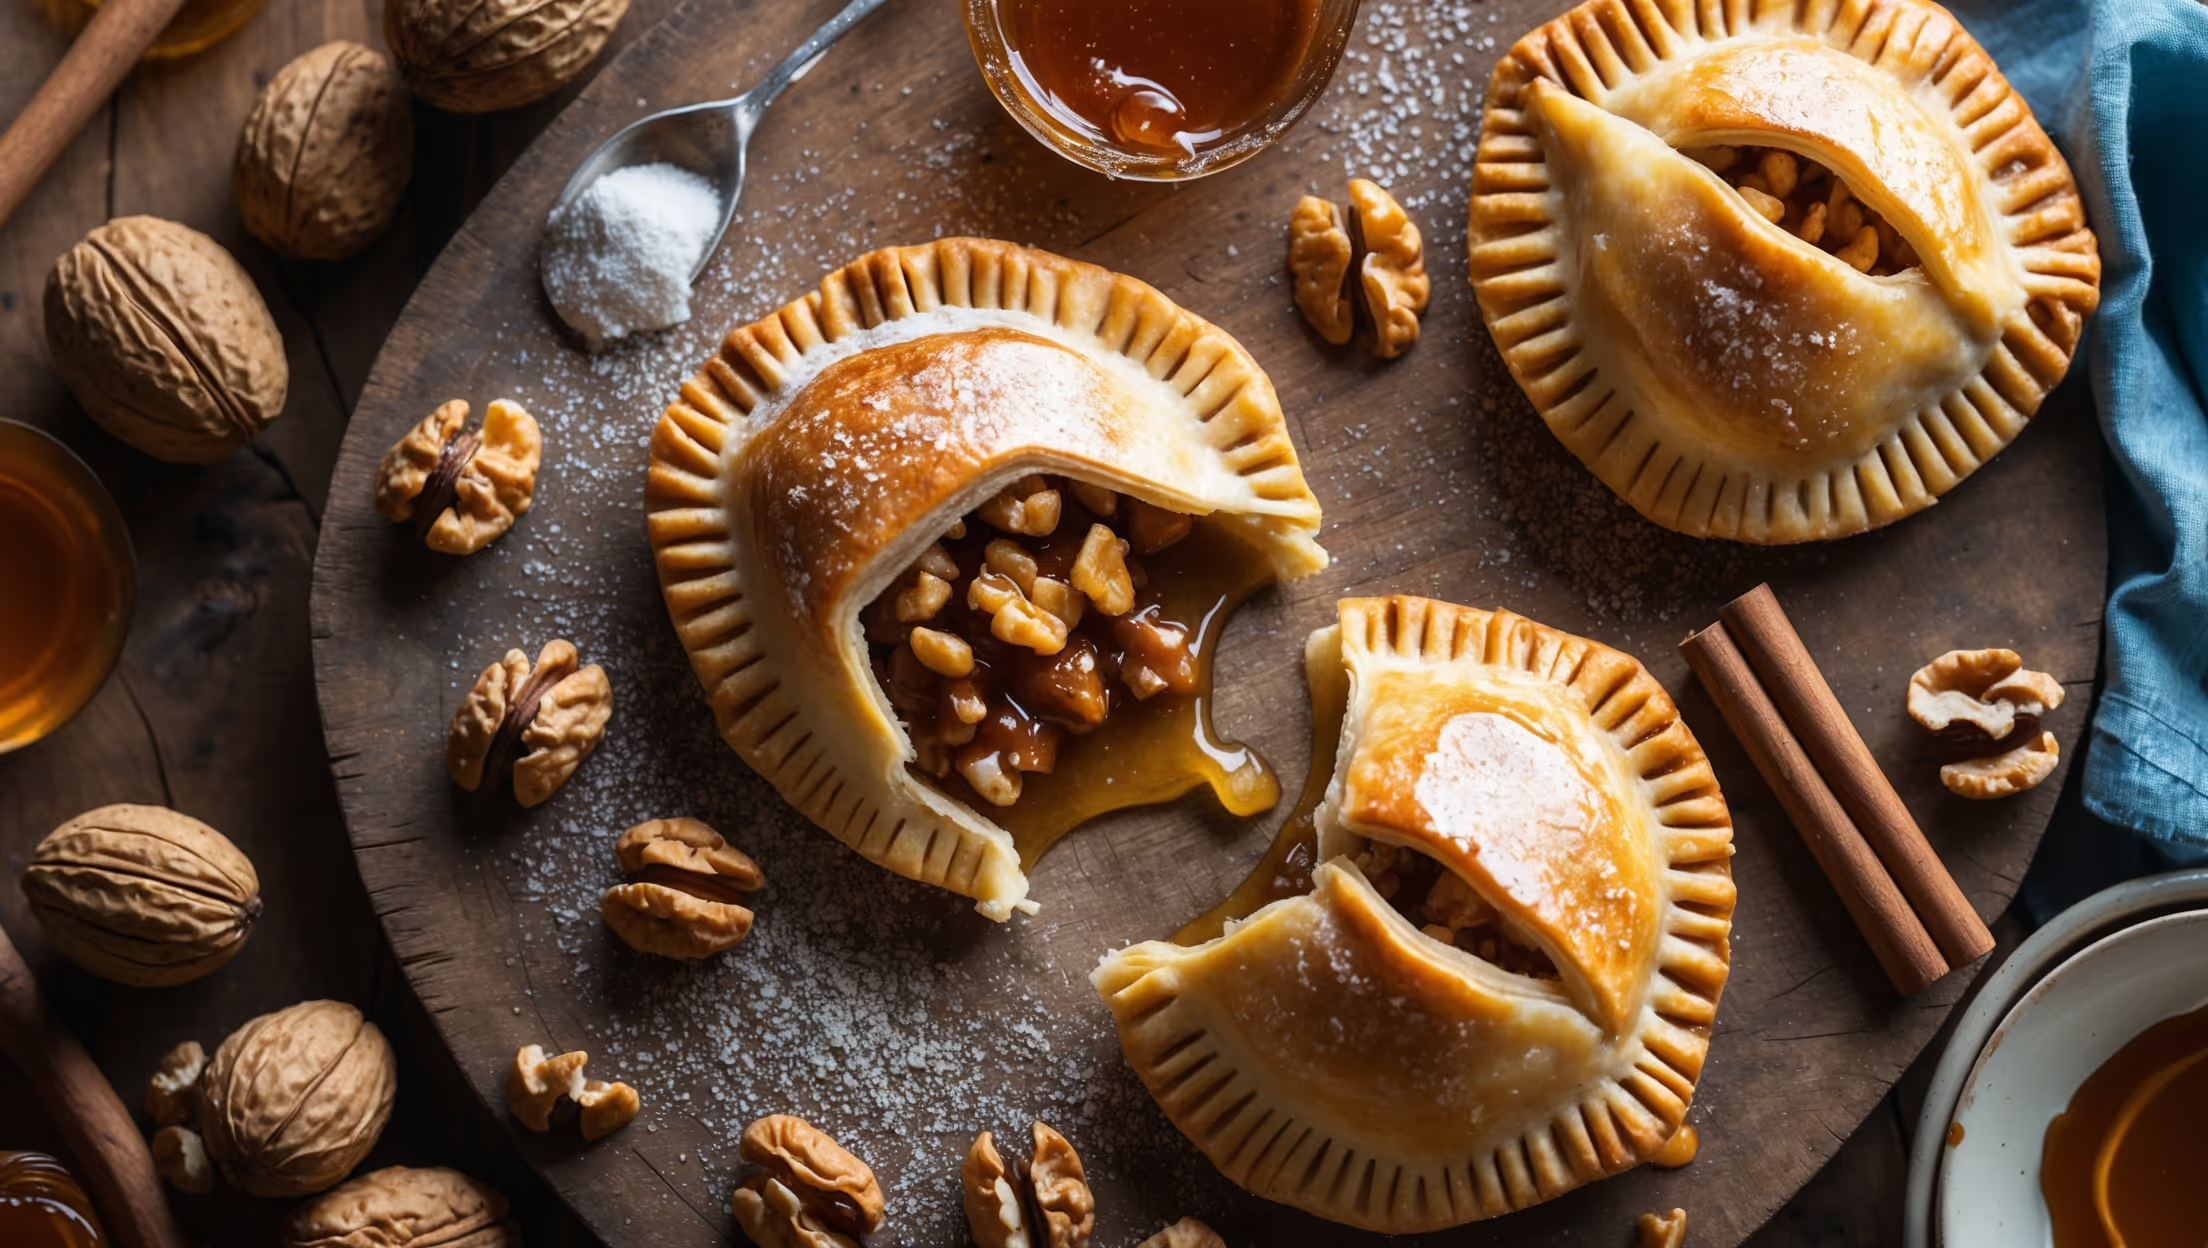
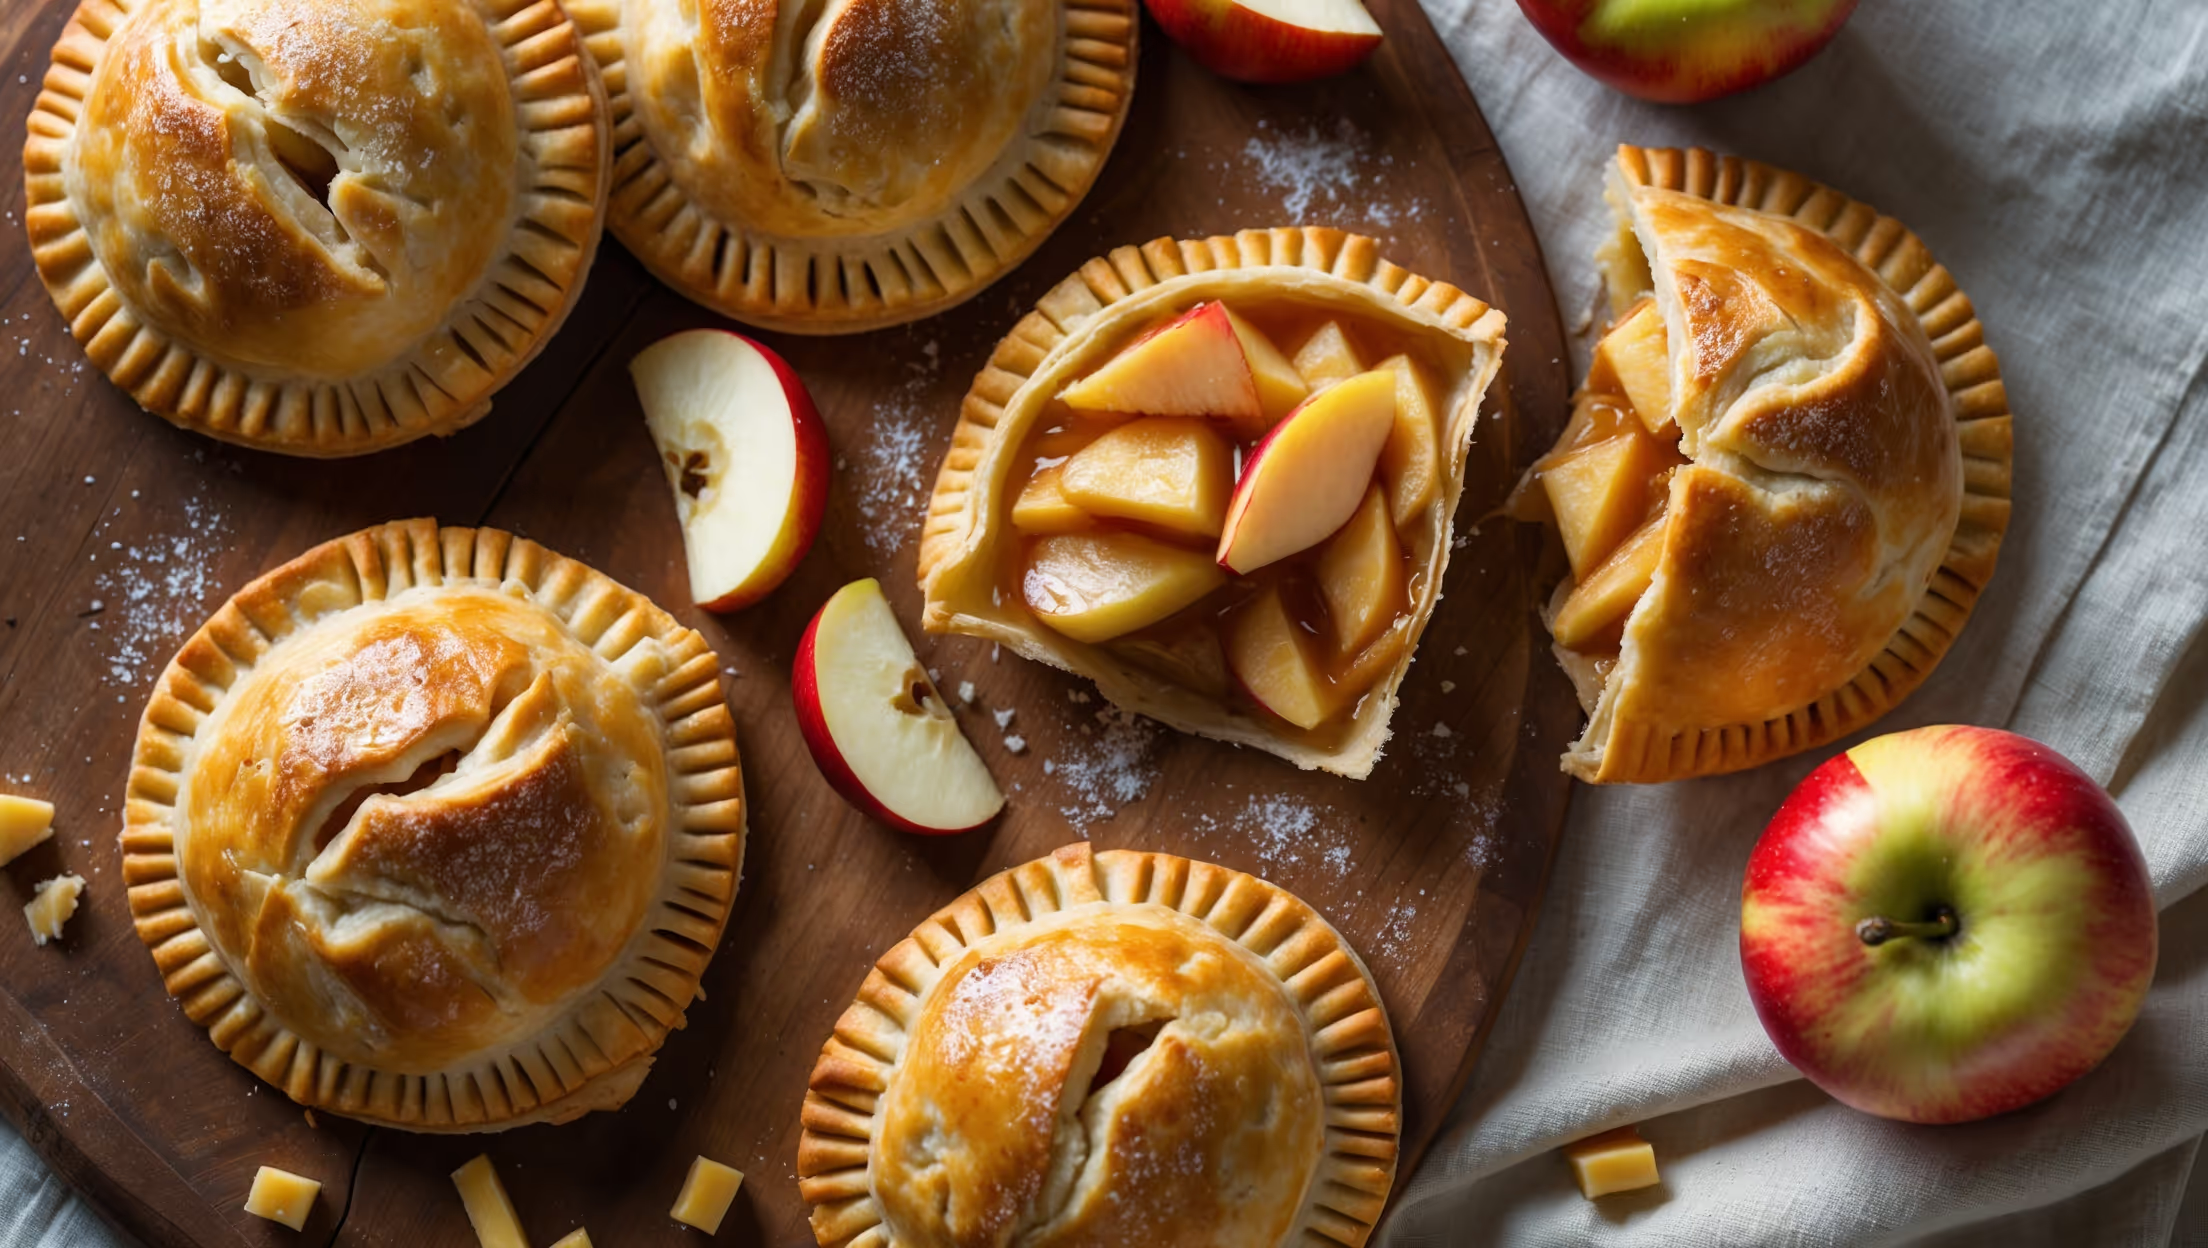
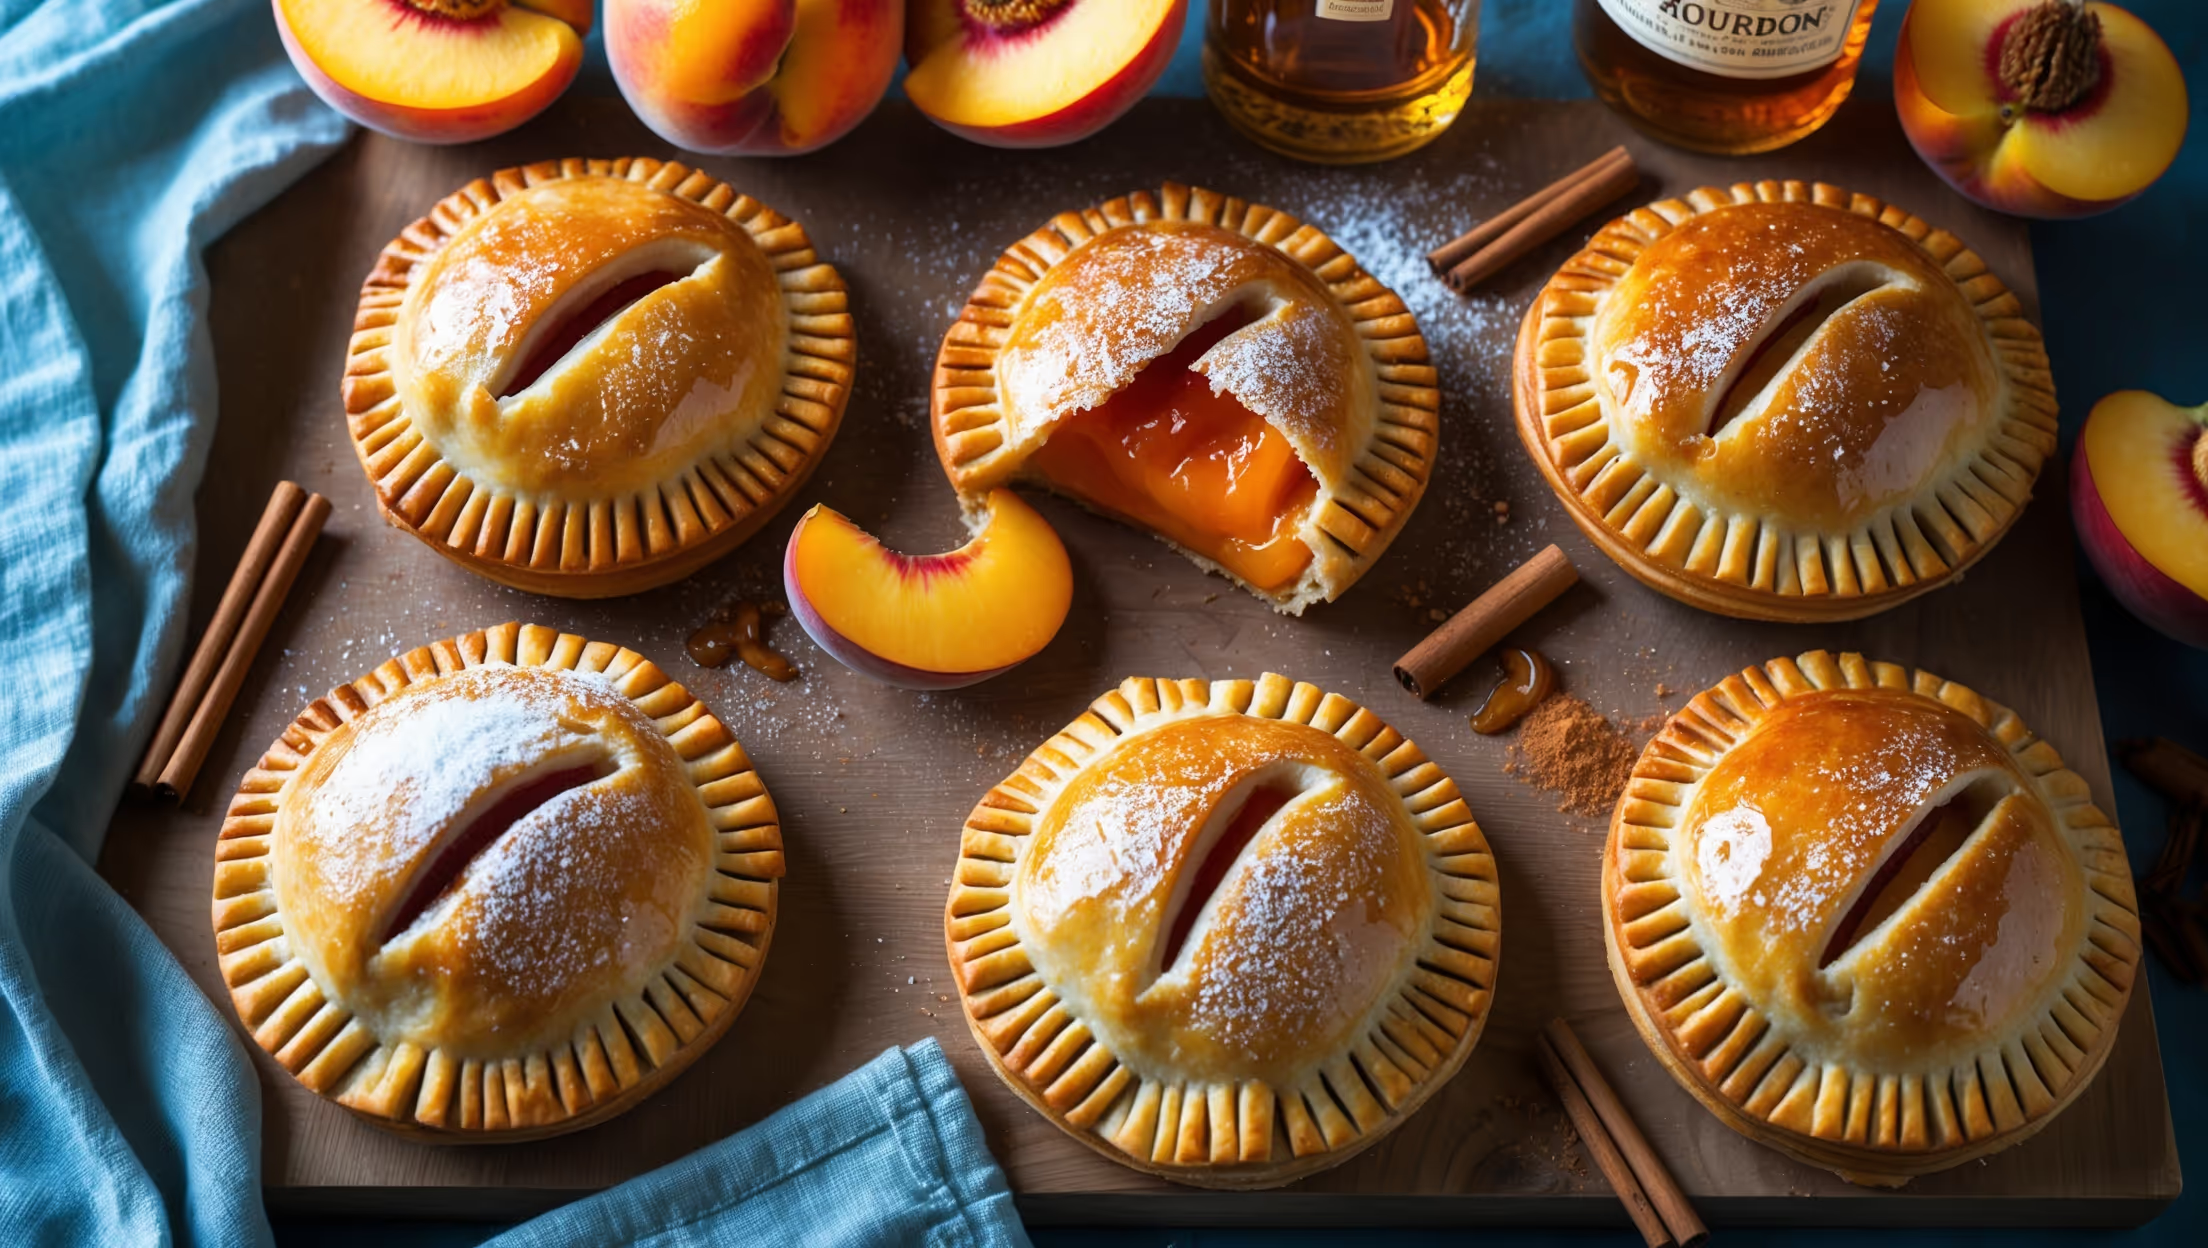
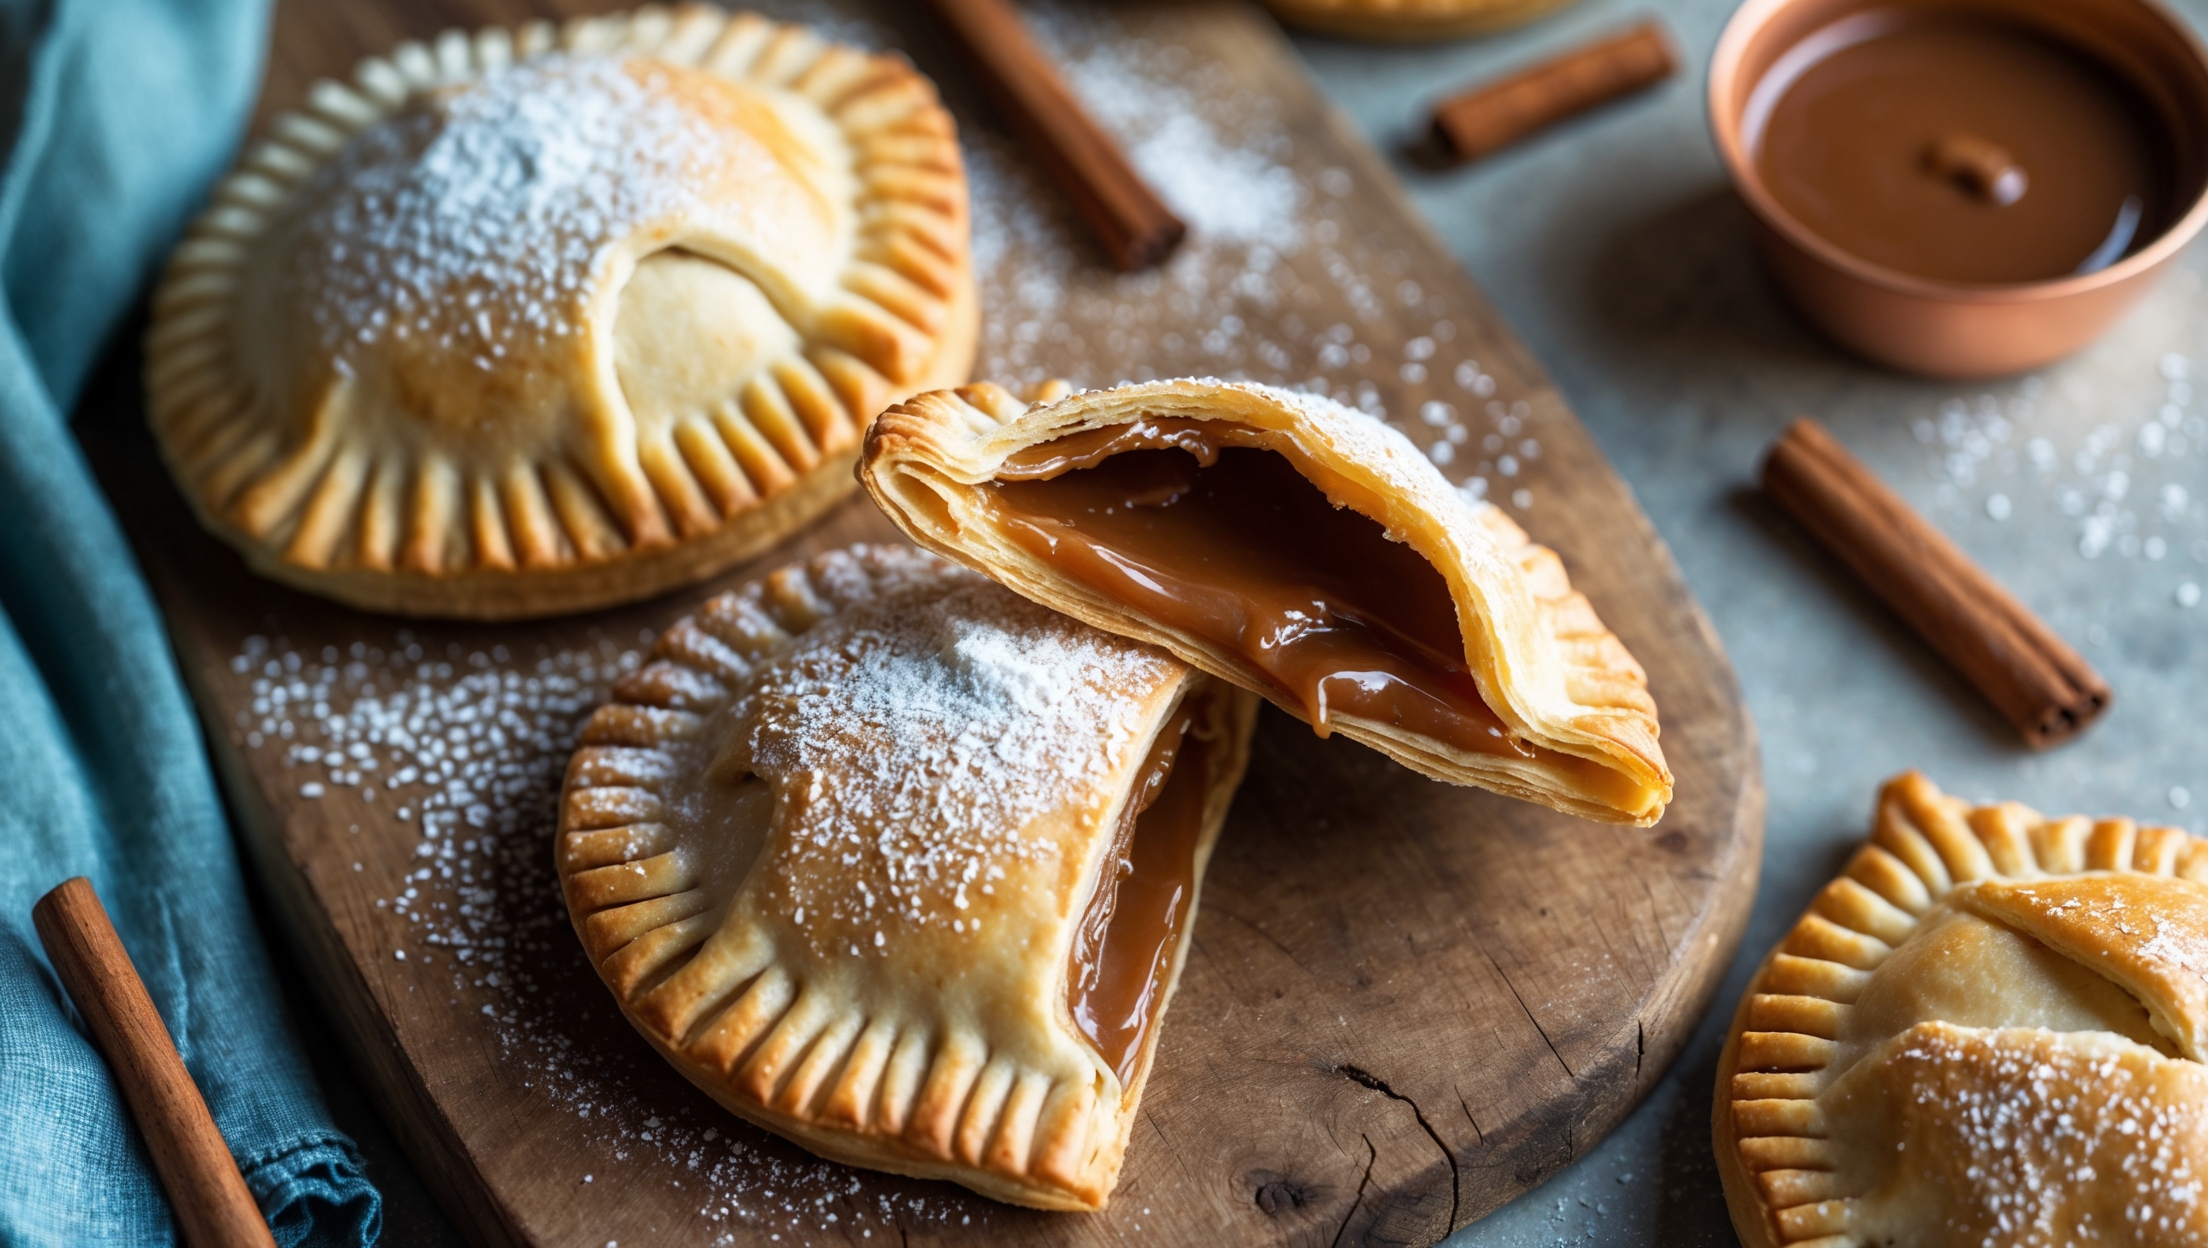
Overhead shot of golden-brown chocolate hand pies arranged on a rustic wooden serving board, with one broken open to reveal the luscious dark chocolate filling oozing slightly. Soft natural light highlights the flaky pastry layers and crimped edges dusted with sparkling sugar crystals. In the background, a scattering of cocoa powder and chocolate chunks adds context, while a vintage blue linen napkin provides color contrast. Steam rises gently from the freshly baked pies, suggesting warmth and emphasizing the homemade quality of these portable chocolate treats.

Ingredients

<ul class="ingredients-main-list"> <li class="ingredients-single-item"><strong>For the pastry:</strong></li> <li class="ingredients-single-item">250g all-purpose flour</li> <li class="ingredients-single-item">1 tbsp granulated sugar</li> <li class="ingredients-single-item">1/4 tsp salt</li> <li class="ingredients-single-item">170g cold unsalted butter, cubed</li> <li class="ingredients-single-item">60-75ml ice-cold water</li> <li class="ingredients-single-item"><strong>For the filling:</strong></li> <li class="ingredients-single-item">200g dark chocolate (70% cocoa), chopped</li> <li class="ingredients-single-item">60ml heavy cream</li> <li class="ingredients-single-item">30g unsalted butter</li> <li class="ingredients-single-item">40g granulated sugar</li> <li class="ingredients-single-item">1 tsp vanilla extract</li> <li class="ingredients-single-item">Pinch of salt</li> <li class="ingredients-single-item"><strong>For assembly:</strong></li> <li class="ingredients-single-item">1 large egg, beaten (for egg wash)</li> <li class="ingredients-single-item">2 tbsp demerara sugar (or granulated sugar)</li> </ul>

Equipment

<ul class="equipment-main-list"> <li class="equipment-single-item">Food processor (optional for pastry)</li> <li class="equipment-single-item">10cm (4-inch) round cookie cutter or template</li> <li class="equipment-single-item">Pastry brush</li> <li class="equipment-single-item">Fork or pie crimper</li> <li class="equipment-single-item">Baking sheets</li> </ul>

Directions

<ol class="no-list-style"> <li class="MethodStepper"> <h4 class="step-title">Step 1</h4> Begin by making the pastry. In a large bowl or food processor, combine the flour, sugar, and salt. Add the cold cubed butter and pulse or use your fingertips to work it in until the mixture resembles coarse breadcrumbs with some pea-sized butter pieces remaining. These butter pieces are crucial as they create steam pockets during baking, resulting in flaky layers. </li> <li class="MethodStepper"> <h4 class="step-title">Step 2</h4> Gradually add the ice-cold water, 1 tablespoon at a time, mixing gently until the dough just comes together. You may not need all the water – stop when the dough holds together when pinched. Shape the dough into a flat disc, wrap in plastic wrap, and refrigerate for at least 1 hour. Chilling relaxes the gluten and firms up the butter, ensuring a tender, flaky crust. </li> <li class="MethodStepper"> <h4 class="step-title">Step 3</h4> While the dough chills, prepare the chocolate filling. Place the chopped chocolate in a heat-proof bowl. In a small saucepan, heat the cream, butter, and sugar until it just begins to simmer. Pour this hot mixture over the chocolate and let it sit for 2 minutes. Add the vanilla and salt, then whisk until smooth and glossy. This ganache-like filling will be runny at first but will thicken as it cools. Refrigerate for about 30 minutes until spreadable but not solid. </li> <li class="MethodStepper"> <h4 class="step-title">Step 4</h4> Preheat your oven to 190°C (375°F) and line two baking sheets with parchment paper. On a lightly floured surface, roll out the chilled dough to approximately 3mm (1/8 inch) thickness. Using a 10cm (4-inch) round cutter, cut out as many circles as possible. Re-roll scraps once to cut additional circles – you should aim for 16 circles total. </li> <li class="MethodStepper"> <h4 class="step-title">Step 5</h4> Place 8 dough circles on your prepared baking sheets. Spoon about 1 tablespoon of the chocolate filling onto each circle, keeping it centered and leaving a 1cm border around the edges. Be careful not to overfill, as this can cause leakage during baking. Brush the borders lightly with beaten egg to help seal the pies. </li> <li class="MethodStepper"> <h4 class="step-title">Step 6</h4> Top each filled circle with another dough circle. Press the edges firmly with your fingers to seal, then crimp with a fork or pie crimper to create a decorative edge that also ensures the filling stays contained. Cut a small vent in the top of each pie to allow steam to escape during baking. </li> <li class="MethodStepper"> <h4 class="step-title">Step 7</h4> Brush the tops of the hand pies with the remaining egg wash for a golden finish. Sprinkle with demerara sugar for a delightful crunch and sparkle. Return the assembled pies to the refrigerator for 15 minutes – this final chill helps the pastry maintain its shape during baking. </li> <li class="MethodStepper"> <h4 class="step-title">Step 8</h4> Bake in the preheated oven for 22-25 minutes, rotating the pans halfway through, until the pies are deeply golden brown. The extended baking time ensures the bottom crust is fully cooked and not soggy. Some chocolate may bubble through the vents – this is normal and adds to their rustic charm. </li> <li class="MethodStepper"> <h4 class="step-title">Step 9</h4> Allow the hand pies to cool on the baking sheets for 10 minutes before transferring to a wire rack. The filling will be extremely hot straight from the oven! Let them cool for at least another 20 minutes before enjoying – though they're delicious warm, the filling needs time to set slightly. Store any leftovers in an airtight container for up to 3 days, reheating briefly in a 160°C (325°F) oven to restore crispness. </li> </ol>

FAQs

Find answers to your most pressing questions about this delicious recipe right here.

What ingredients are used in Chocolate Hand Pies Recipe?

The recipe requires all-purpose flour, sugar, salt, butter, water, dark chocolate, heavy cream, vanilla extract, eggs, and demerara sugar. Specifically, the pastry needs cold butter and ice water, while the filling uses 70% cocoa chocolate for rich flavour.

How to cook Chocolate Hand Pies Recipe at home?

Learn how to cook Chocolate Hand Pies by making a flaky pastry, preparing a rich chocolate ganache filling, and assembling small rounds of dough with filling. Seal edges with egg wash, crimp with a fork, and bake at 190°C for 22-25 minutes until golden brown. The key is chilling the dough thoroughly and not overfilling the pies.

How do I prevent my hand pies from leaking during baking?

To prevent leaking, don't overfill (use only 1 tablespoon of filling per pie), leave a 1cm border around edges, firmly seal with egg wash, thoroughly crimp edges with a fork, cut a small vent in the top, and chill assembled pies for 15 minutes before baking to set the structure.

Can I make these chocolate pastries in advance and freeze them?

Yes! You can freeze these hand pies either before or after baking. For unbaked pies, freeze solid on a baking sheet, then wrap individually and store for up to 3 months. Bake straight from frozen, adding 5-7 minutes to the baking time. Baked pies freeze well for up to 2 months.

What's the secret to achieving a perfectly flaky pastry crust?

The secrets to flaky pastry are: keep everything cold (especially butter), don't overwork the dough, maintain visible butter pieces (pea-sized) when mixing, use ice-cold water, rest the dough in the refrigerator, and give a final chill after assembly before baking.

Want to try something else in ...

Hand Pies

Try following recommended recipes
{ "@context": "http://schema.org/", "@type": "Recipe", "name": "Chocolate Hand Pies Recipe", "author": { "@type": "Person", "name": "Gurbir Aujla", "brand": "What's Baking?", "jobTitle": "Baker" }, "datePublished": "2024-06-10", "description": "Learn how to make the best homemade chocolate hand pies with this easy baking recipe. Featuring a buttery, flaky pastry encasing rich chocolate filling, these portable treats are perfect for dessert on-the-go. Master the technique for beautifully crimped edges and achieve that perfect balance of crisp exterior and gooey center.", "prepTime": "PT45M", "cookTime": "PT25M", "totalTime": "PT1H10M", "keywords": "chocolate hand pies, flaky pastry, homemade dessert, portable treats, chocolate filling", "recipeYield": "8", "recipeCategory": "Dessert", "recipeCuisine": "American", "nutrition": { "@type": "NutritionInformation", "calories": "375 calories", "carbohydrateContent": "38 g", "proteinContent": "5 g", "fatContent": "22 g", "saturatedFatContent": "14 g", "cholesterolContent": "75 mg", "sodiumContent": "220 mg", "sugarContent": "15 g", "servingSize": "1 hand pie" }, "recipeIngredient": [ "250g all-purpose flour", "1 tbsp granulated sugar", "1/4 tsp salt", "170g cold unsalted butter, cubed", "60-75ml ice-cold water", "200g dark chocolate (70% cocoa), chopped", "60ml heavy cream", "30g unsalted butter", "40g granulated sugar", "1 tsp vanilla extract", "Pinch of salt", "1 large egg, beaten (for egg wash)", "2 tbsp demerara sugar (or granulated sugar)" ], "recipeInstructions": [ { "@type": "HowToStep", "name": "Make the pastry", "text": "In a large bowl or food processor, combine the flour, sugar, and salt. Add the cold cubed butter and pulse or use your fingertips to work it in until the mixture resembles coarse breadcrumbs with some pea-sized butter pieces remaining. These butter pieces are crucial as they create steam pockets during baking, resulting in flaky layers." }, { "@type": "HowToStep", "name": "Form and chill the dough", "text": "Gradually add the ice-cold water, 1 tablespoon at a time, mixing gently until the dough just comes together. You may not need all the water – stop when the dough holds together when pinched. Shape the dough into a flat disc, wrap in plastic wrap, and refrigerate for at least 1 hour. Chilling relaxes the gluten and firms up the butter, ensuring a tender, flaky crust." }, { "@type": "HowToStep", "name": "Prepare the filling", "text": "Place the chopped chocolate in a heat-proof bowl. In a small saucepan, heat the cream, butter, and sugar until it just begins to simmer. Pour this hot mixture over the chocolate and let it sit for 2 minutes. Add the vanilla and salt, then whisk until smooth and glossy. This ganache-like filling will be runny at first but will thicken as it cools. Refrigerate for about 30 minutes until spreadable but not solid." }, { "@type": "HowToStep", "name": "Roll and cut the dough", "text": "Preheat your oven to 190°C (375°F) and line two baking sheets with parchment paper. On a lightly floured surface, roll out the chilled dough to approximately 3mm (1/8 inch) thickness. Using a 10cm (4-inch) round cutter, cut out as many circles as possible. Re-roll scraps once to cut additional circles – you should aim for 16 circles total." }, { "@type": "HowToStep", "name": "Fill the pies", "text": "Place 8 dough circles on your prepared baking sheets. Spoon about 1 tablespoon of the chocolate filling onto each circle, keeping it centered and leaving a 1cm border around the edges. Be careful not to overfill, as this can cause leakage during baking. Brush the borders lightly with beaten egg to help seal the pies." }, { "@type": "HowToStep", "name": "Seal the pies", "text": "Top each filled circle with another dough circle. Press the edges firmly with your fingers to seal, then crimp with a fork or pie crimper to create a decorative edge that also ensures the filling stays contained. Cut a small vent in the top of each pie to allow steam to escape during baking." }, { "@type": "HowToStep", "name": "Finish and chill", "text": "Brush the tops of the hand pies with the remaining egg wash for a golden finish. Sprinkle with demerara sugar for a delightful crunch and sparkle. Return the assembled pies to the refrigerator for 15 minutes – this final chill helps the pastry maintain its shape during baking." }, { "@type": "HowToStep", "name": "Bake", "text": "Bake in the preheated oven for 22-25 minutes, rotating the pans halfway through, until the pies are deeply golden brown. The extended baking time ensures the bottom crust is fully cooked and not soggy. Some chocolate may bubble through the vents – this is normal and adds to their rustic charm." }, { "@type": "HowToStep", "name": "Cool and serve", "text": "Allow the hand pies to cool on the baking sheets for 10 minutes before transferring to a wire rack. The filling will be extremely hot straight from the oven! Let them cool for at least another 20 minutes before enjoying – though they're delicious warm, the filling needs time to set slightly. Store any leftovers in an airtight container for up to 3 days, reheating briefly in a 160°C (325°F) oven to restore crispness." } ], "aggregateRating": { "@type": "AggregateRating", "ratingValue": "5", "ratingCount": "178" }, "review": [ { "@type": "Review", "author": "Isabelle Laurent", "datePublished": "2024-06-01", "reviewBody": "Perfect portable chocolate fix! I made these for a picnic and they were the highlight of our meal. The pastry stayed crisp for hours and the chocolate filling was divine - not too sweet and perfectly rich.", "name": "Picnic Perfect", "reviewRating": { "@type": "Rating", "ratingValue": "5" } }, { "@type": "Review", "author": "Raj Patel", "datePublished": "2024-05-28", "reviewBody": "My kids demolished these in minutes! I was worried the recipe might be too complicated, but the instructions were crystal clear. The flaky layers were incredible - better than any store-bought pastry I've tried.", "name": "Kid-Approved Treat", "reviewRating": { "@type": "Rating", "ratingValue": "5" } }, { "@type": "Review", "author": "Maria Gonzalez", "datePublished": "2024-05-30", "reviewBody": "These hand pies are better than any bakery version I've tried! The tip about keeping butter chunks visible in the dough made all the difference for achieving those flaky layers. I added a pinch of cinnamon to the filling and it was heavenly.", "name": "Bakery-Quality at Home", "reviewRating": { "@type": "Rating", "ratingValue": "5" } }, { "@type": "Review", "author": "Anders Johansson", "datePublished": "2024-06-05", "reviewBody": "Worth every minute of preparation! I was intimidated by making pastry from scratch but the detailed instructions gave me confidence. These freeze beautifully too - I've made a double batch and now have chocolate treats on demand!", "name": "Freezer-Friendly Winner", "reviewRating": { "@type": "Rating", "ratingValue": "5" } }, { "@type": "Review", "author": "Naomi Chen", "datePublished": "2024-06-03", "reviewBody": "My go-to chocolate craving solution! The contrast between the crisp pastry and the gooey filling is absolute perfection. I've tried adding a tablespoon of peanut butter to the chocolate filling and it works brilliantly for a twist on the original.", "name": "Craving Satisfied", "reviewRating": { "@type": "Rating", "ratingValue": "5" } } ] }
{ "@context": "https://schema.org", "@type": "FAQPage", "mainEntity": [ { "@type": "Question", "name": "What ingredients are used in Chocolate Hand Pies Recipe?", "acceptedAnswer": { "@type": "Answer", "text": "The recipe requires all-purpose flour, sugar, salt, butter, water, dark chocolate, heavy cream, vanilla extract, eggs, and demerara sugar. Specifically, the pastry needs cold butter and ice water, while the filling uses 70% cocoa chocolate for rich flavour." } }, { "@type": "Question", "name": "How to cook Chocolate Hand Pies Recipe at home?", "acceptedAnswer": { "@type": "Answer", "text": "Learn how to cook Chocolate Hand Pies by making a flaky pastry, preparing a rich chocolate ganache filling, and assembling small rounds of dough with filling. Seal edges with egg wash, crimp with a fork, and bake at 190°C for 22-25 minutes until golden brown. The key is chilling the dough thoroughly and not overfilling the pies." } }, { "@type": "Question", "name": "How do I prevent my hand pies from leaking during baking?", "acceptedAnswer": { "@type": "Answer", "text": "To prevent leaking, don't overfill (use only 1 tablespoon of filling per pie), leave a 1cm border around edges, firmly seal with egg wash, thoroughly crimp edges with a fork, cut a small vent in the top, and chill assembled pies for 15 minutes before baking to set the structure." } }, { "@type": "Question", "name": "Can I make these chocolate pastries in advance and freeze them?", "acceptedAnswer": { "@type": "Answer", "text": "Yes! You can freeze these hand pies either before or after baking. For unbaked pies, freeze solid on a baking sheet, then wrap individually and store for up to 3 months. Bake straight from frozen, adding 5-7 minutes to the baking time. Baked pies freeze well for up to 2 months." } }, { "@type": "Question", "name": "What's the secret to achieving a perfectly flaky pastry crust?", "acceptedAnswer": { "@type": "Answer", "text": "The secrets to flaky pastry are: keep everything cold (especially butter), don't overwork the dough, maintain visible butter pieces (pea-sized) when mixing, use ice-cold water, rest the dough in the refrigerator, and give a final chill after assembly before baking." } } ] }