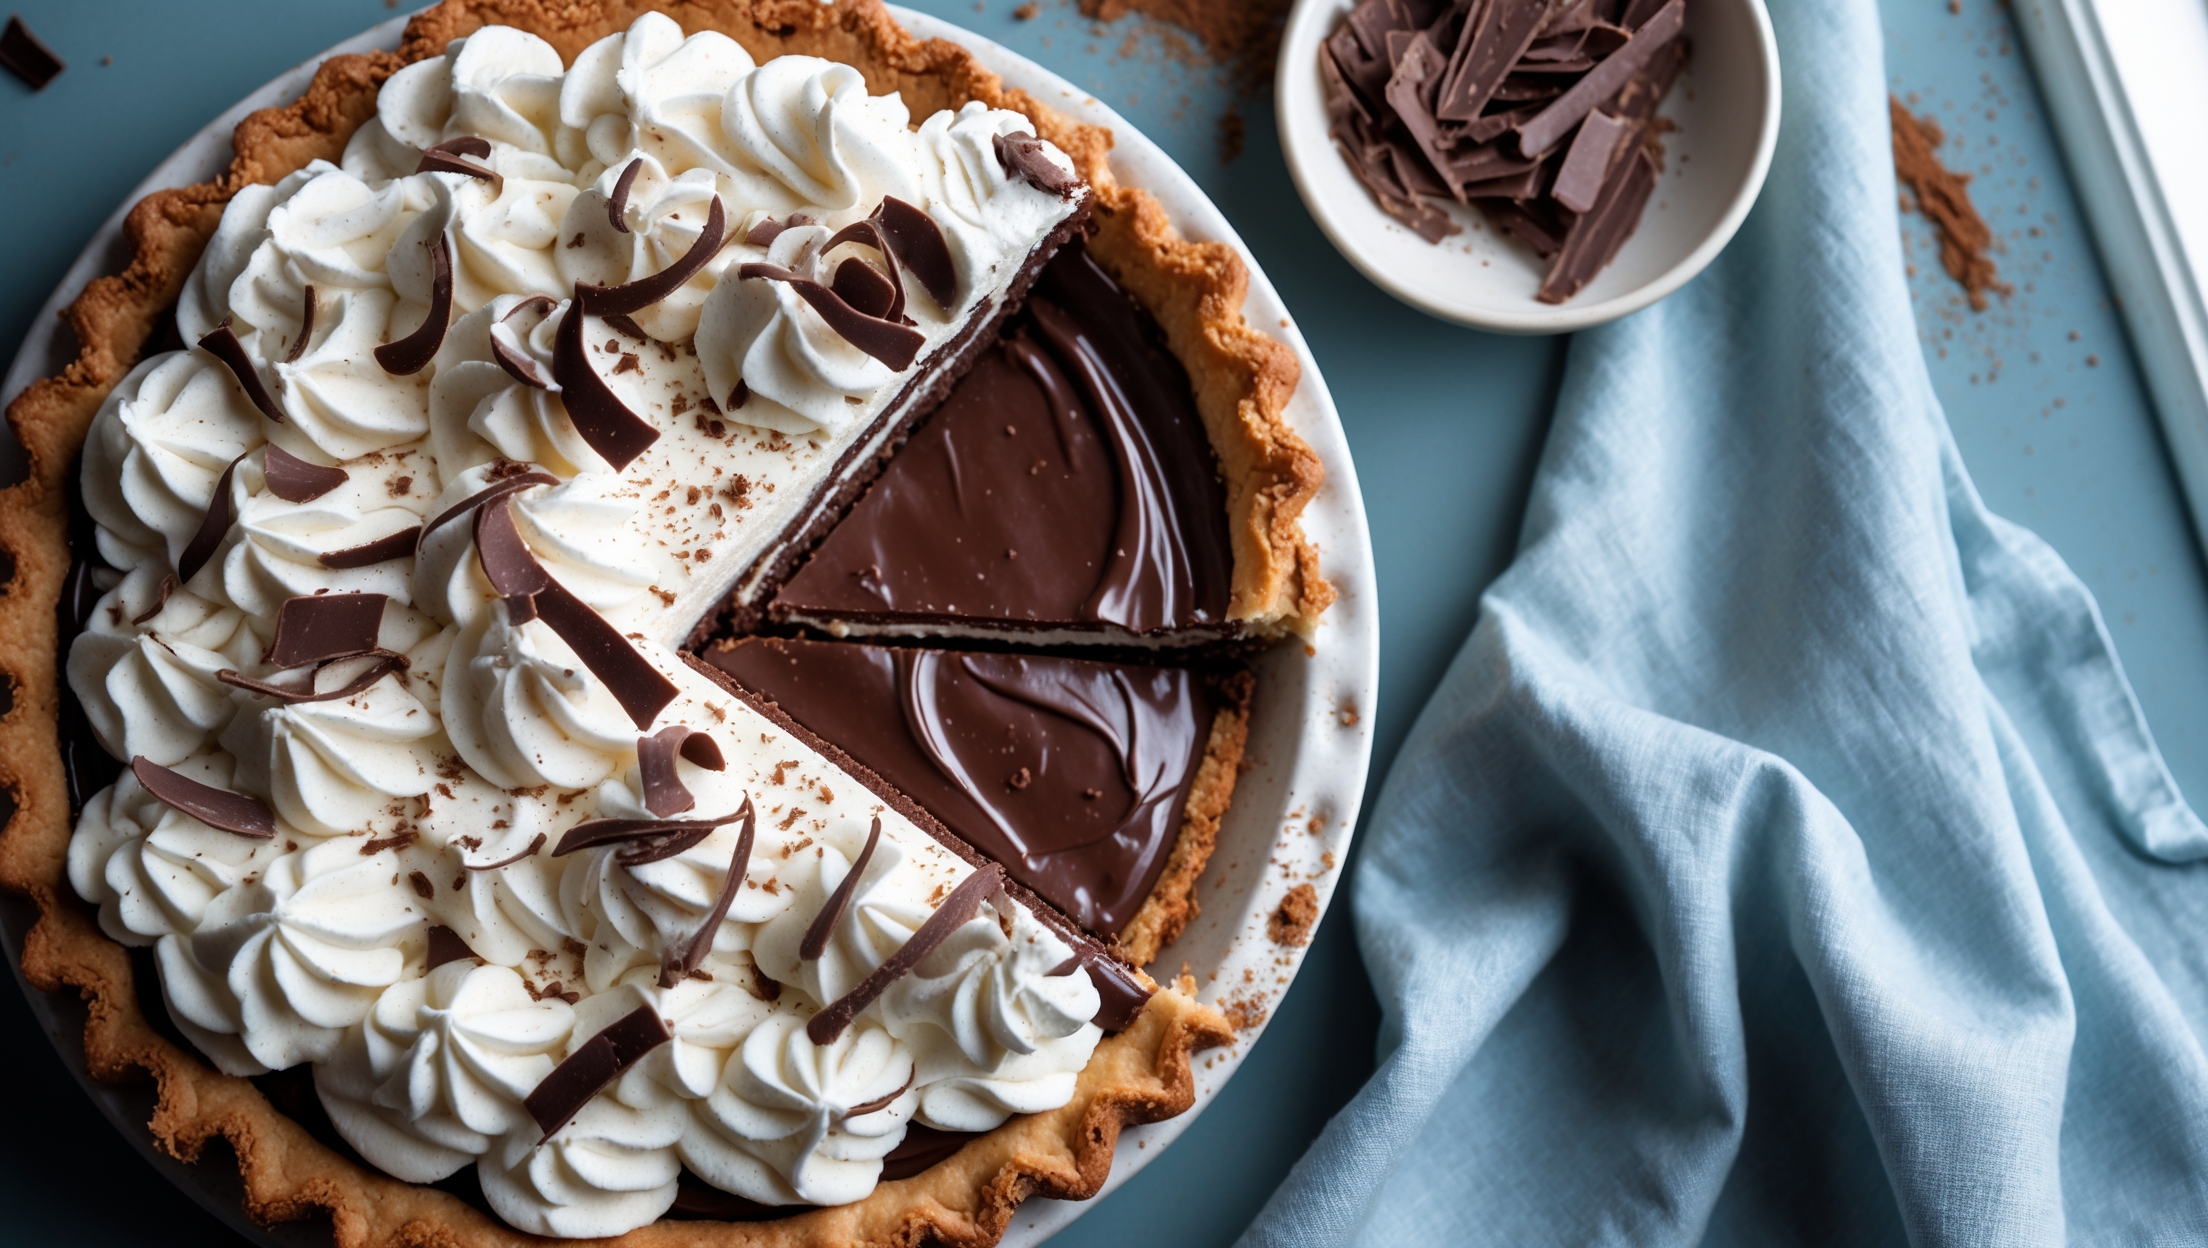
Chocolate Cream Pie Recipe
Ingredients
Equipment
Directions
FAQs
Find answers to your most pressing questions about this delicious recipe right here.
The key ingredients include digestive biscuits, butter, dark chocolate (70% cocoa), whole milk, sugar, cornstarch, egg yolks, vanilla extract, and heavy cream. These combine to create the buttery crust, rich chocolate custard filling, and fluffy whipped cream topping.
Learn how to cook Chocolate Cream Pie Recipe by first making a biscuit crust (baked for 10 minutes), then preparing a silky chocolate custard by tempering eggs with hot milk, adding chocolate, and refrigerating until set. Finally, top with freshly whipped cream and chocolate shavings. The entire process takes about 65 minutes plus chilling time.
Lumpy custard usually occurs from improper tempering or overheating. Always whisk constantly, temper eggs gradually with hot milk, and strain the final mixture through a fine-mesh sieve. Keep heat medium-low and remove from heat immediately once thickened to ensure silky-smooth results.
Yes, this dessert is perfect for making ahead! The pie needs at least 4 hours to set properly, but can be made up to 2 days in advance. Add the whipped cream topping within a few hours of serving for the freshest presentation and best texture.
The secrets to silky chocolate filling are: properly tempering the eggs, constant whisking while cooking the custard, straining through a fine-mesh sieve to remove lumps, using high-quality chocolate (70% cocoa), and adding room temperature butter at the end for glossy texture.
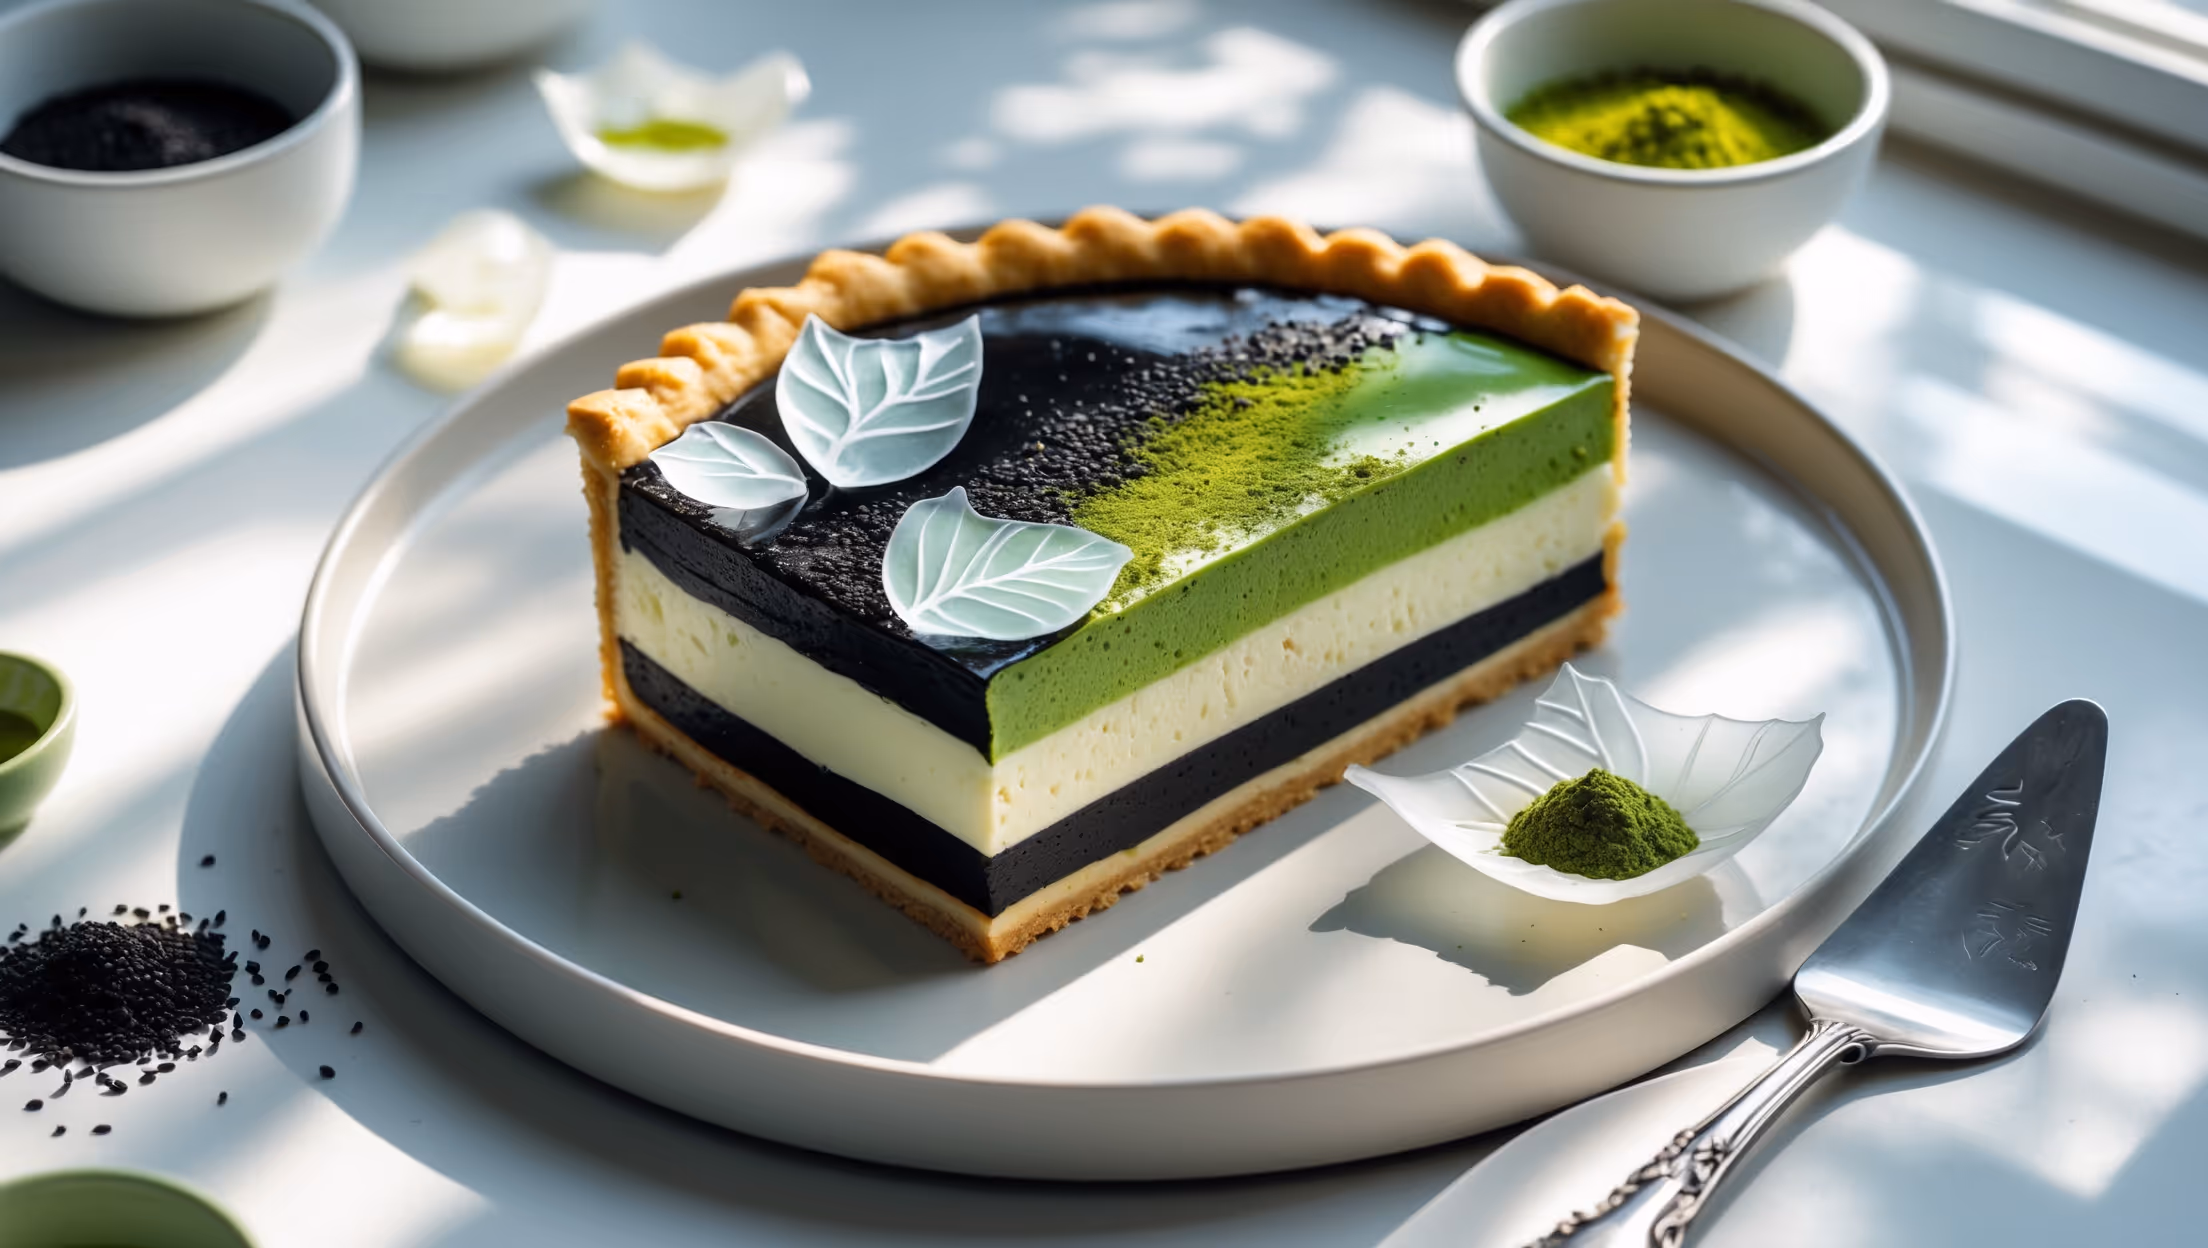
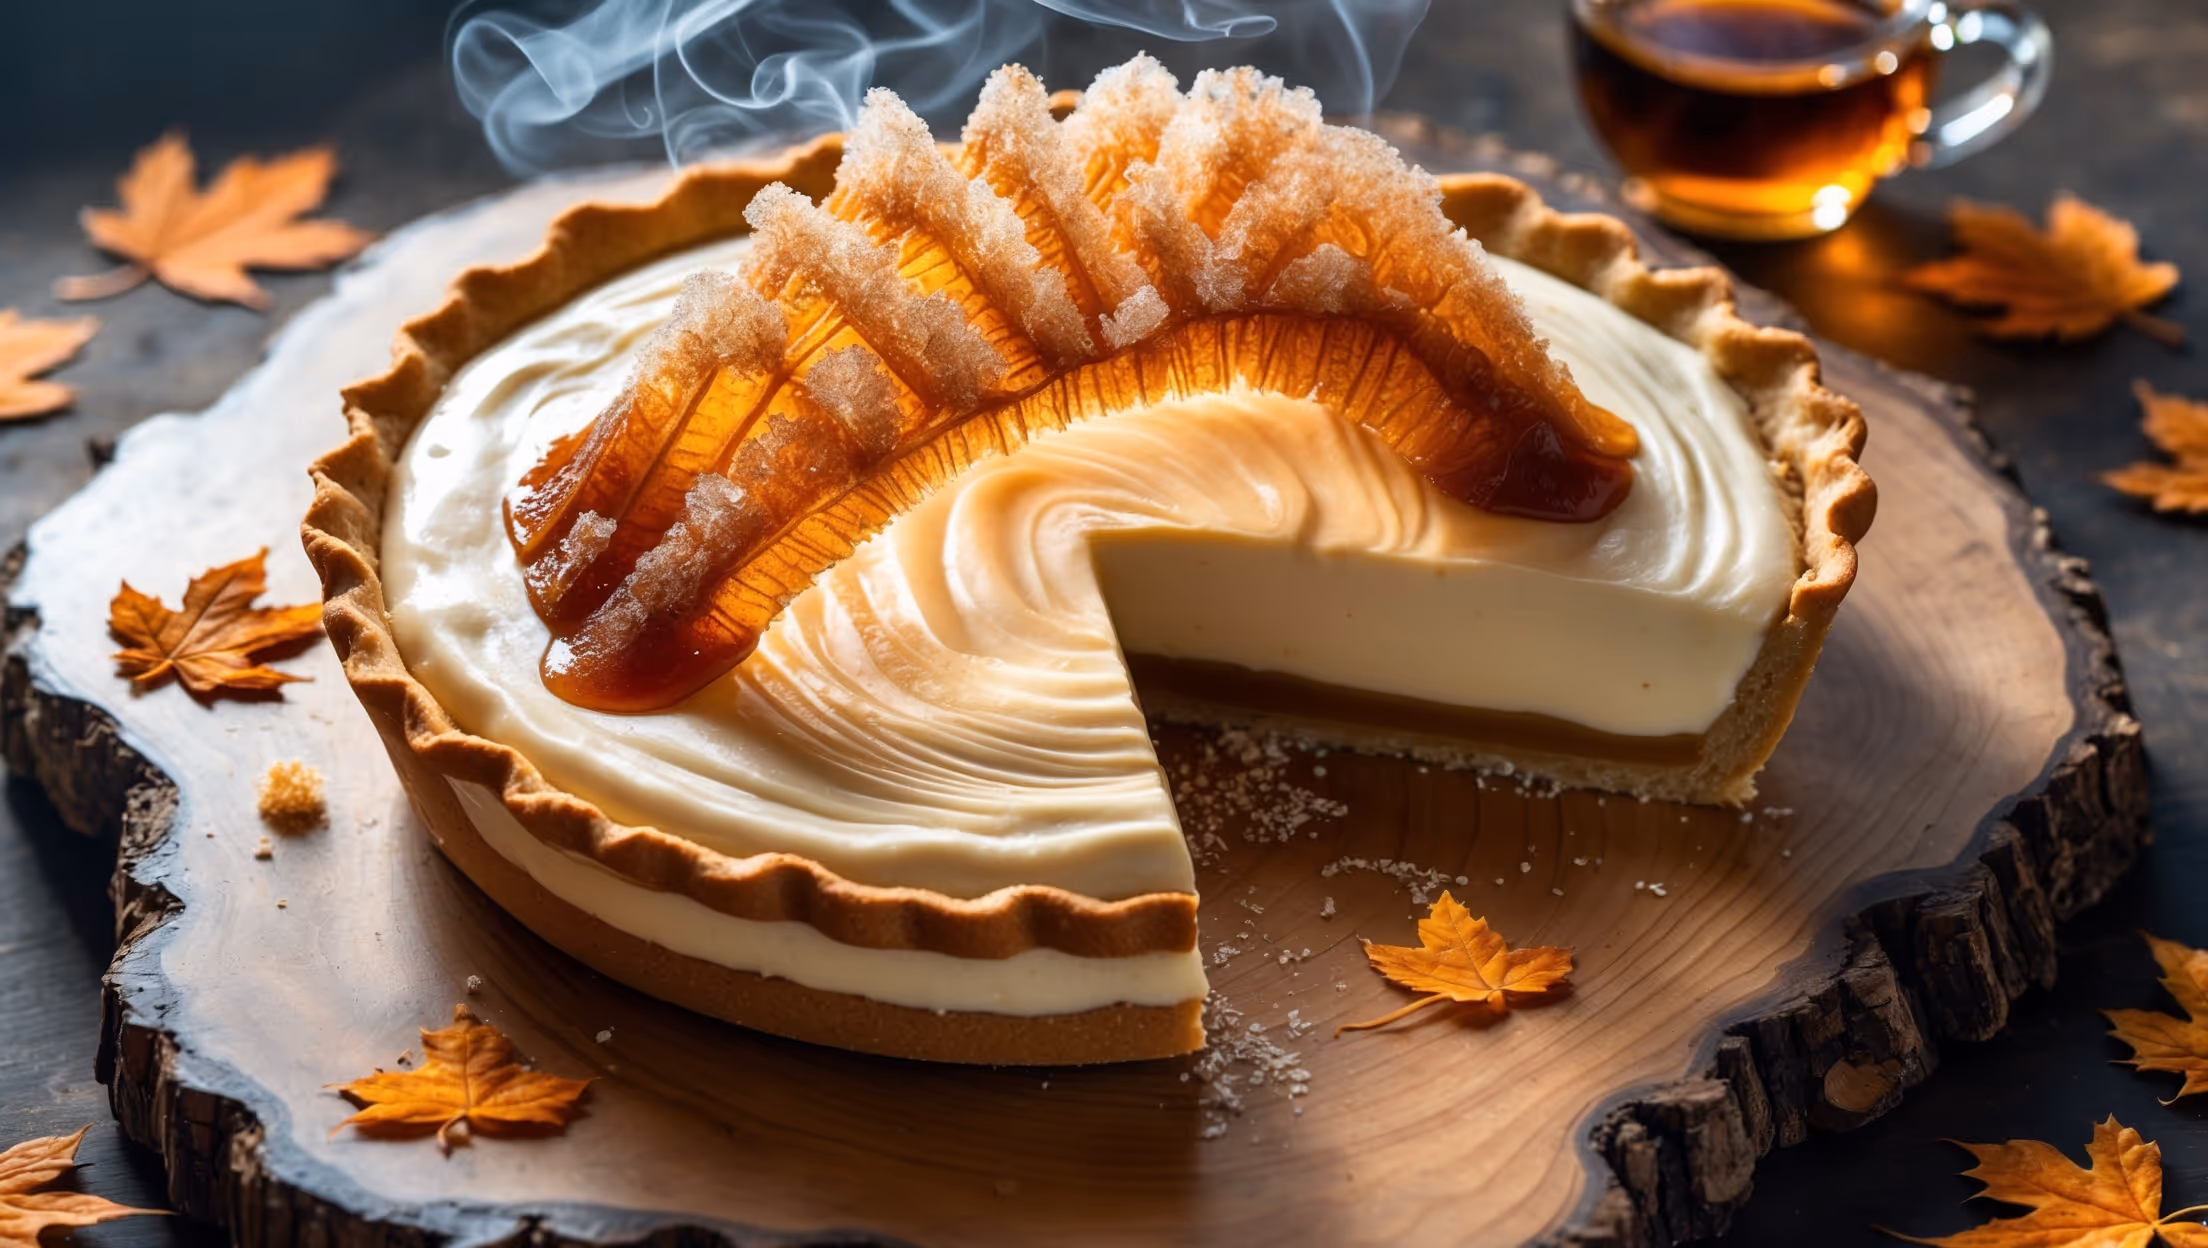
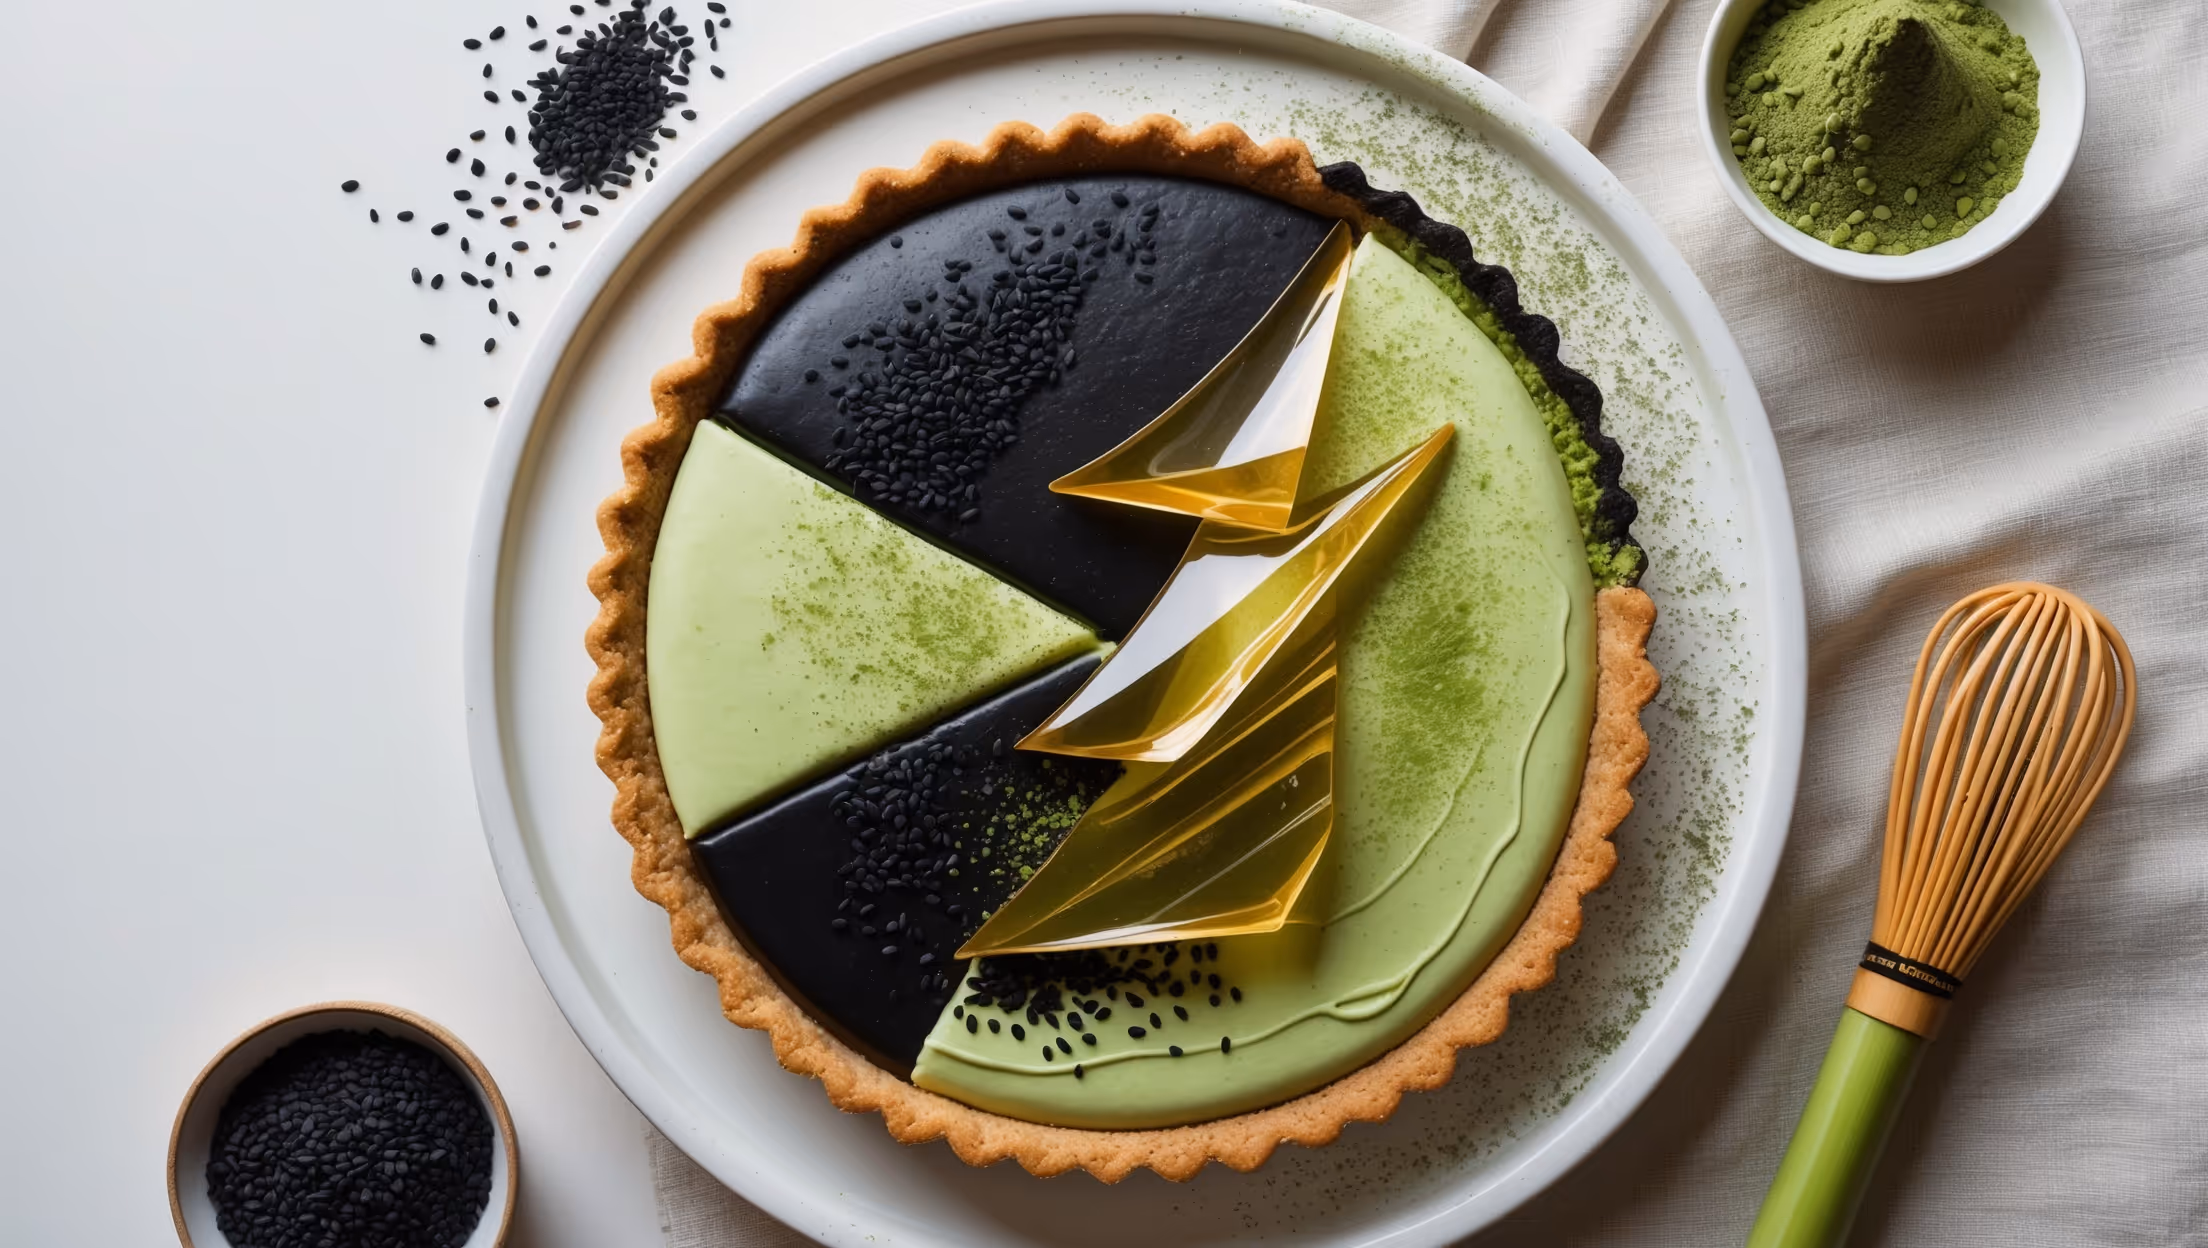
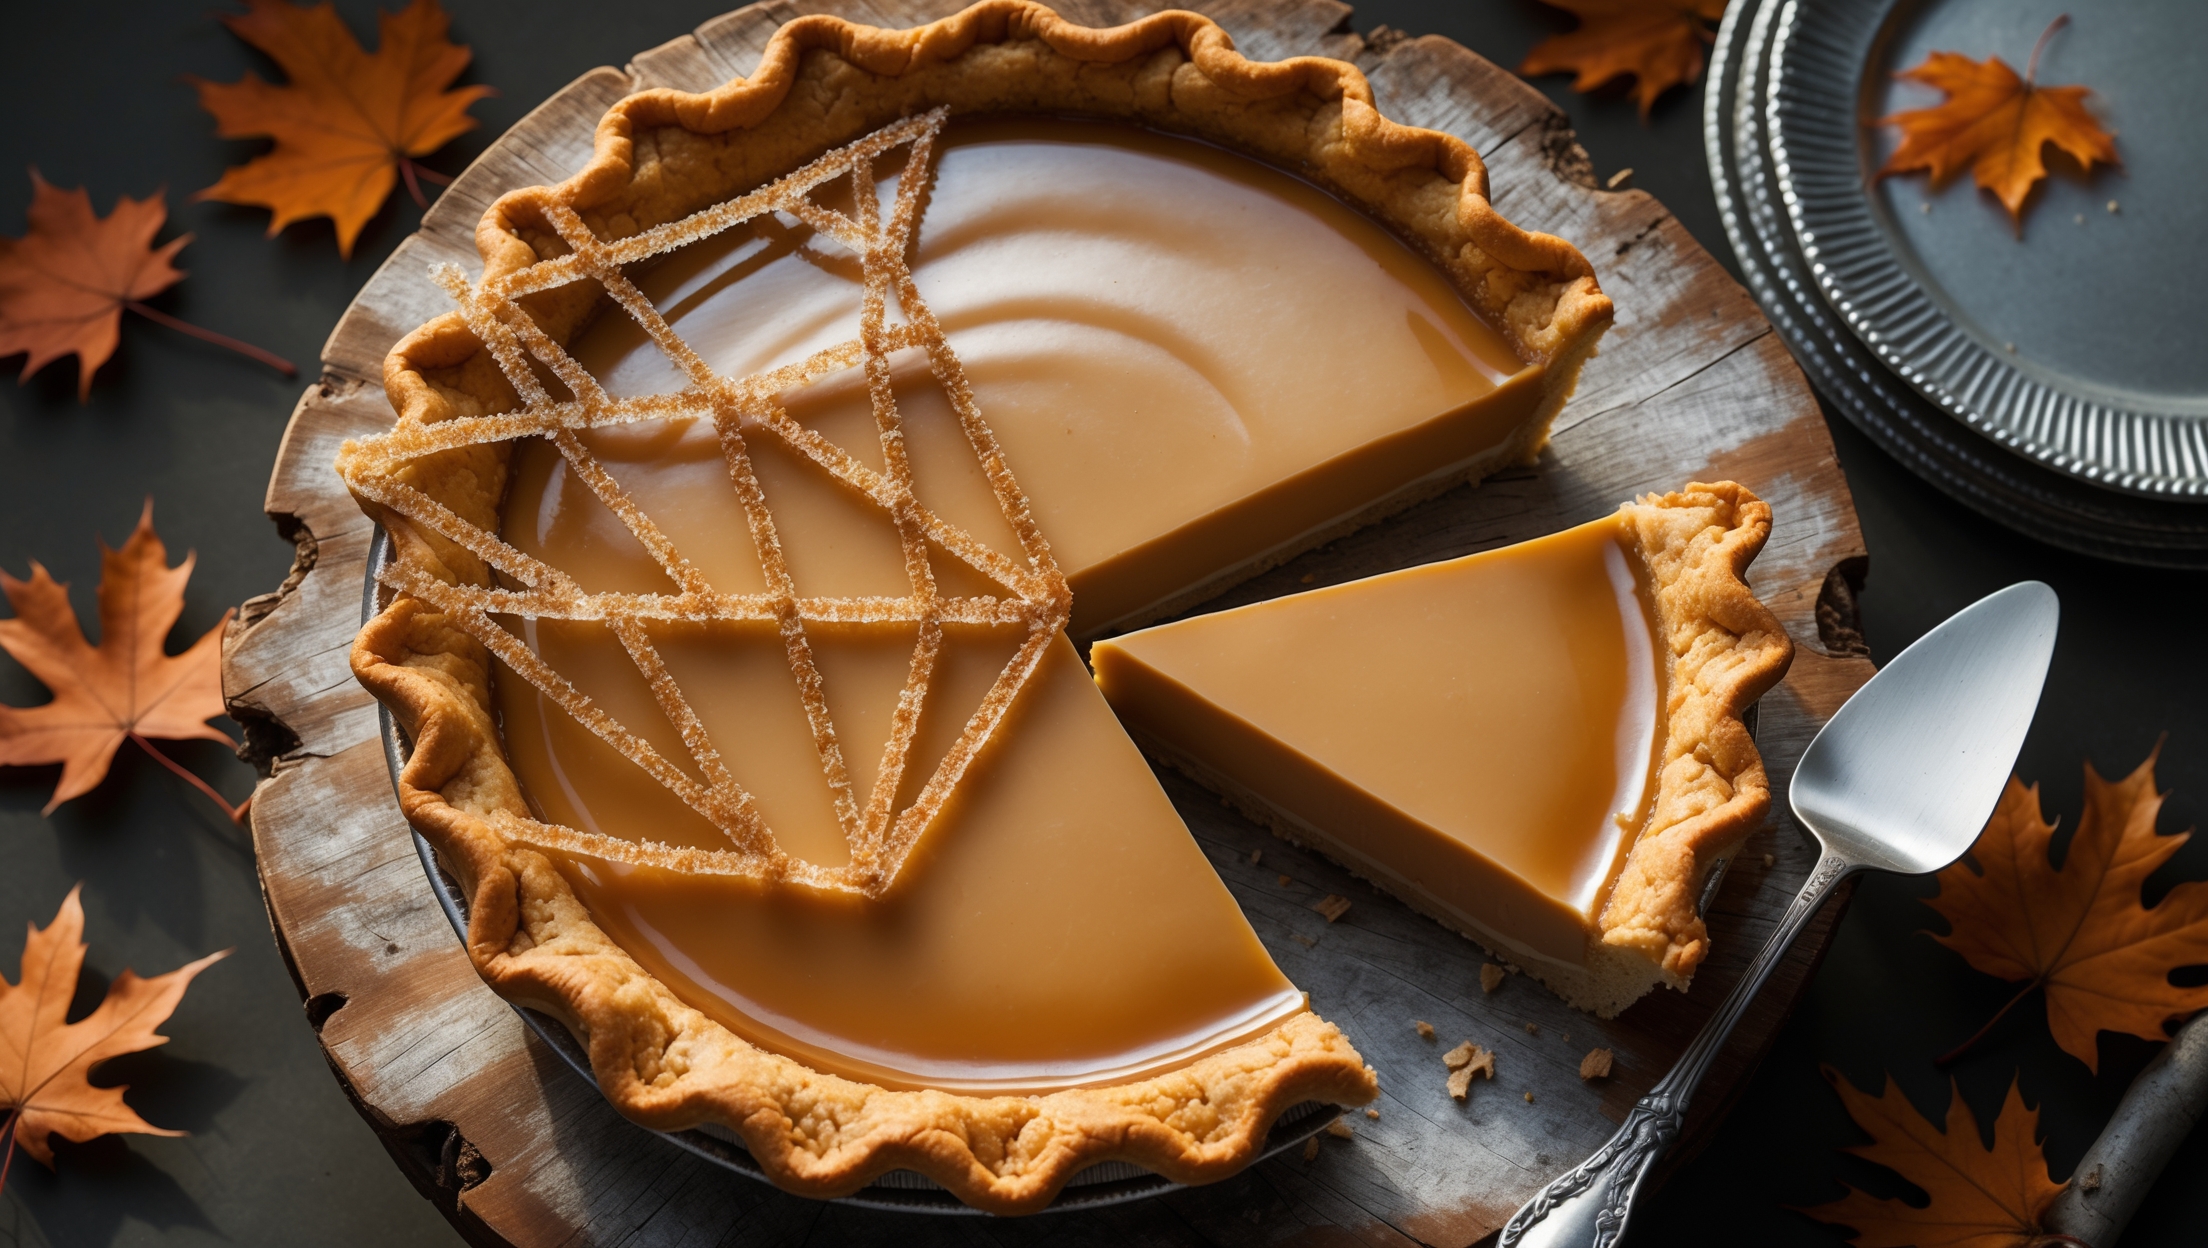
Cream Pies
Try following recommended recipes