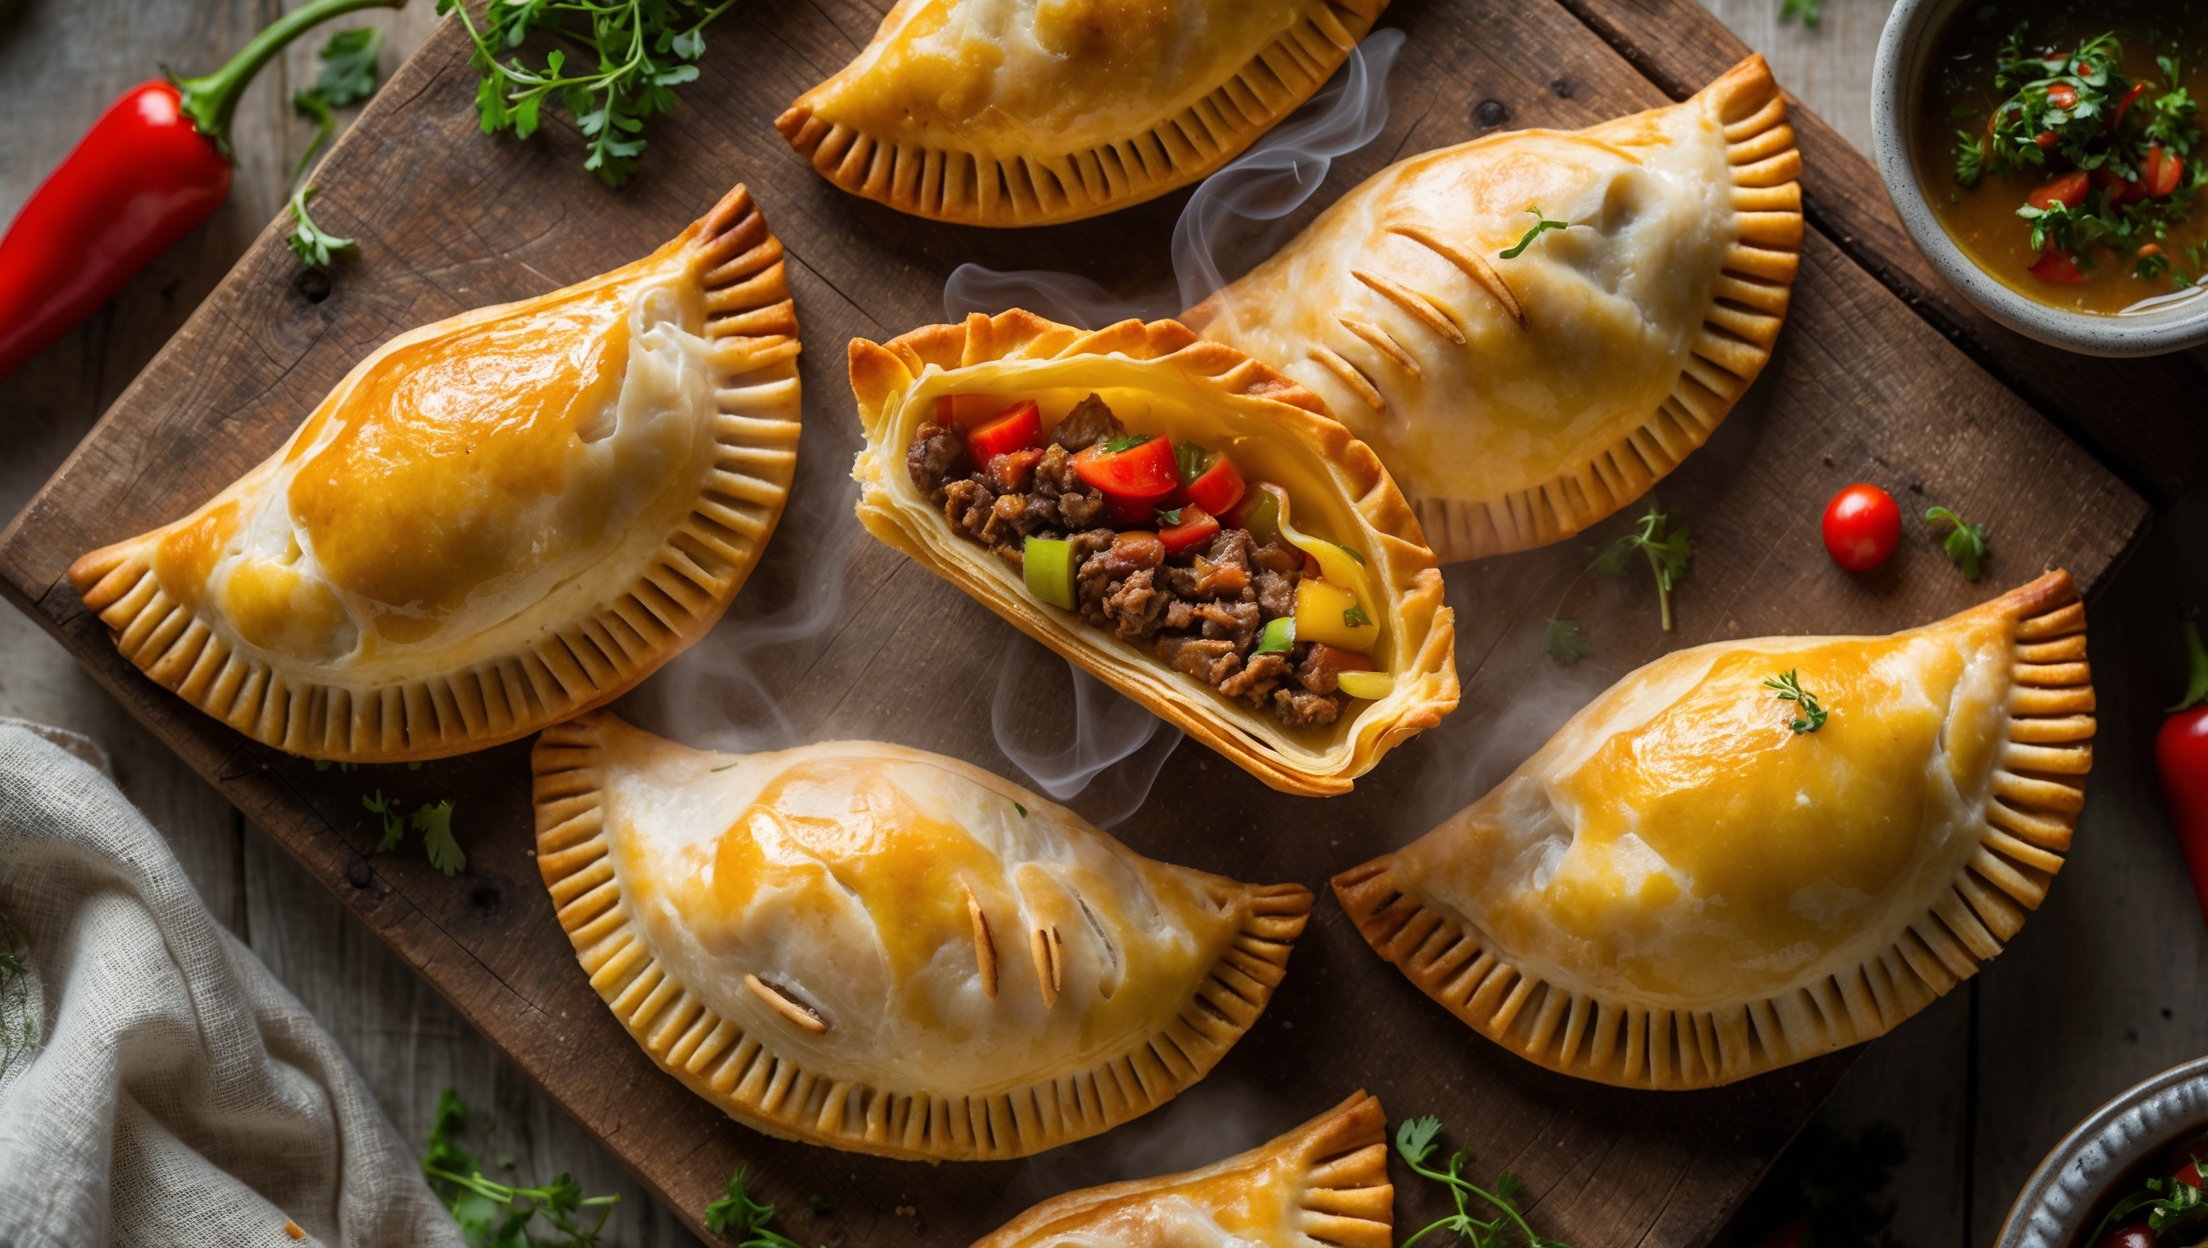
Chili Hand Pies Recipe

Ingredients
Equipment
Directions
FAQs
Find answers to your most pressing questions about this delicious recipe right here.
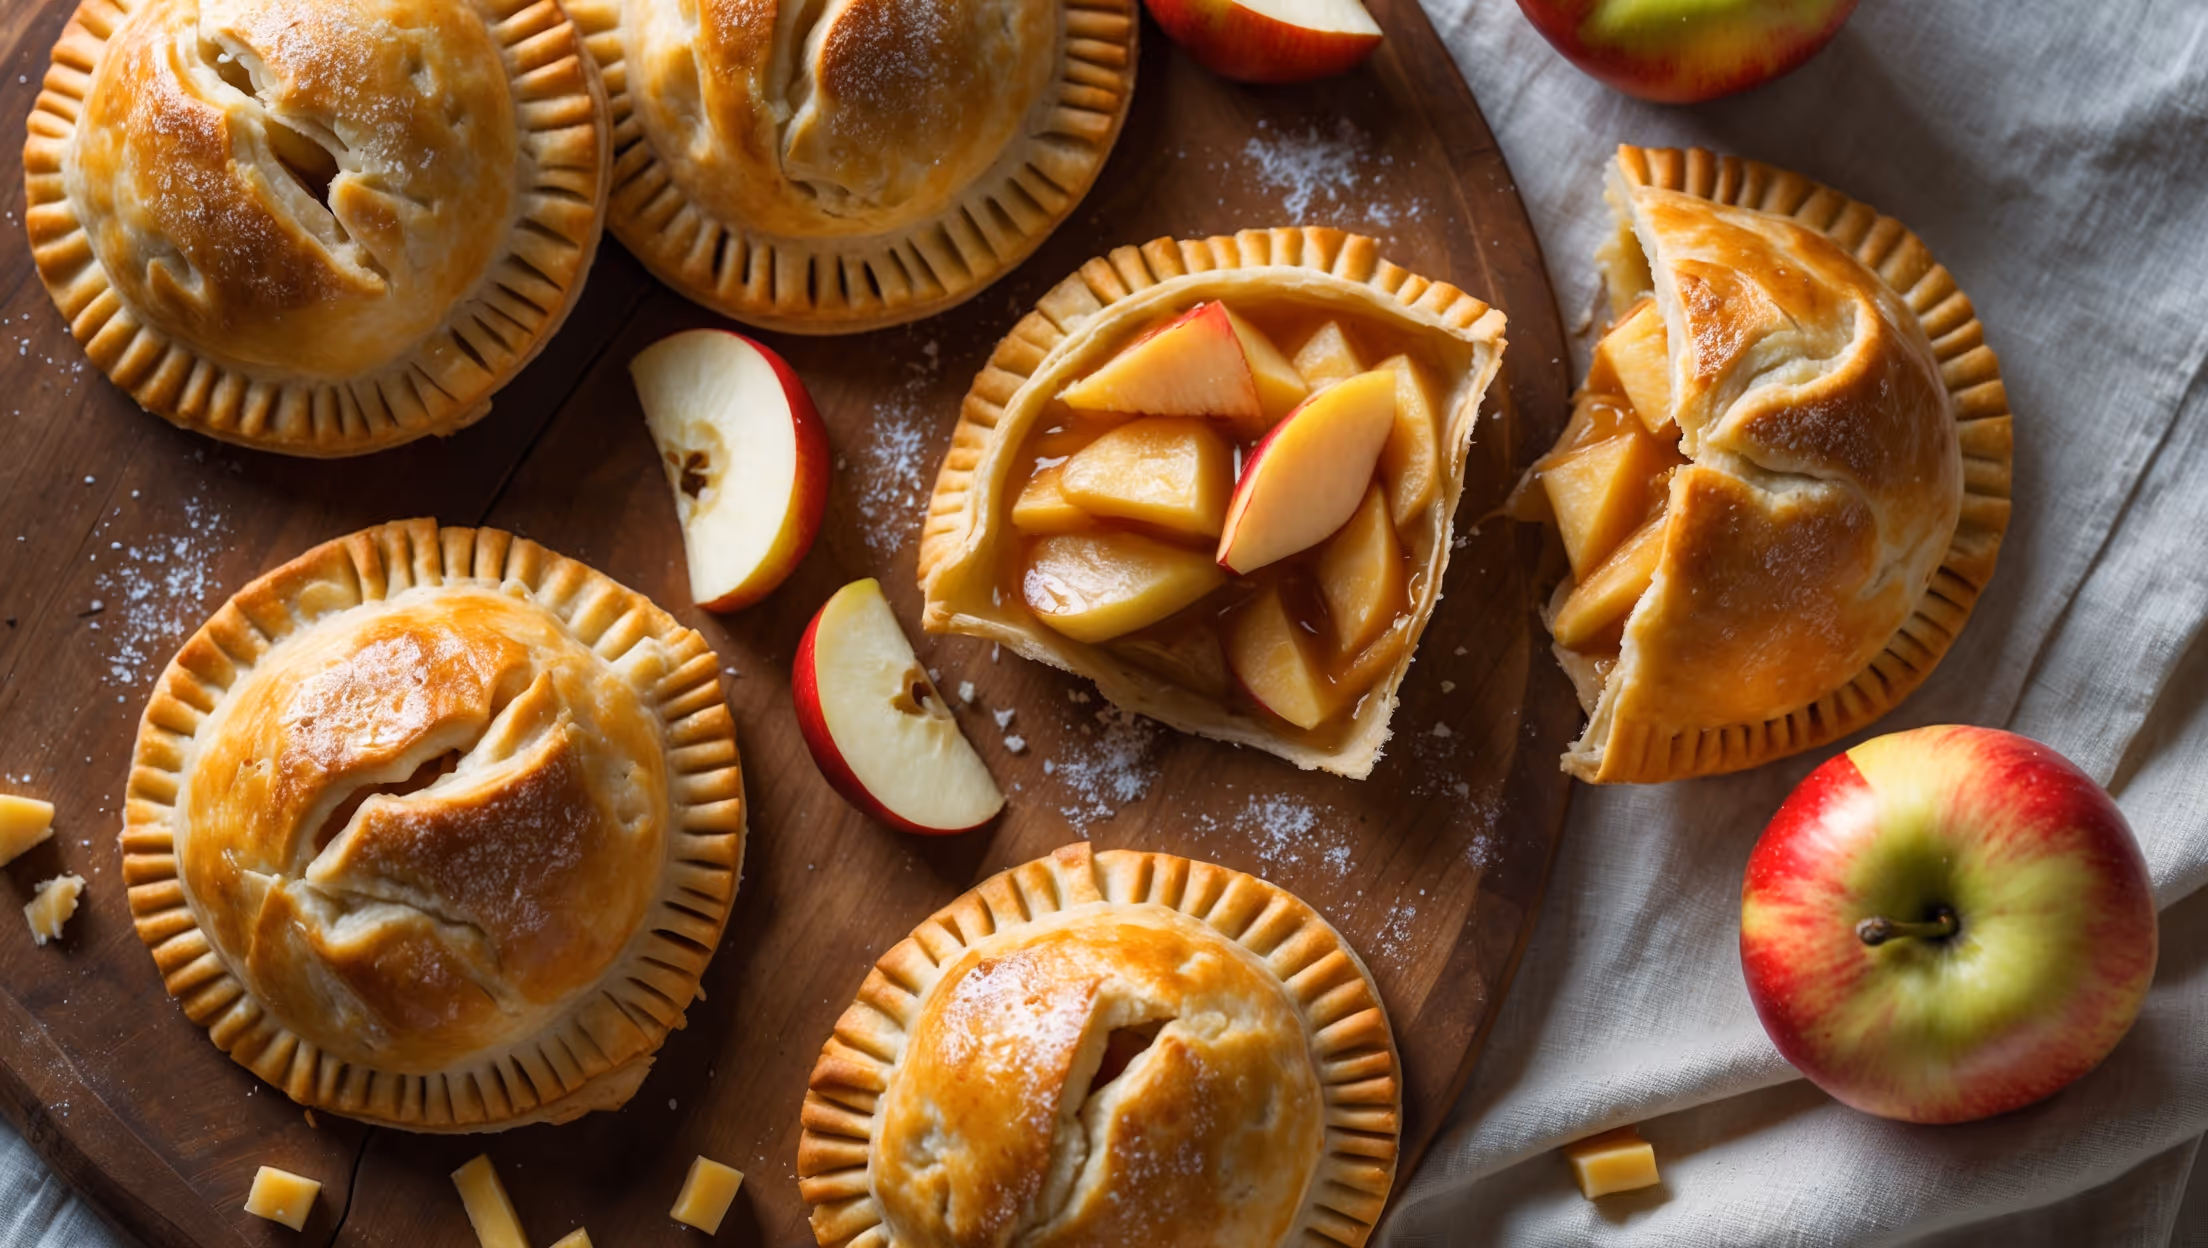
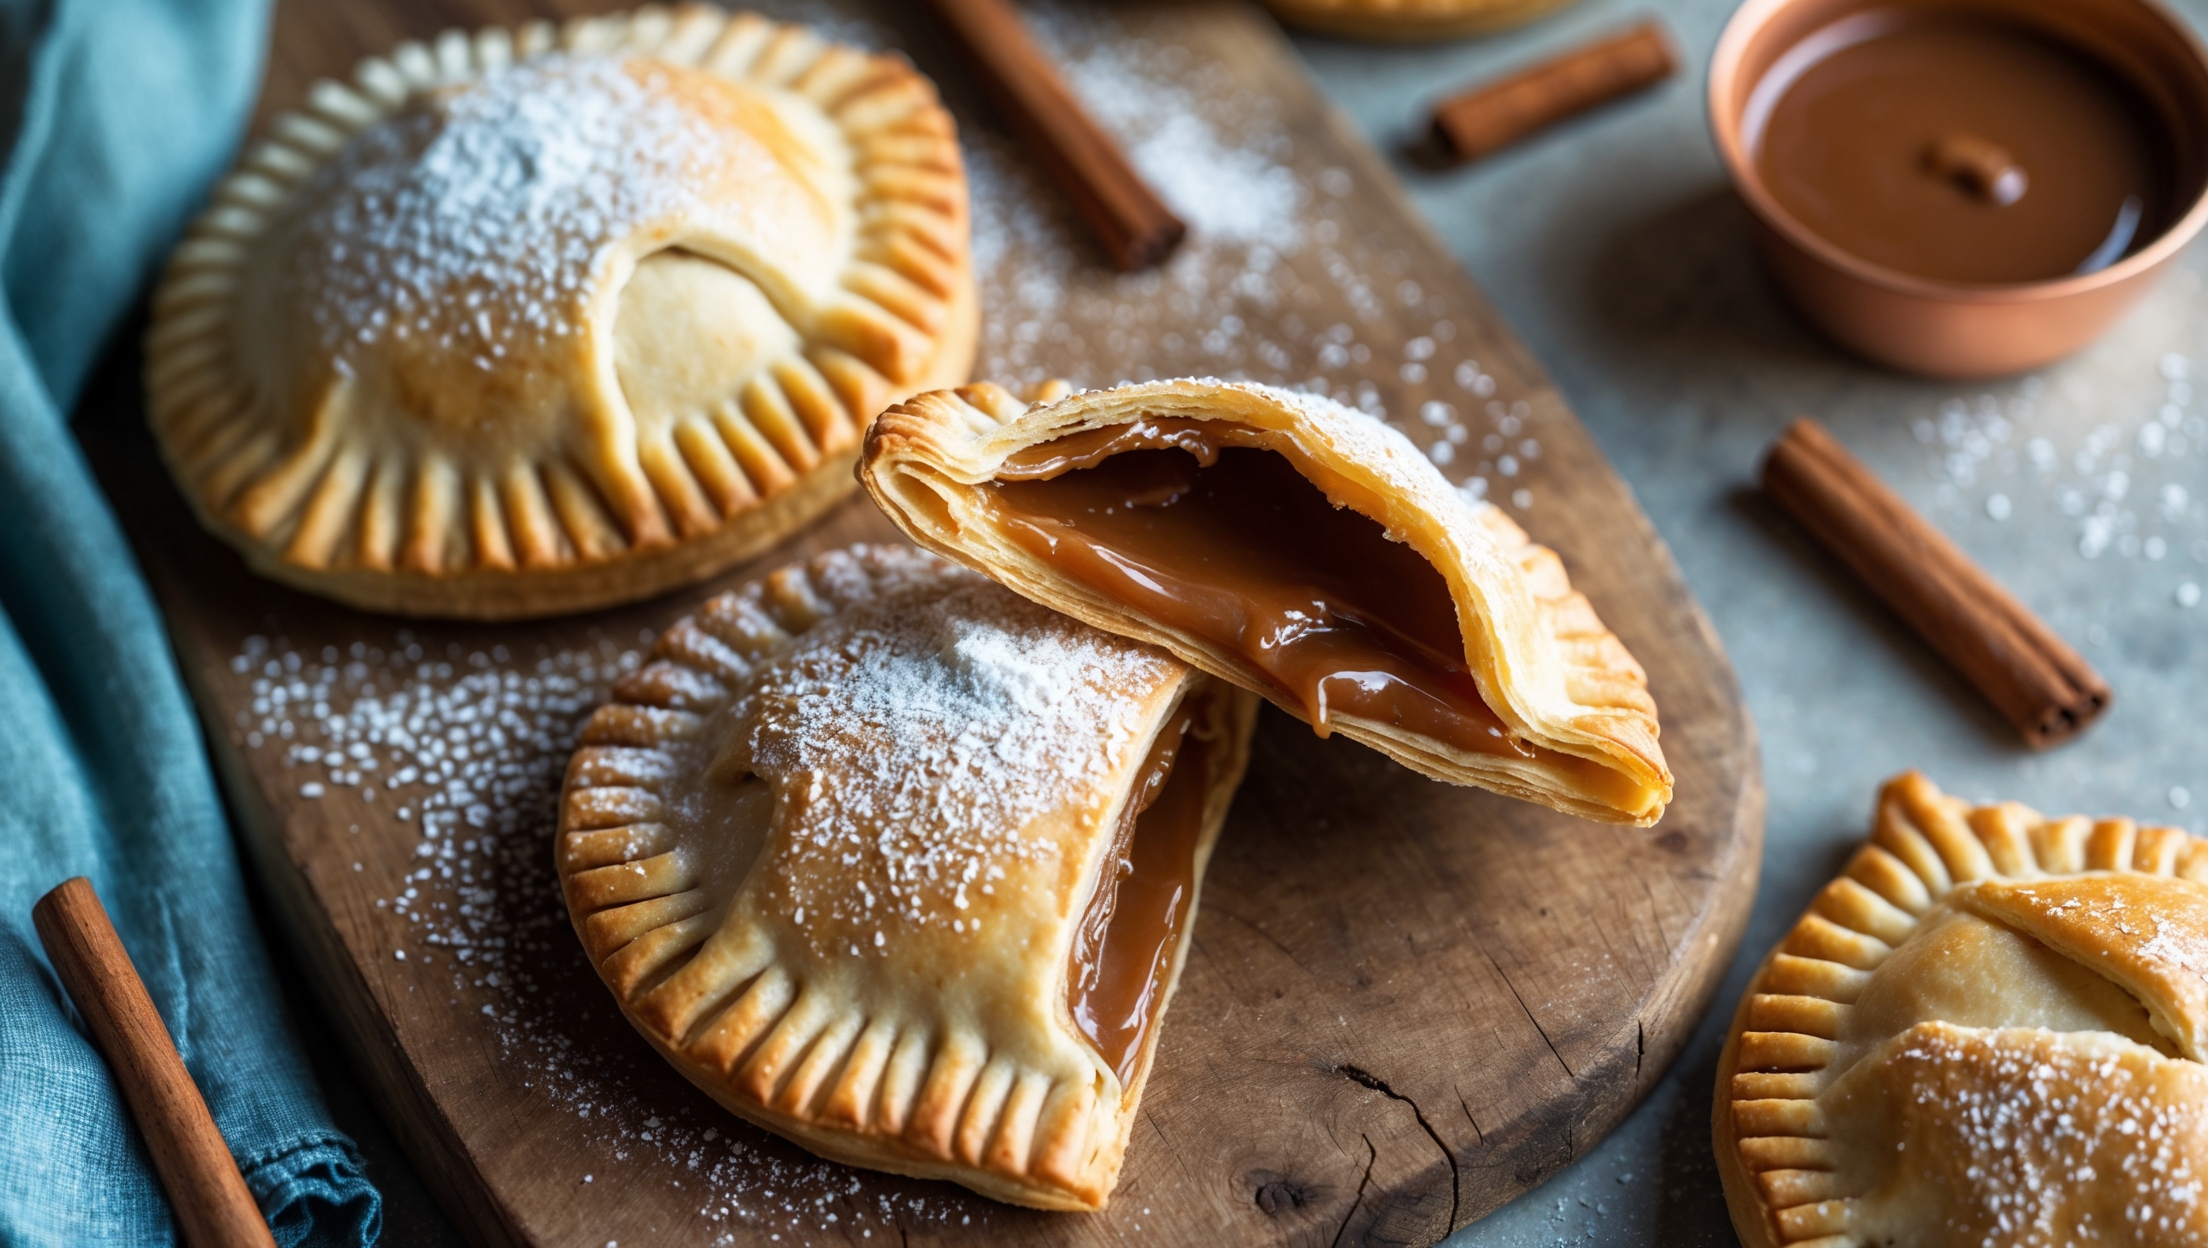
Chili Hand Pies require flour, butter, salt and ice water for the pastry shell. The filling consists of ground beef, kidney beans, bell peppers, onions, garlic, spices (chili powder, cumin, paprika), tomatoes and cheddar cheese. An egg wash gives the pies their golden finish.
Learn how to cook Chili Hand Pies by first making a flaky pastry dough and chilling it. Meanwhile, prepare a rich chili filling with beef, beans and spices that needs to cool completely. Roll out the dough, cut circles, add filling and cheese, fold into half-moons, seal edges, brush with egg wash and bake until golden brown at 200°C for about 25 minutes.
Absolutely! Simply substitute the ground beef with plant-based mince, lentils or more beans. For vegan pastry, replace butter with solid coconut oil or vegan butter, and use plant milk instead of egg wash. Vegan cheese or nutritional yeast can replace the cheddar for an equally satisfying result.
Ensure your filling is cool and relatively dry before assembling. Simmer the chili until most liquid evaporates, and let it cool completely. Cut a small vent in each pie to release steam, and bake on a lower oven rack. Pre-heating your baking sheet can also help create a crisp, golden bottom crust.
Freeze unbaked pies on a baking sheet until solid, then wrap individually and store for up to 3 months. For baked pies, cool completely before freezing. Reheat frozen unbaked pies at 180°C for 30-35 minutes, or baked pies for 20-25 minutes until piping hot throughout.
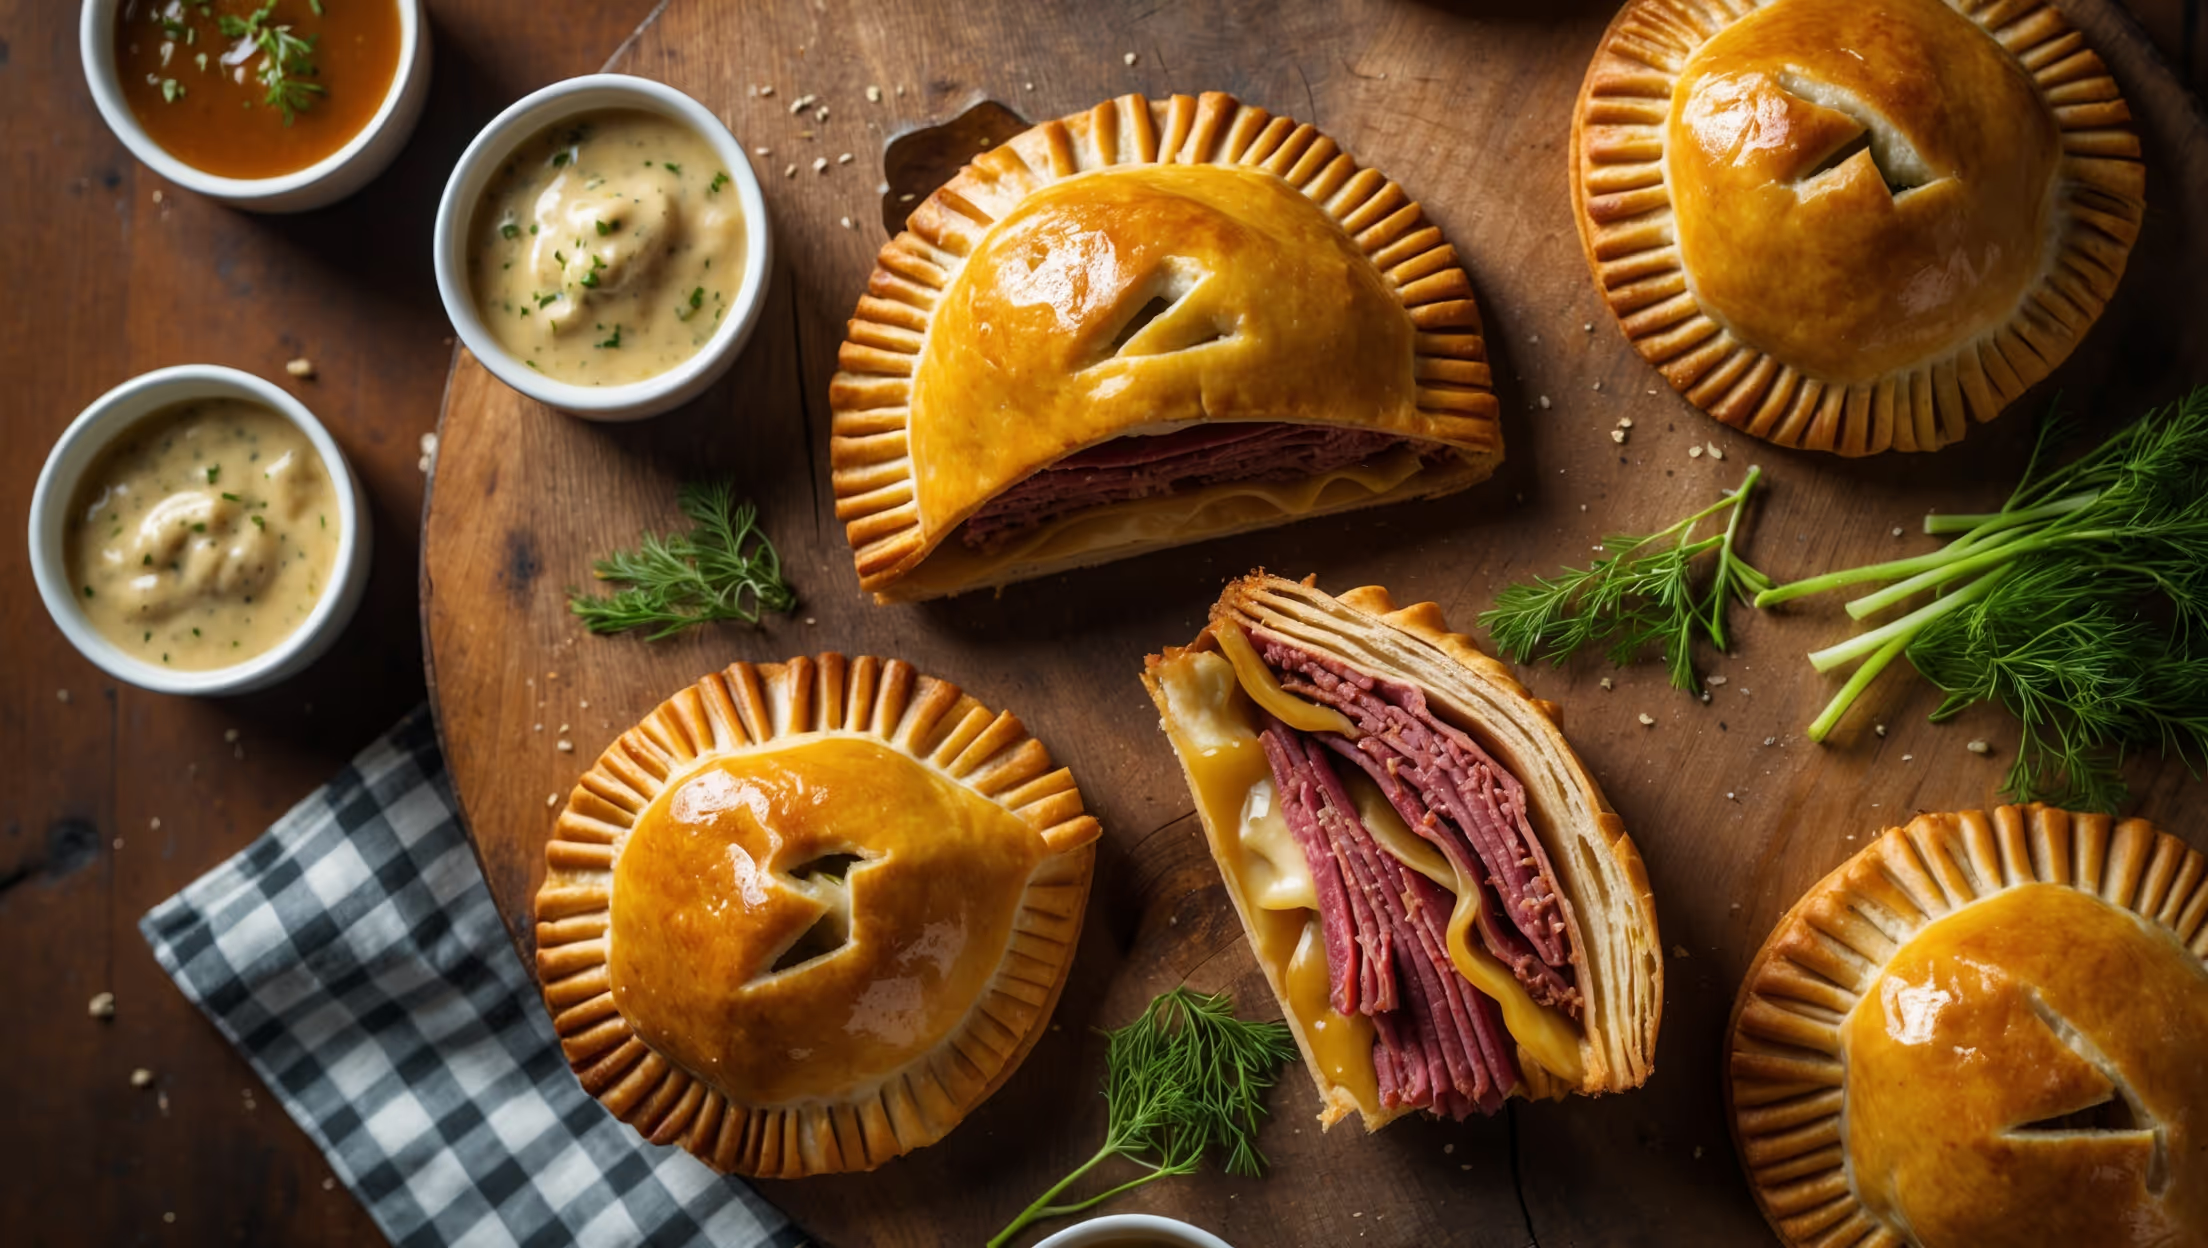
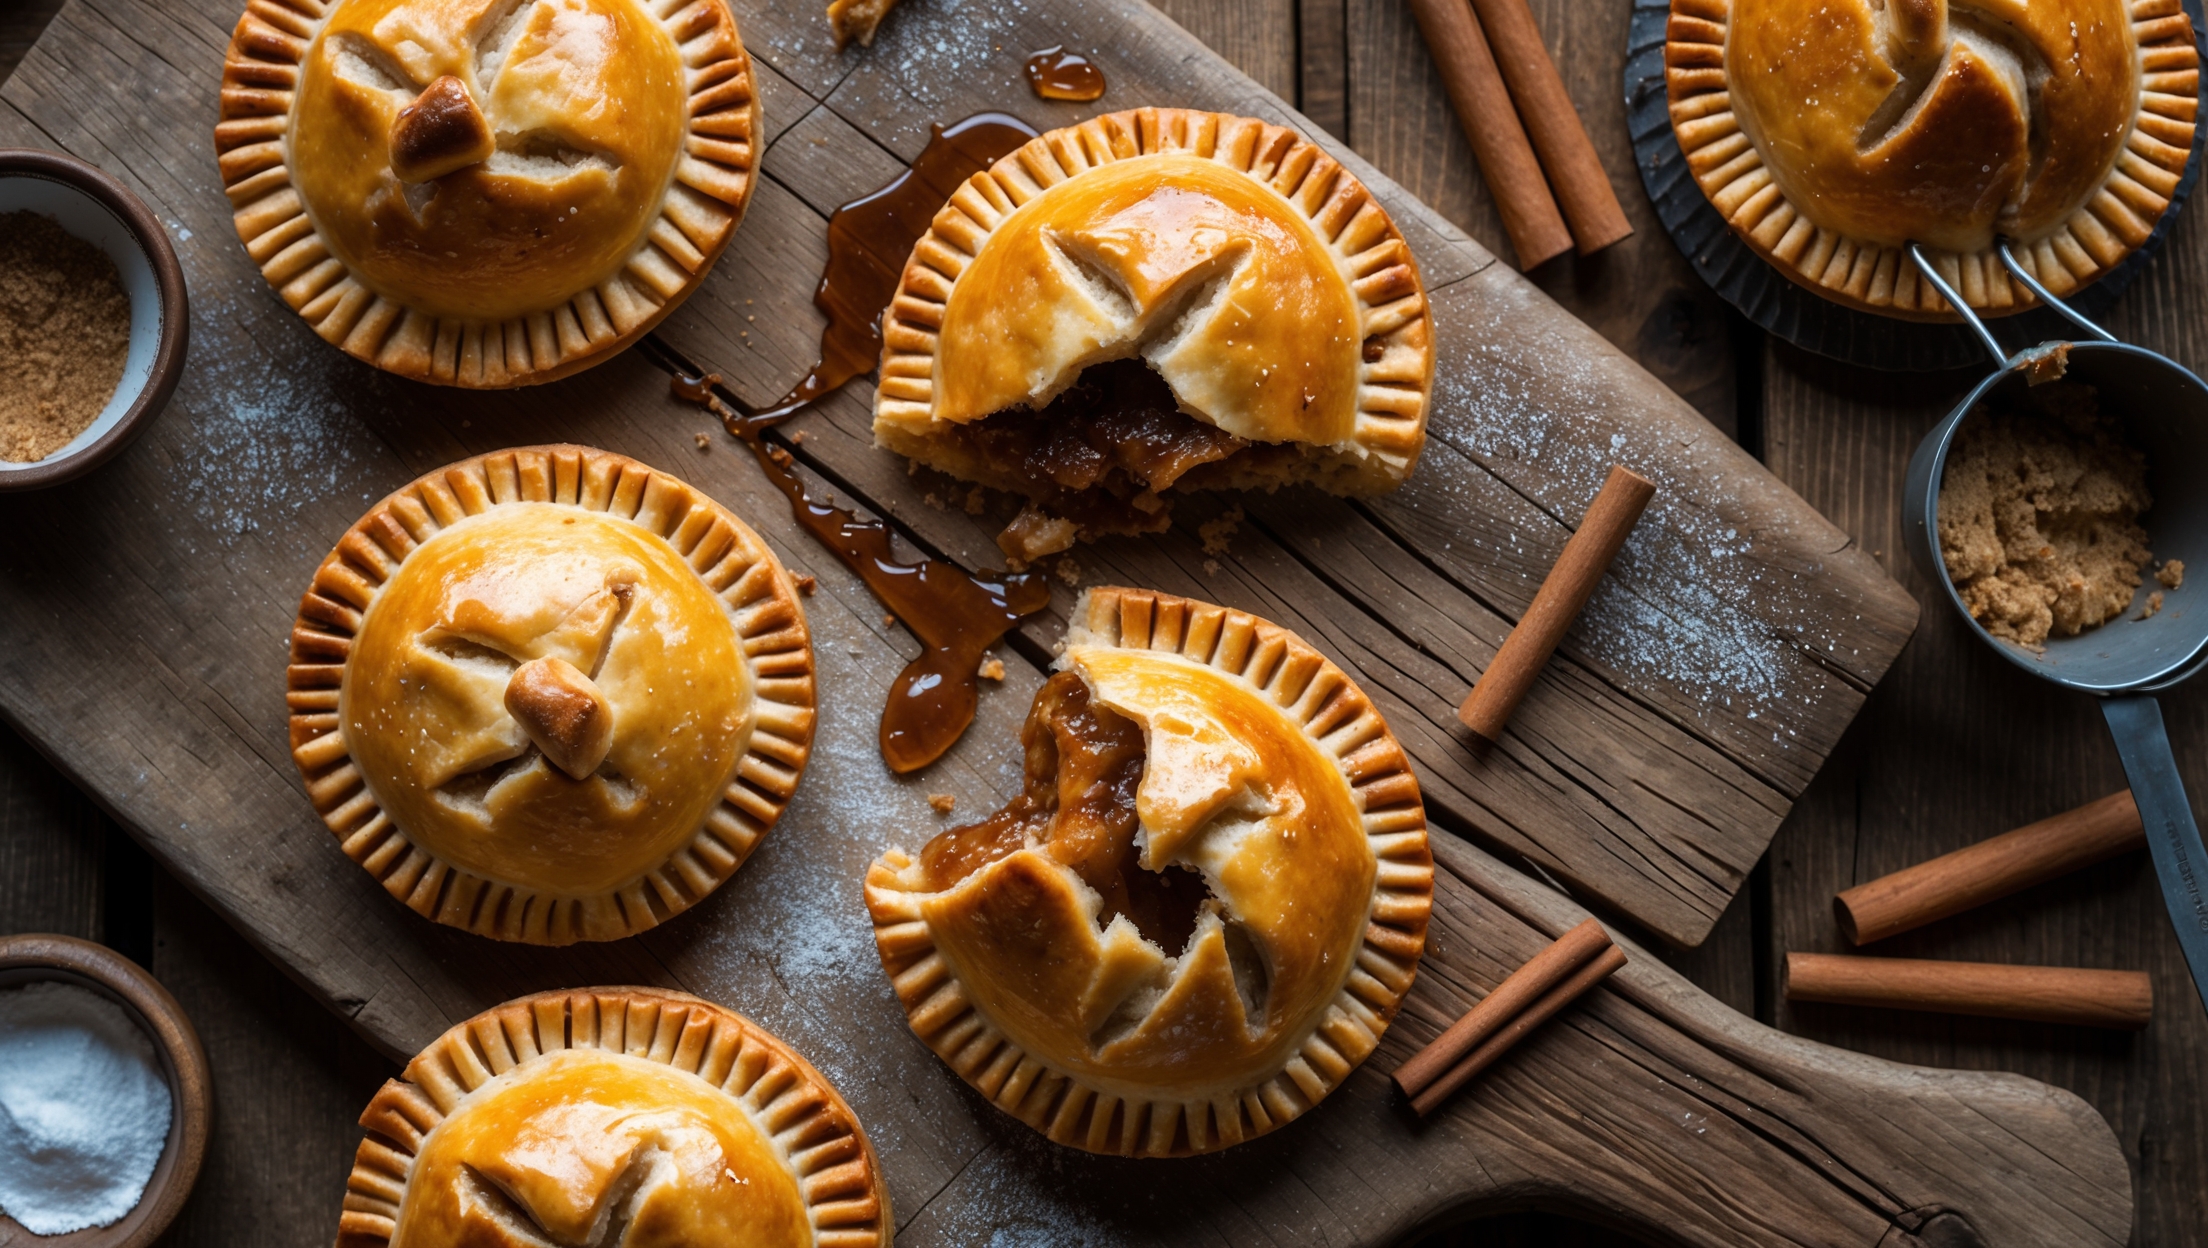
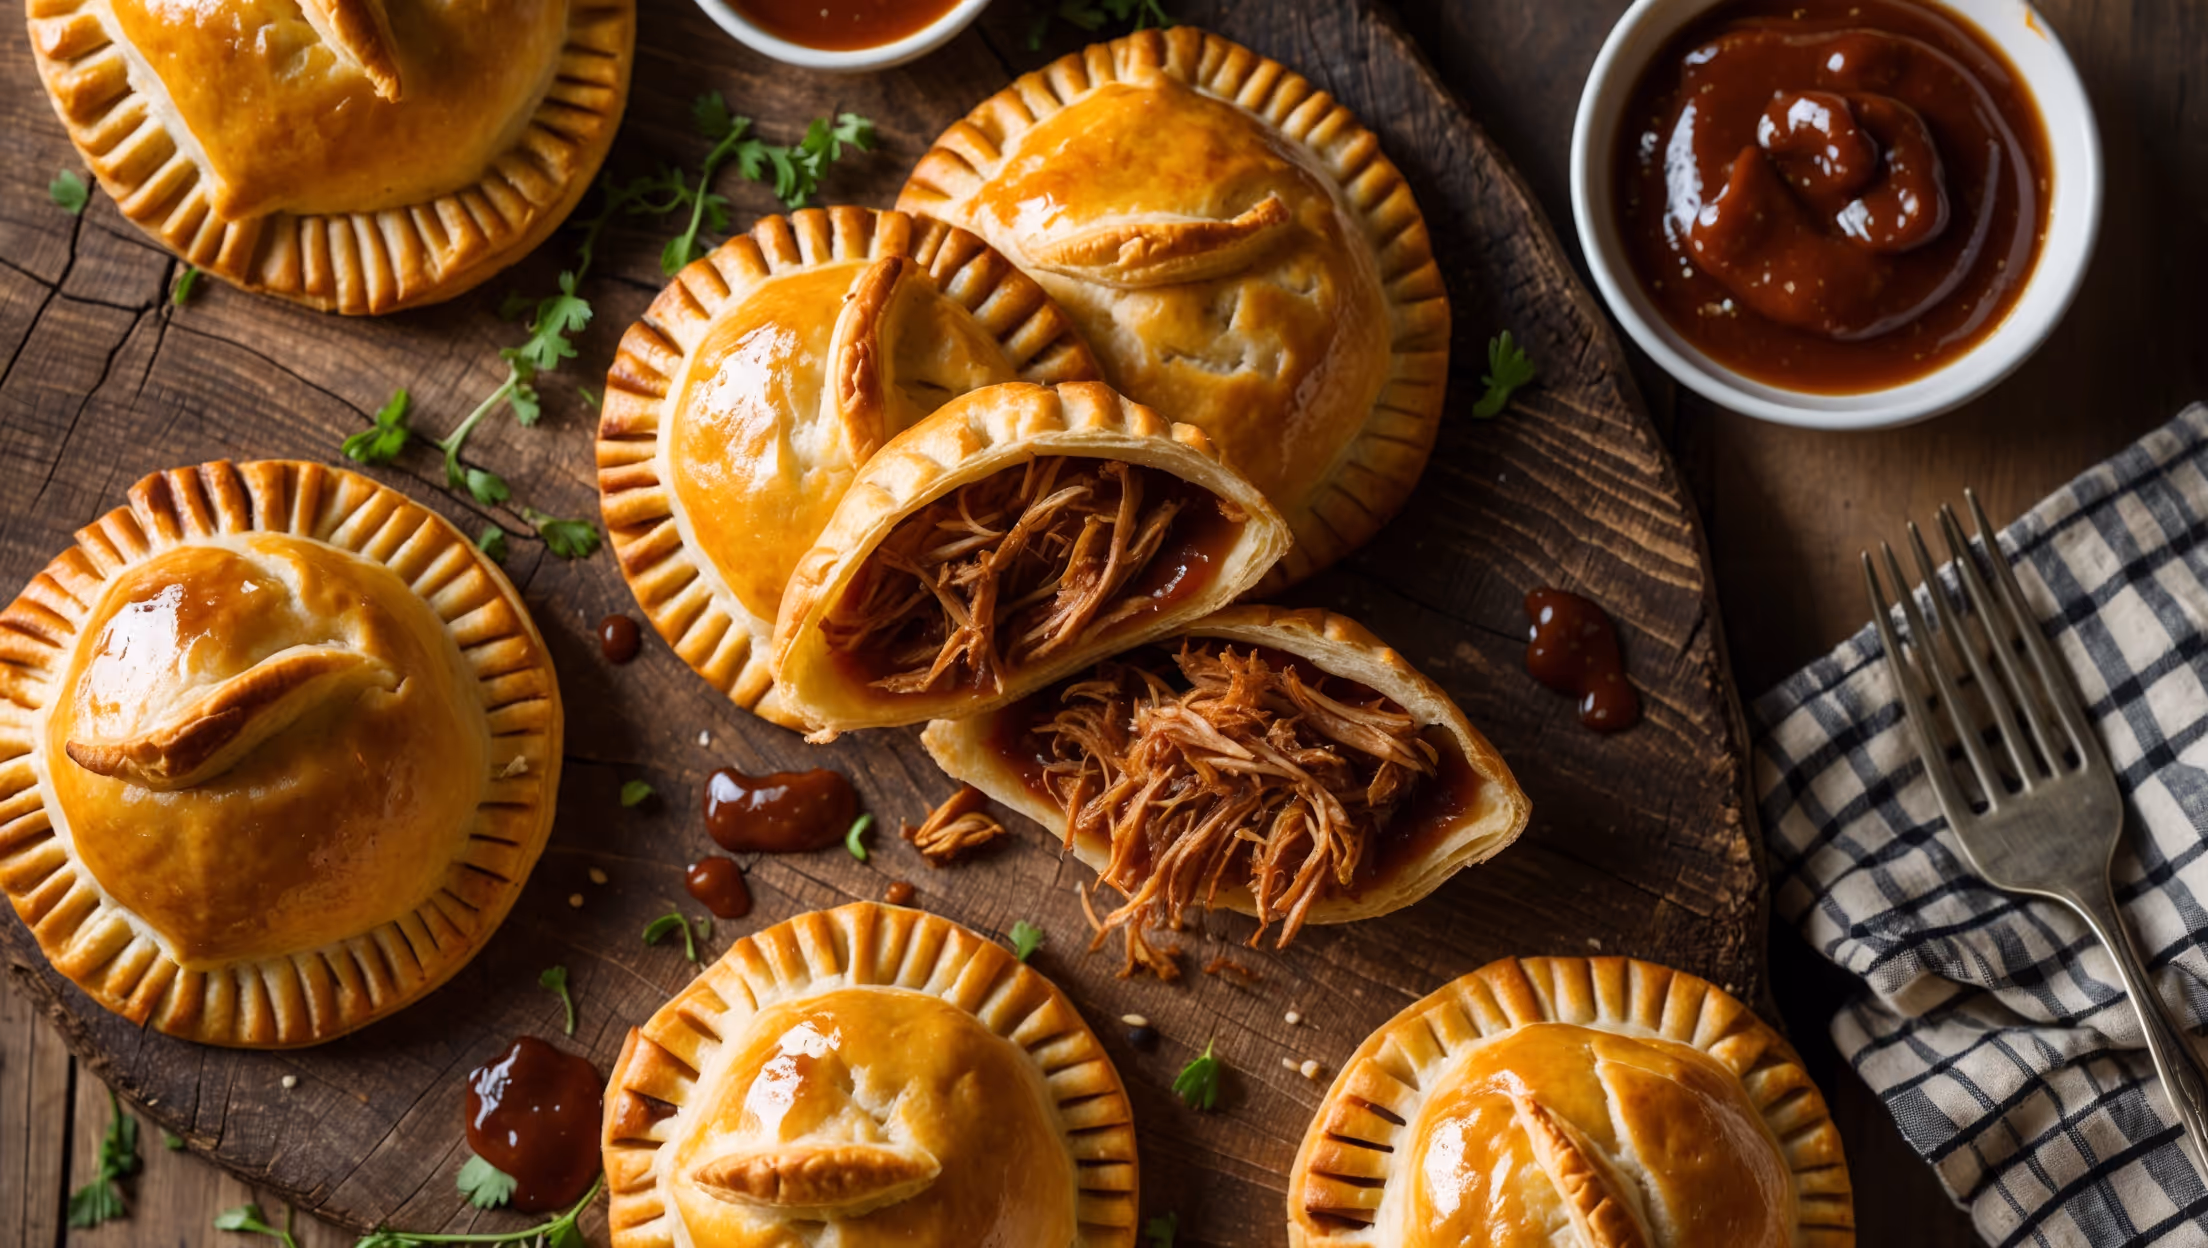
Hand Pies
Try following recommended recipes