Directions
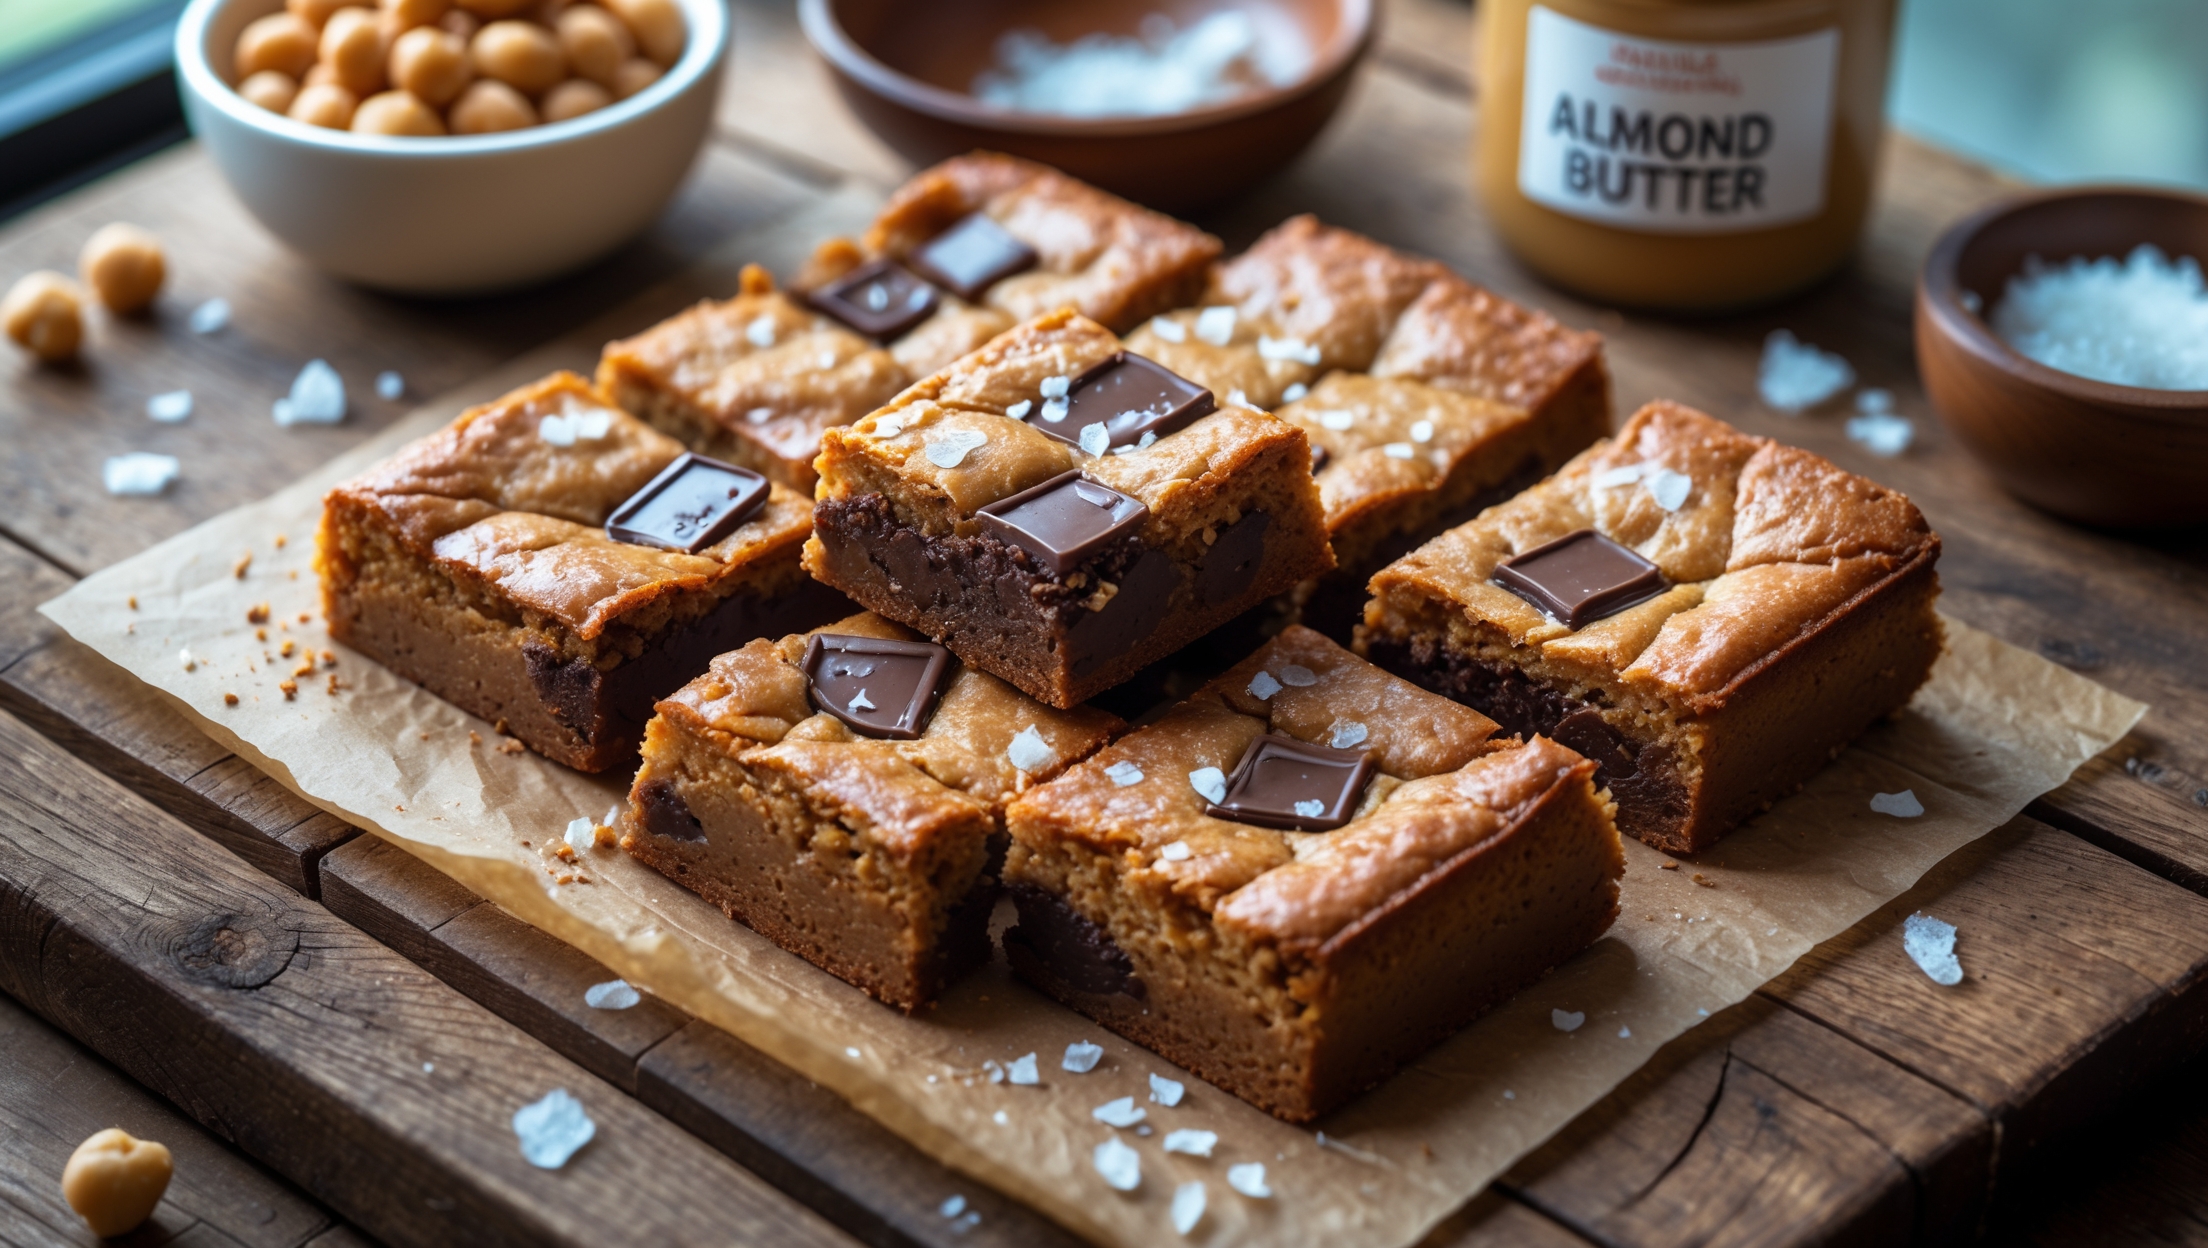
<ol class="no-list-style"><li class="MethodStepper"><h4 class="step-title">Step 1</h4>Preheat your oven to 180°C (350°F) and line a 20cm (8-inch) square baking tin with parchment paper, leaving some overhang for easy removal later. Make sure your paper extends up all sides to prevent any sticking.</li><li class="MethodStepper"><h4 class="step-title">Step 2</h4>In your food processor, combine the drained chickpeas, almond butter, maple syrup, brown sugar, eggs, and vanilla extract. Process on high speed for 2-3 minutes until completely smooth. This lengthy processing time is crucial for breaking down the chickpeas entirely – you don't want any visible pieces that would give away your secret ingredient!</li><li class="MethodStepper"><h4 class="step-title">Step 3</h4>Add the oat flour, baking powder, baking soda, and salt to the food processor. Pulse just until combined – about 5-6 pulses should do it. Over-mixing at this stage could develop too much gluten, resulting in tougher blondies.</li><li class="MethodStepper"><h4 class="step-title">Step 4</h4>Scrape down the sides of the processor bowl with a spatula and give everything a final pulse to ensure it's well mixed. The batter should be smooth, thick and slightly glossy – similar to a traditional blondie batter but perhaps a touch thicker.</li><li class="MethodStepper"><h4 class="step-title">Step 5</h4>Transfer the batter to a mixing bowl and fold in about 80g of the chocolate chunks, reserving the remaining 20g for the top. Fold gently using a spatula until just distributed – you want visible chunks throughout the batter.</li><li class="MethodStepper"><h4 class="step-title">Step 6</h4>Pour the batter into your prepared baking tin and smooth the surface with a spatula. Sprinkle the remaining chocolate chunks on top, pressing them in slightly so they'll stay in place. If using, add a light sprinkle of flaky sea salt – the contrast between sweet blondies and salt creates a wonderful flavor enhancement.</li><li class="MethodStepper"><h4 class="step-title">Step 7</h4>Bake in the preheated oven for 22-25 minutes. This is crucial: you want to remove the blondies when the edges are set but the center still looks slightly underdone and soft. If you insert a toothpick, it should come out with a few moist crumbs, not completely clean. Overbaking will result in dry blondies rather than the fudgy texture we're aiming for.</li><li class="MethodStepper"><h4 class="step-title">Step 8</h4>Allow the blondies to cool completely in the tin – this is important as they'll continue cooking from residual heat and will set up perfectly as they cool. This takes patience (about 1-2 hours), but it's worth it for the perfect texture!</li><li class="MethodStepper"><h4 class="step-title">Step 9</h4>Once completely cool, lift out using the parchment overhang and cut into 16 equal squares. Store in an airtight container at room temperature for up to 3 days, or refrigerate for up to a week – they actually become even fudgier when chilled! You can also freeze them for up to 3 months.</li></ol>