Chicken Hand Pies Recipe
Ingredients
Equipment
Directions
FAQs
Find answers to your most pressing questions about this delicious recipe right here.
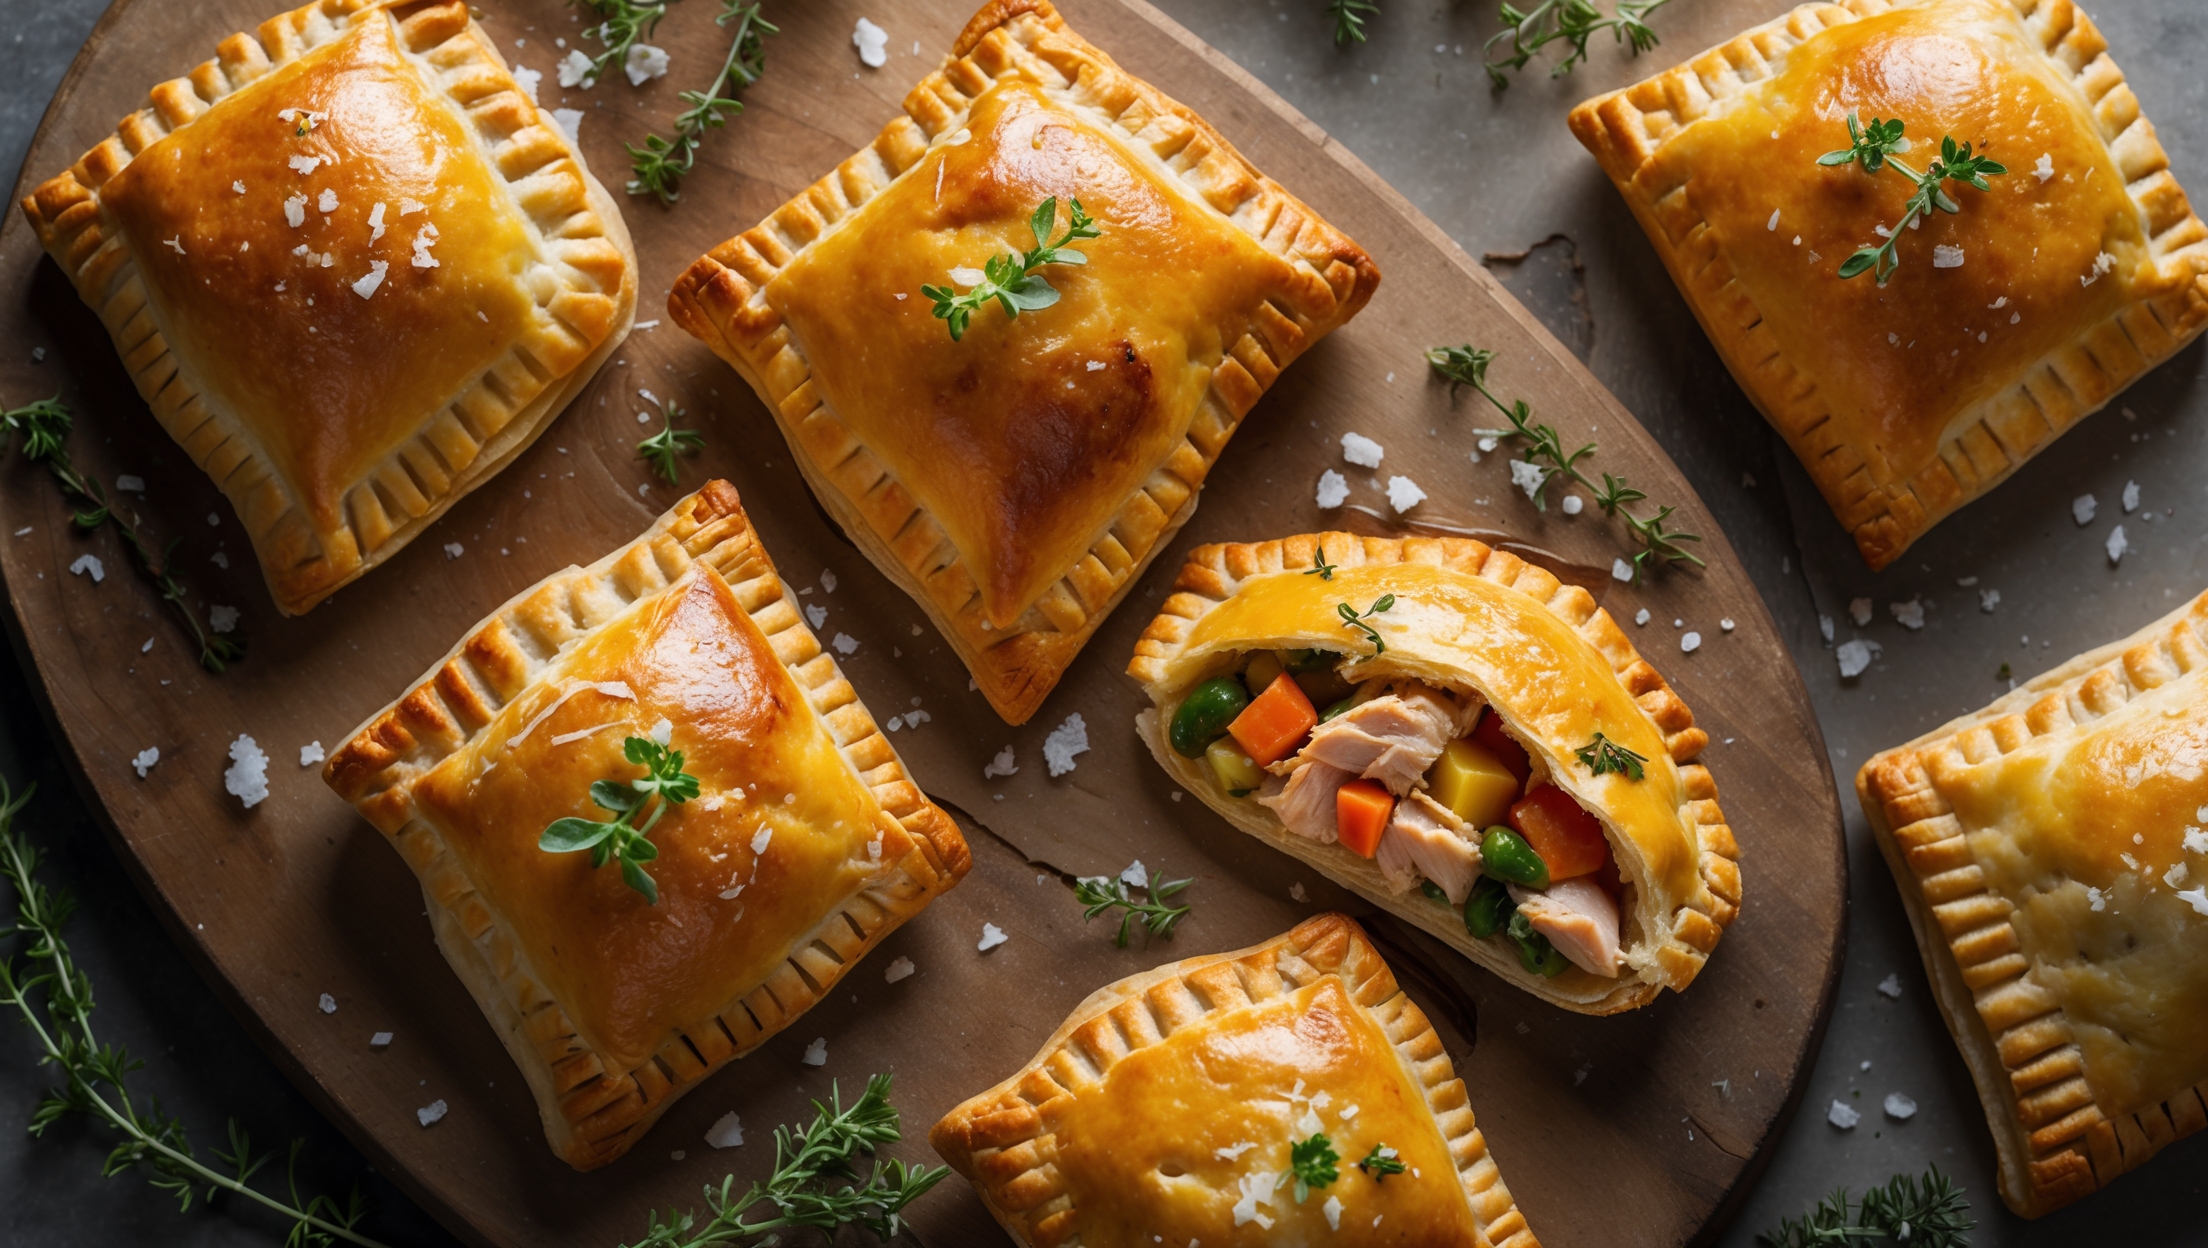
Chicken hand pies require all-purpose flour, butter, salt, sugar, water, vinegar for the pastry, plus chicken breast, vegetables (onion, carrot, celery, garlic), chicken stock, herbs (thyme, parsley), and an egg for the glossy finish.
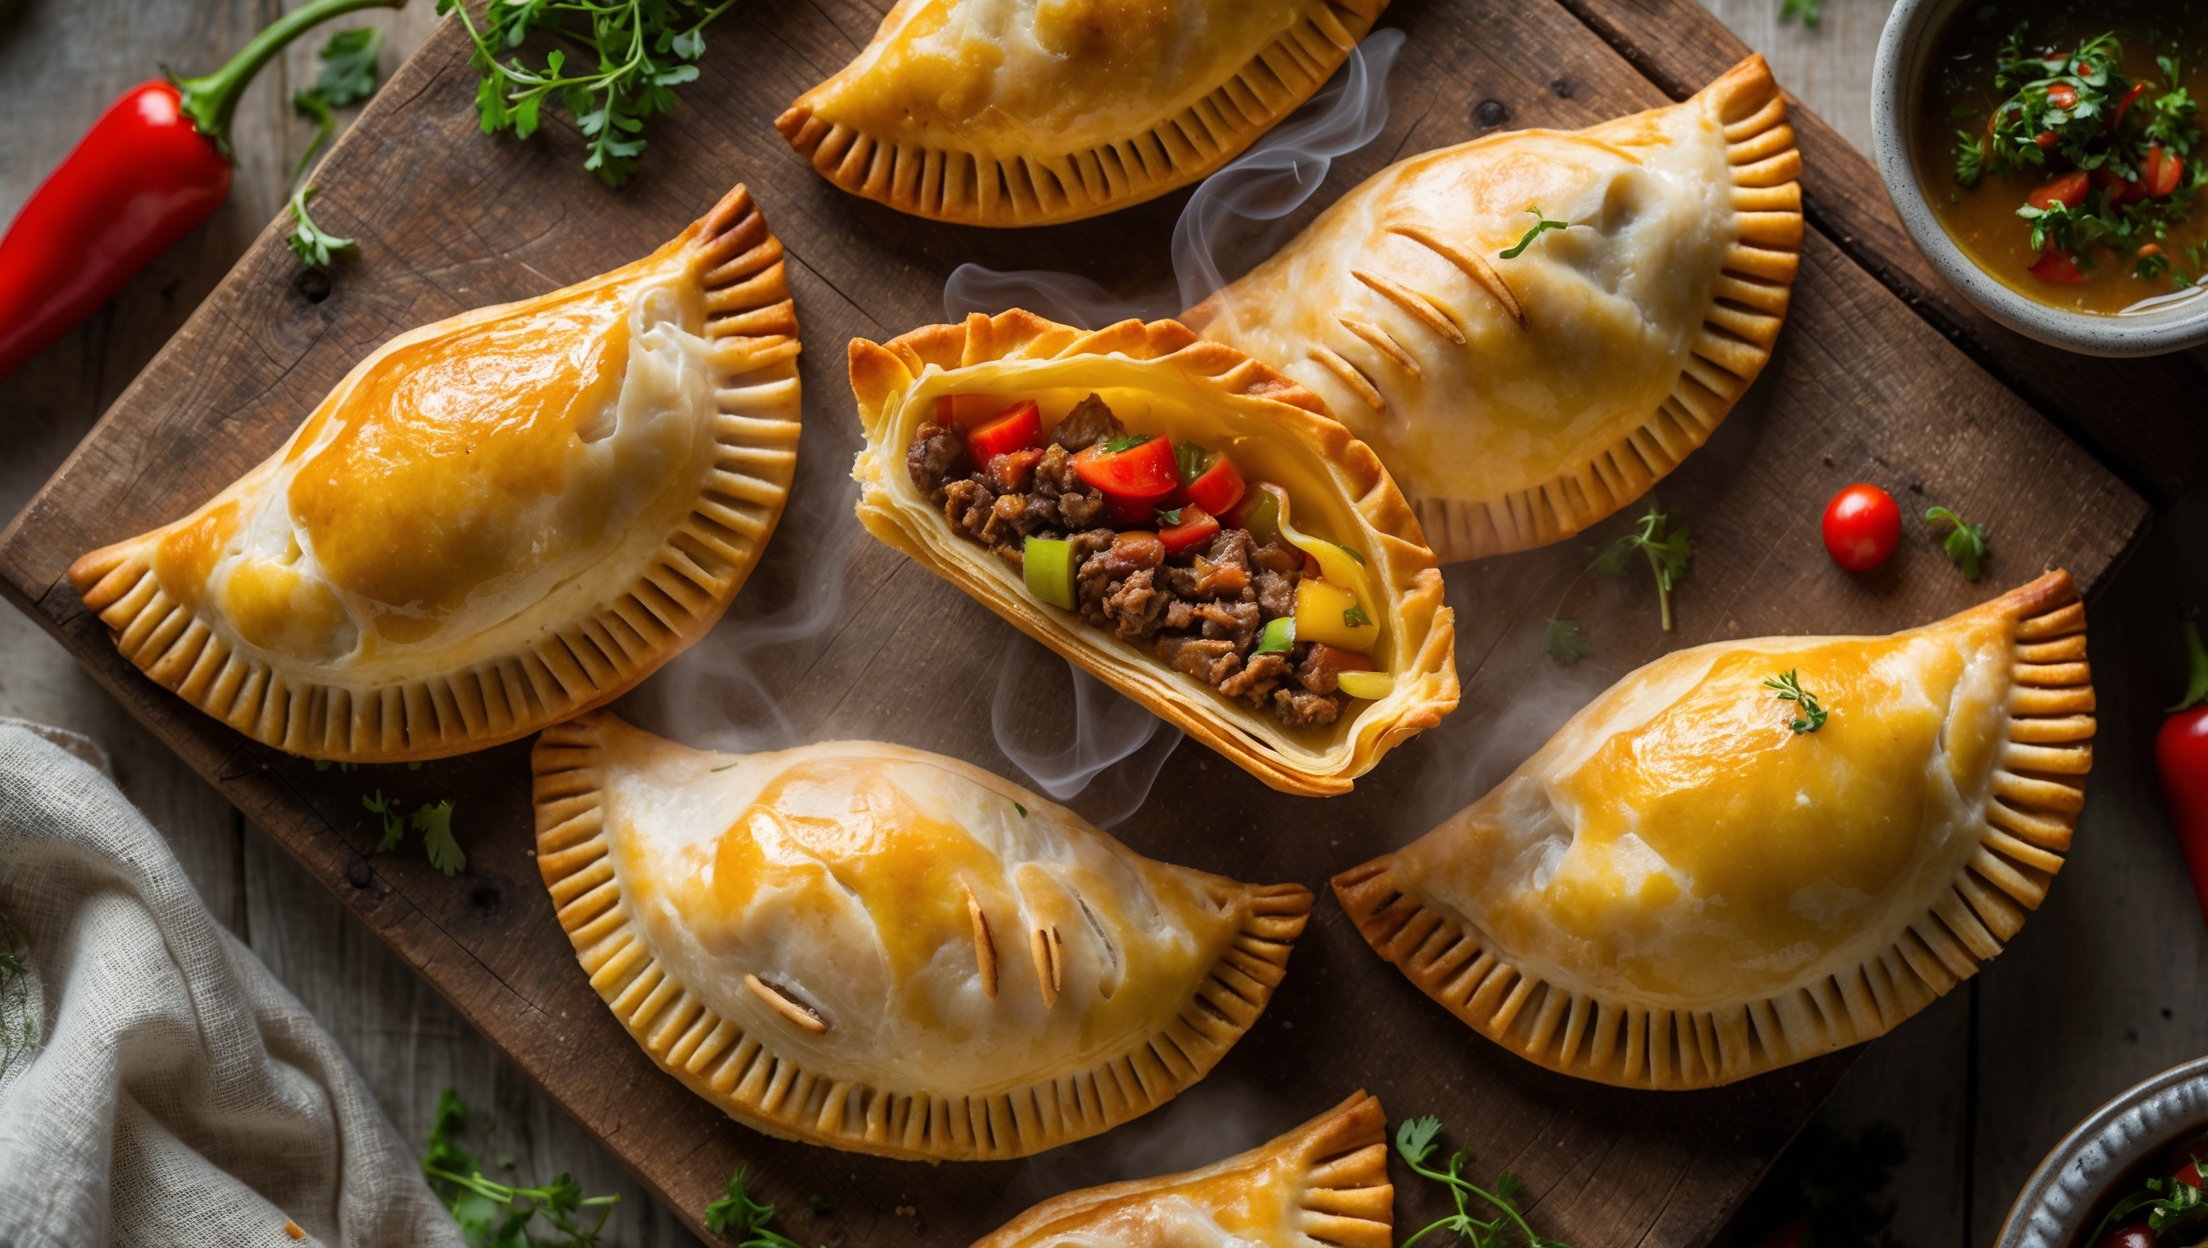
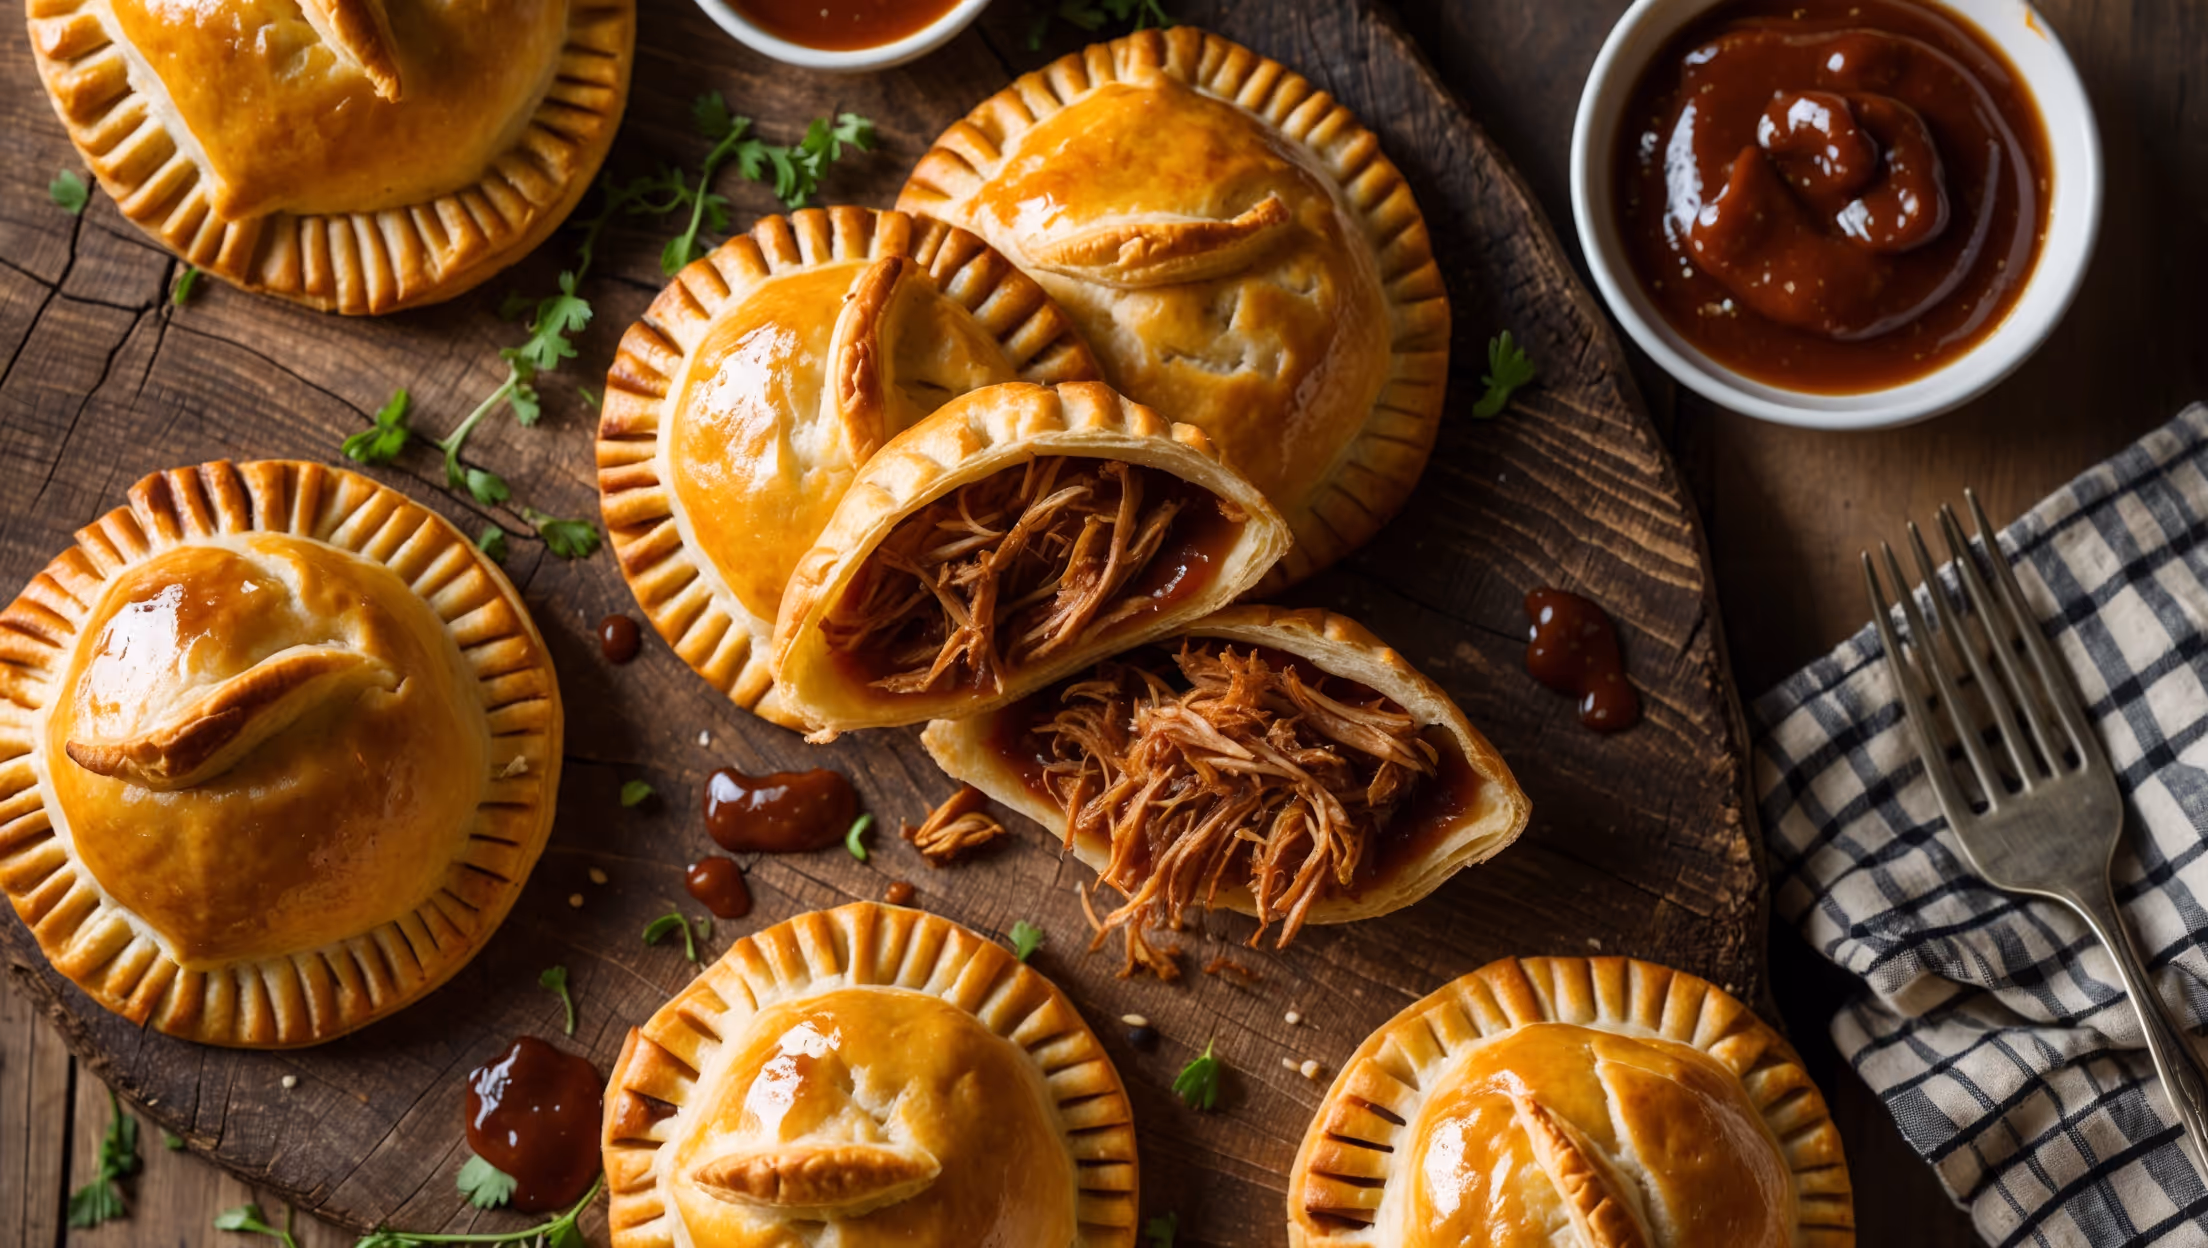
Learn how to cook Chicken Hand Pies by making a flaky pastry dough, preparing a flavourful chicken and vegetable filling, assembling the pies by sealing the filling between pastry circles, brushing with egg wash, and baking until golden brown. The key steps include properly chilling the dough and cooling the filling before assembly.
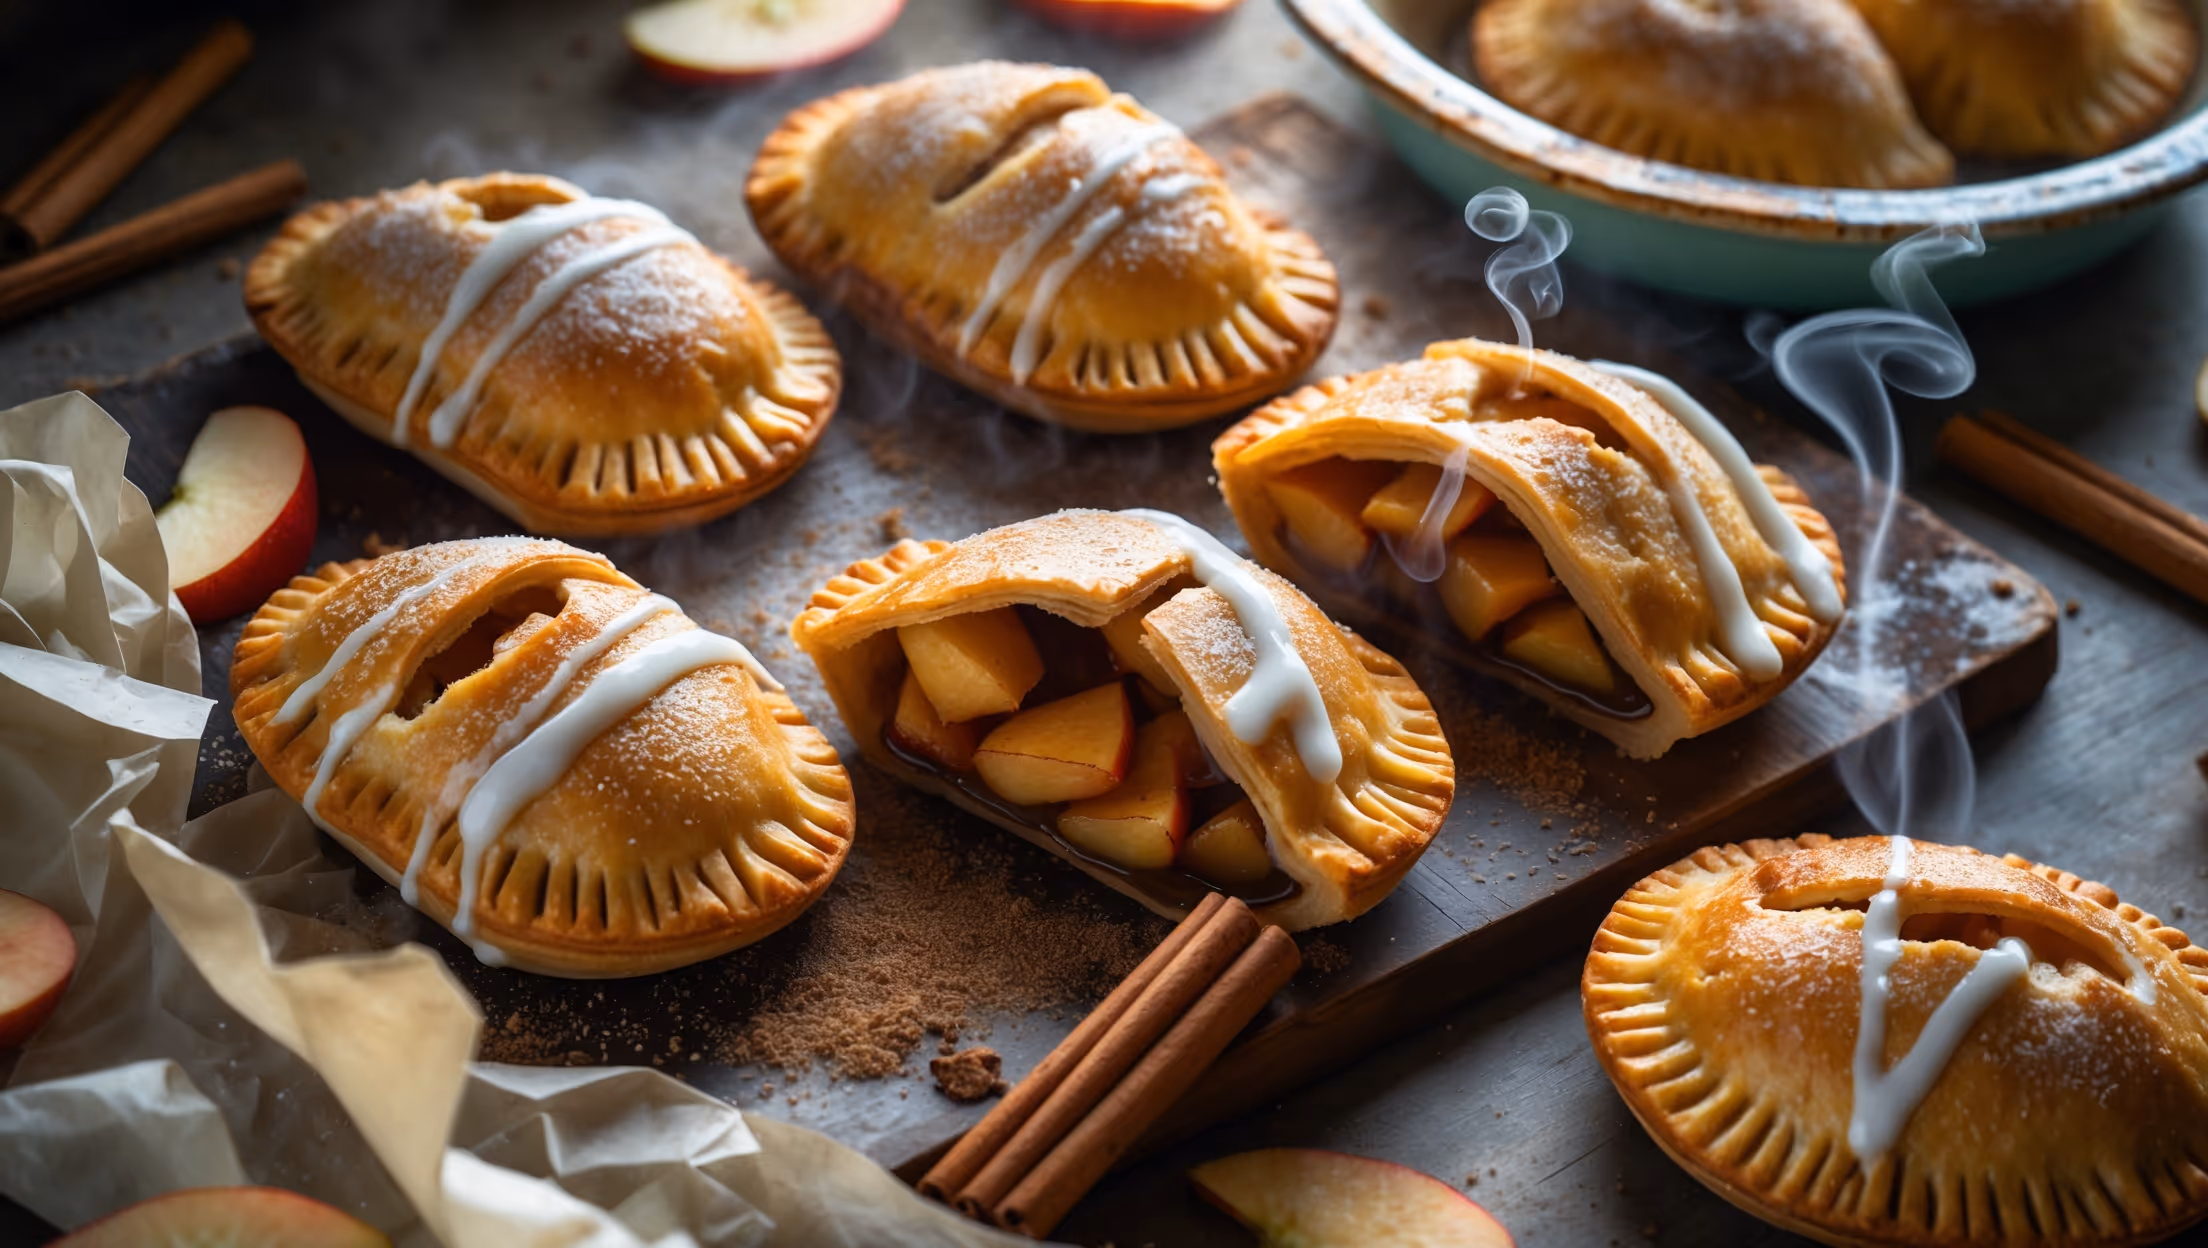
Absolutely! These savoury pastries freeze beautifully for up to 3 months. You can freeze them either baked or unbaked. For unbaked pies, freeze on a tray then transfer to containers. Bake from frozen at 180°C for 35-40 minutes. Baked pies can be reheated for 15-20 minutes.
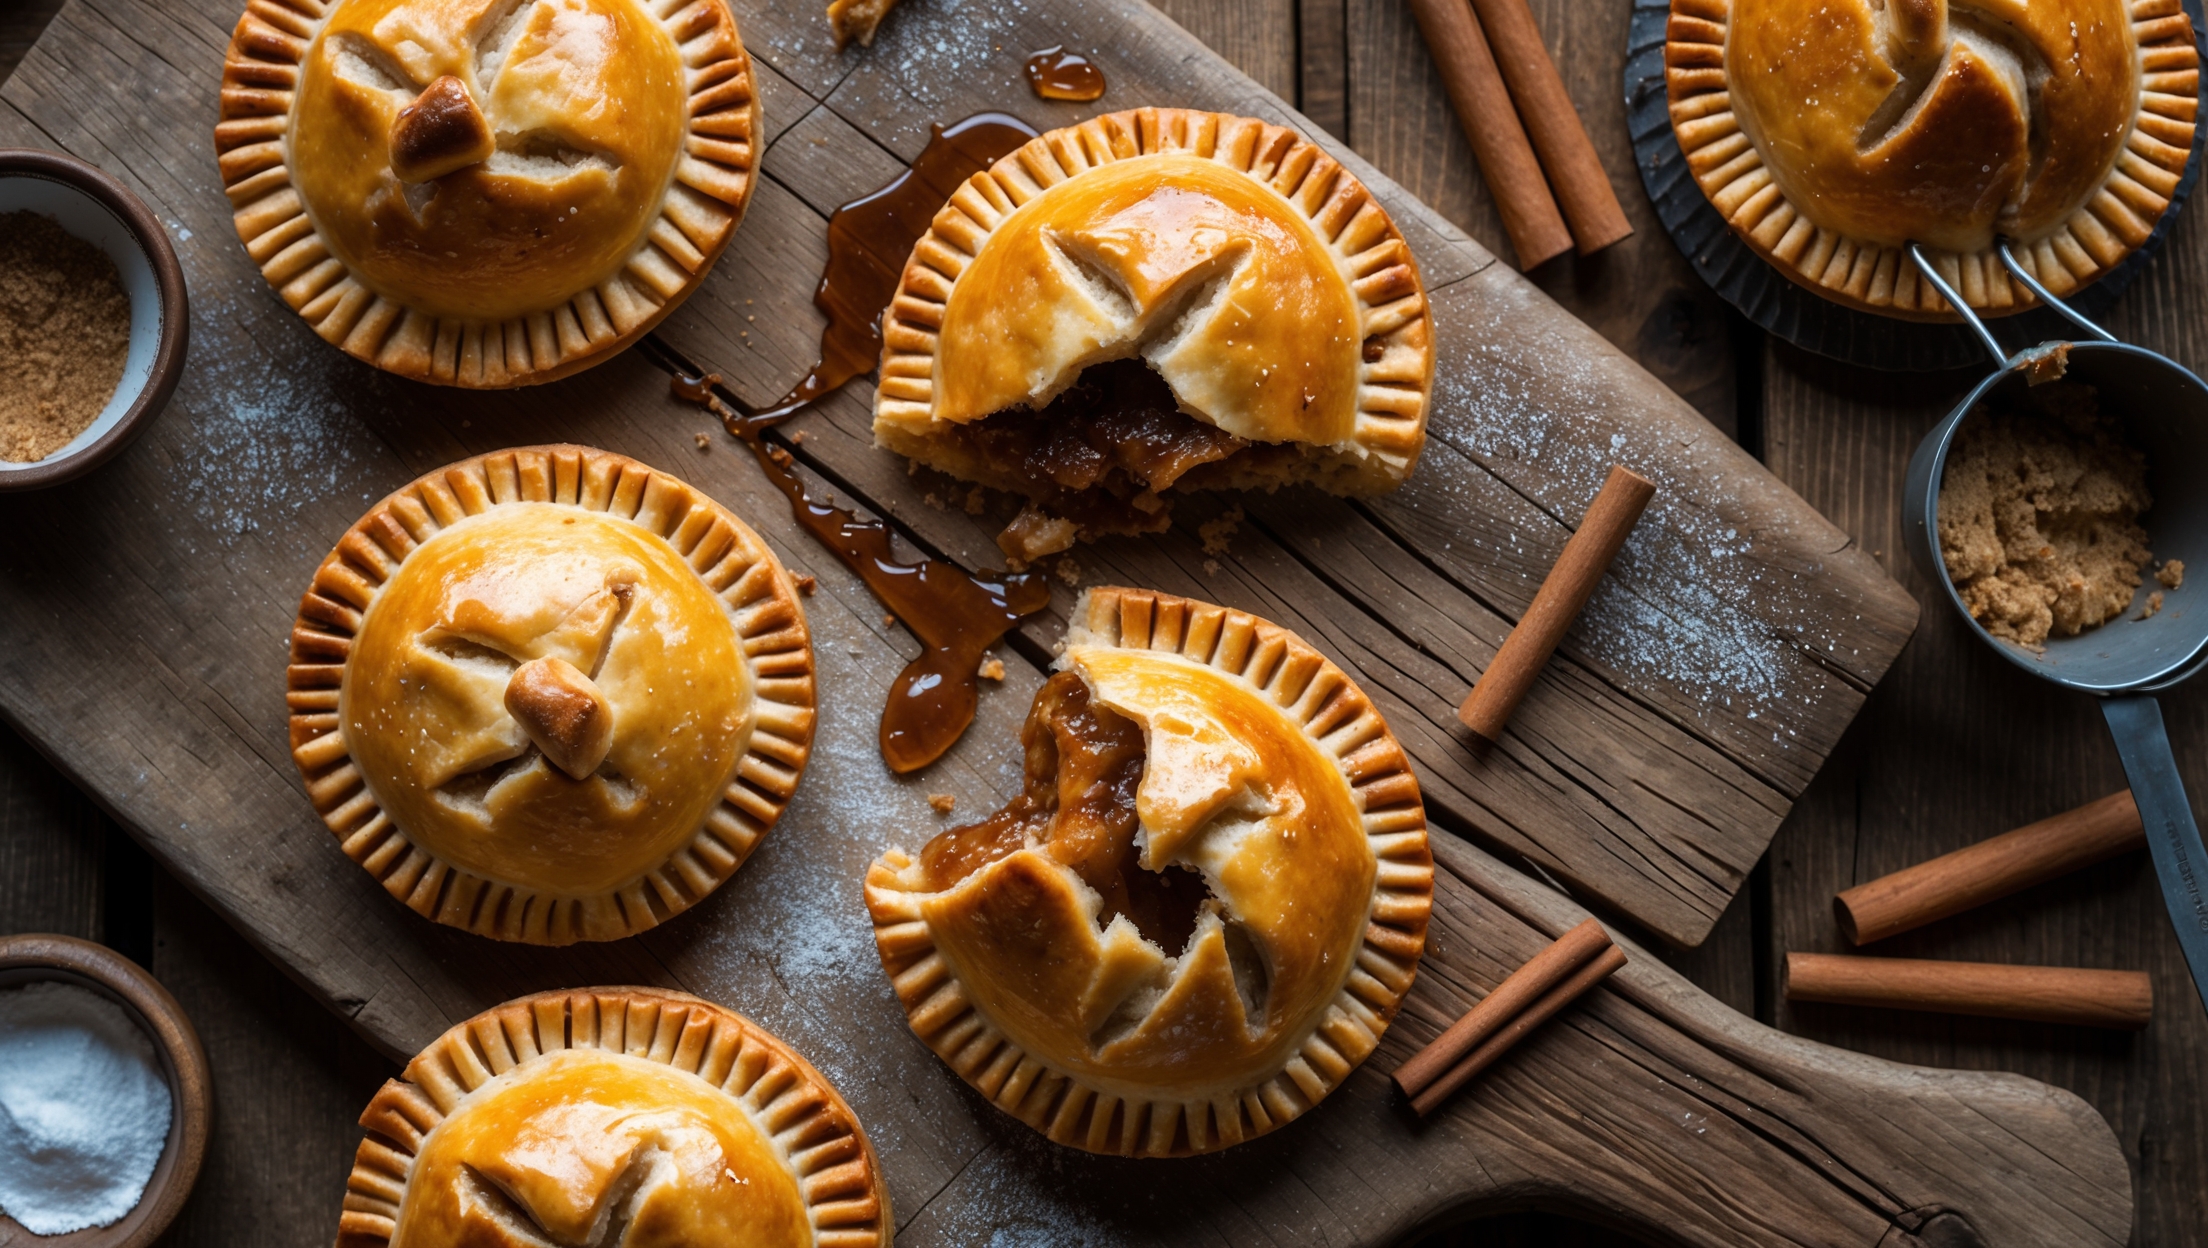
Flaky pastry comes from cold butter creating steam pockets during baking. Ensure flakiness by: using very cold ingredients, not overworking the dough, including apple cider vinegar to inhibit gluten, properly chilling the dough, and maintaining visible butter pieces in your pastry.
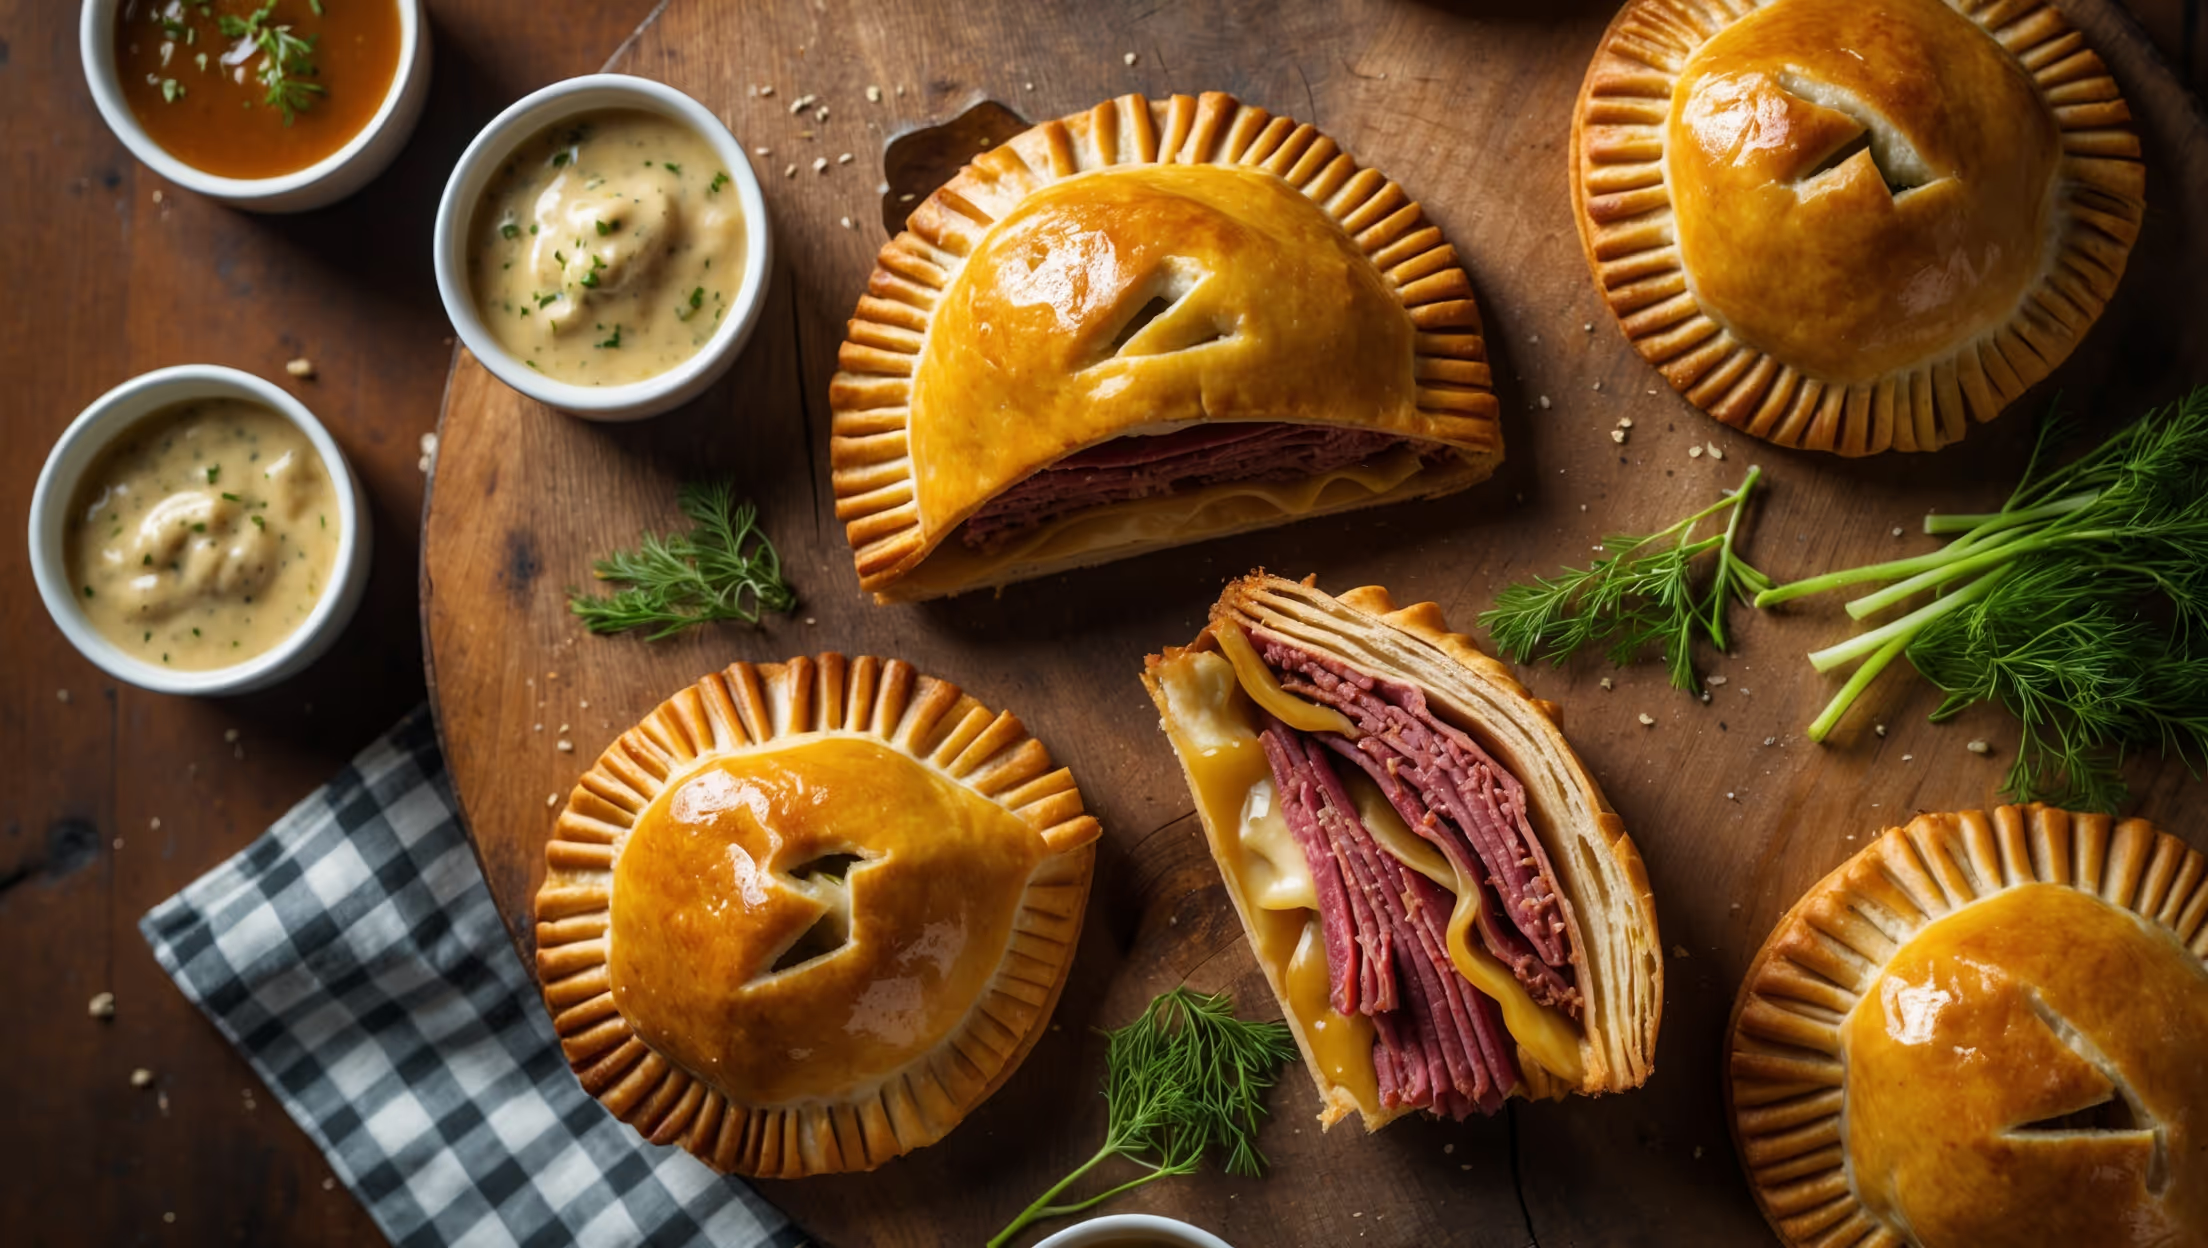
Complement these portable pastries with fresh sides like a crisp green salad, coleslaw, or pickled vegetables for contrast. For a heartier meal, serve with roasted vegetables, mashed potatoes, or homemade chips. A dollop of chutney or cranberry sauce adds a delightful sweet-tart balance.
Hand Pies
Try following recommended recipes