Cherry Hand Pies Recipe
Ingredients
Equipment
Directions
FAQs
Find answers to your most pressing questions about this delicious recipe right here.
Cherry hand pies require all-purpose flour, sugar, salt, unsalted butter, ice water, fresh or frozen cherries, cornstarch, lemon juice, almond extract (optional), egg for wash, coarse sugar for topping, and optional glaze ingredients (powdered sugar, milk, vanilla).
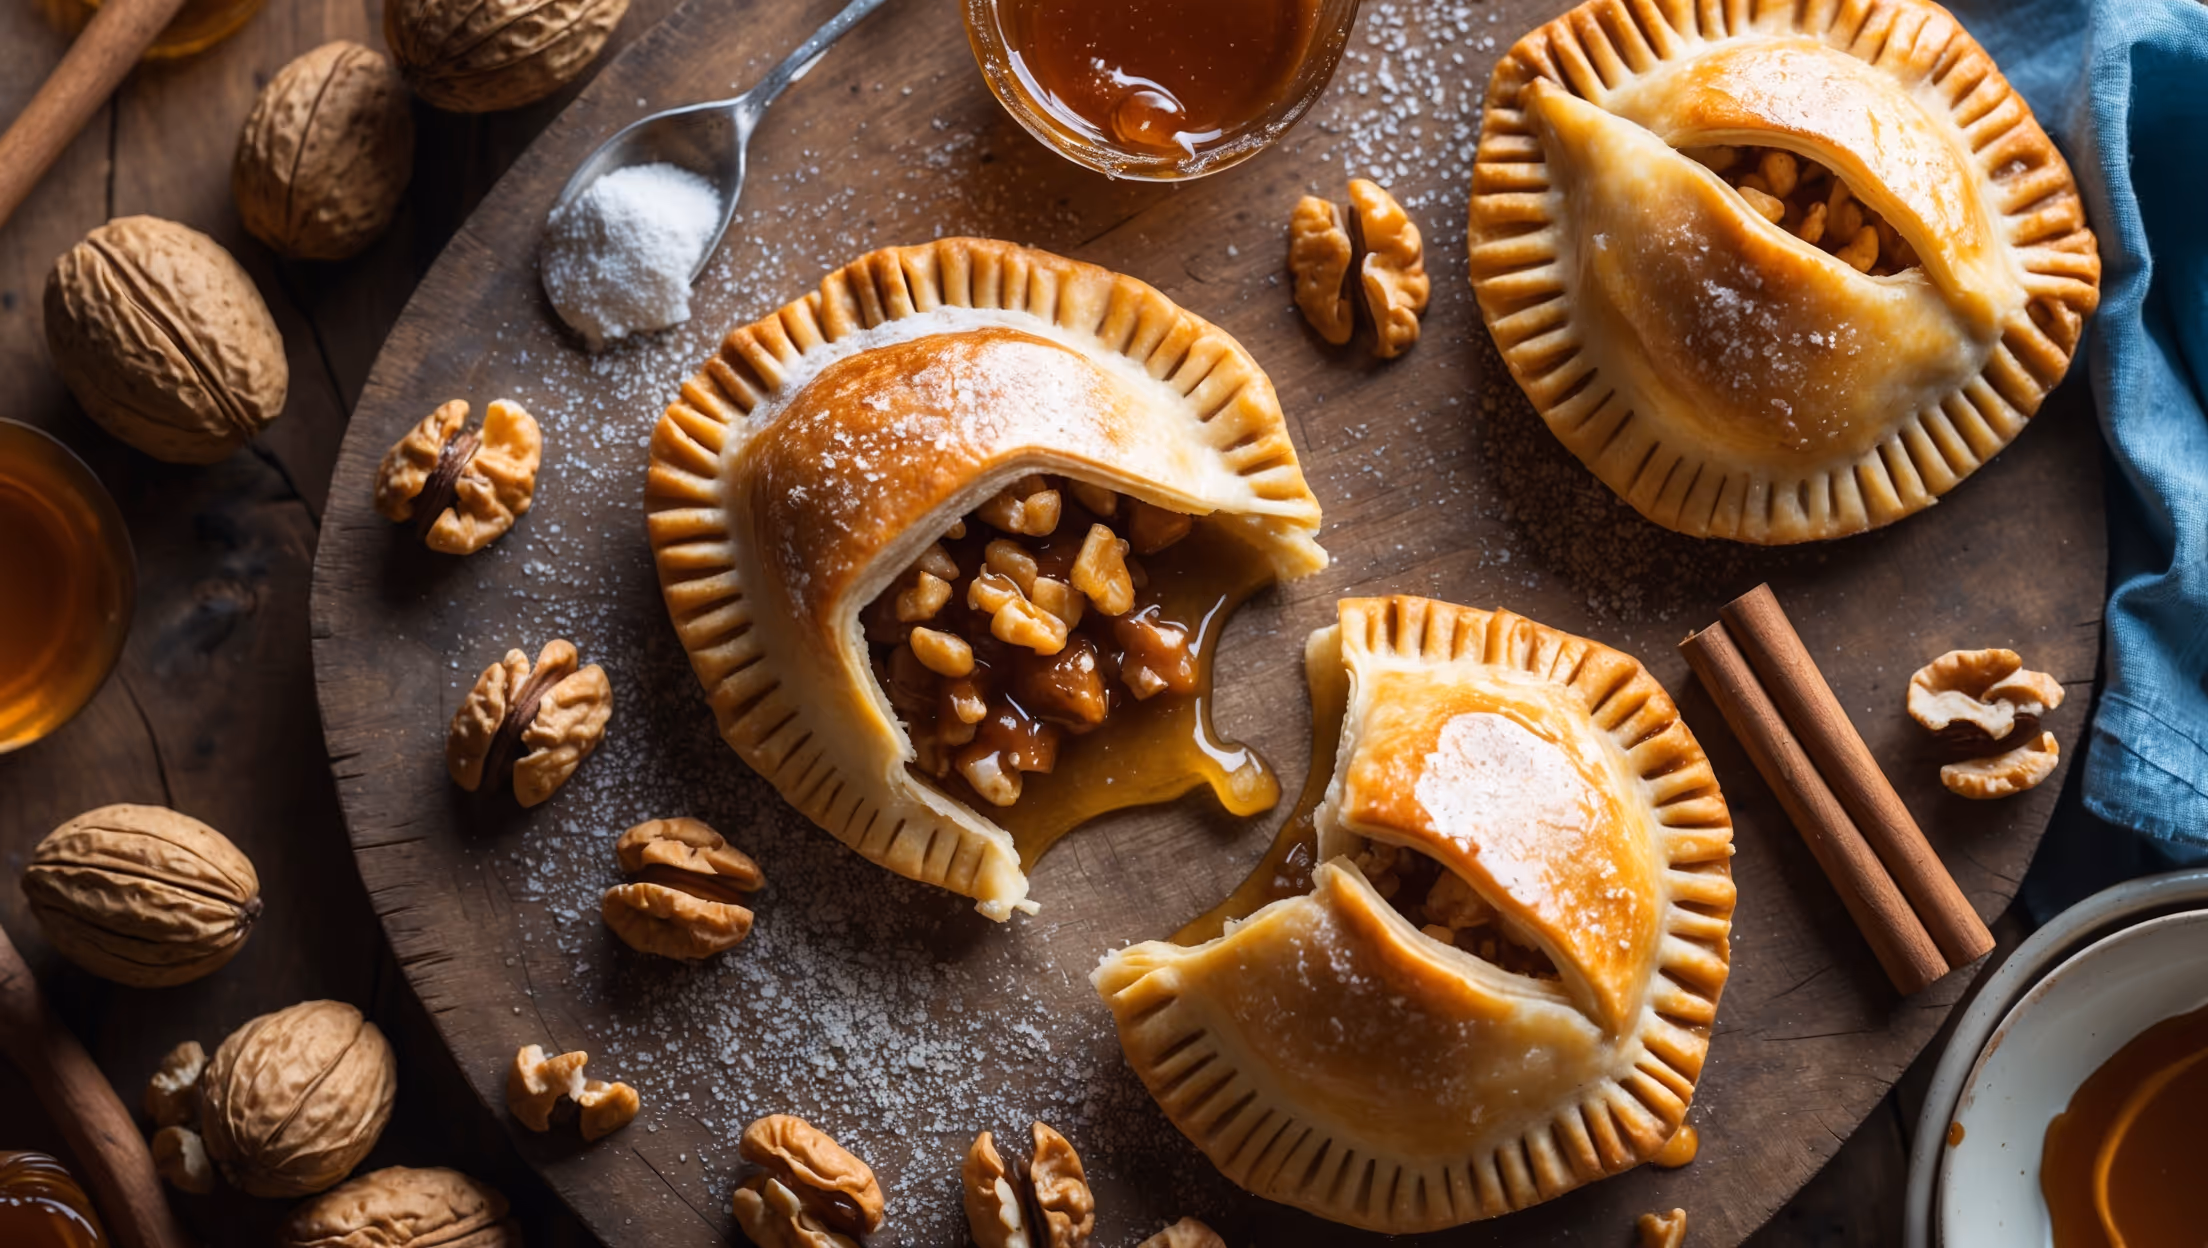
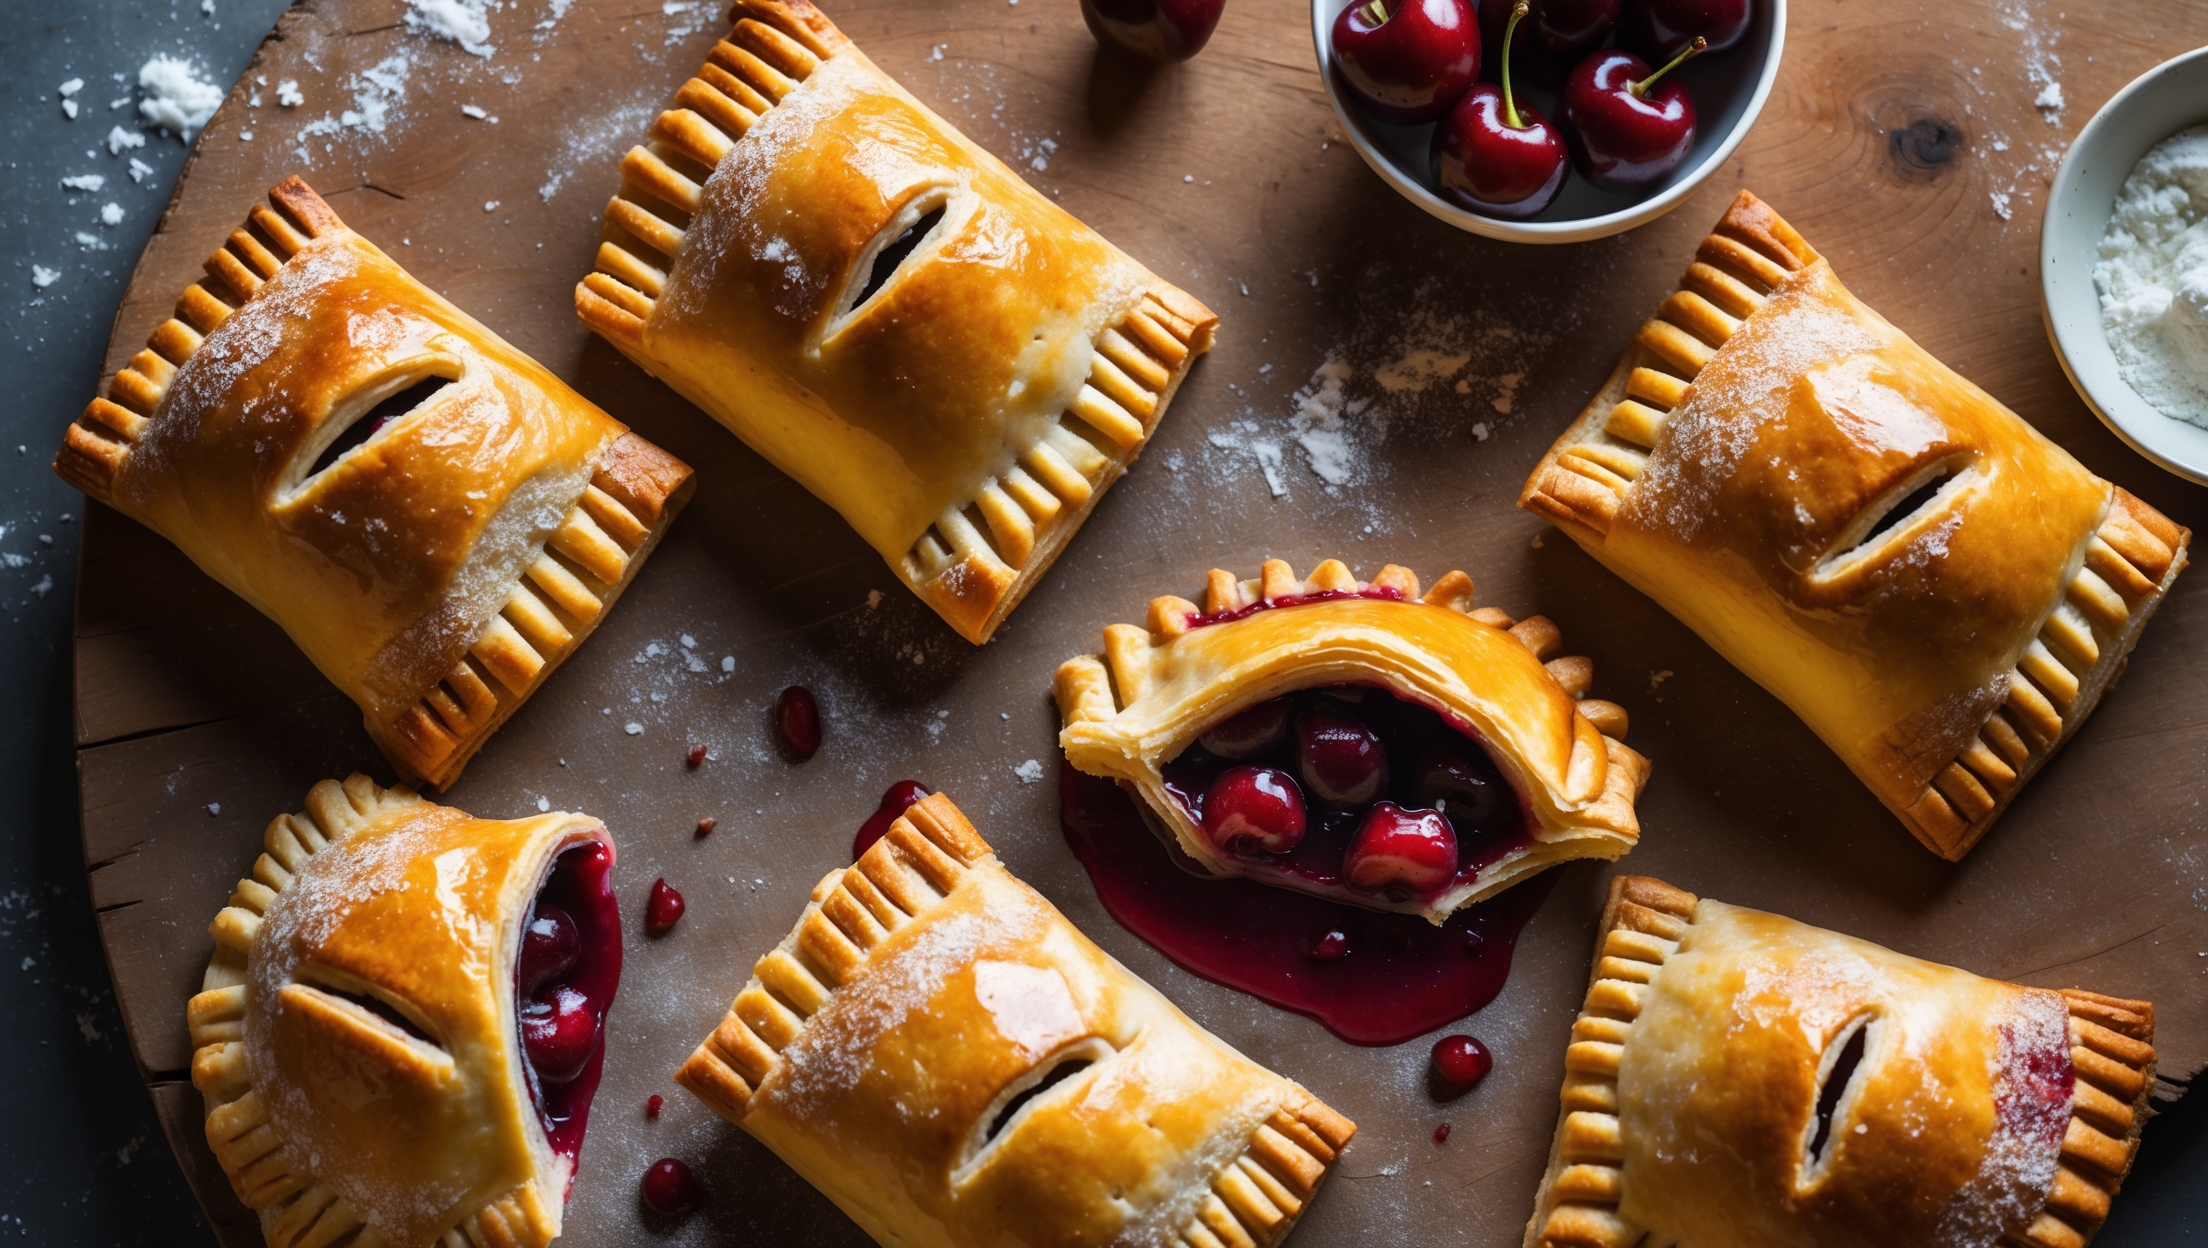
Learn how to cook Cherry Hand Pies by making a flaky pastry with cold butter, preparing a thickened cherry filling, cutting pastry rounds, assembling pockets with filling, crimping edges, adding vents, applying egg wash with sugar, and baking at 190°C until golden. The key techniques include keeping ingredients cold and allowing filling to cool completely before assembly.
Yes, you can use canned cherry pie filling as a time-saving alternative. Drain excess liquid first and add a splash of lemon juice and 1/4 teaspoon almond extract to enhance flavours. The texture will be different from homemade filling, but still delicious for convenient hand pies.
The secrets to flaky pastry are keeping ingredients cold throughout preparation, leaving visible butter pieces in the dough, minimal handling to prevent gluten development, proper chilling between steps, and cutting vents to release steam. The final pre-bake chilling is essential for maximum flakiness.
Prevent leaking by cooling filling completely before assembly, avoiding overfilling (1-2 tablespoons max per pie), ensuring a proper 1cm border, firmly sealing edges with egg wash, double-crimping with a fork, cutting adequate steam vents, and chilling assembled pies before baking.
Hand Pies
Try following recommended recipes