Cheese Hand Pies Recipe
Ingredients
Equipment
Directions
FAQs
Find answers to your most pressing questions about this delicious recipe right here.
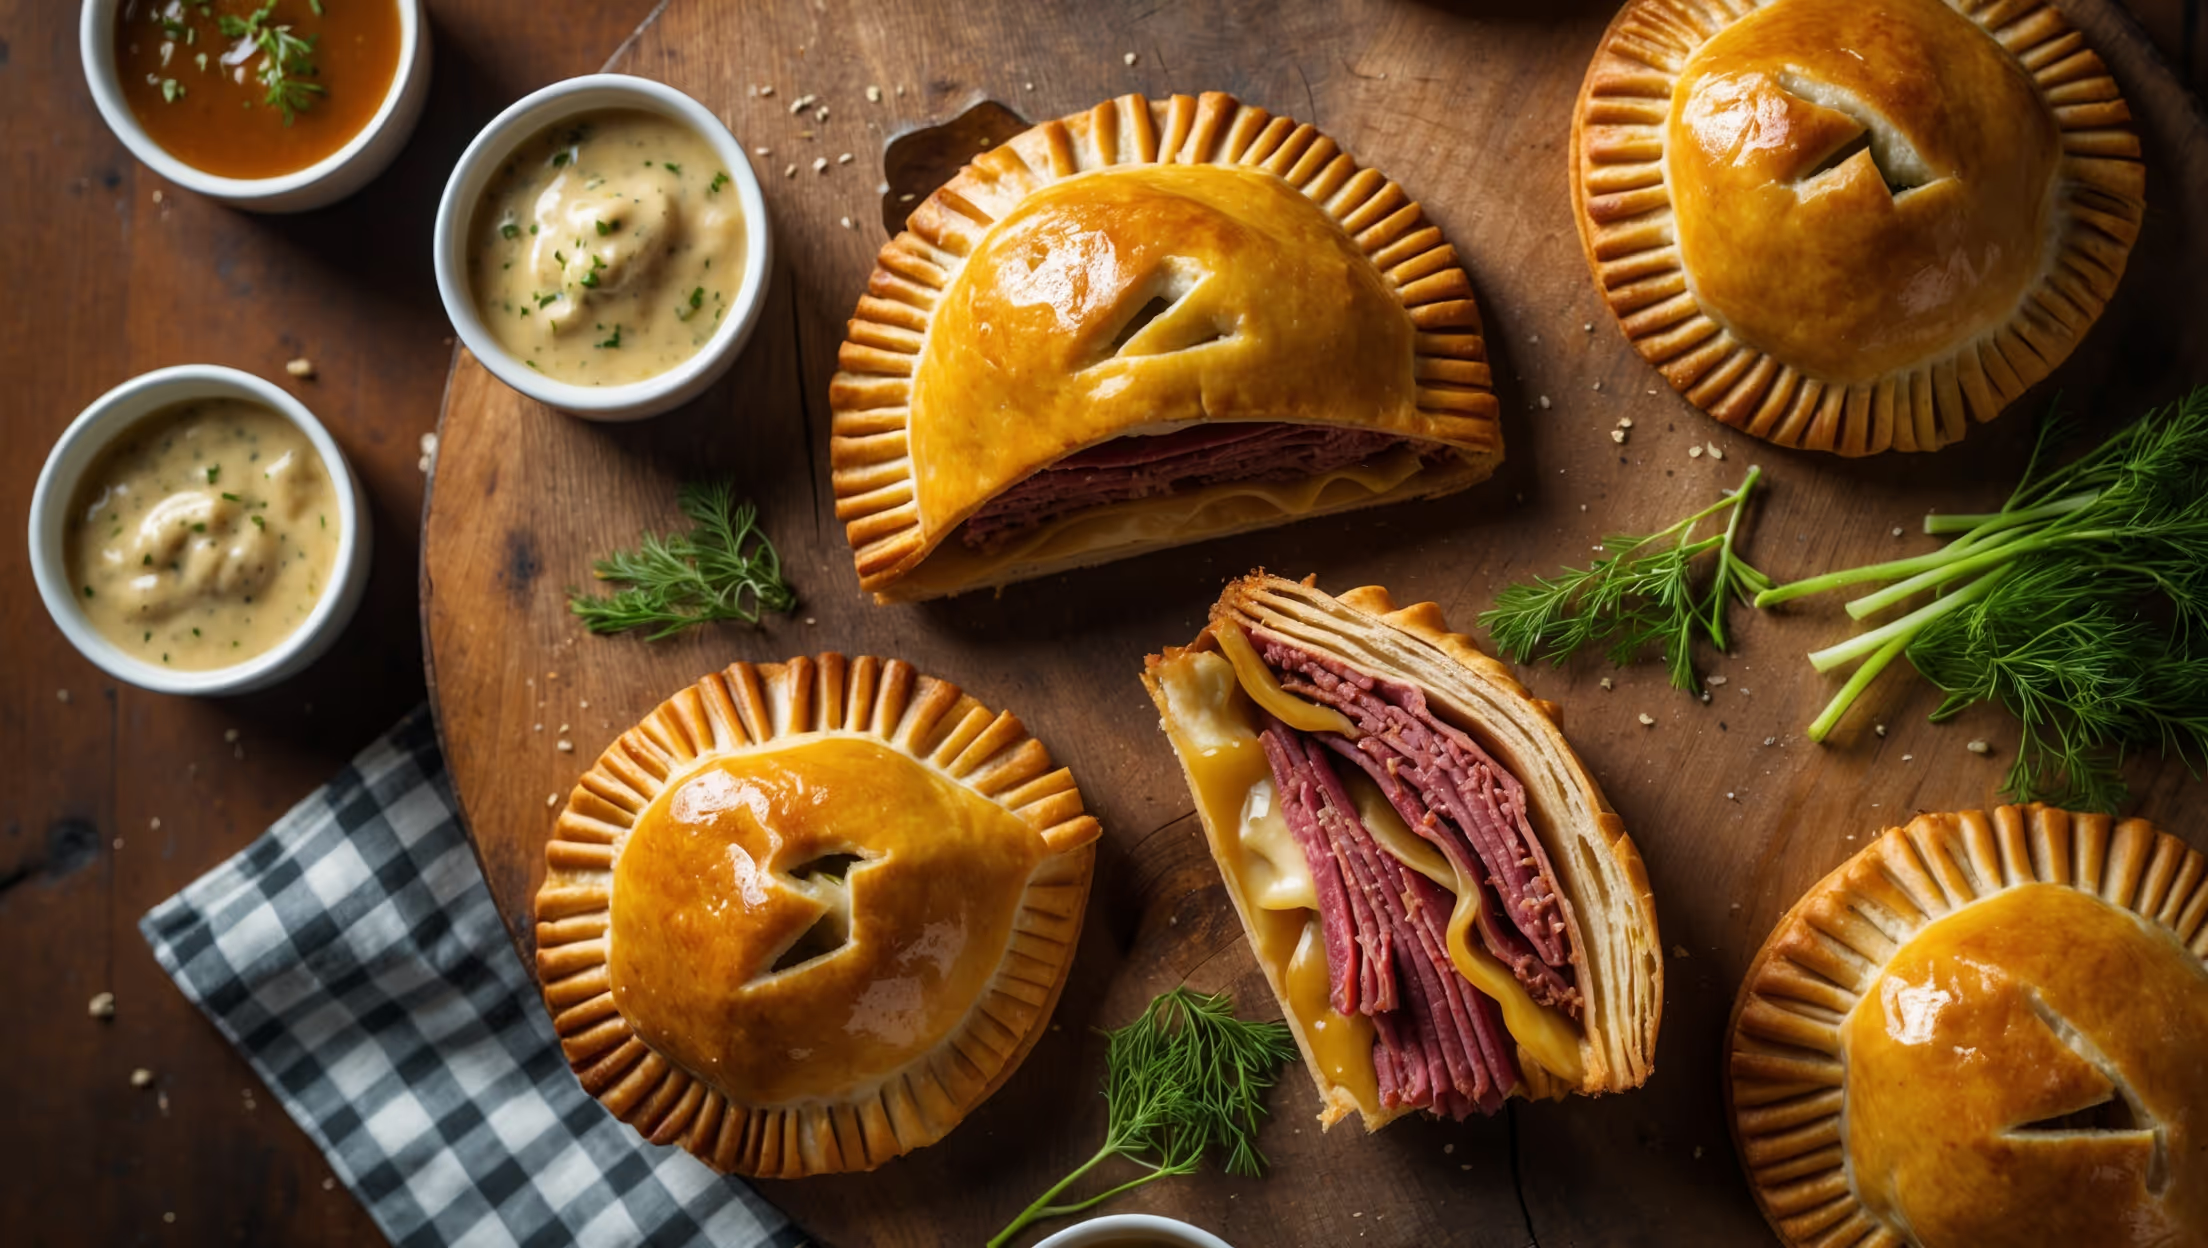
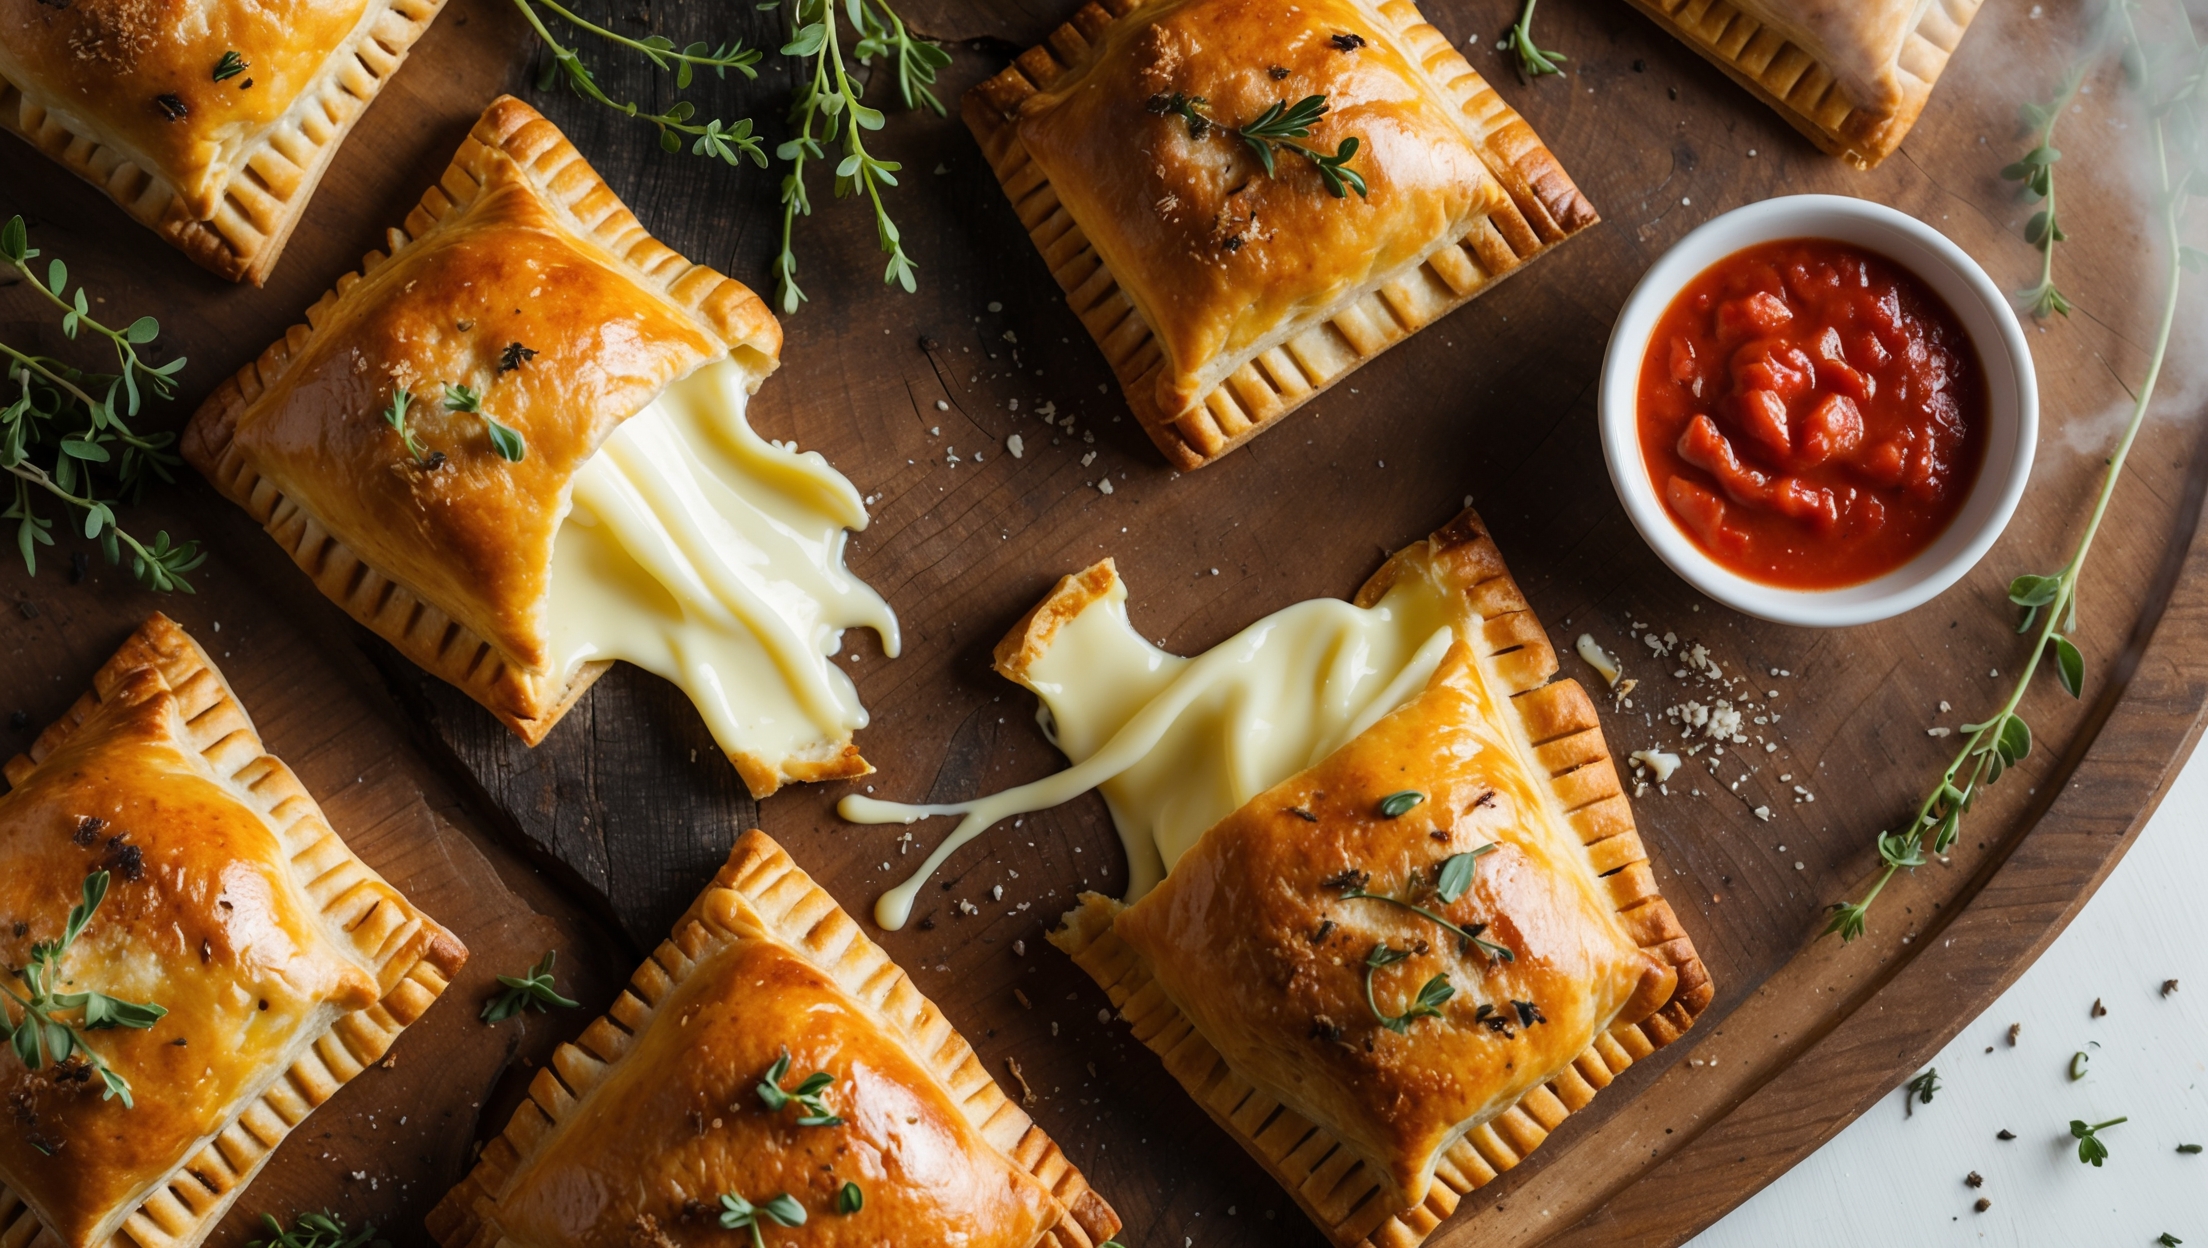
Cheese Hand Pies require all-purpose flour, cold butter, salt, sugar, ice water, apple cider vinegar for the dough, and a three-cheese filling using mozzarella, cheddar and cream cheese, complemented with fresh herbs and seasonings.
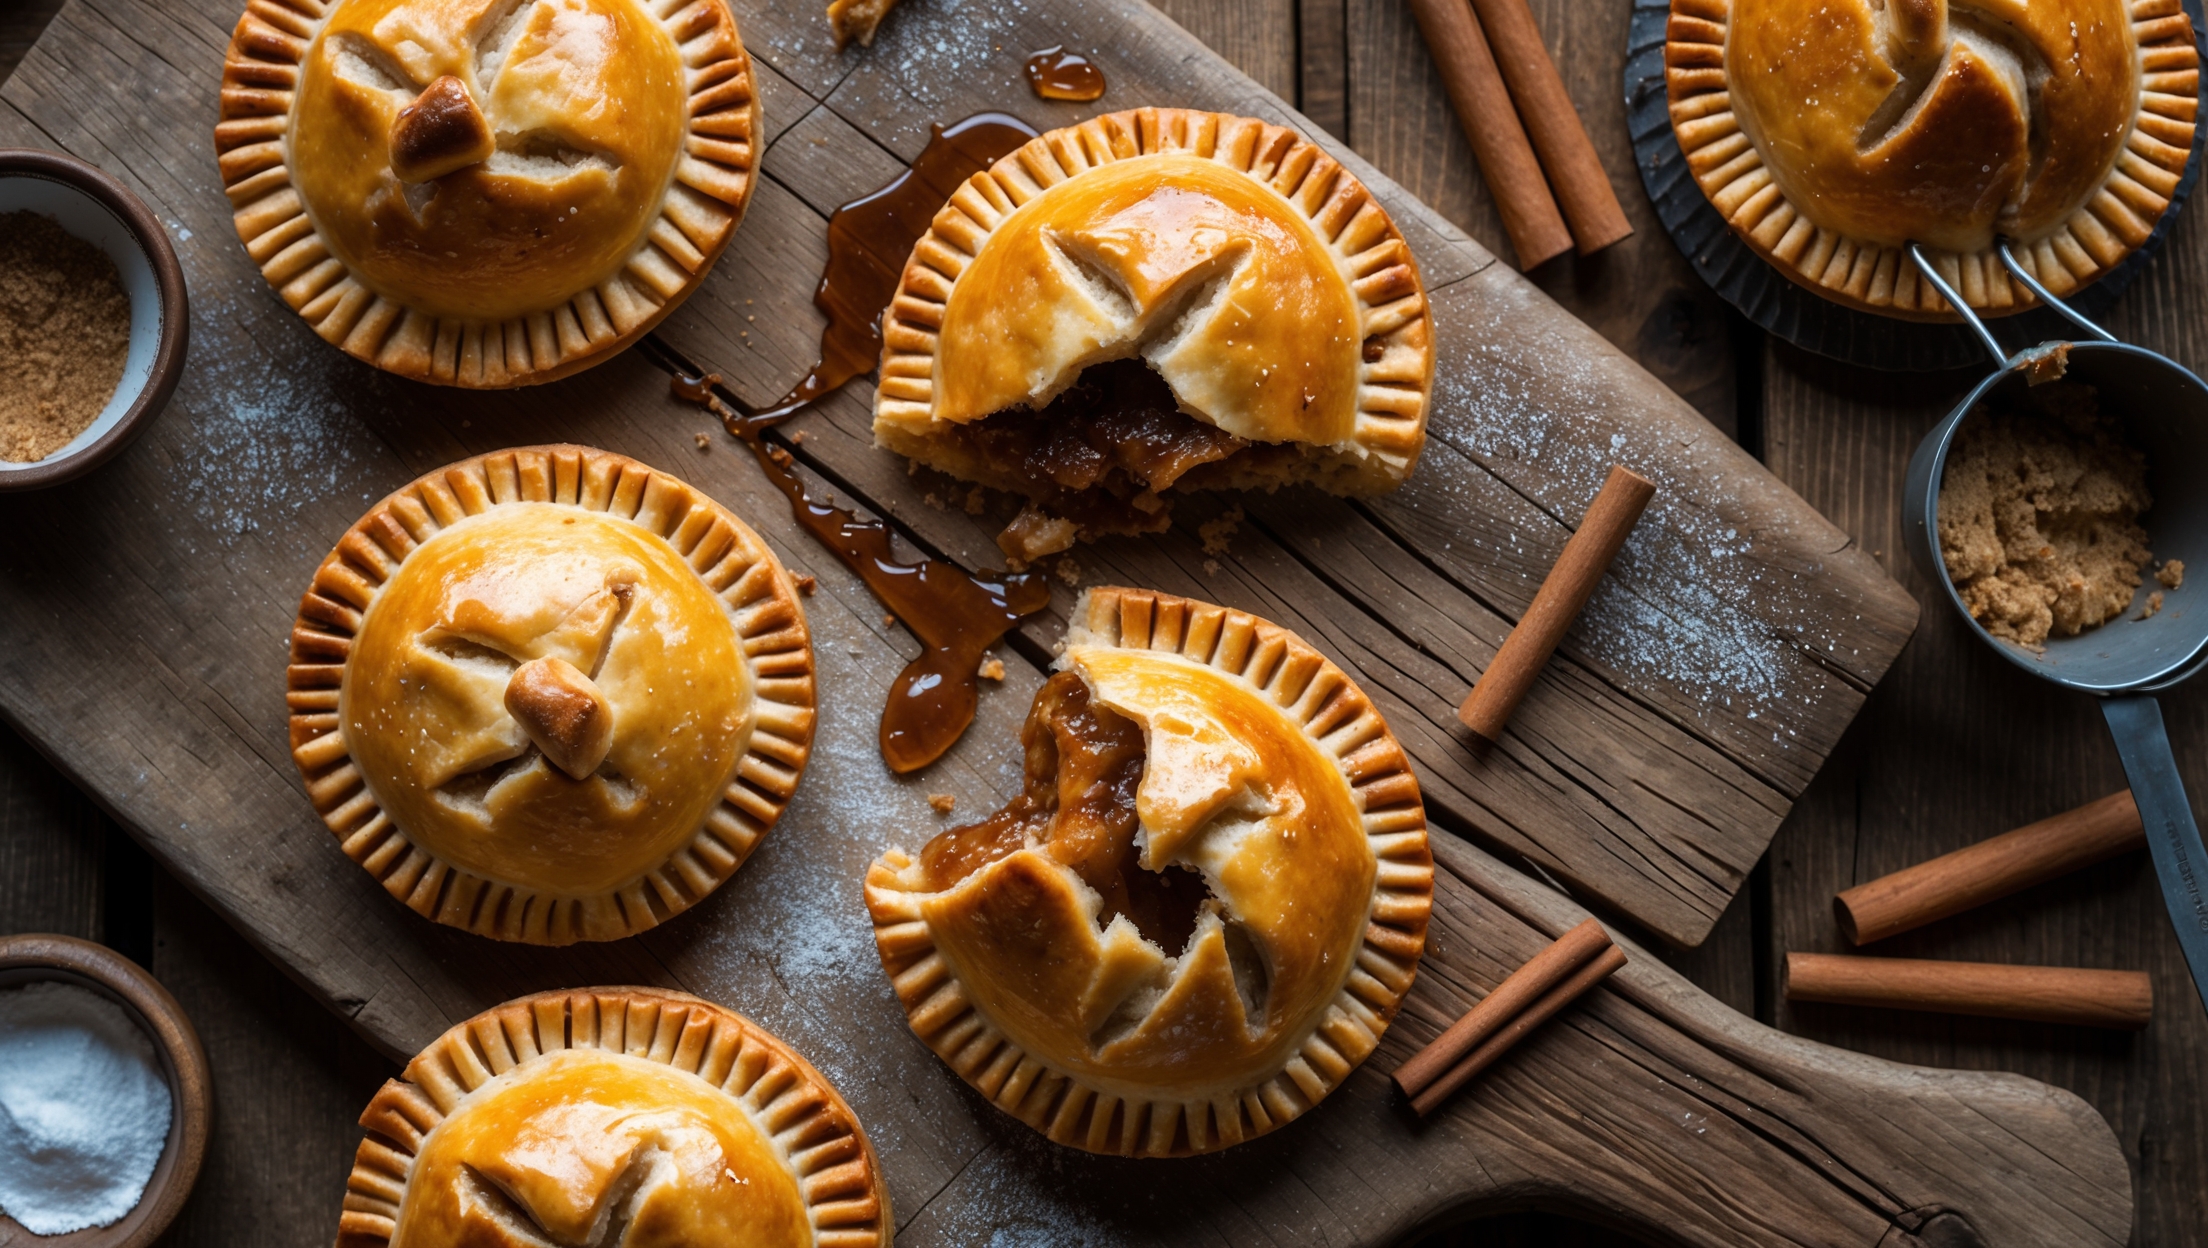
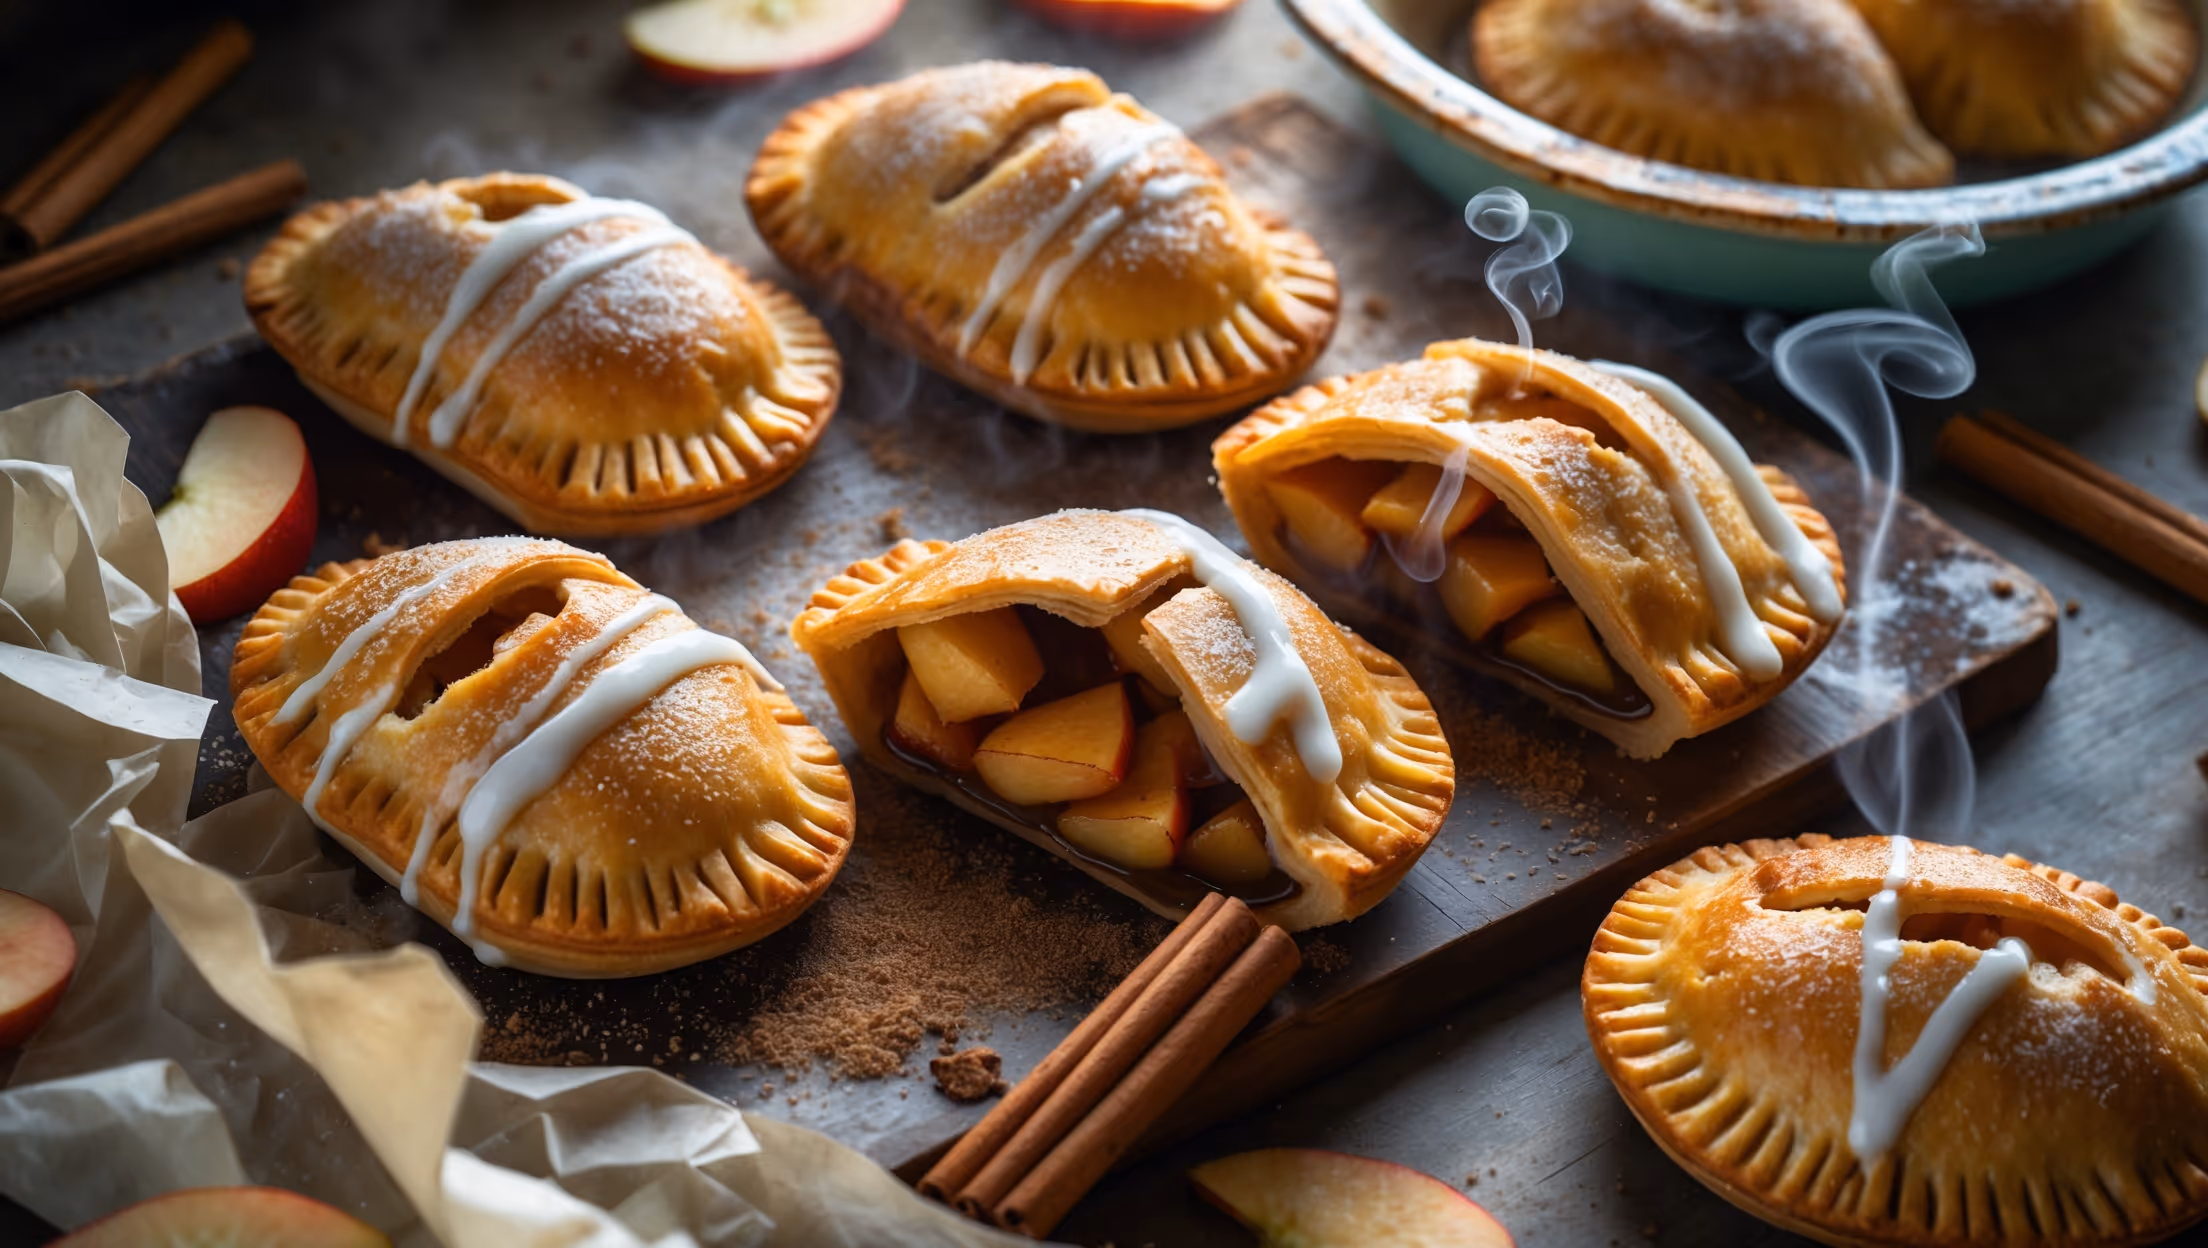
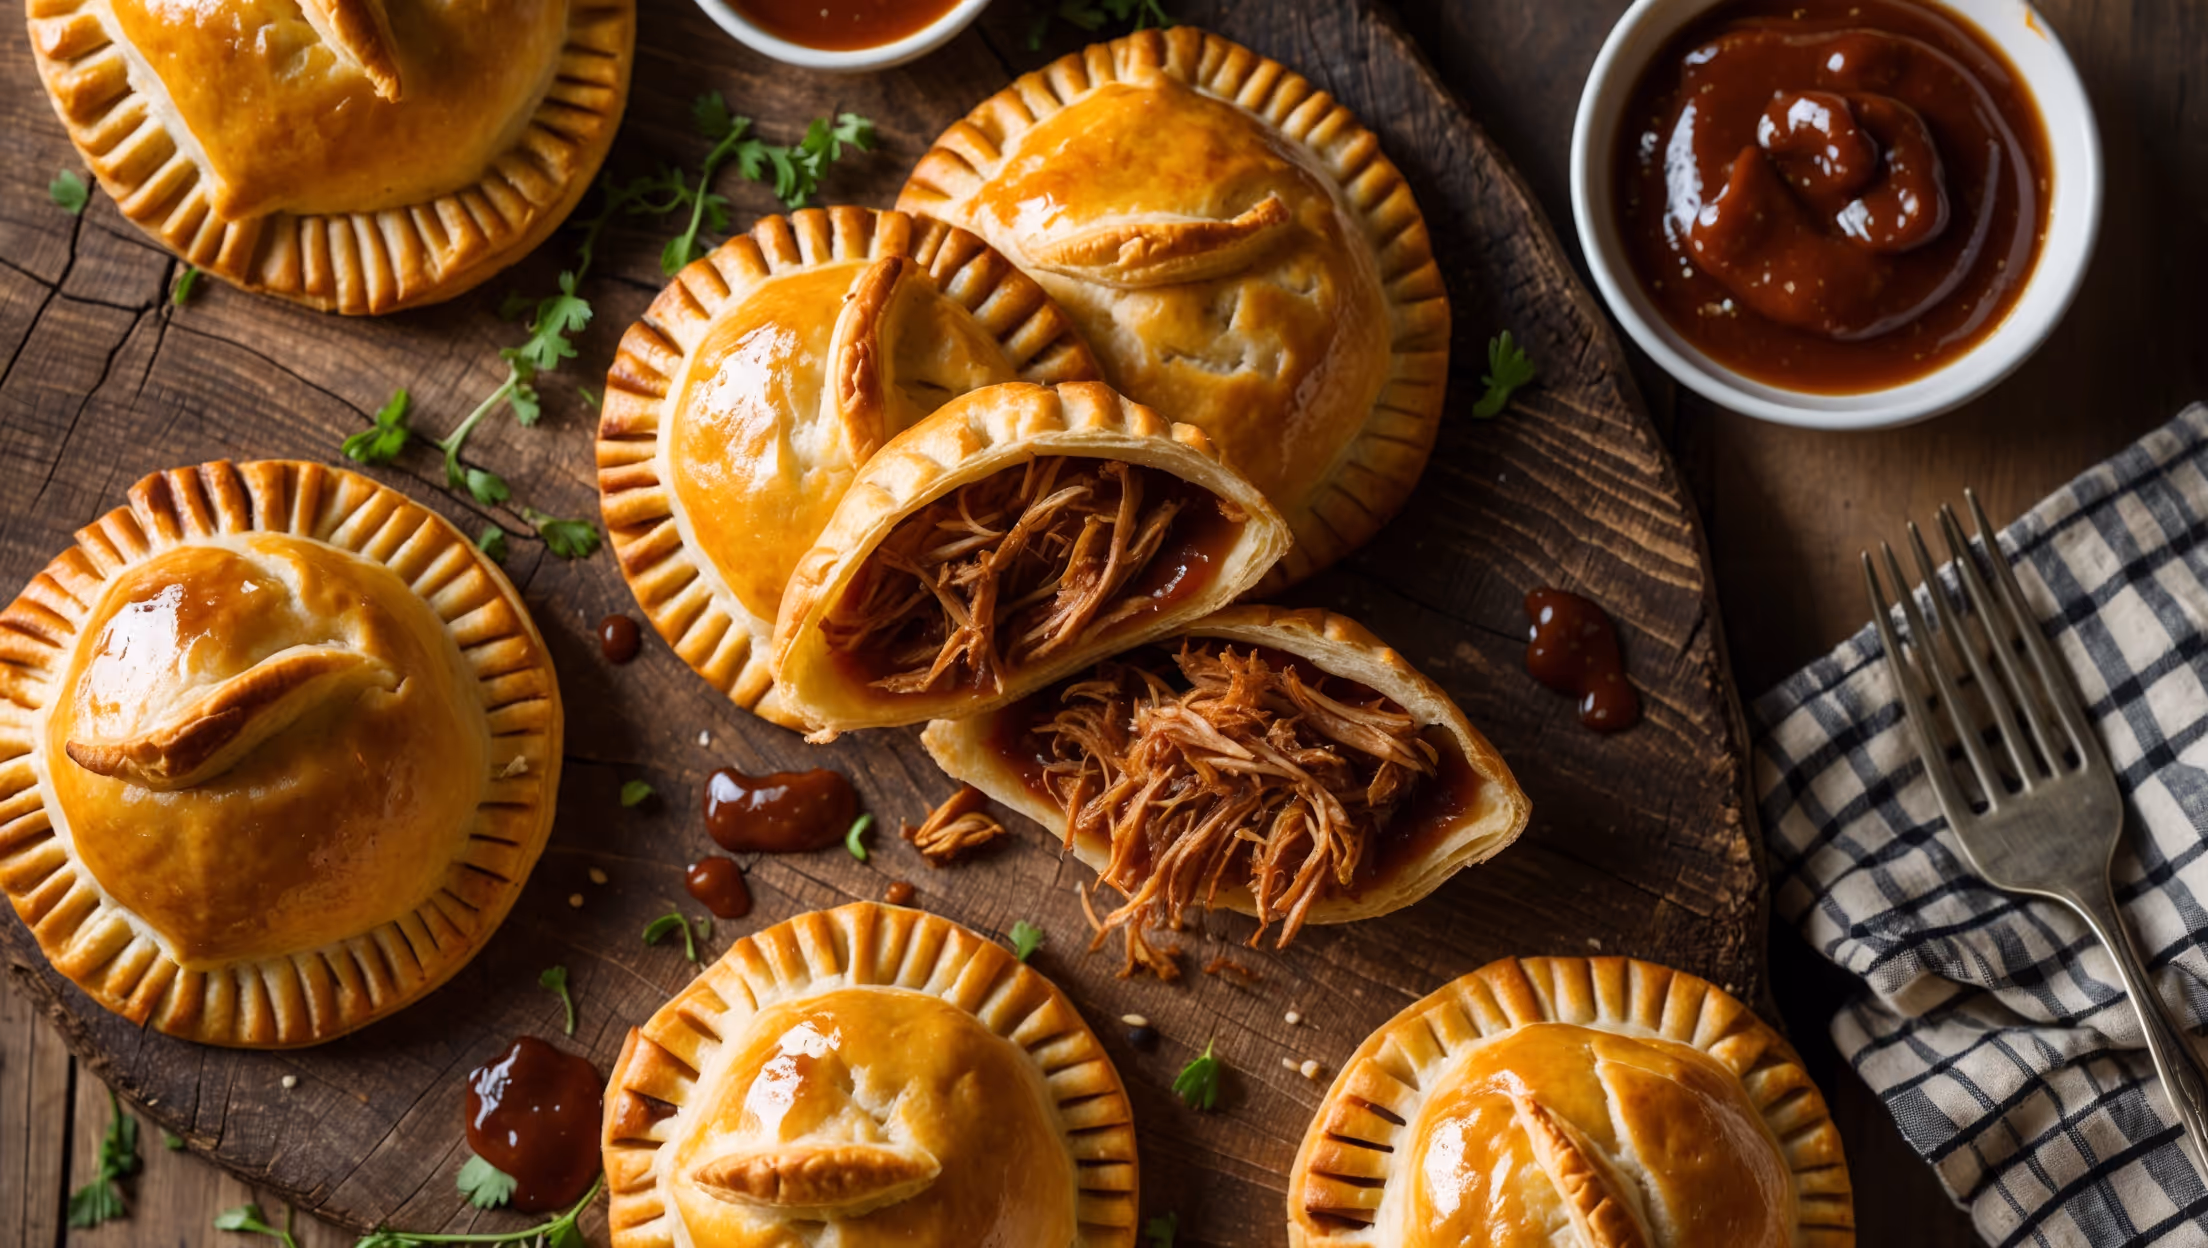
Learn how to cook Cheese Hand Pies by first making a flaky pastry dough that's chilled properly. Fill with a three-cheese mixture, seal edges carefully, and brush with egg wash before baking at 200°C for 20-25 minutes until golden brown. The key is letting the pies chill before baking to develop those perfect flaky layers.
The secrets are using very cold butter, not overworking the dough, adding apple cider vinegar (which prevents gluten development), performing simple lamination folds, and chilling the assembled pies before baking. This creates steam pockets that expand into flaky layers.
Yes! These pastry pockets freeze beautifully. Either freeze them unbaked (after assembly) or after baking once cooled. When ready to eat, bake frozen unbaked pies adding 5-7 minutes to the cooking time, or reheat baked ones at 180°C for 5-7 minutes until warmed through.
Marinara sauce is the classic pairing for these cheese-filled treats, but they also pair wonderfully with garlic aioli, sweet chilli sauce, honey mustard, pesto, hot sauce, or even a balsamic glaze. The acidic or spicy notes balance the rich, cheesy filling perfectly.
Hand Pies
Try following recommended recipes