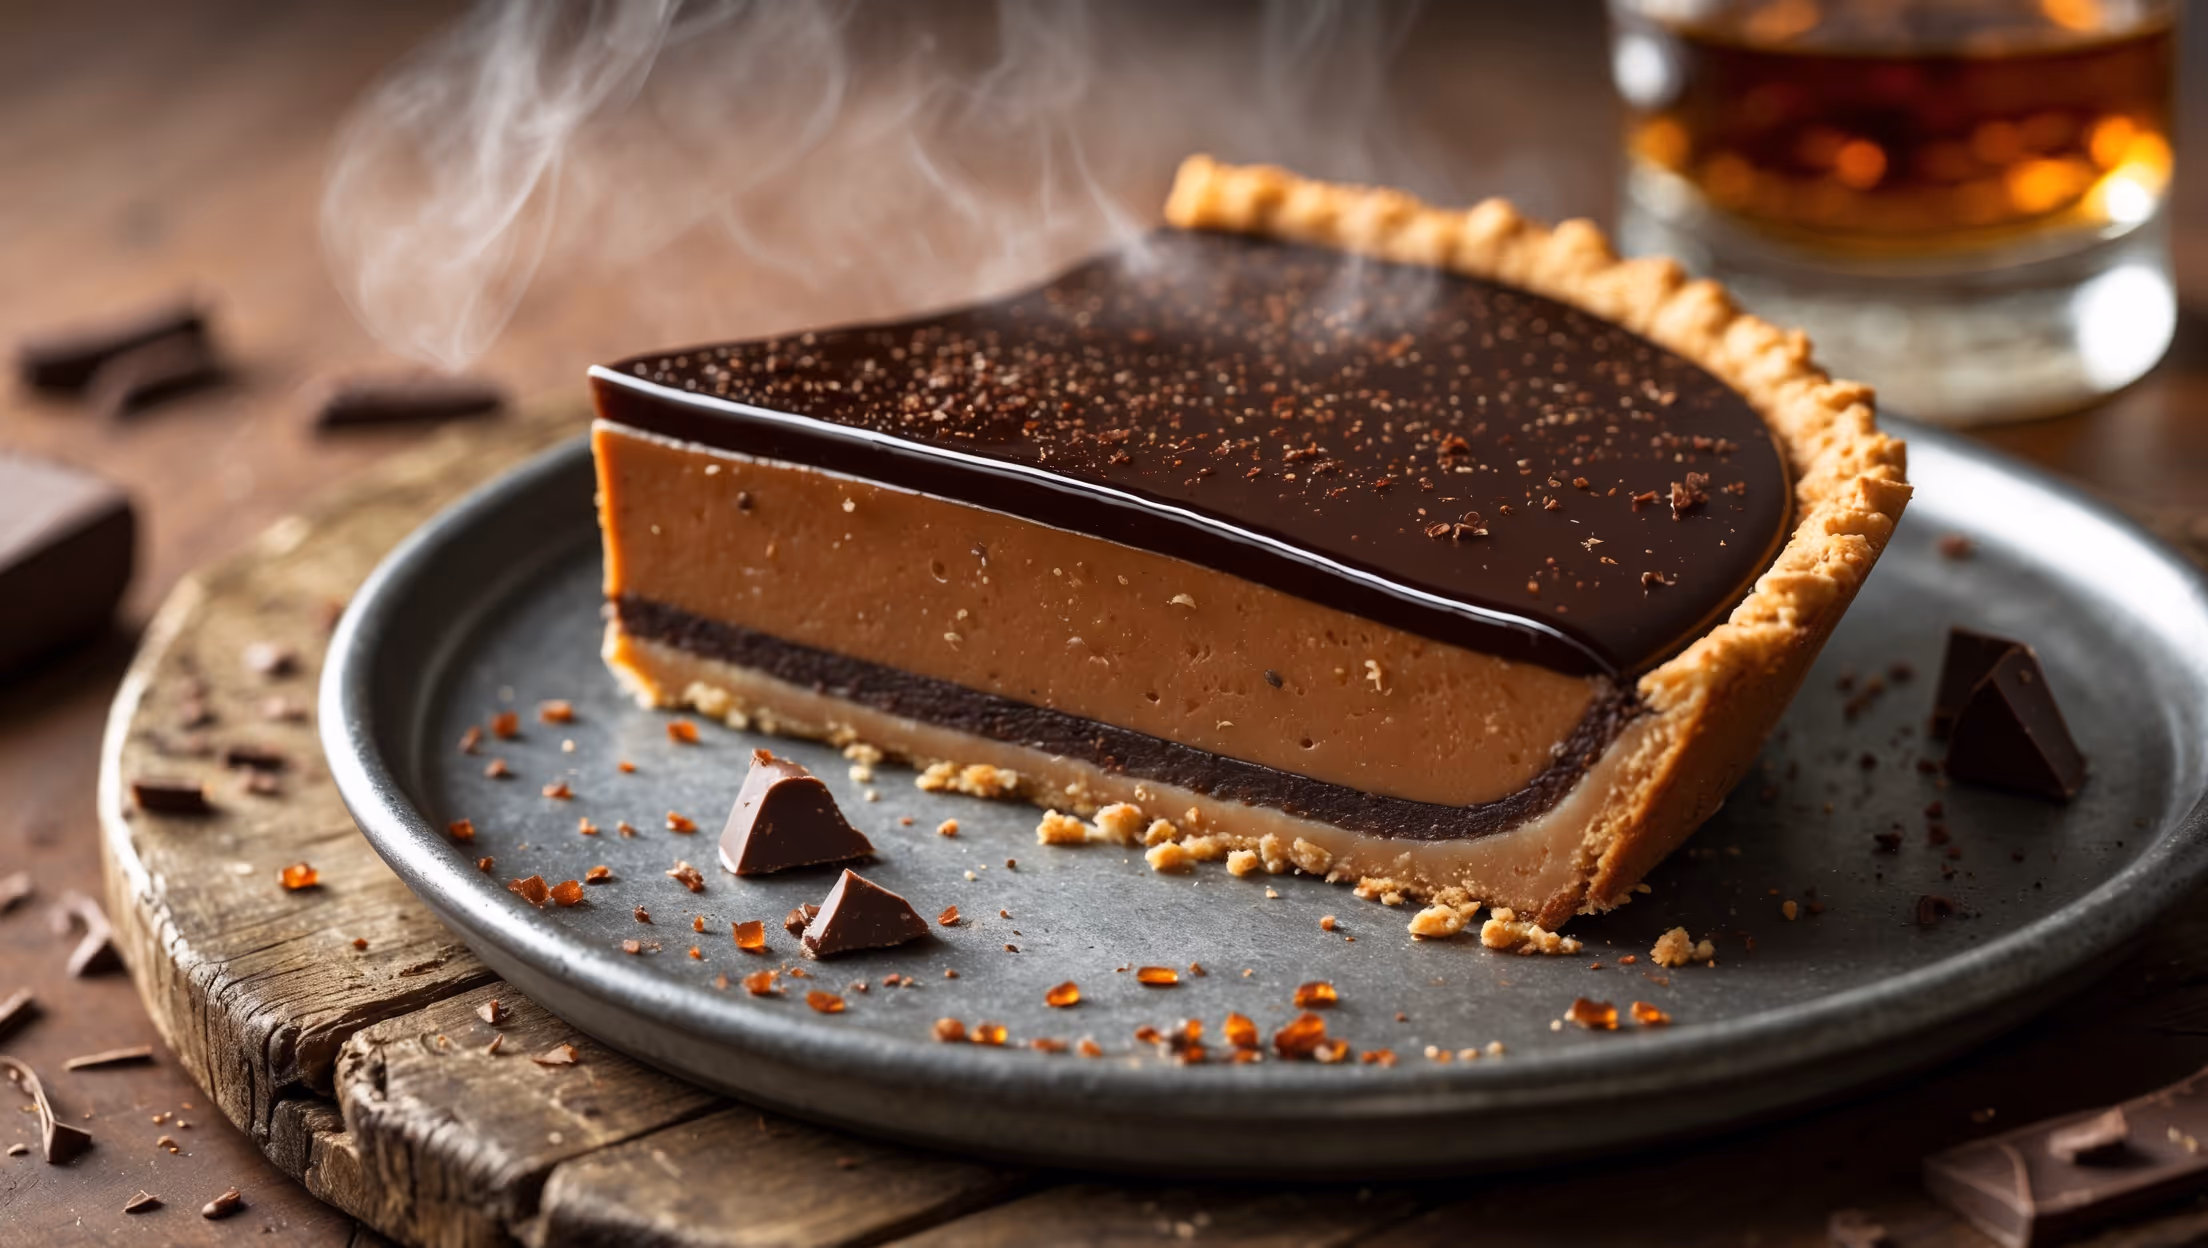
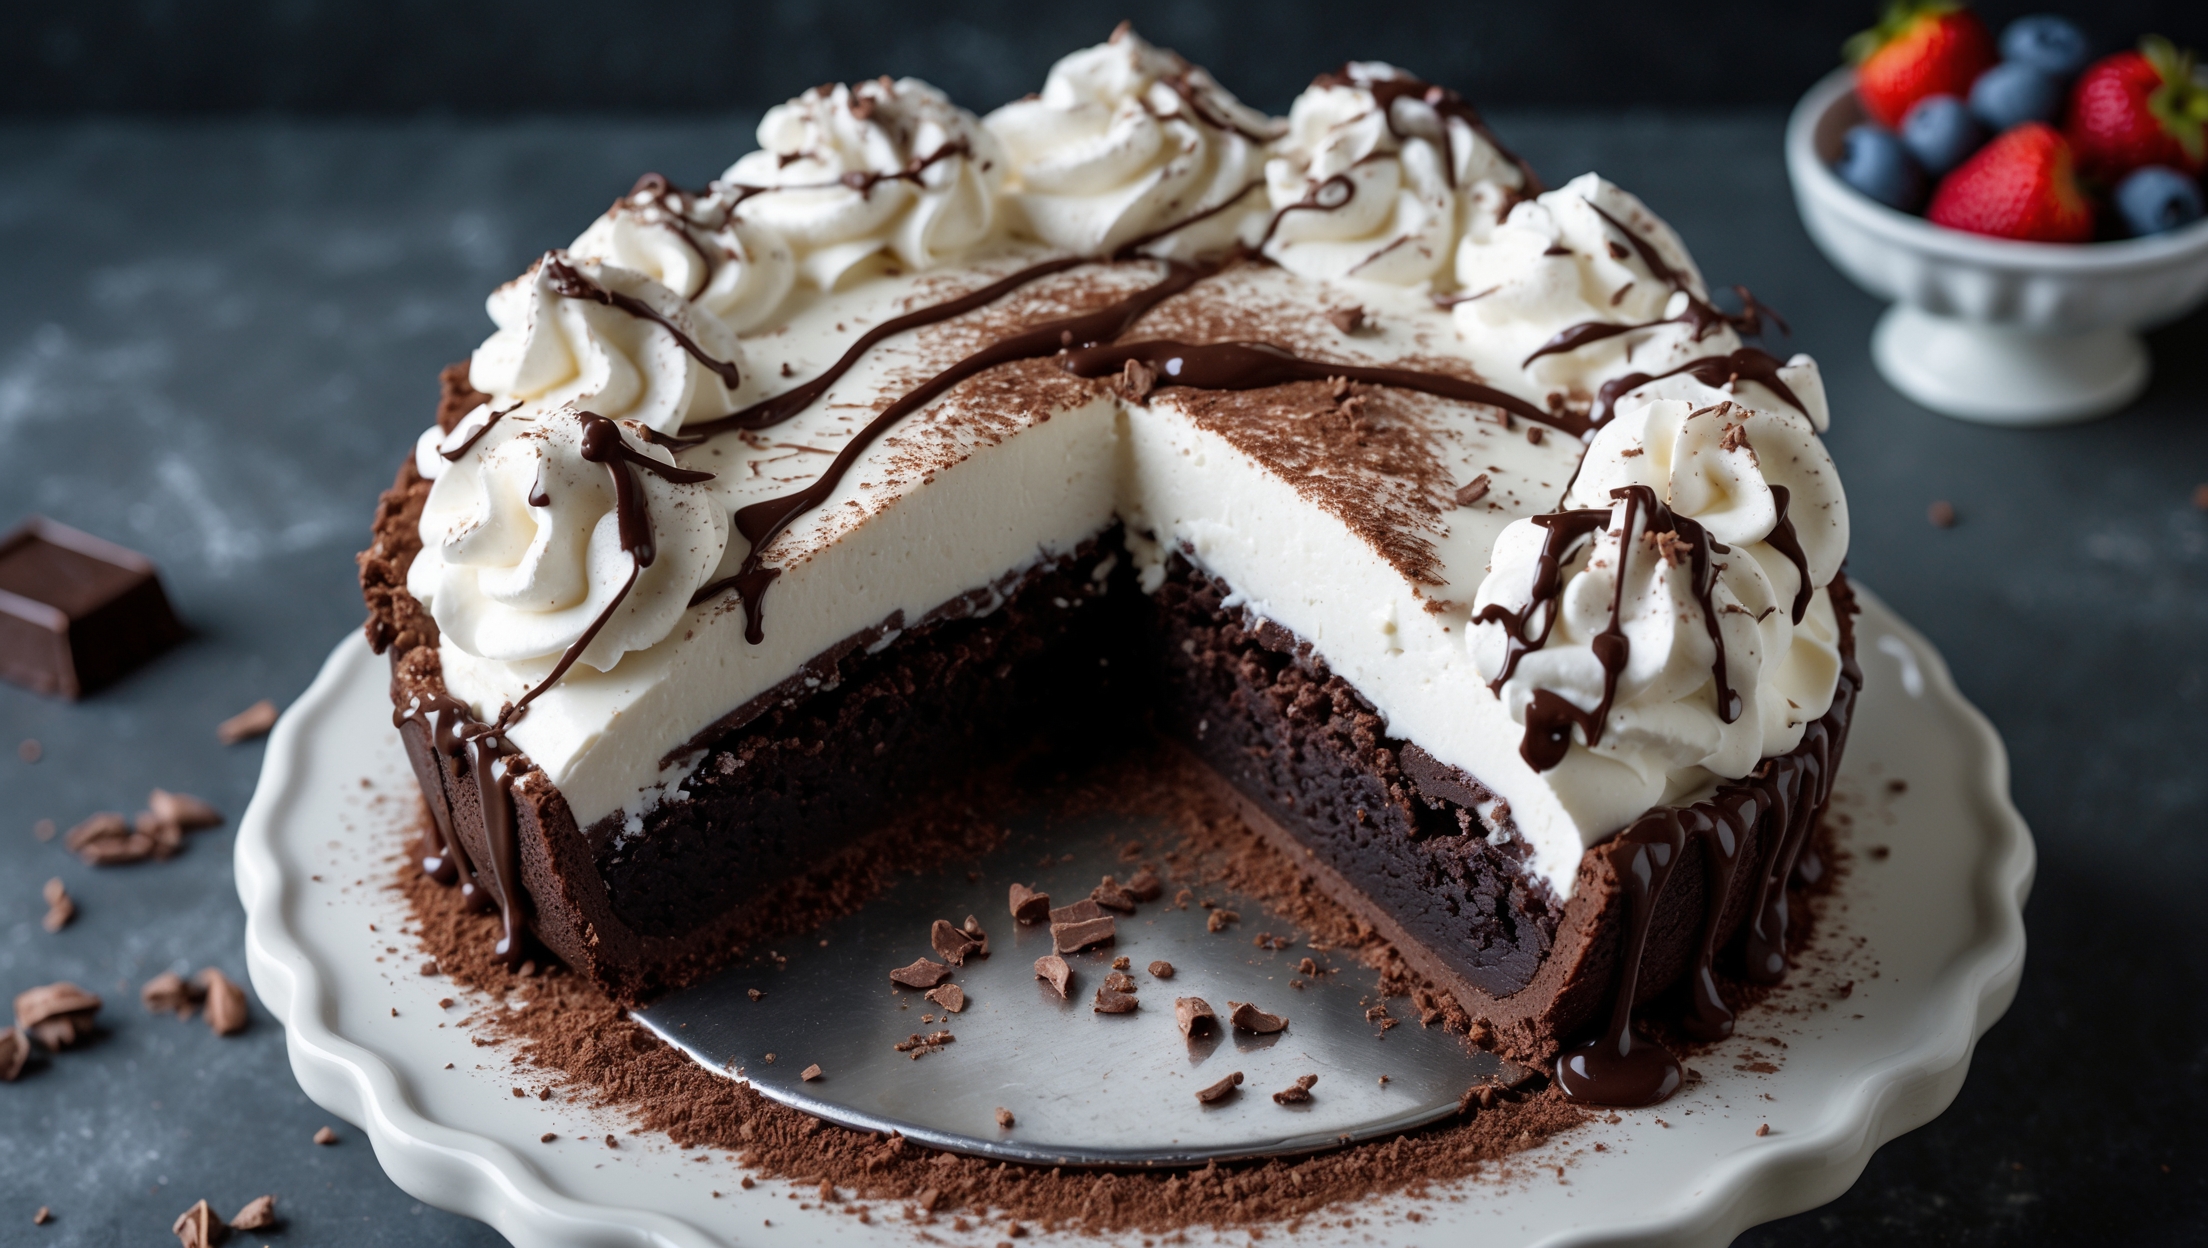
Brownie Cream Pie Recipe
Ingredients
Equipment
Directions
FAQs
Find answers to your most pressing questions about this delicious recipe right here.
Brownie Cream Pie requires unsalted butter, dark chocolate, sugar, eggs, vanilla, flour, cocoa powder, and salt for the brownie base. The topping needs heavy cream, powdered sugar, vanilla, and optional instant pudding mix for stability. Garnish with chocolate shavings and cocoa powder.
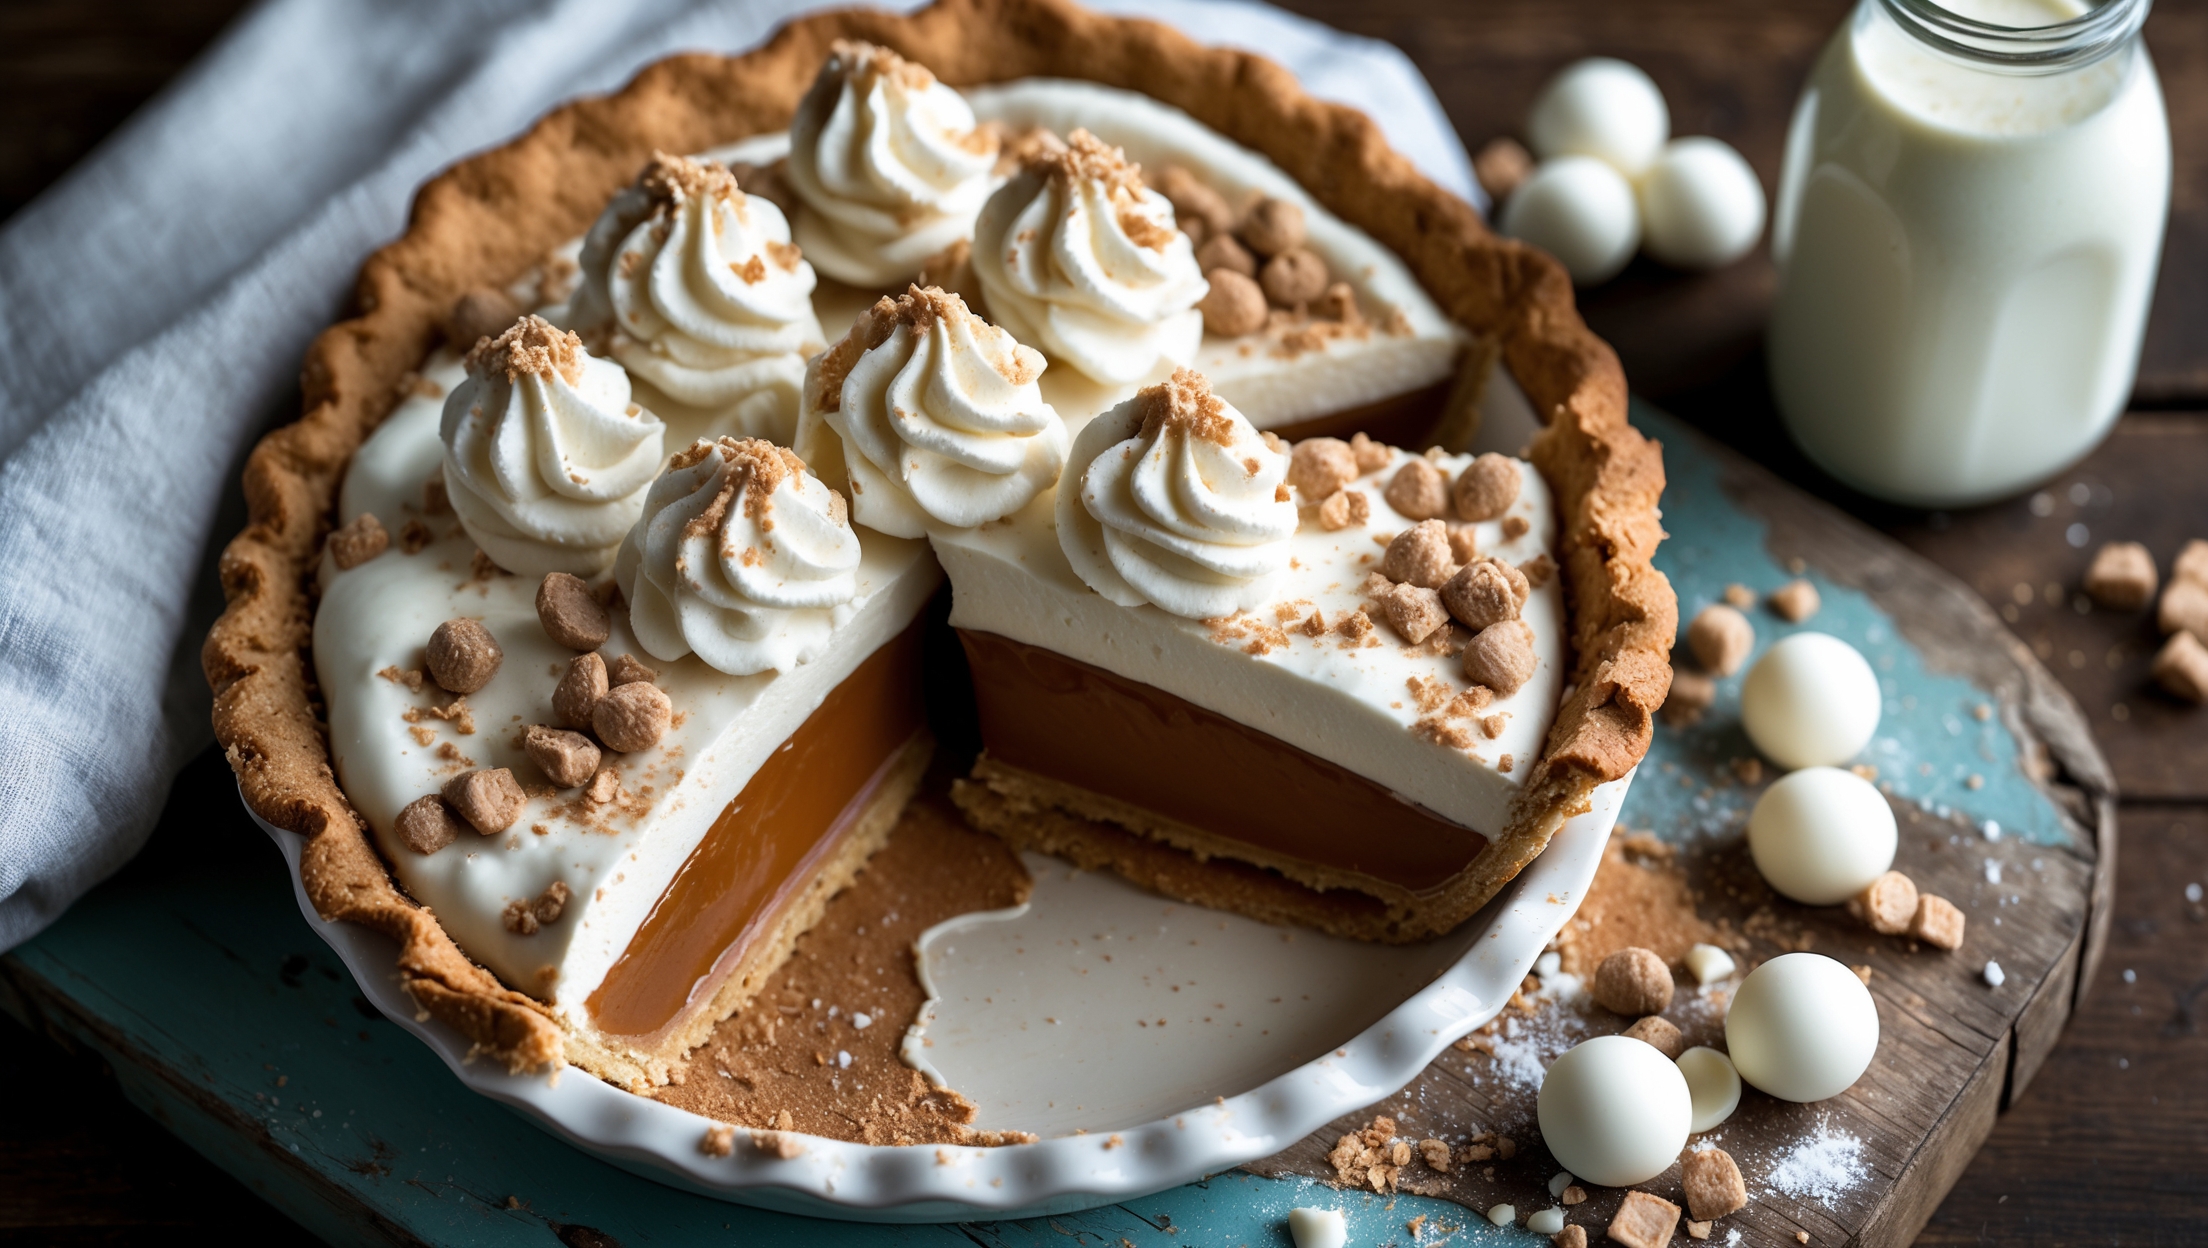
Learn how to cook Brownie Cream Pie by first creating a fudgy brownie base baked at 180°C until it has a crackly top. After cooling completely, top with stabilised whipped cream that's beaten to stiff peaks. The contrast between the dense chocolate brownie and cloud-like cream creates a stunning dessert that's simple to make but looks impressive.
Yes, the brownie base can be made up to 2 days in advance. Once cooled, wrap it tightly in cling film and store at room temperature. Add the whipped cream topping just a few hours before serving for the best texture and presentation. This makes it perfect for stress-free entertaining.
Whipped cream can collapse due to overbeating or inadequate stabilisation. Add 1 tablespoon of instant vanilla pudding mix or 1 teaspoon of cornstarch to your cream mixture before whipping. For best results, whip cold cream until stiff peaks form and keep the finished pie refrigerated.
The secret to fudgy brownies is slightly underbaking them, using more fat than flour, and minimal mixing after adding dry ingredients. Remove the brownie from the oven when a toothpick shows a few moist crumbs (not wet batter). The residual heat will continue cooking it to perfection.
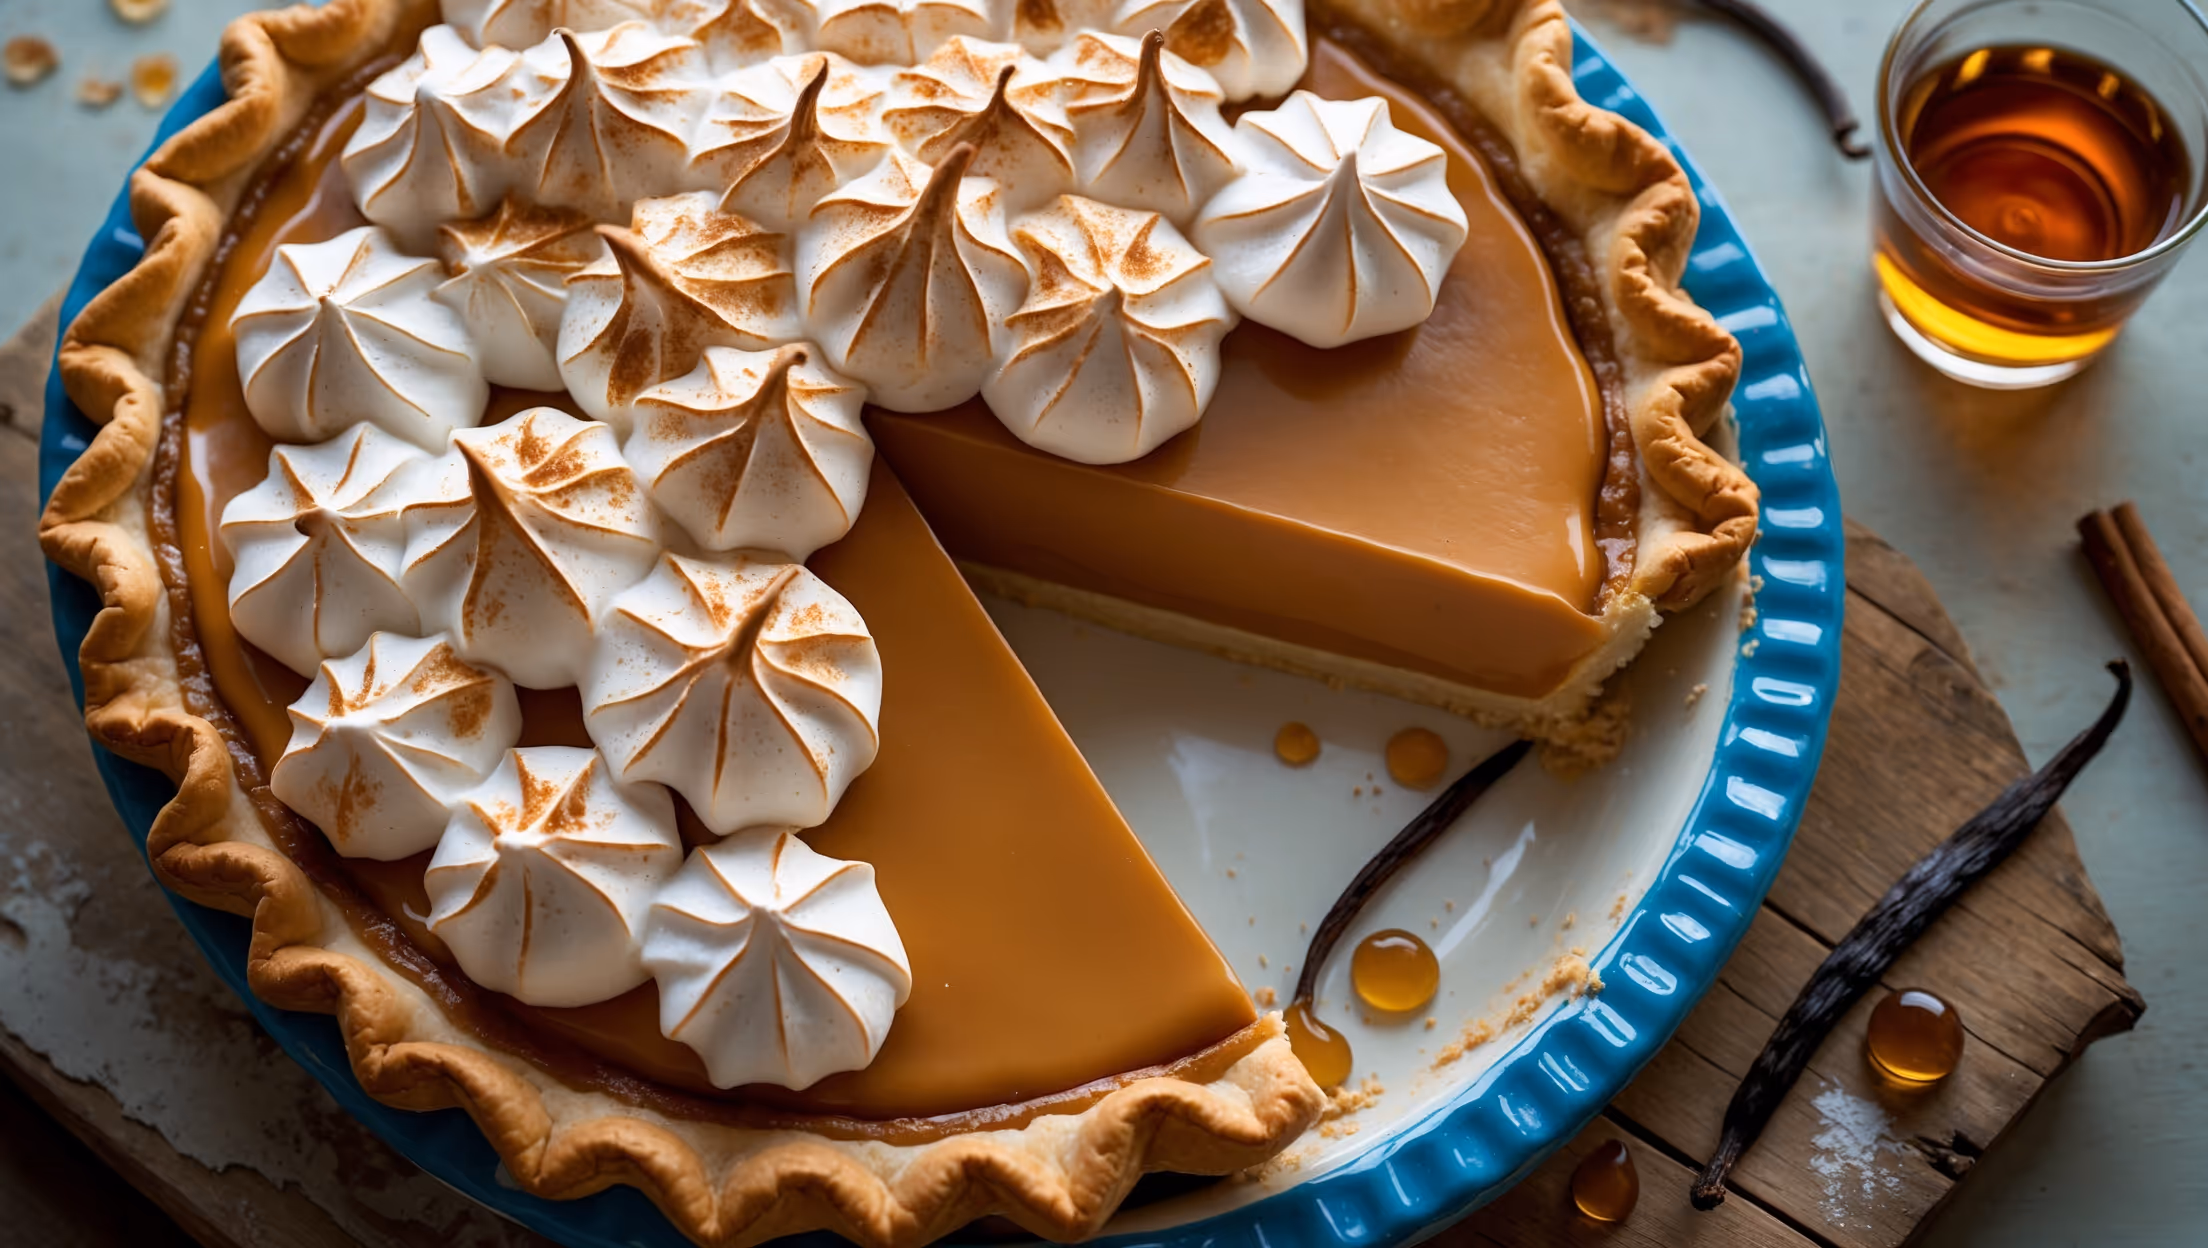
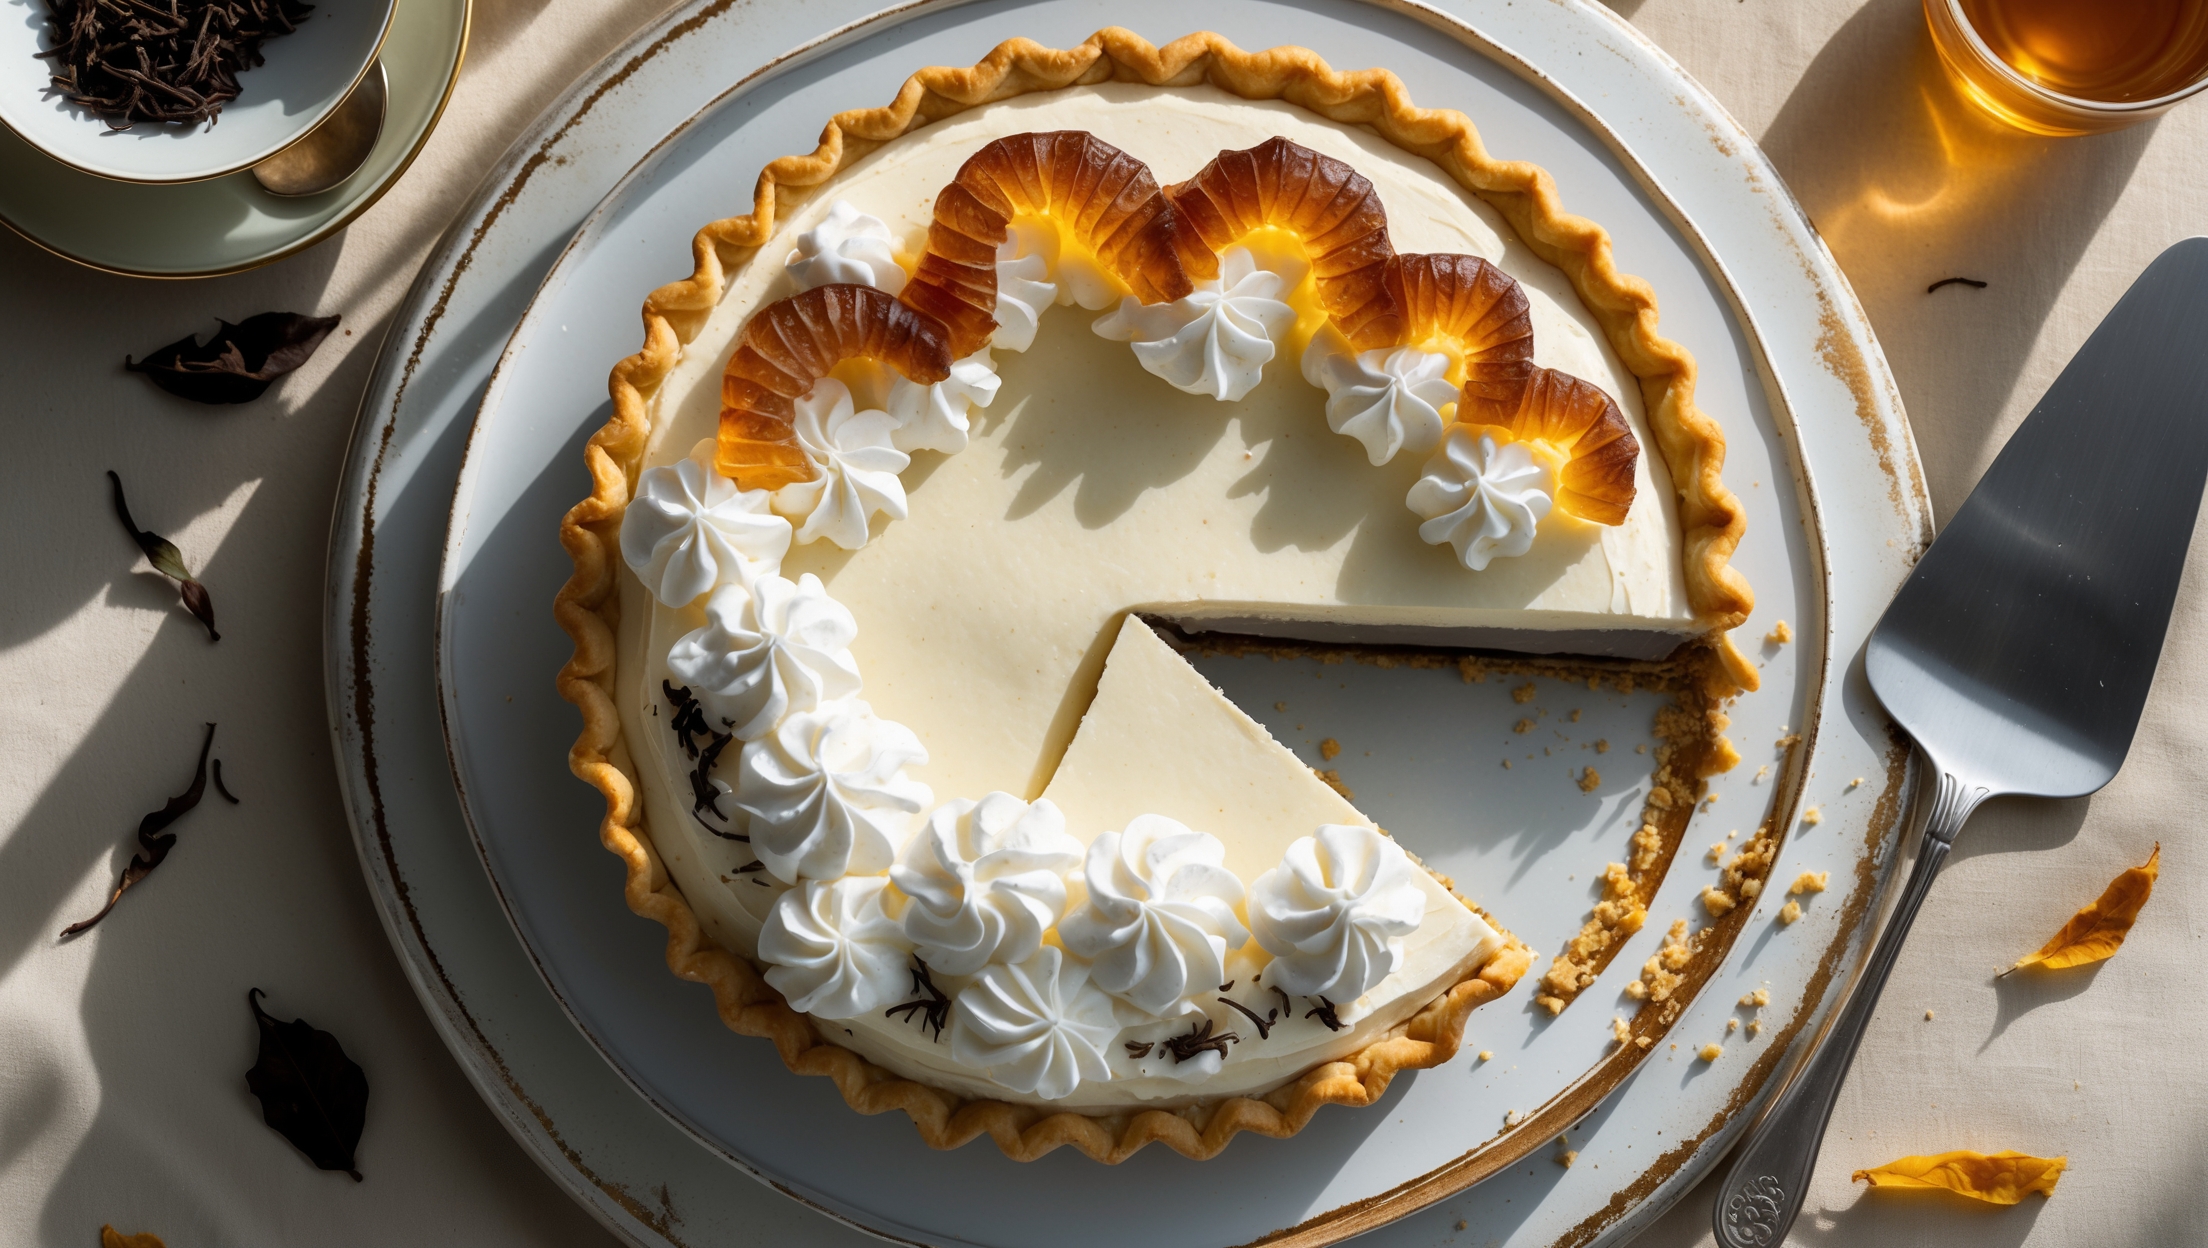
Cream Pies
Try following recommended recipes