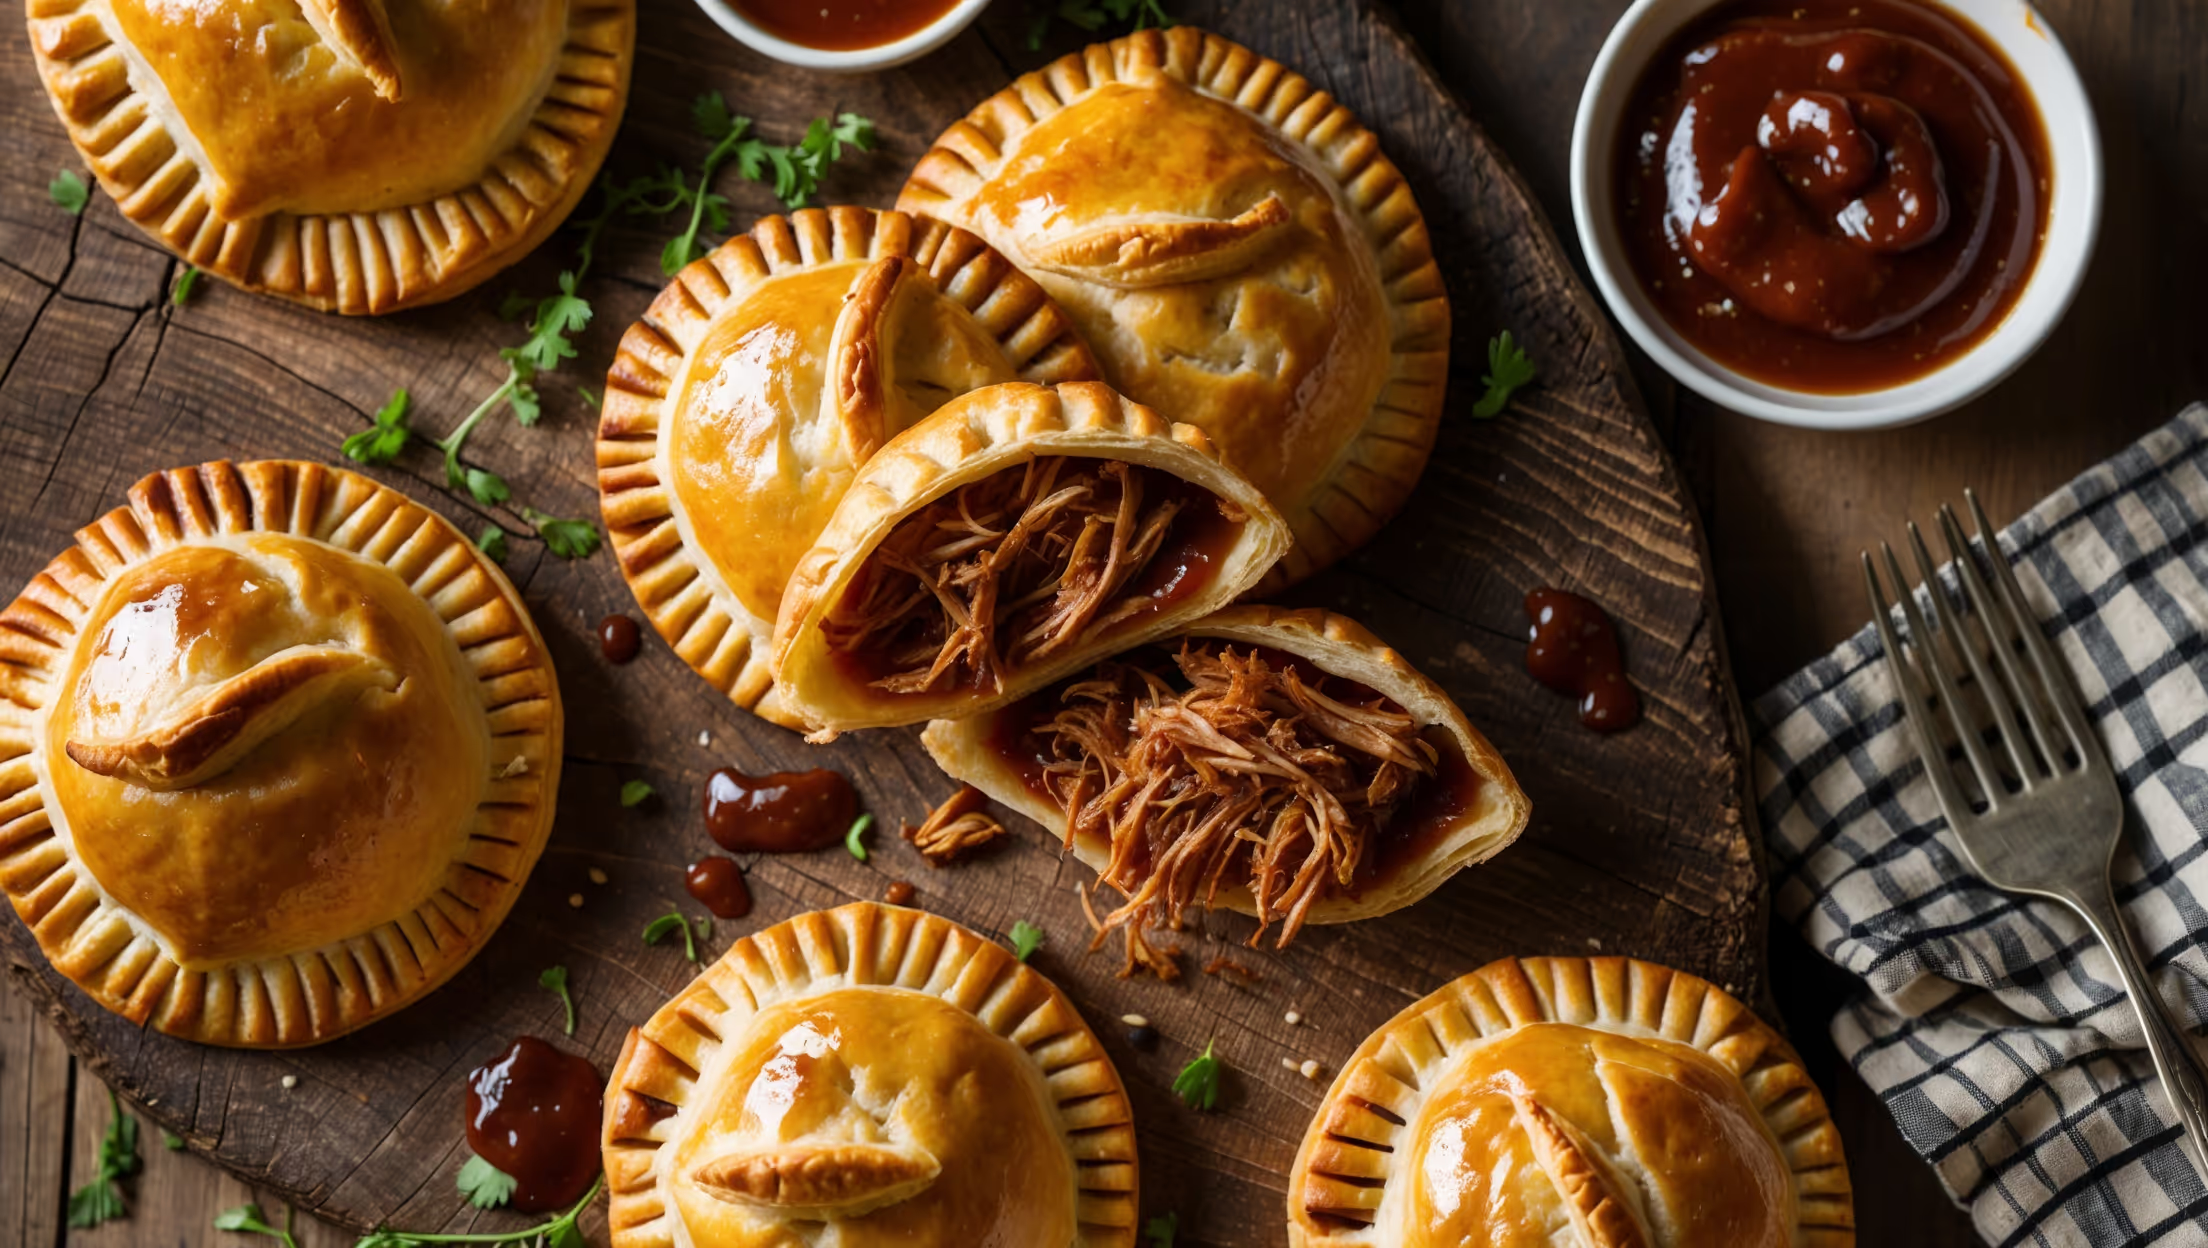
Directions
<ol class="no-list-style"><li class="MethodStepper"><h4 class="step-title">Step 1</h4>Begin by preparing the crystallized flowers at least 24 hours before baking. Select unsprayed, food-safe edible flowers like violets, pansies, or rose petals. Gently wash them and pat completely dry with paper towels. Using a small, clean artist's brush, carefully paint each flower with beaten egg white, ensuring you coat every petal. Hold the flower over a small bowl and sprinkle superfine sugar over both sides until completely coated. Place on a wire rack lined with parchment paper and allow to dry for 24-48 hours in a cool, dry place until completely firm and crisp.</li><li class="MethodStepper"><h4 class="step-title">Step 2</h4>For the pastry, combine flour, sugar, and salt in a food processor (or large bowl if mixing by hand). Add the cold cubed butter and pulse until the mixture resembles coarse breadcrumbs with some pea-sized pieces of butter still visible – these butter pockets create steam during baking, resulting in flaky layers. Mix the ice water and lemon juice together, then drizzle over the flour mixture while pulsing just until the dough begins to come together. Be careful not to overmix, which would develop too much gluten and create a tough pastry.</li><li class="MethodStepper"><h4 class="step-title">Step 3</h4>Turn the dough onto a lightly floured surface and gently gather it together, dividing it into two equal portions. Shape each into a flat disc, wrap in plastic wrap, and refrigerate for at least 1 hour or up to 2 days. This resting period allows the gluten to relax and the butter to firm up, ensuring a tender, flaky crust.</li><li class="MethodStepper"><h4 class="step-title">Step 4</h4>While the dough chills, prepare the herb-infused filling. In a medium saucepan, combine the berries, sugar, and lemon juice. Bring to a simmer over medium heat, gently mashing some of the berries. Mix the cornstarch with 2 tablespoons of cold water to create a slurry, then stir into the simmering berry mixture. Cook for 2-3 minutes until thickened, stirring constantly to prevent scorching. Remove from heat and stir in the finely chopped fresh herbs and vanilla extract. The residual heat will release the aromatic oils from the herbs without diminishing their fresh flavor. Allow the filling to cool completely before assembling the pies.</li><li class="MethodStepper"><h4 class="step-title">Step 5</h4>Preheat your oven to 190°C (375°F) and line two baking sheets with parchment paper. Remove one disc of dough from the refrigerator (keeping the other chilled until needed). On a lightly floured surface, roll the dough to approximately 3mm (1/8 inch) thickness. Using a 10cm (4-inch) round cutter, cut out as many circles as possible. Re-roll scraps once to cut additional circles.</li><li class="MethodStepper"><h4 class="step-title">Step 6</h4>Place about 1 tablespoon of the cooled filling in the center of each dough circle, leaving a 1.5cm (1/2 inch) border. Resist the temptation to overfill – this will prevent sealing issues and filling leakage. Brush the edges lightly with the egg wash, then fold the dough over to create a half-moon shape. Press the edges firmly to seal, then crimp with a fork for decoration and to ensure a proper seal. Transfer to the prepared baking sheets.</li><li class="MethodStepper"><h4 class="step-title">Step 7</h4>Repeat the process with the remaining dough disc. Once all pies are formed, cut a small vent in the top of each pie to allow steam to escape during baking (this prevents the filling from bursting through the seams). Brush the tops with egg wash and sprinkle with coarse sugar and a pinch of dried lavender if using. The egg wash creates that beautiful golden shine while the sugar adds sparkle and crunch.</li><li class="MethodStepper"><h4 class="step-title">Step 8</h4>Bake in the preheated oven for 22-25 minutes, rotating the pans halfway through, until the pies are golden brown and the filling is bubbling through the vents. If you notice the pies browning too quickly, tent loosely with foil. Transfer to a wire rack and allow to cool for at least 15 minutes – the filling will be extremely hot initially.</li><li class="MethodStepper"><h4 class="step-title">Step 9</h4>Once the hand pies have cooled to just warm or room temperature, garnish each with a crystallized flower, gently pressing it into the top surface. The residual warmth will help it adhere slightly. For the best texture contrast, serve these delightful pastries the same day they're baked, when the pastry is at its flakiest and the flowers maintain their delicate crunch. Store any leftovers loosely covered at room temperature for up to 2 days.</li></ol>