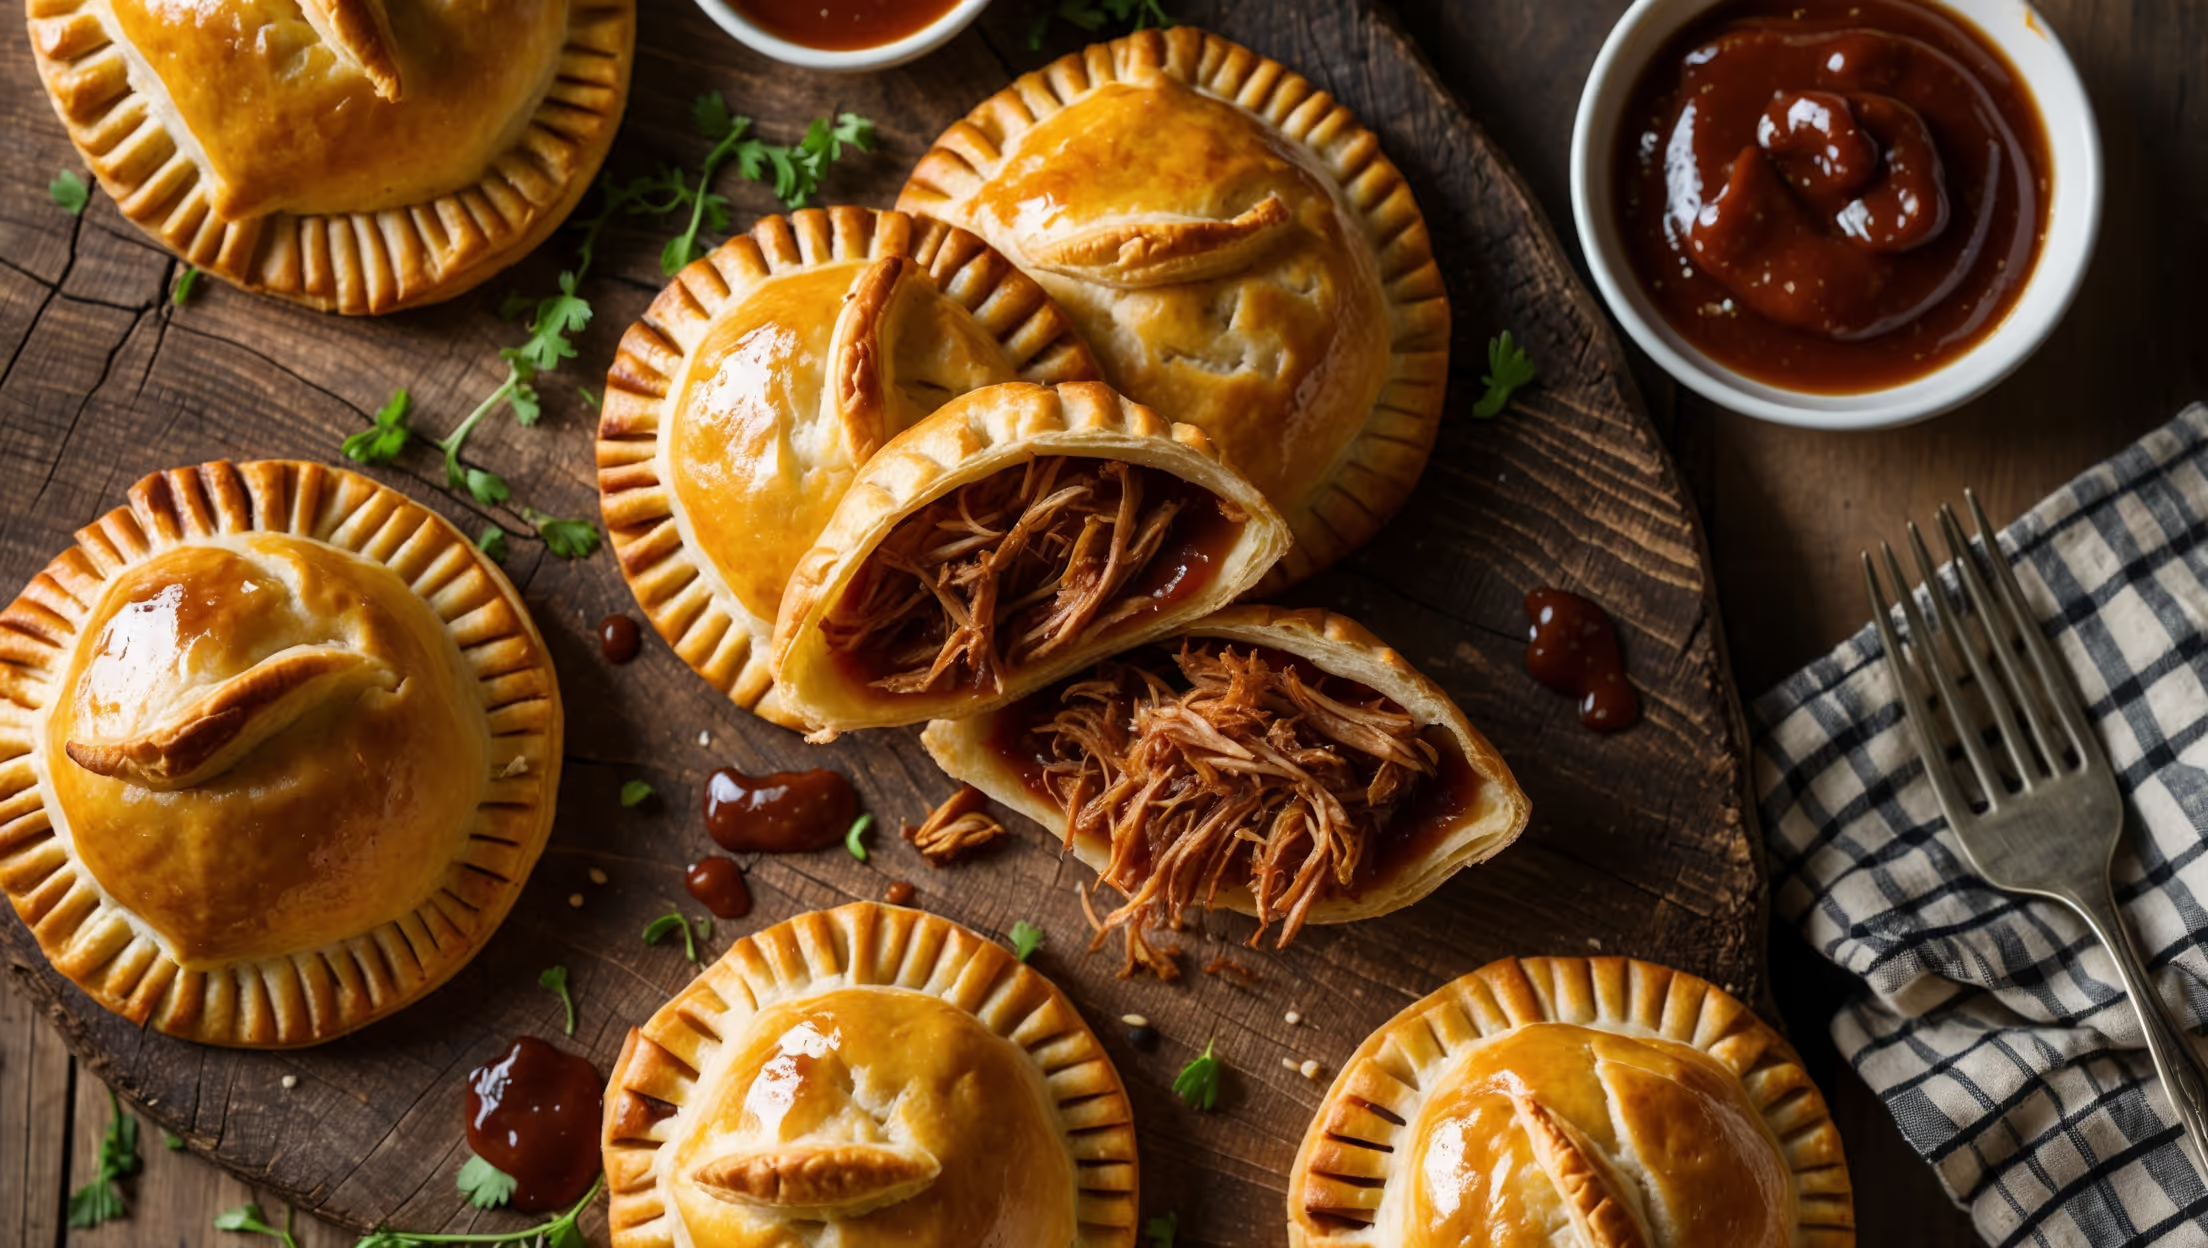
Directions
<ol class="no-list-style"> <li class="MethodStepper"> <h4 class="step-title">Step 1</h4> Make the pastry: In a large bowl or food processor, combine flour, sugar and salt. Add the cold cubed butter and pulse or use your fingertips to work the butter into the flour until the mixture resembles coarse breadcrumbs with some pea-sized pieces of butter remaining. These butter pockets create steam during baking, resulting in those desirable flaky layers. </li> <li class="MethodStepper"> <h4 class="step-title">Step 2</h4> Gradually add the ice water, 1 tablespoon at a time, mixing until the dough just comes together when pinched. You may not need all the water – stop adding when the dough holds together but isn't sticky. Divide the dough into two equal portions, flatten into discs, wrap in plastic wrap, and refrigerate for at least 1 hour or up to 2 days. Cold dough is essential for maintaining those flaky layers during baking. </li> <li class="MethodStepper"> <h4 class="step-title">Step 3</h4> While the dough chills, prepare the filling: In a medium saucepan, combine blueberries, sugar, cornstarch, lemon juice, lemon zest, cinnamon and salt. Stir over medium heat until the mixture begins to simmer and thicken, about 5-8 minutes. Gently mash about half the berries with the back of your spoon while leaving the rest whole for texture. Remove from heat and let cool completely. The cornstarch will continue to thicken the filling as it cools. </li> <li class="MethodStepper"> <h4 class="step-title">Step 4</h4> Preheat your oven to 190°C (375°F) and line two baking sheets with parchment paper. Take one disc of dough from the refrigerator and let it sit at room temperature for 5 minutes to slightly soften. On a lightly floured surface, roll the dough to about 3mm (1/8 inch) thickness. </li> <li class="MethodStepper"> <h4 class="step-title">Step 5</h4> Using a 12cm (4.5-inch) round cutter or template, cut as many circles as possible. Re-roll scraps once to cut additional circles. Place the circles on the prepared baking sheets. Repeat with the second disc of dough. You should have approximately 16 circles total. </li> <li class="MethodStepper"> <h4 class="step-title">Step 6</h4> Place about 1.5-2 tablespoons of the cooled blueberry filling in the center of half of the dough circles, leaving a 1.5cm (1/2 inch) border. Avoid overfilling, as this can cause the filling to leak during baking. Brush the edges with beaten egg to help seal. </li> <li class="MethodStepper"> <h4 class="step-title">Step 7</h4> Top each filled circle with a second dough circle. Press the edges firmly with your fingers, then use a fork to crimp the edges all around. This double-sealing technique prevents leaks. Cut 2-3 small vents in the top of each pie to allow steam to escape during baking. </li> <li class="MethodStepper"> <h4 class="step-title">Step 8</h4> Brush the tops of the pies generously with the remaining beaten egg and sprinkle with coarse sugar. The egg wash will create that desirable golden-brown sheen, while the sugar adds both sweetness and a lovely crunch to the exterior. </li> <li class="MethodStepper"> <h4 class="step-title">Step 9</h4> Chill the assembled pies in the refrigerator for 15 minutes before baking. This final chill helps the butter in the dough firm up again, ensuring maximum flakiness. </li> <li class="MethodStepper"> <h4 class="step-title">Step 10</h4> Bake for 22-25 minutes, until the pies are deeply golden brown and the filling is bubbling through the vents. If your pies are browning too quickly, loosely cover them with foil for the remaining bake time. </li> <li class="MethodStepper"> <h4 class="step-title">Step 11</h4> Allow the pies to cool on the baking sheets for 10 minutes, then transfer to a wire rack to cool completely. The filling continues to set as it cools, so resist the temptation to bite into them too soon! Enjoy warm or at room temperature. Store any leftovers in an airtight container for up to 2 days, or freeze for up to 3 months. </li> </ol>