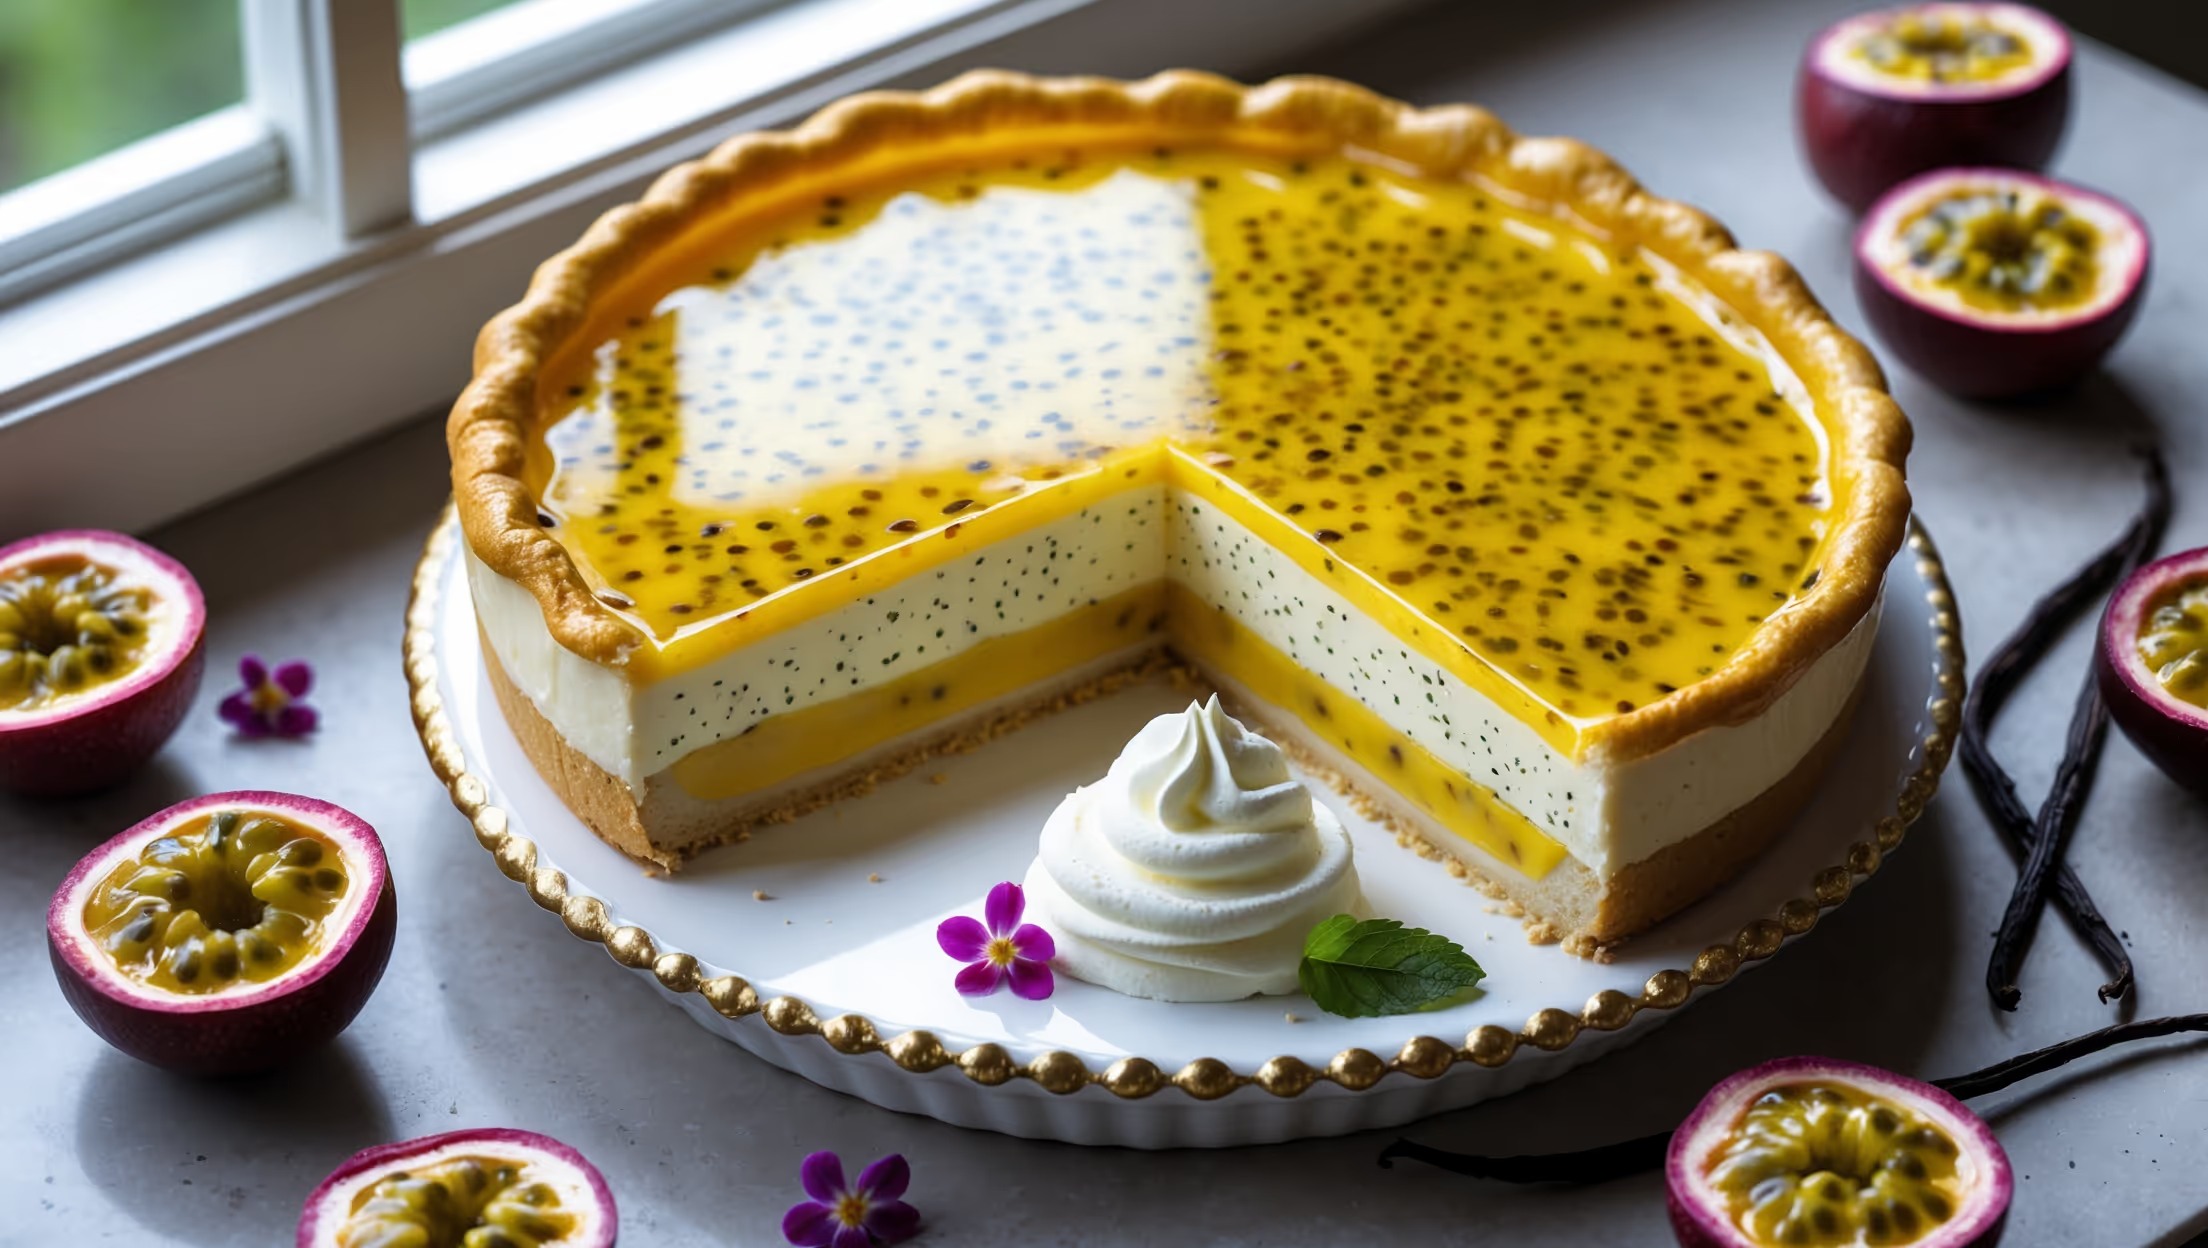
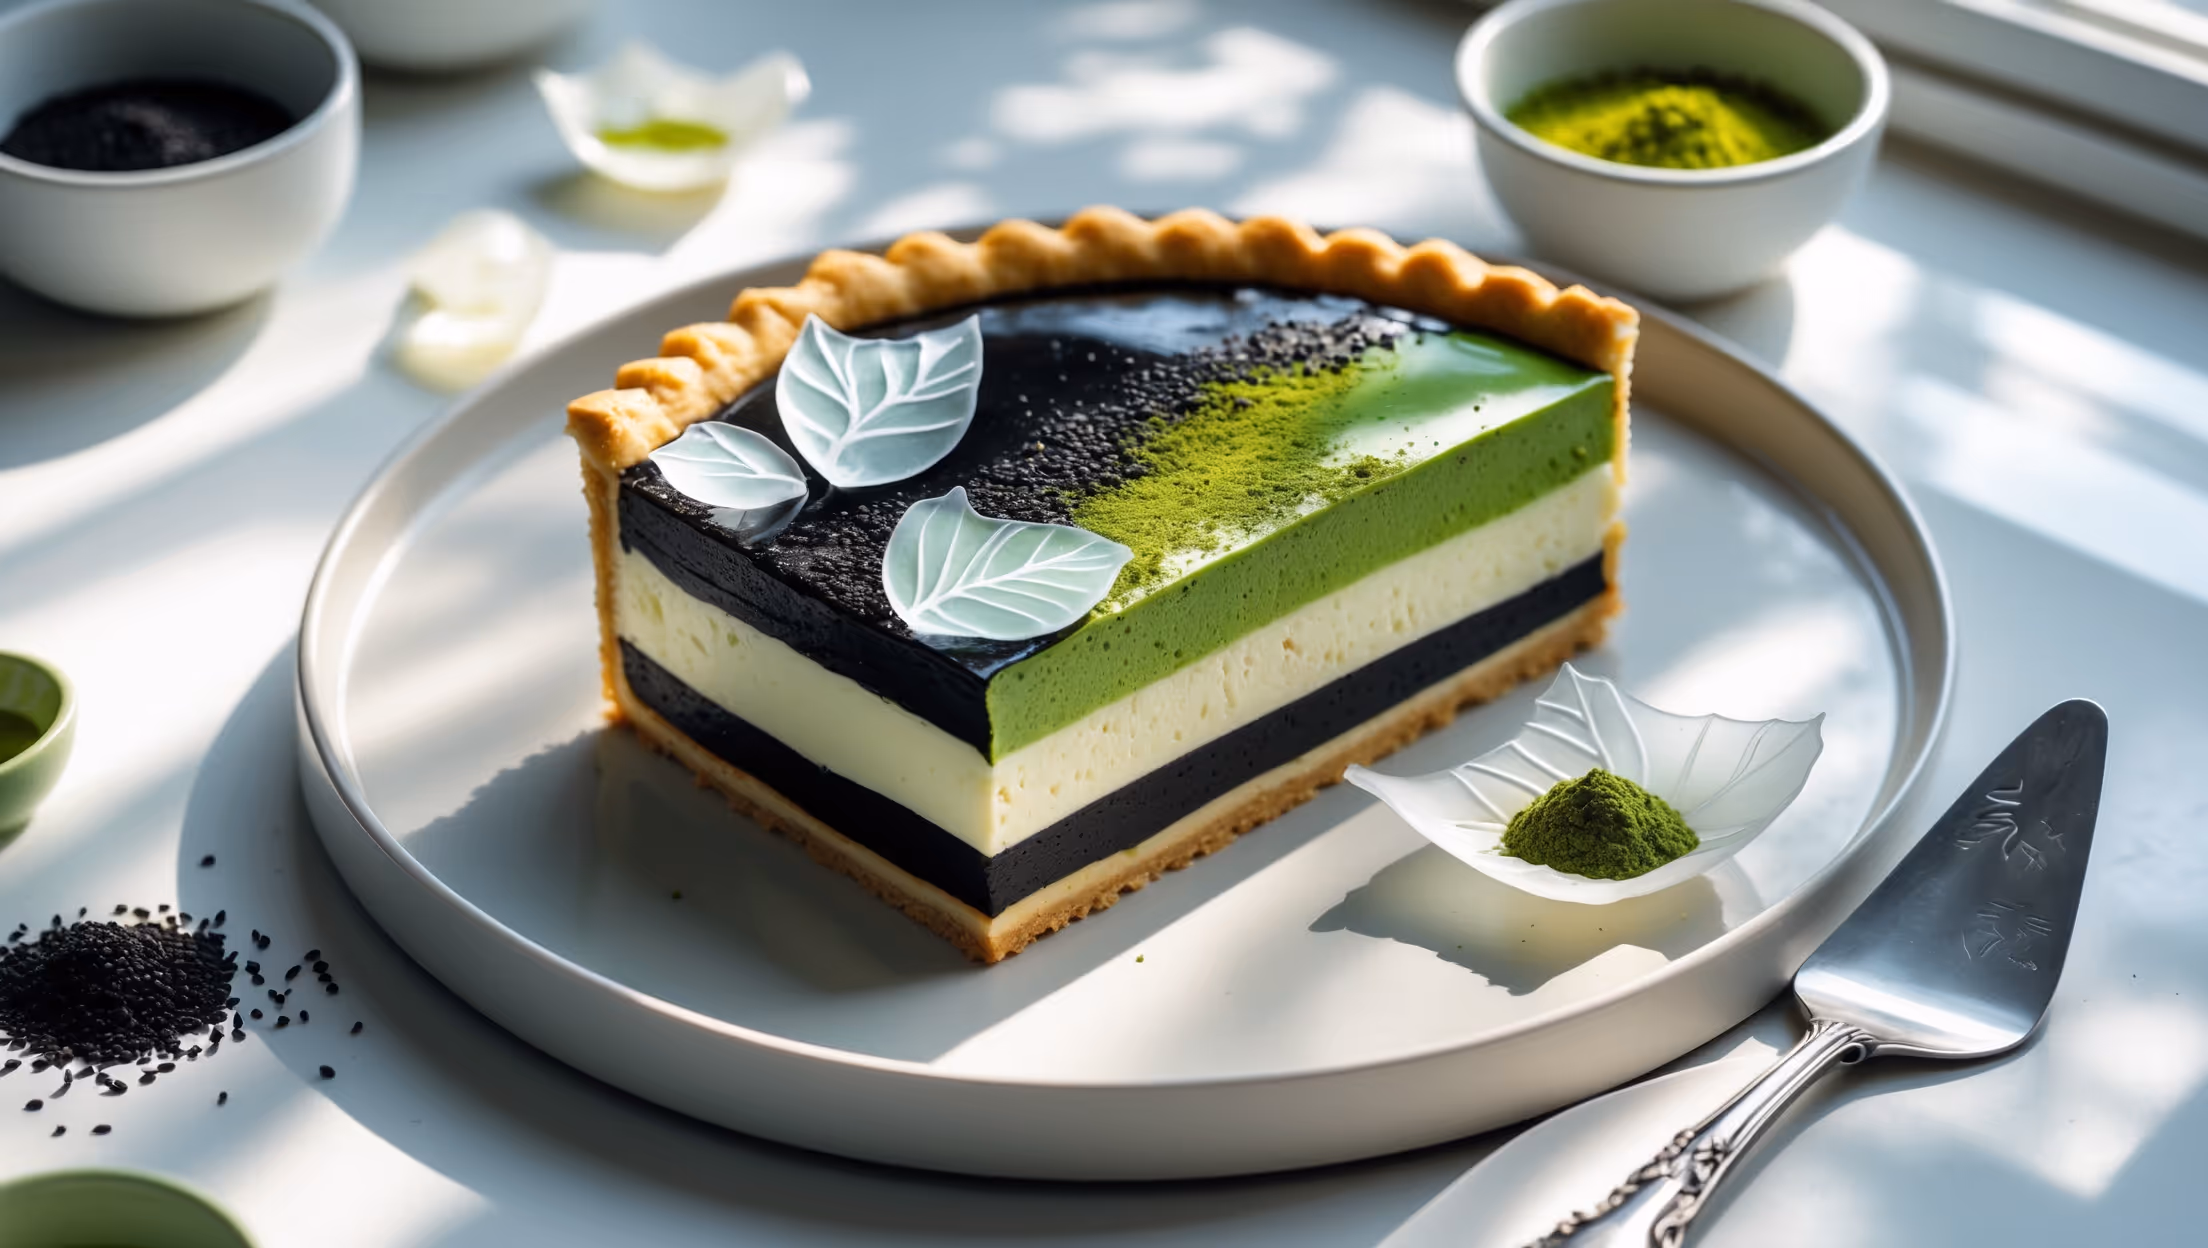
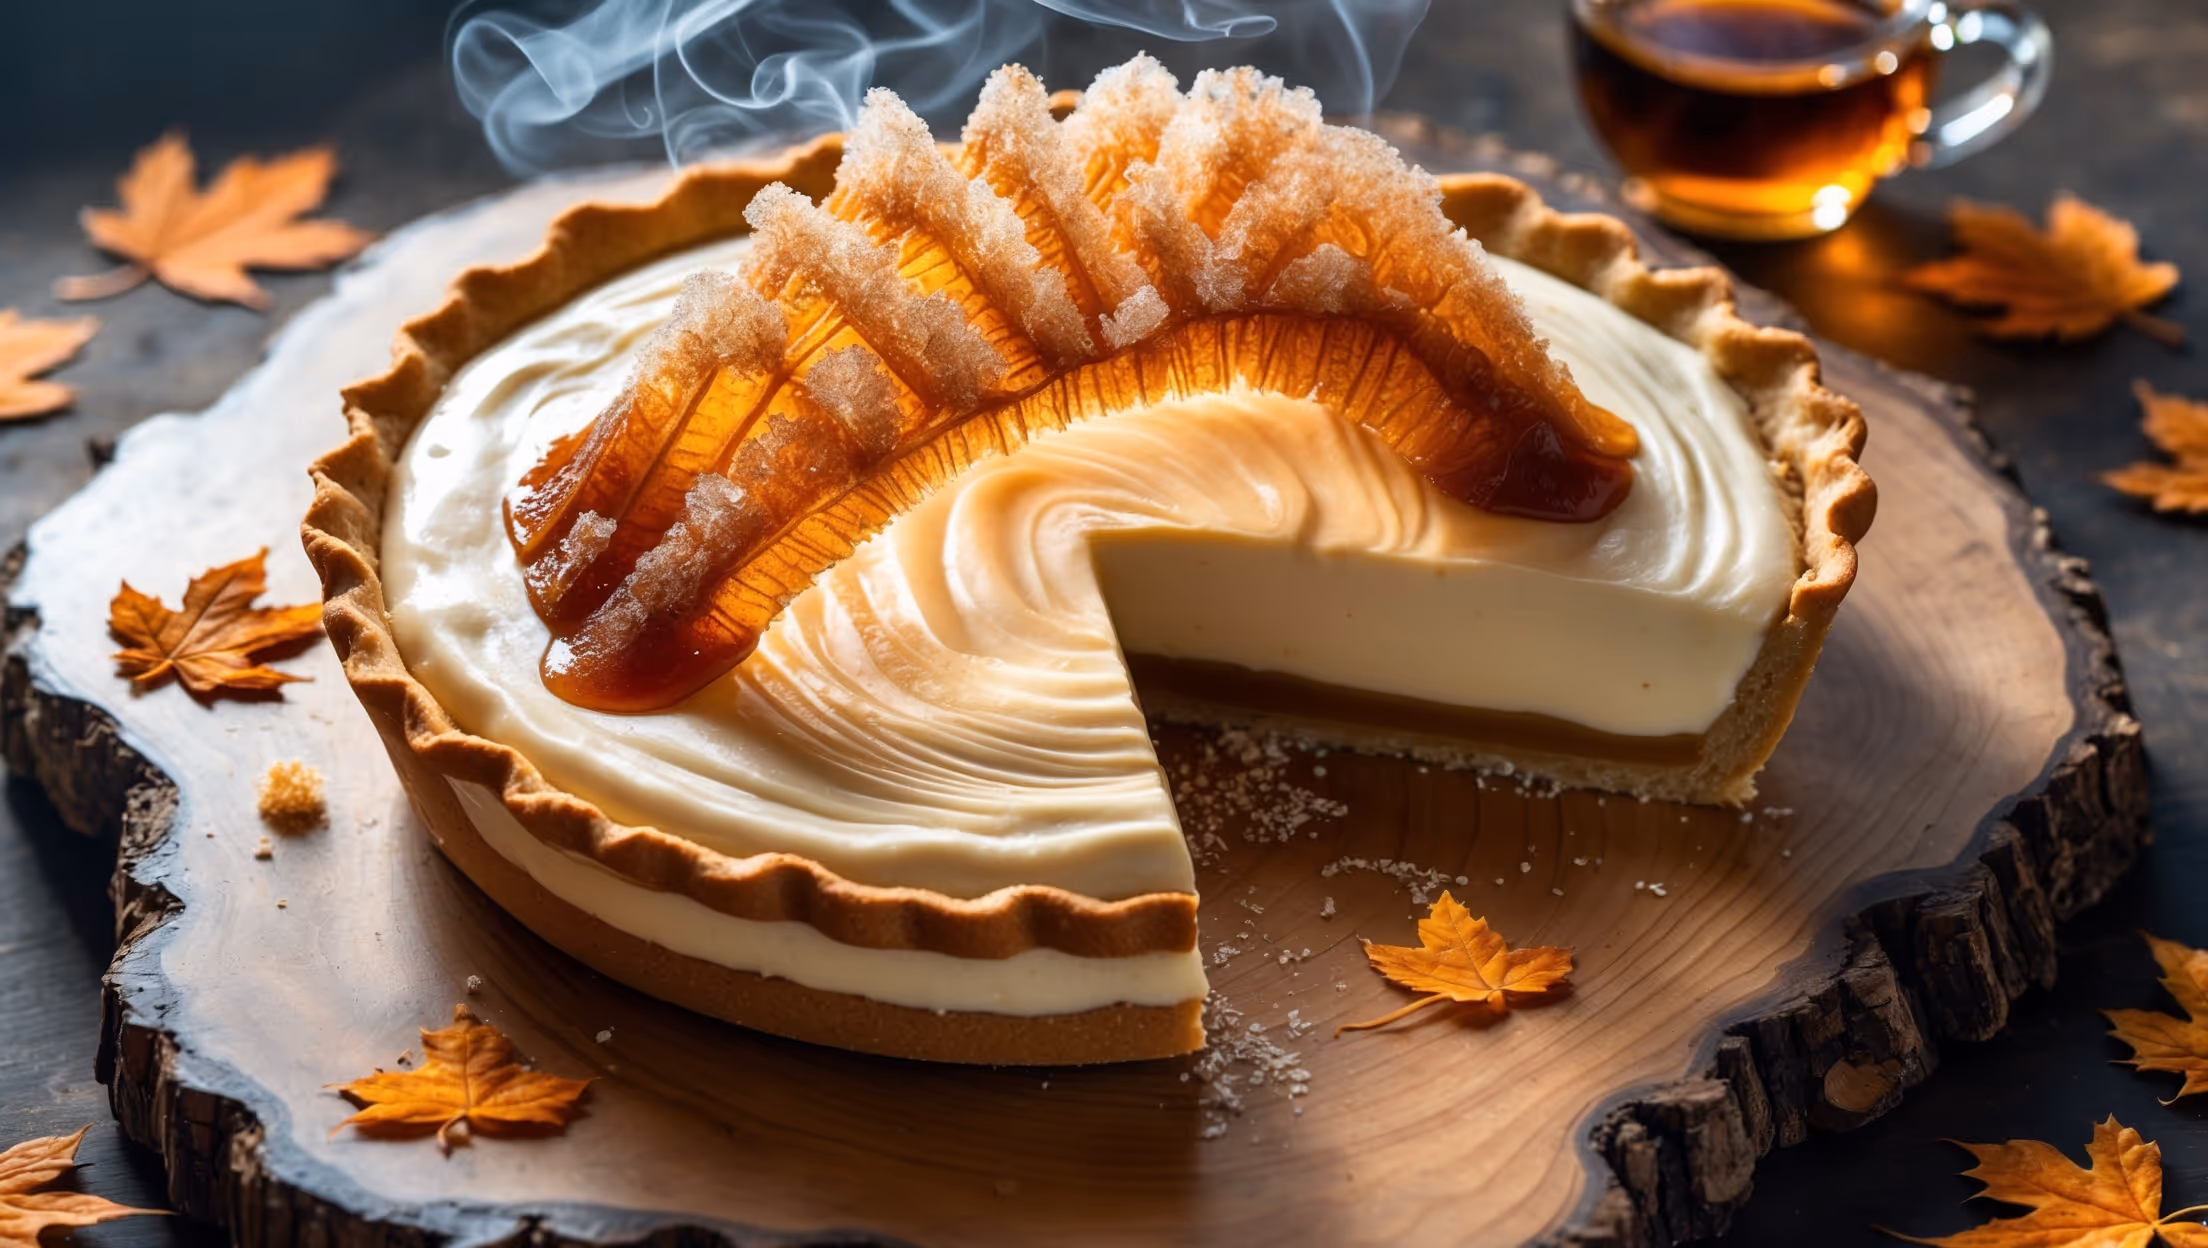
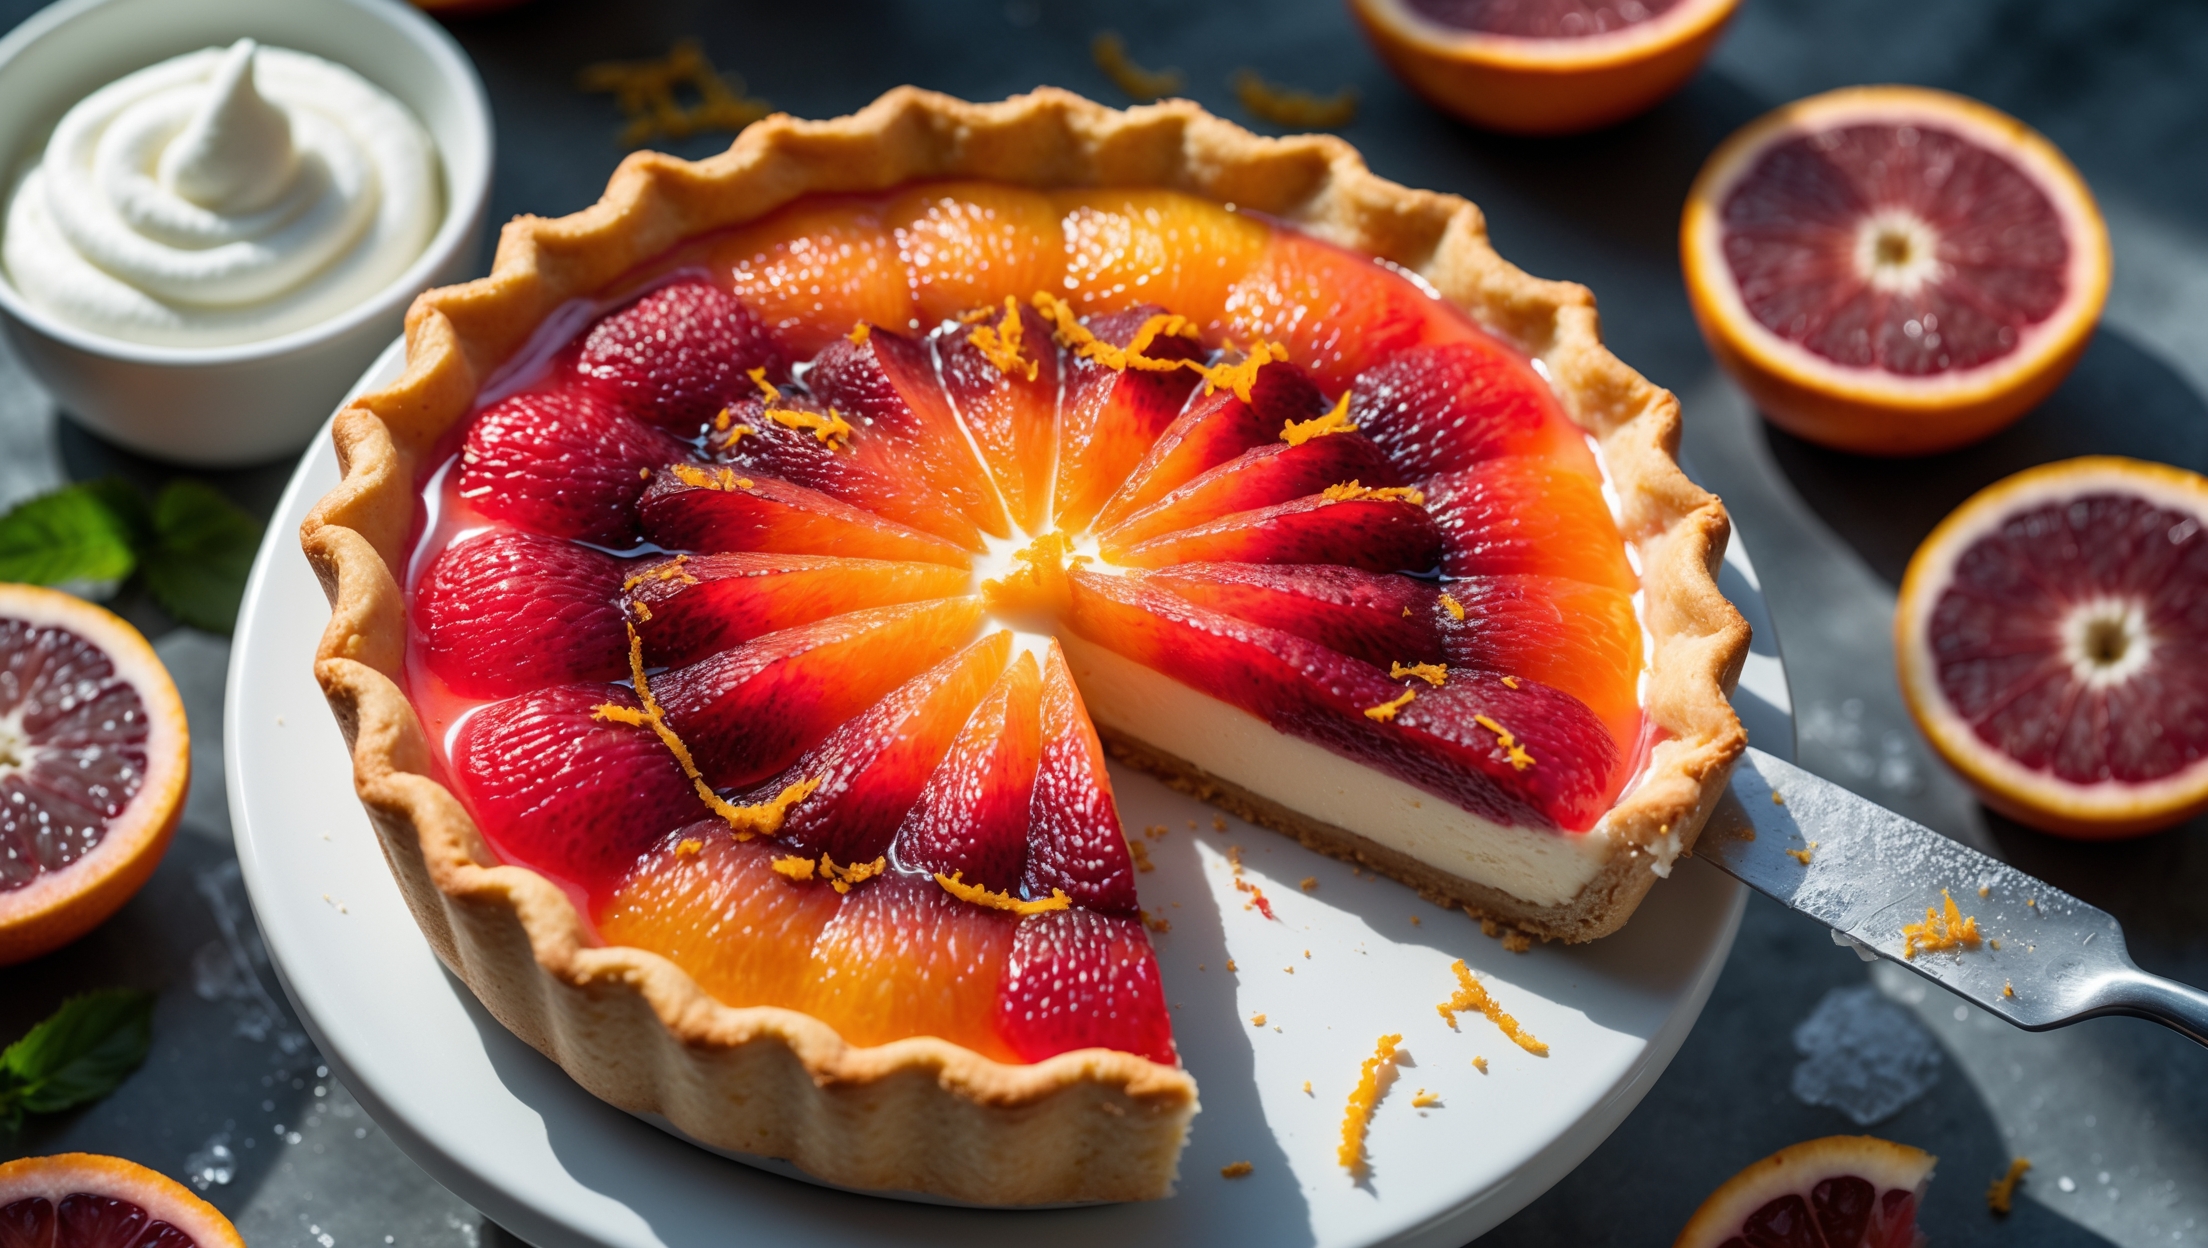
Blood Orange Cream Pie Recipe
Ingredients
Equipment
Directions
FAQs
Find answers to your most pressing questions about this delicious recipe right here.
This vibrant pie requires plain flour, icing sugar, butter, eggs, blood oranges, granulated sugar, cornflour, salt, double cream, and vanilla extract. The distinctive colour comes naturally from blood oranges, though regular oranges with raspberry purée can substitute.
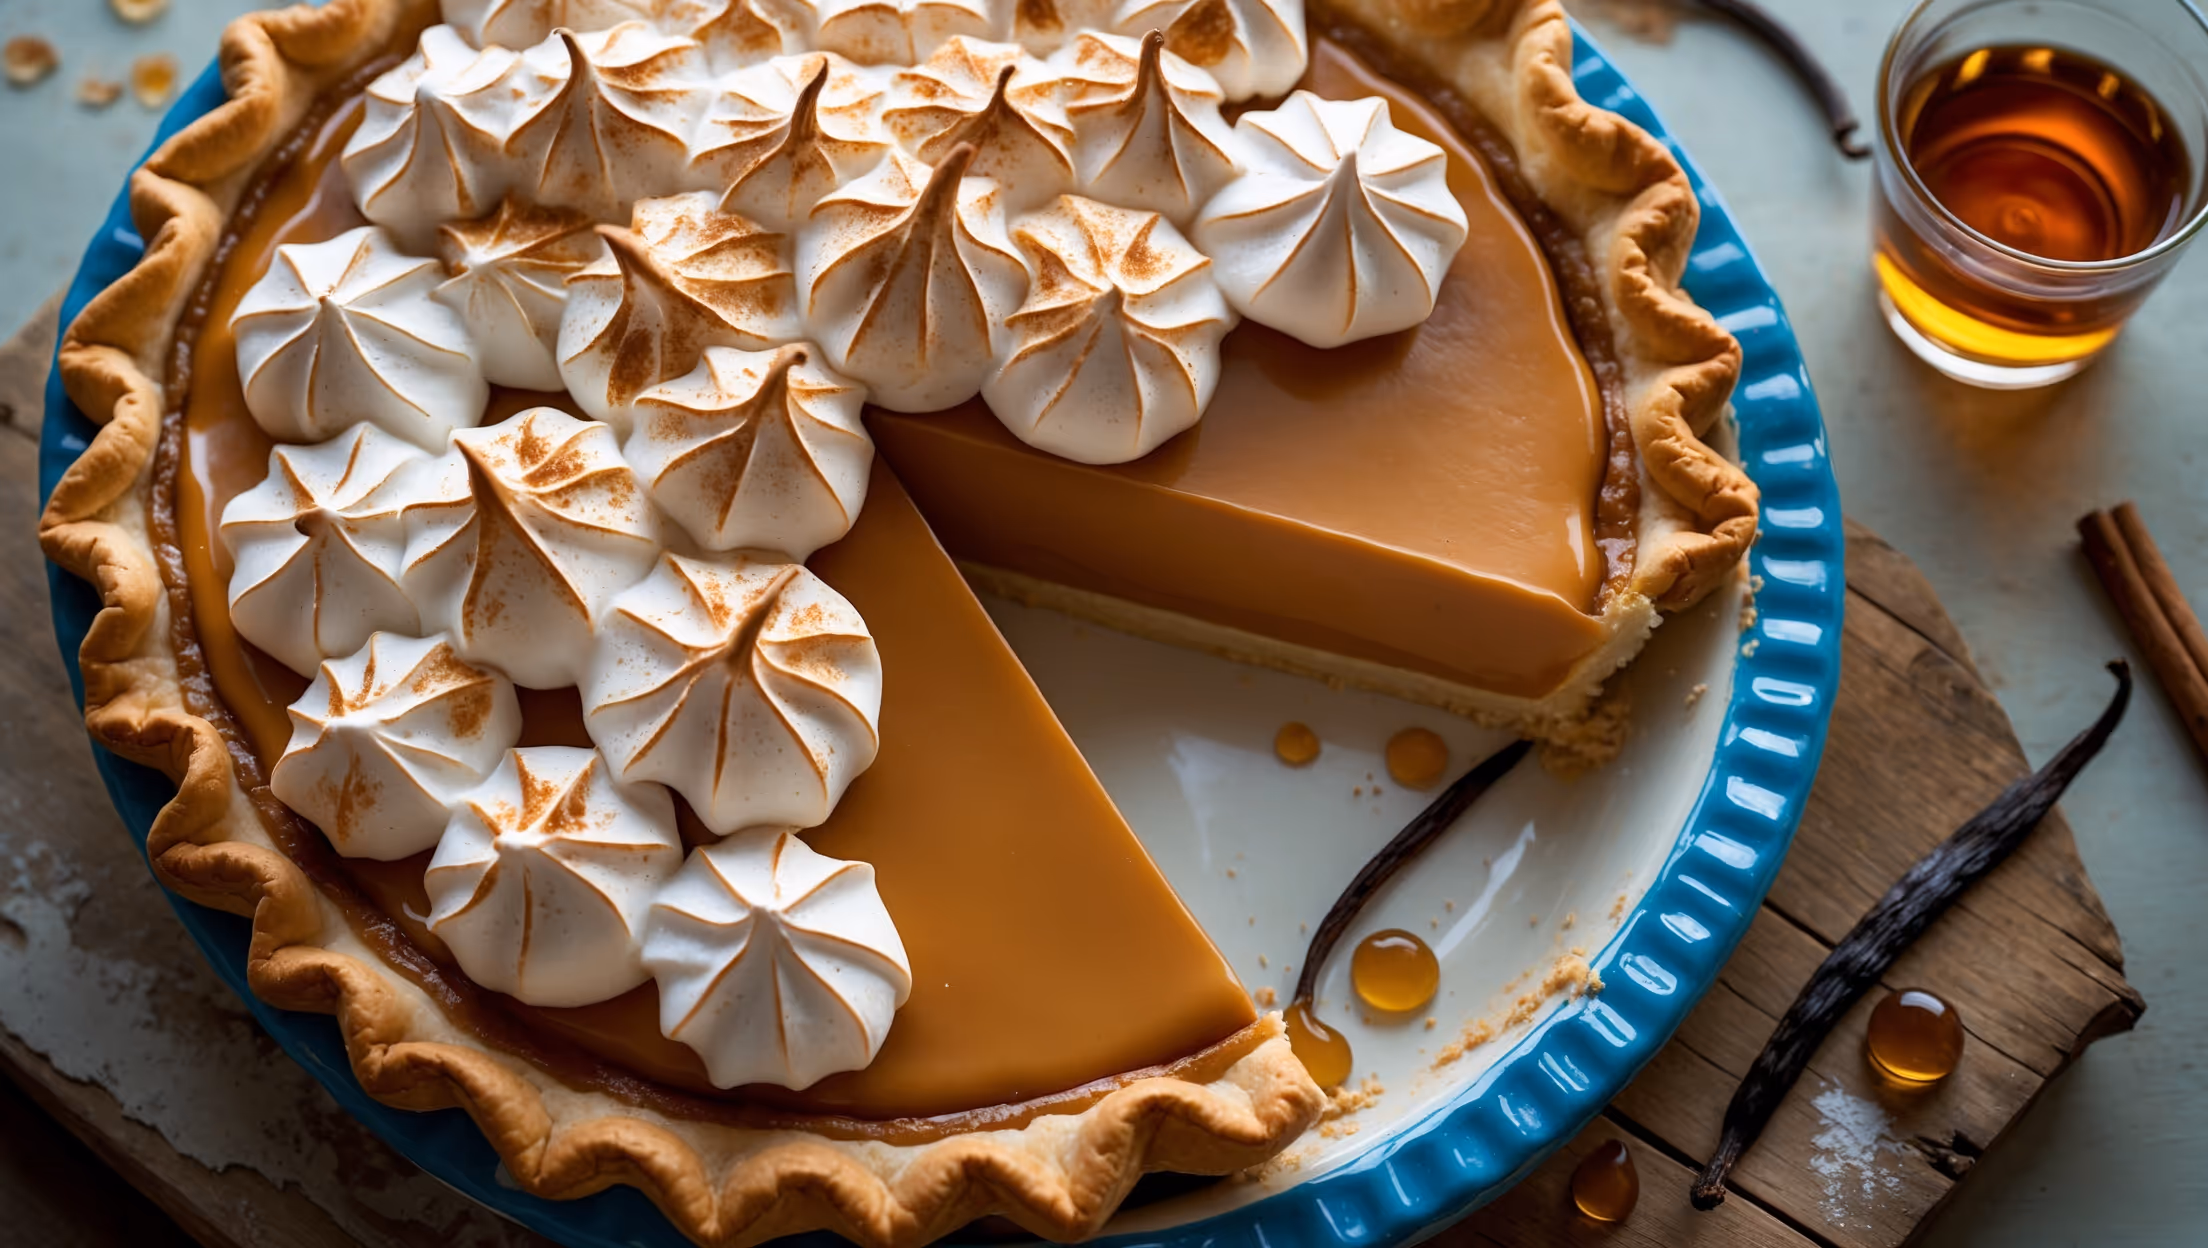
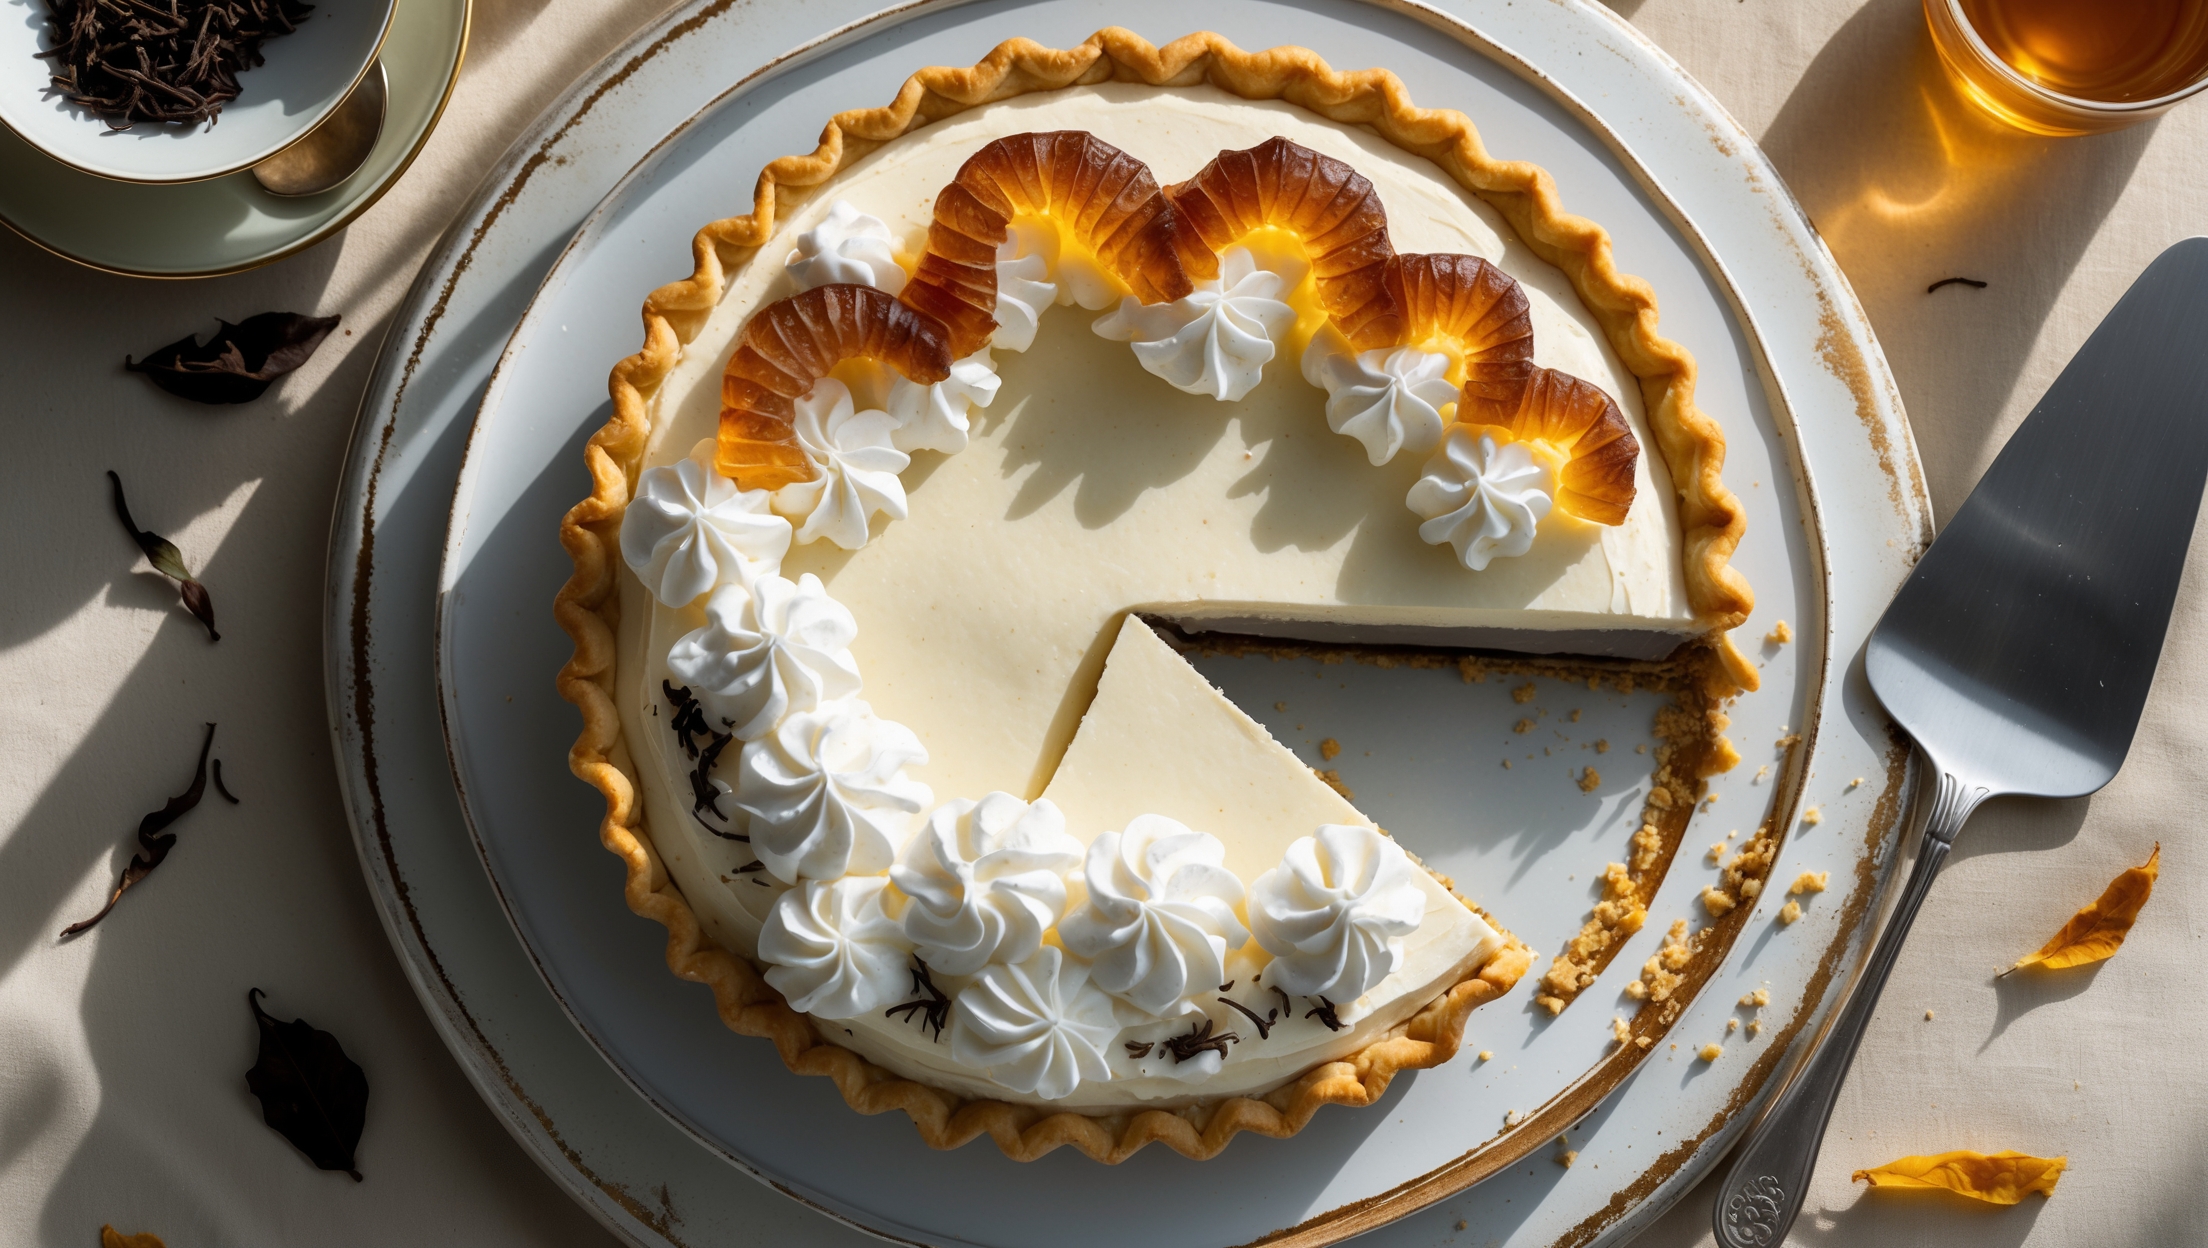
Learn how to cook Blood Orange Cream Pie by first preparing a buttery shortcrust pastry, blind baking until golden. Create the filling by cooking blood orange juice with sugar, cornflour and egg yolks until thickened, then chill until set. Top with freshly whipped cream and blood orange segments for a showstopping dessert that balances tangy citrus with silky sweetness.
Yes, you can substitute regular oranges with a tablespoon of raspberry purée to mimic the signature ruby colour. The flavour will be slightly different but still delicious – blood oranges have a more complex, berry-like undertone that regular oranges with raspberry can approximate.
A filling that won't set usually means it wasn't cooked long enough. The mixture should be very thick before removing from heat – it should coat the back of a spoon with a clear line remaining when you run your finger through it. Ensure your cornflour is properly activated by cooking until bubbling.
For perfect slices, refrigerate the pie until completely set (at least 4 hours or overnight). Use a sharp knife dipped in hot water and wiped clean between cuts. This prevents the filling from sticking to the blade and creates restaurant-quality presentation with clean, defined edges.
Cream Pies
Try following recommended recipes