Directions
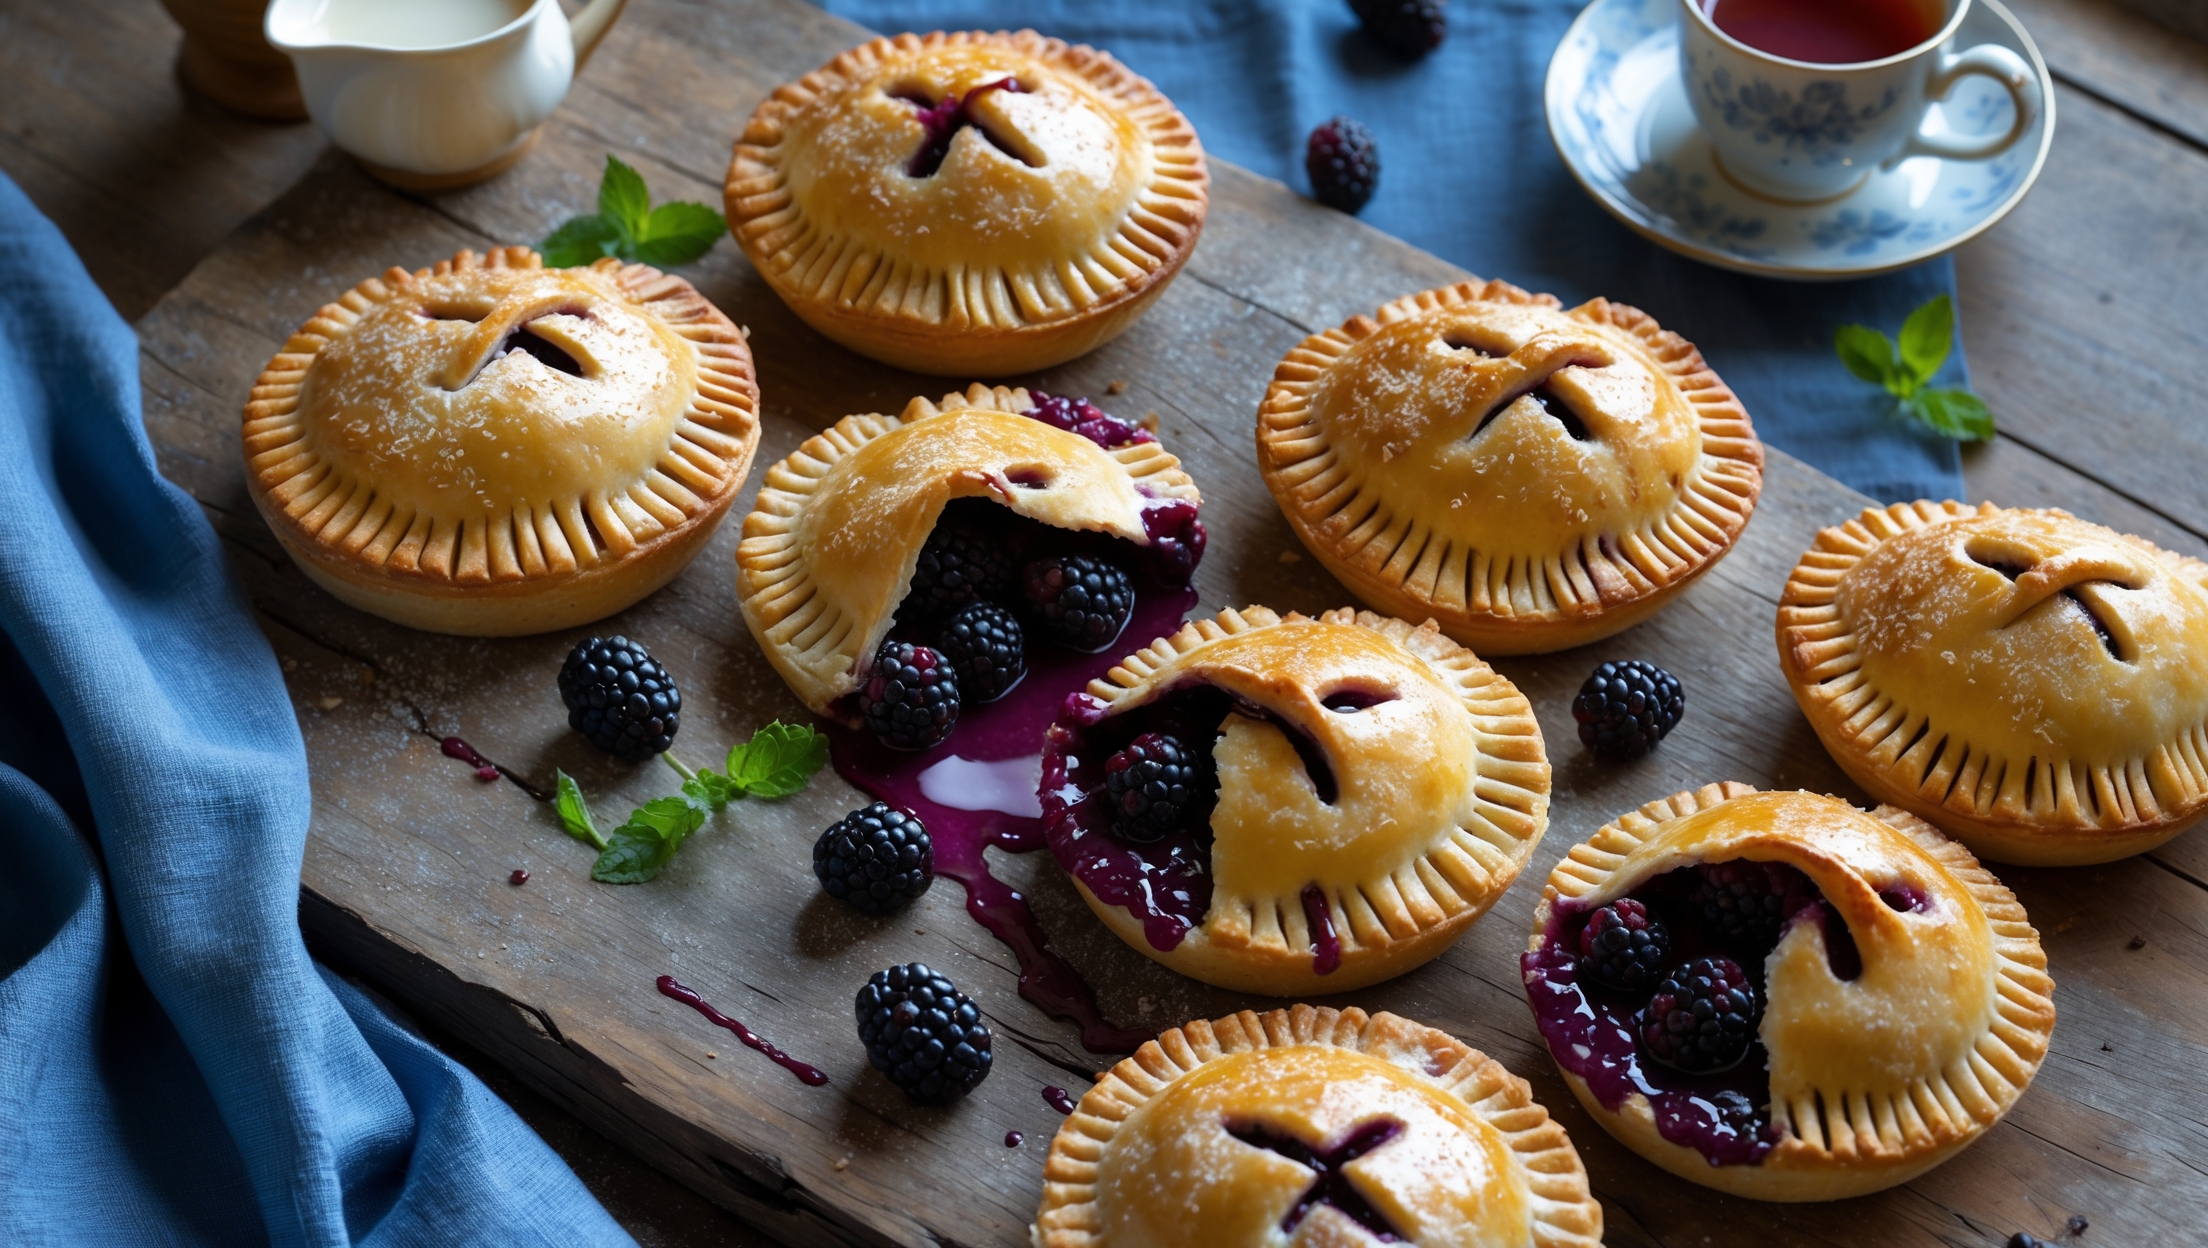
<ol class="no-list-style"> <li class="MethodStepper"> <h4 class="step-title">Step 1</h4> First, make the pastry. In a food processor, pulse the flour, salt, and sugar to combine. Add the cold butter cubes and pulse 8-10 times until the mixture resembles coarse crumbs with some pea-sized pieces of butter remaining. These butter pieces are crucial for creating flaky layers in your pastry. </li> <li class="MethodStepper"> <h4 class="step-title">Step 2</h4> Mix the ice-cold water and lemon juice together. With the processor running, slowly drizzle in the liquid just until the dough begins to come together (you may not need all the liquid). The dough should hold together when pinched but shouldn't feel wet or sticky. </li> <li class="MethodStepper"> <h4 class="step-title">Step 3</h4> Turn the dough onto a lightly floured surface and gently bring it together, being careful not to overwork it. Divide into two equal portions, form into discs, wrap in plastic wrap, and refrigerate for at least 1 hour or up to 2 days. Cold dough is essential for flaky pastry as it prevents the butter from melting before baking. </li> <li class="MethodStepper"> <h4 class="step-title">Step 4</h4> While the dough chills, prepare the filling. In a medium saucepan, combine blackberries, sugar, cornstarch, lemon juice, cinnamon, and salt. Mash about half the berries slightly with a fork or potato masher, leaving the rest whole for texture. </li> <li class="MethodStepper"> <h4 class="step-title">Step 5</h4> Cook the mixture over medium heat, stirring frequently, until it comes to a simmer and thickens, about 5-7 minutes. The cornstarch needs to reach a boiling point to fully activate its thickening properties. Remove from heat and let cool completely. A thick, cooled filling prevents leakage when assembling the pies. </li> <li class="MethodStepper"> <h4 class="step-title">Step 6</h4> Preheat your oven to 190°C (375°F) and line two baking sheets with parchment paper. Remove one disc of dough from the refrigerator (keep the other chilled until needed). On a lightly floured surface, roll the dough to about 3mm (1/8 inch) thickness. </li> <li class="MethodStepper"> <h4 class="step-title">Step 7</h4> Using your round cutter or template, cut out as many circles as possible. Re-roll scraps once and cut more circles. You should get about 8 circles from each disc, giving you 16 total (8 for bottoms, 8 for tops). If the dough becomes too warm, return it to the refrigerator for 10-15 minutes to firm up. </li> <li class="MethodStepper"> <h4 class="step-title">Step 8</h4> Place 8 circles on your prepared baking sheets. Spoon about 1-1/2 tablespoons of blackberry filling into the center of each, leaving a 1cm border around the edges. Brush this border lightly with egg wash – this creates a seal when the top pastry is added. </li> <li class="MethodStepper"> <h4 class="step-title">Step 9</h4> Place the remaining 8 dough circles on top of each filled bottom. Press the edges gently to seal, then use a fork to crimp the edges all around. The crimping not only looks decorative but also ensures the filling stays inside during baking. </li> <li class="MethodStepper"> <h4 class="step-title">Step 10</h4> Cut a small vent in the top of each pie to allow steam to escape during baking. Brush the tops with egg wash and sprinkle with coarse sugar for a beautiful, sparkly finish. Return the assembled pies to the refrigerator for 15 minutes to chill before baking – this final chill helps maintain the shape during baking. </li> <li class="MethodStepper"> <h4 class="step-title">Step 11</h4> Bake in the preheated oven for 22-25 minutes, rotating pans halfway through, until the pies are golden brown. Some filling may bubble through the vents – this is perfectly normal and adds to their rustic charm! </li> <li class="MethodStepper"> <h4 class="step-title">Step 12</h4> Transfer to a wire rack and let cool for at least 10 minutes before serving. The filling is extremely hot directly from the oven and needs time to set slightly. </li> <li class="MethodStepper"> <h4 class="step-title">Step 13</h4> For the optional glaze, whisk together powdered sugar, milk, and vanilla extract until smooth. The consistency should be thick enough to drizzle – add more milk or sugar as needed to adjust. Drizzle over cooled pies for an extra touch of sweetness. </li> <li class="MethodStepper"> <h4 class="step-title">Step 14</h4> Enjoy warm or at room temperature. Hand pies can be stored in an airtight container at room temperature for up to 2 days, or refrigerated for up to 5 days. They can also be frozen before or after baking for longer storage – a delicious treat to have on hand for unexpected guests or sweet cravings! </li> </ol>