Beef Hand Pies Recipe
Ingredients
Equipment
Directions
FAQs
Find answers to your most pressing questions about this delicious recipe right here.
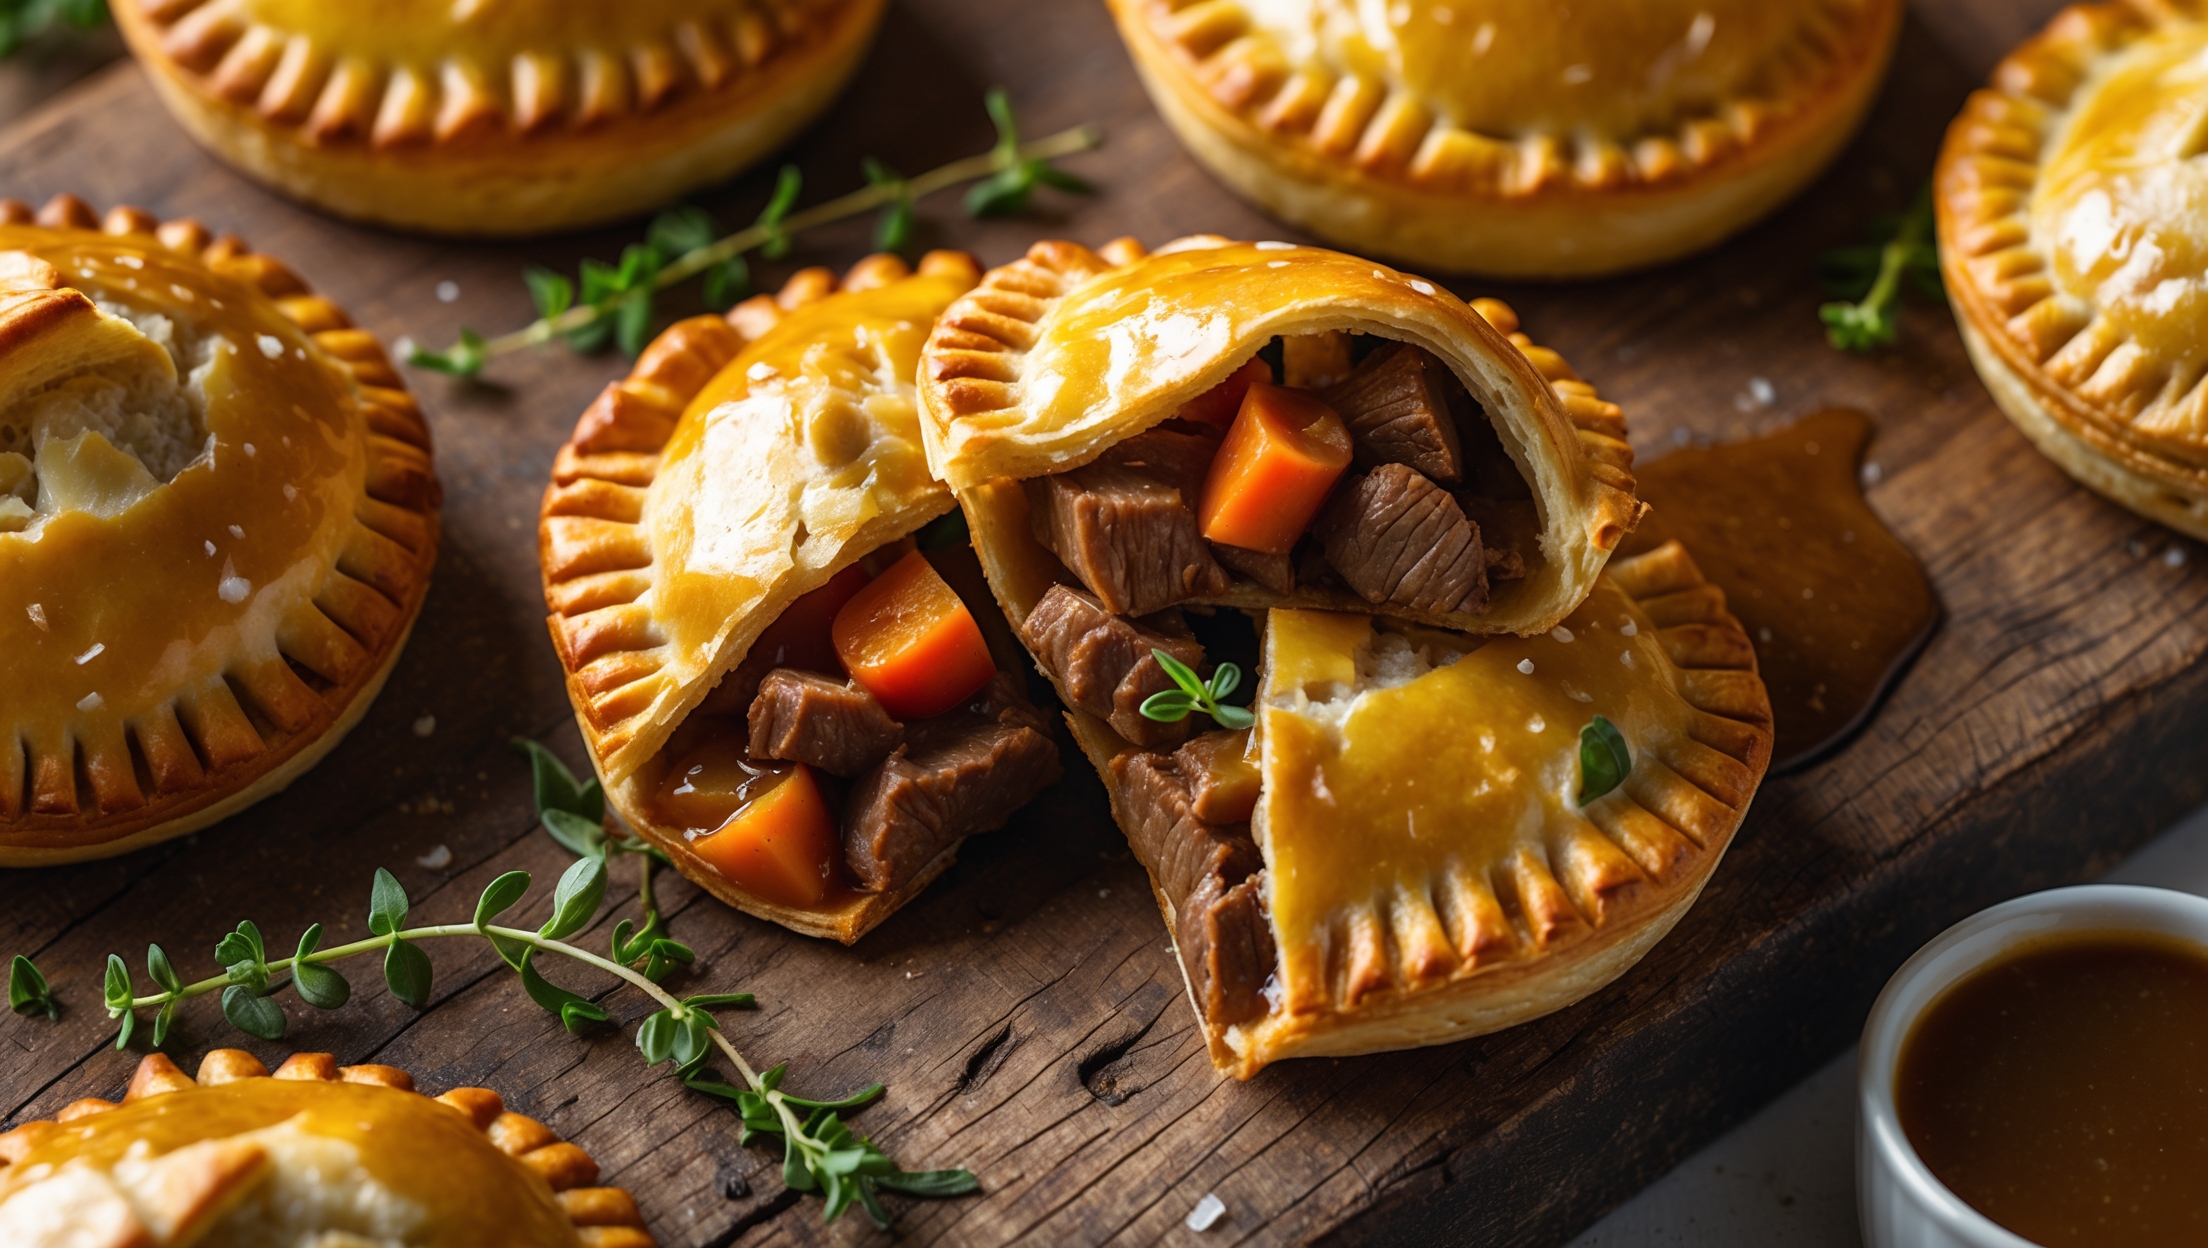
Beef hand pies require all-purpose flour, cold butter, salt, sugar, vinegar, egg wash, beef chuck, vegetables (onion, carrots, celery, garlic), tomato paste, beef stock, Worcestershire sauce, thyme, and seasonings. These combine to create a flaky pastry filled with rich, tender beef.
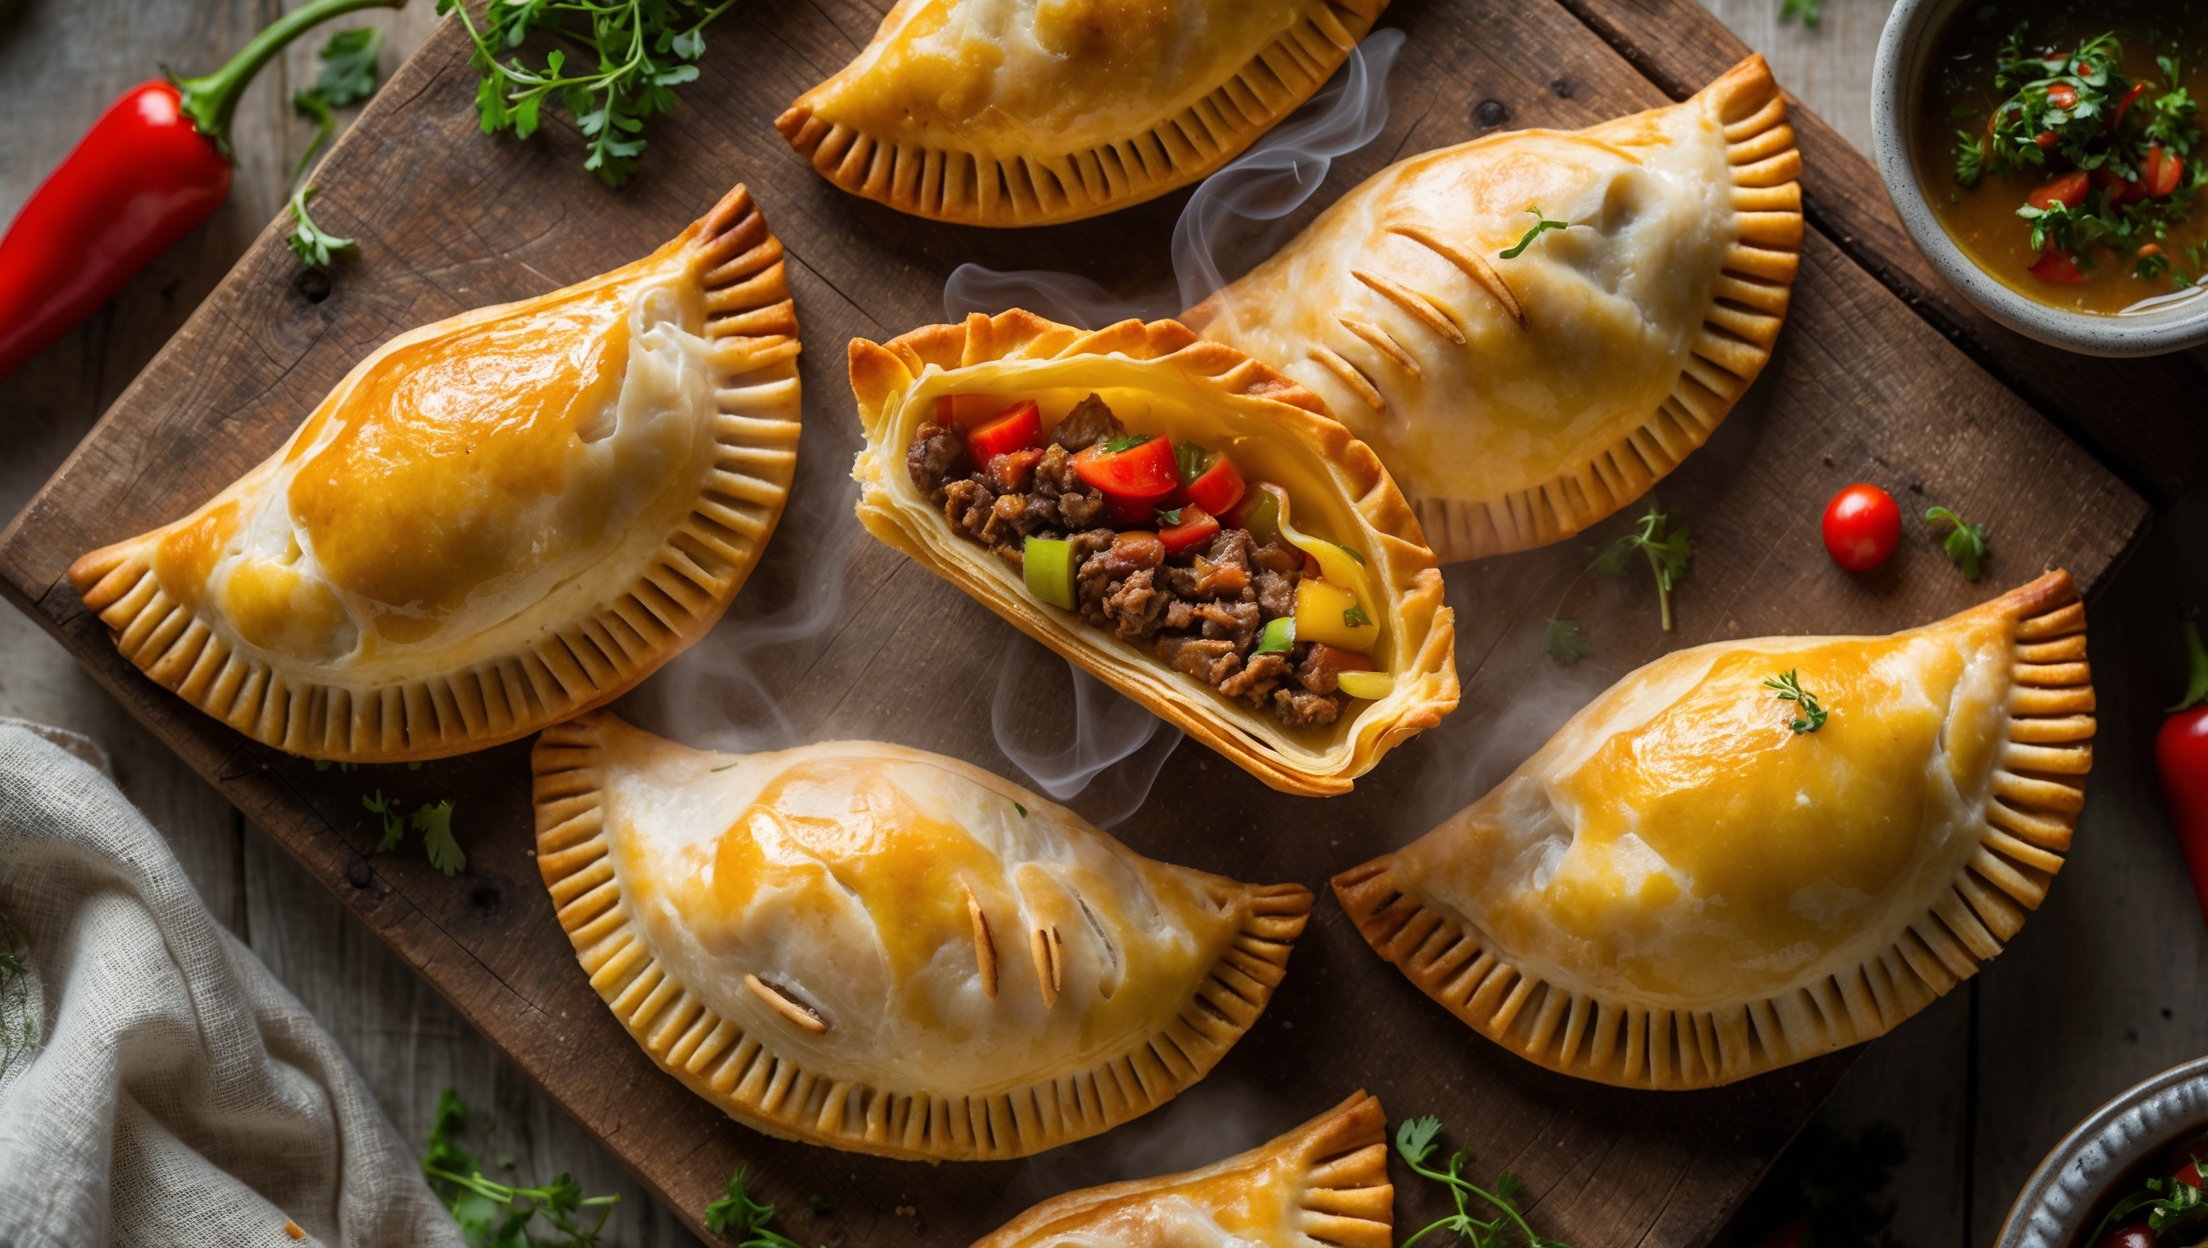
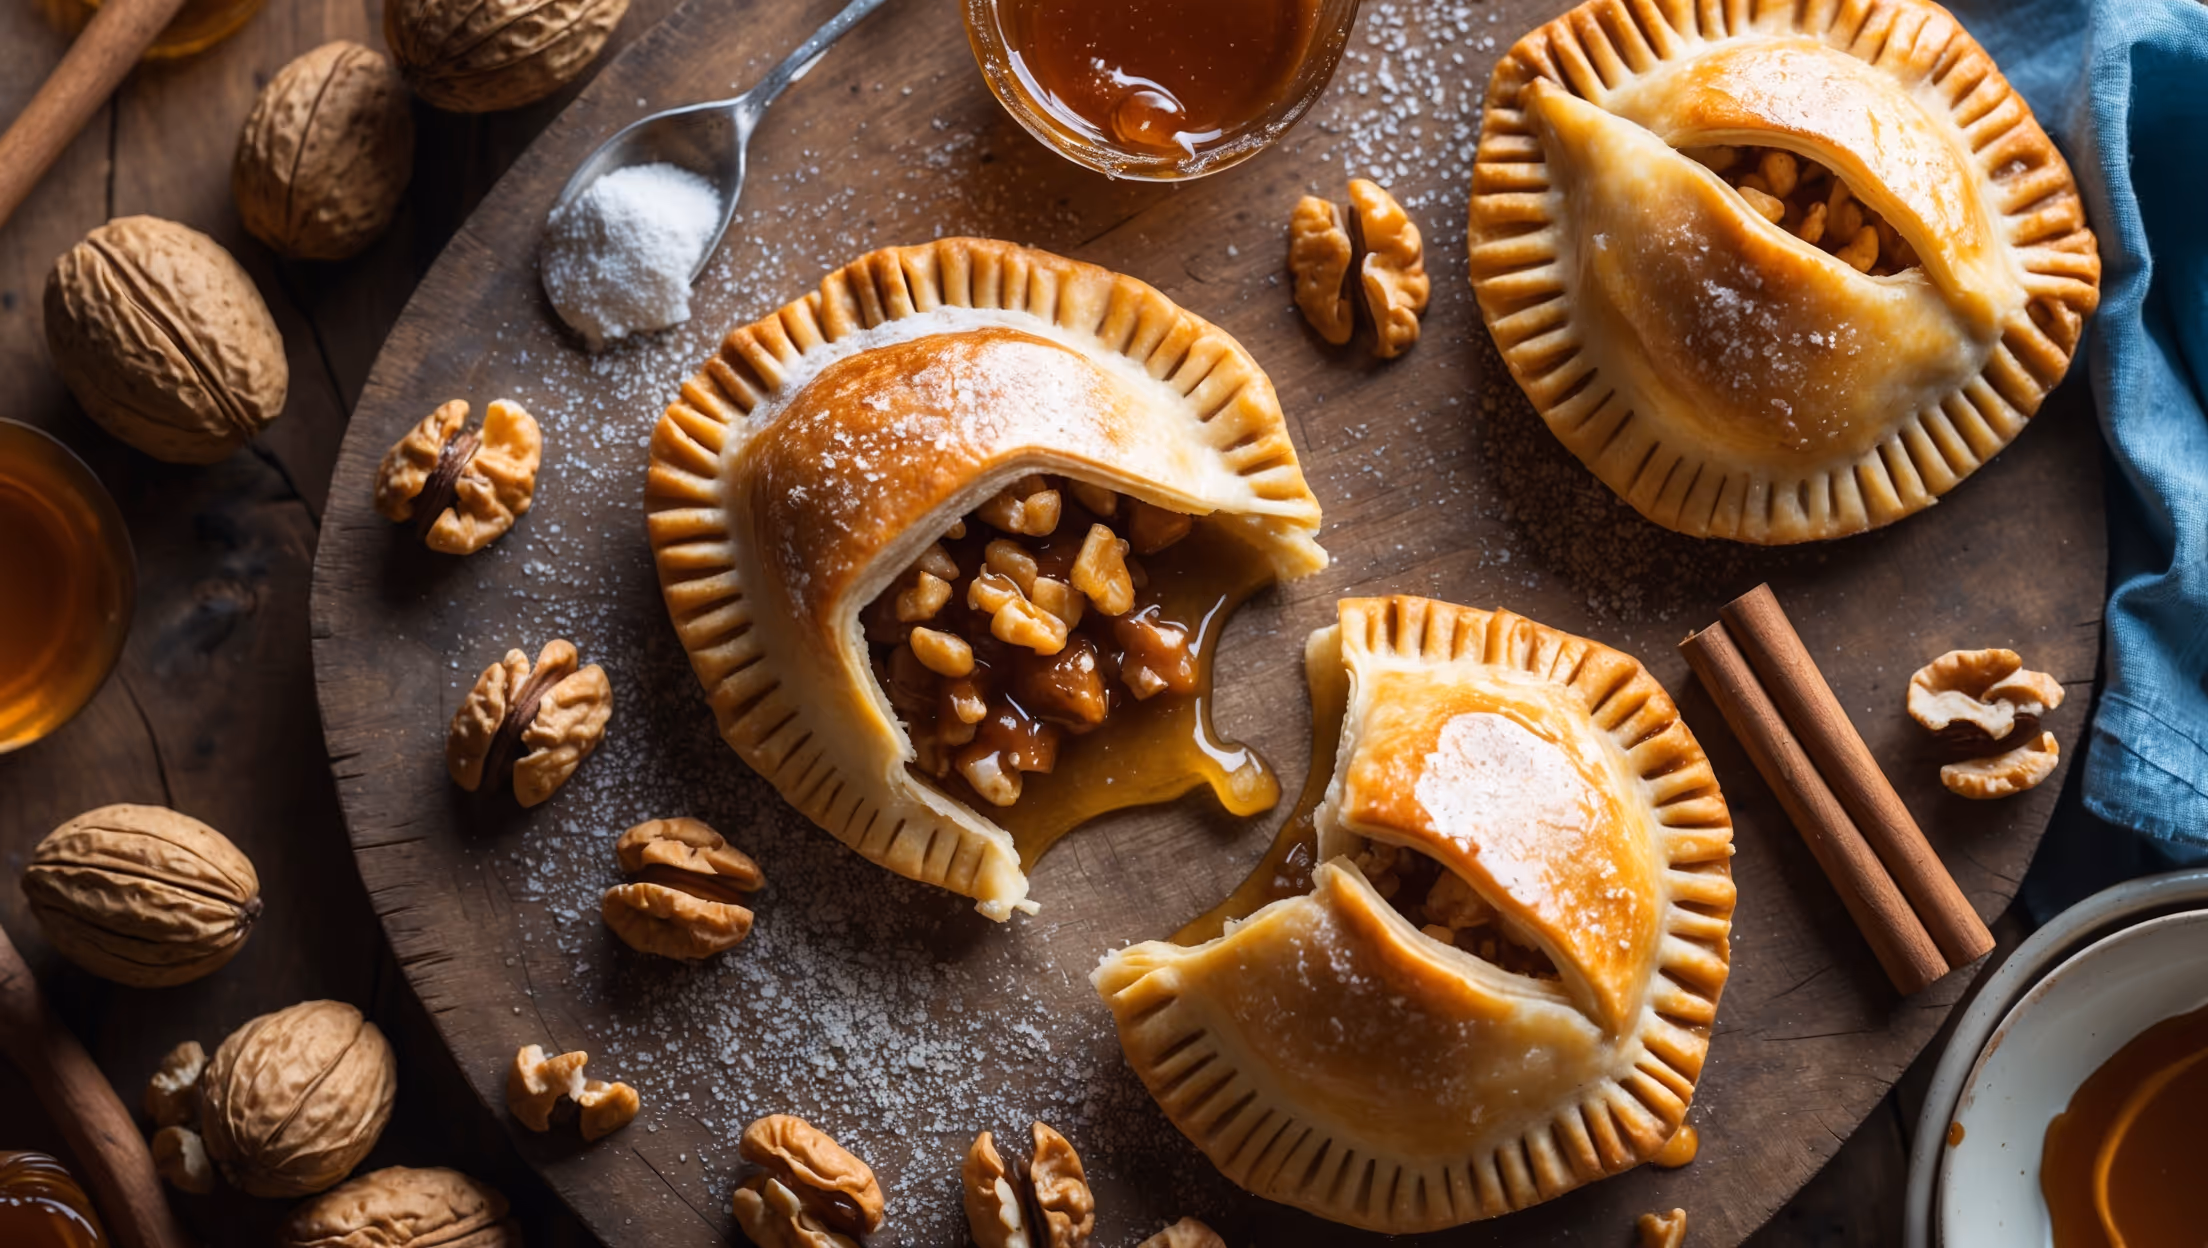
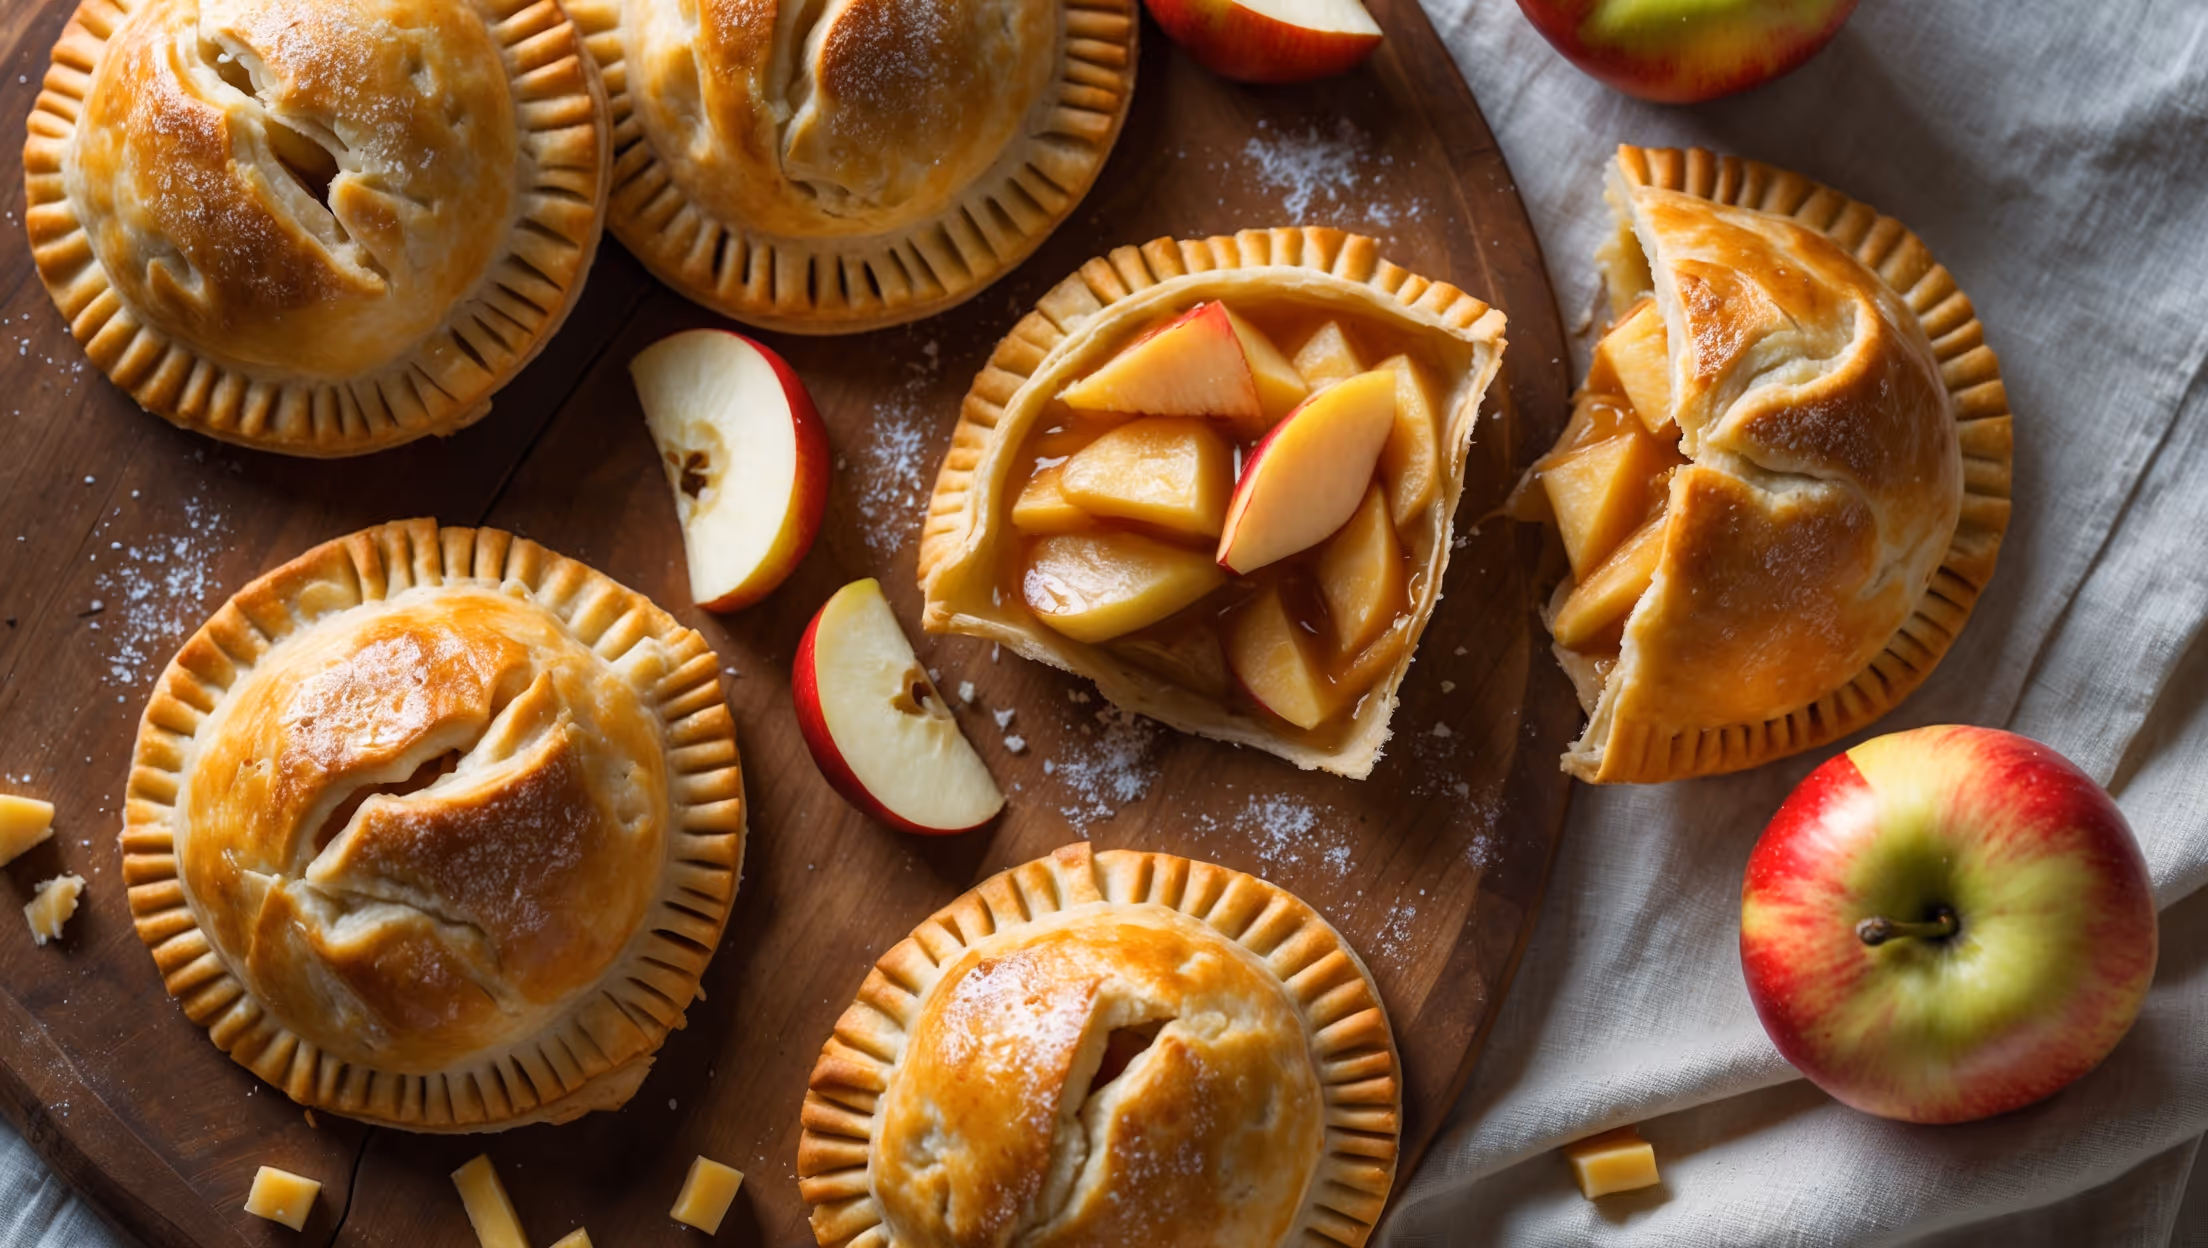
Learn how to cook Beef Hand Pies by first making flaky pastry with cold butter cut into flour, then preparing a rich beef filling with vegetables and seasonings. Once cooled, spoon the filling onto pastry circles, fold, seal, and bake at 200°C until golden. This intermediate recipe yields 8 delicious portable pies perfect for meals on the go.
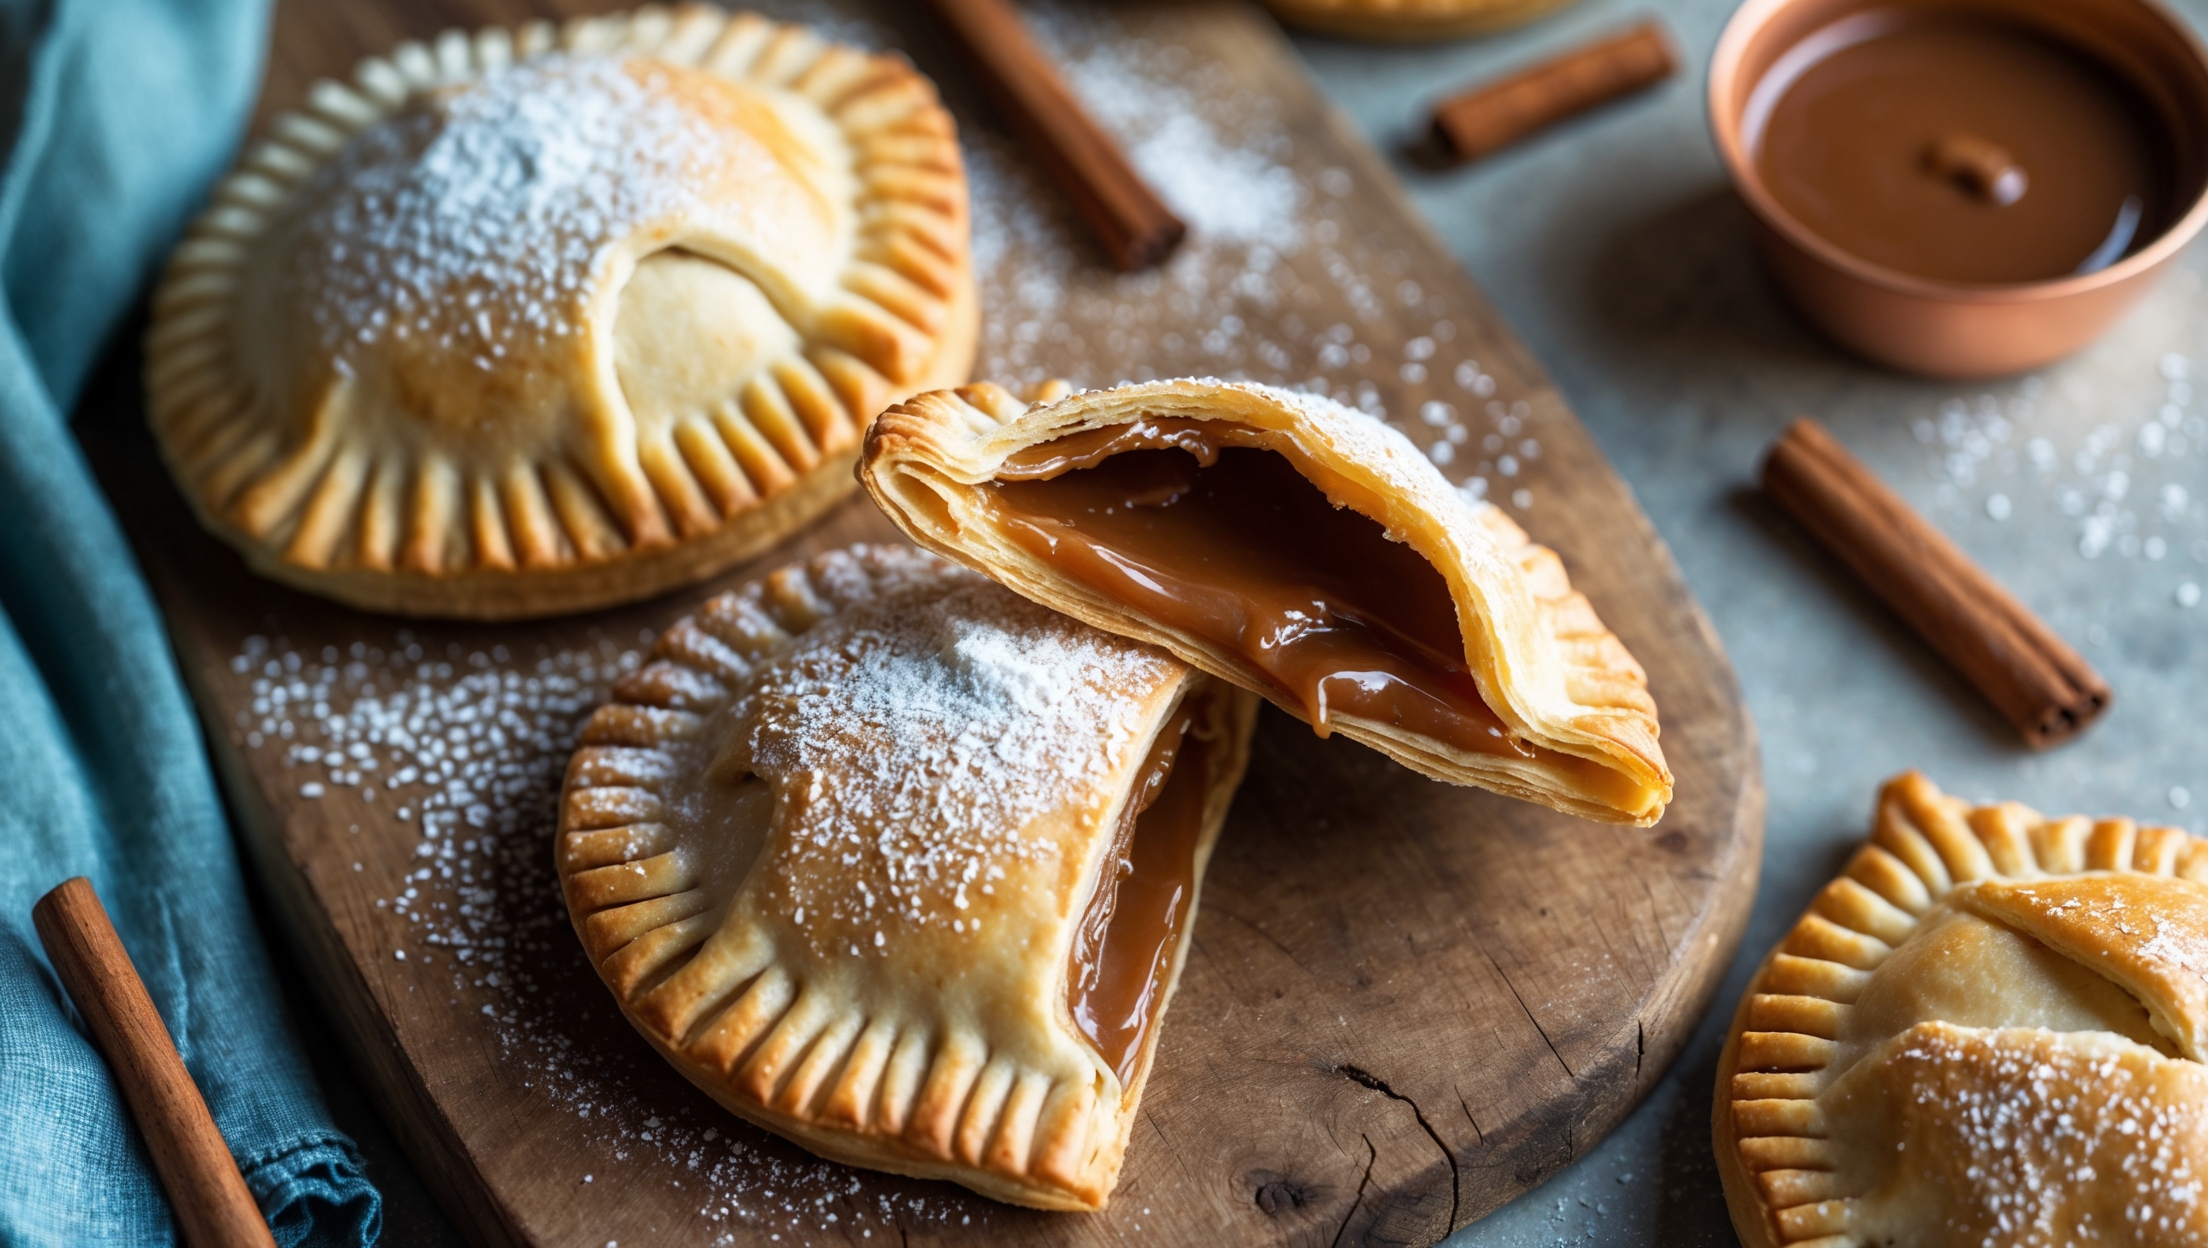
The secret lies in keeping ingredients cold throughout preparation. Use ice-cold water, chilled butter, and refrigerate the dough between steps. Adding vinegar helps prevent tough gluten development, while varying butter chunk sizes creates different layers of flakiness. Don't skip the final chill before baking.
Absolutely! You can freeze hand pies either before or after baking. For unbaked pies, freeze them on a tray first, then transfer to freezer bags. For baked pies, cool completely before freezing. They'll keep for up to 3 months and can be baked or reheated directly from frozen.
Chuck steak is ideal as it has excellent marbling that breaks down during slow cooking, creating tender, flavourful results. Alternative cuts include brisket, stewing beef, or even short ribs. The key is choosing cuts with good fat content and connective tissue that become beautifully tender with long cooking.
Hand Pies
Try following recommended recipes