Bean and Cheese Hand Pies Recipe

Ingredients
Equipment
Directions
FAQs
Find answers to your most pressing questions about this delicious recipe right here.
The key ingredients include all-purpose flour, unsalted butter, and white vinegar for the pastry, plus cooked pinto or black beans, onion, garlic, spices (cumin, smoked paprika, oregano), cheese (cheddar or monterey jack), and fresh coriander for the filling.
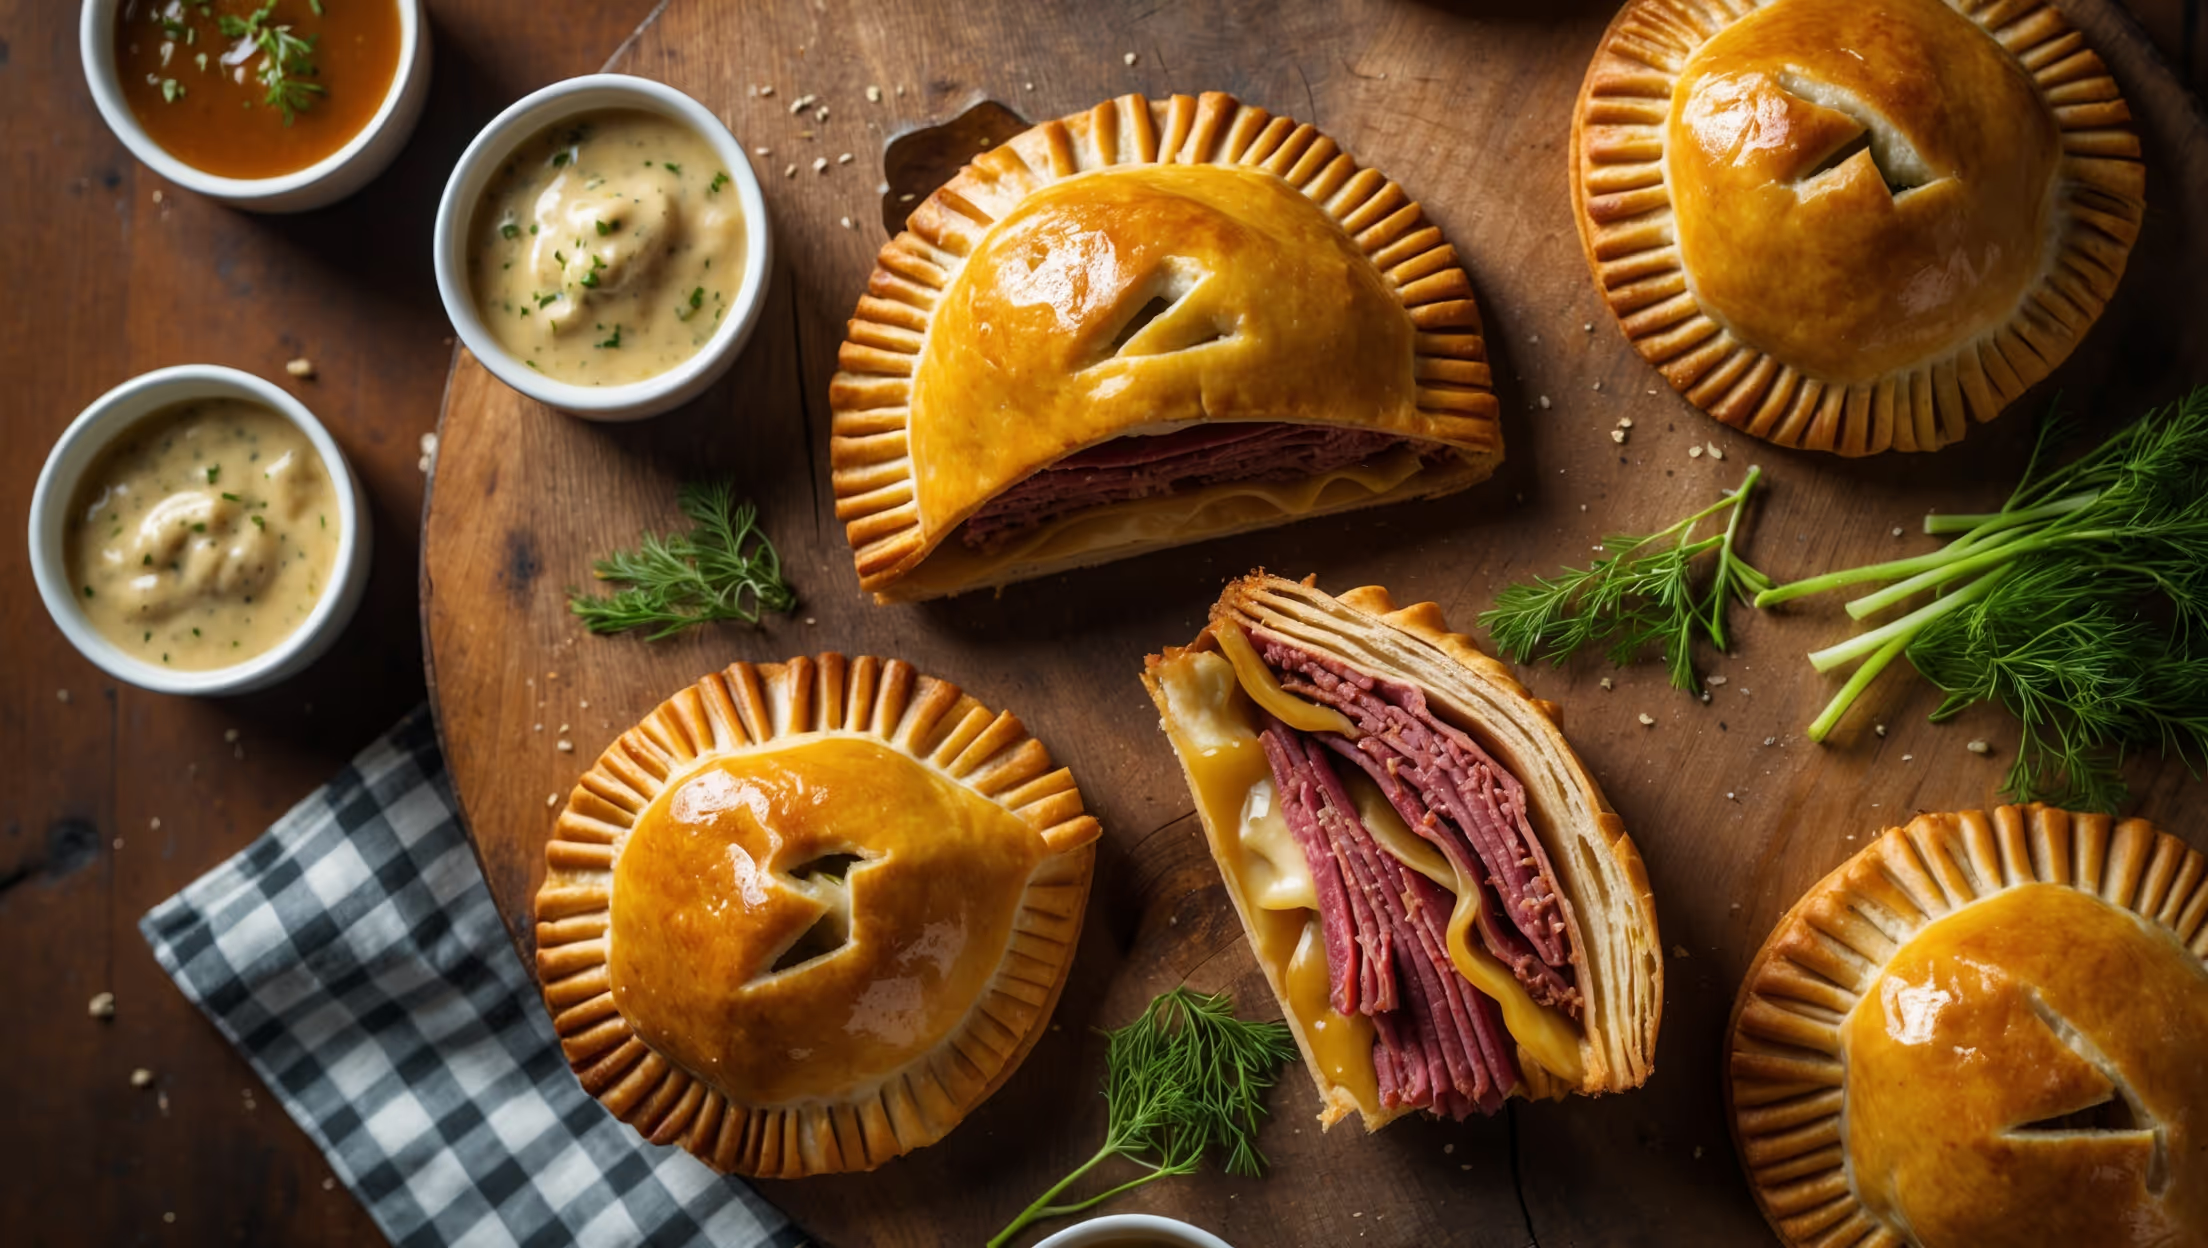
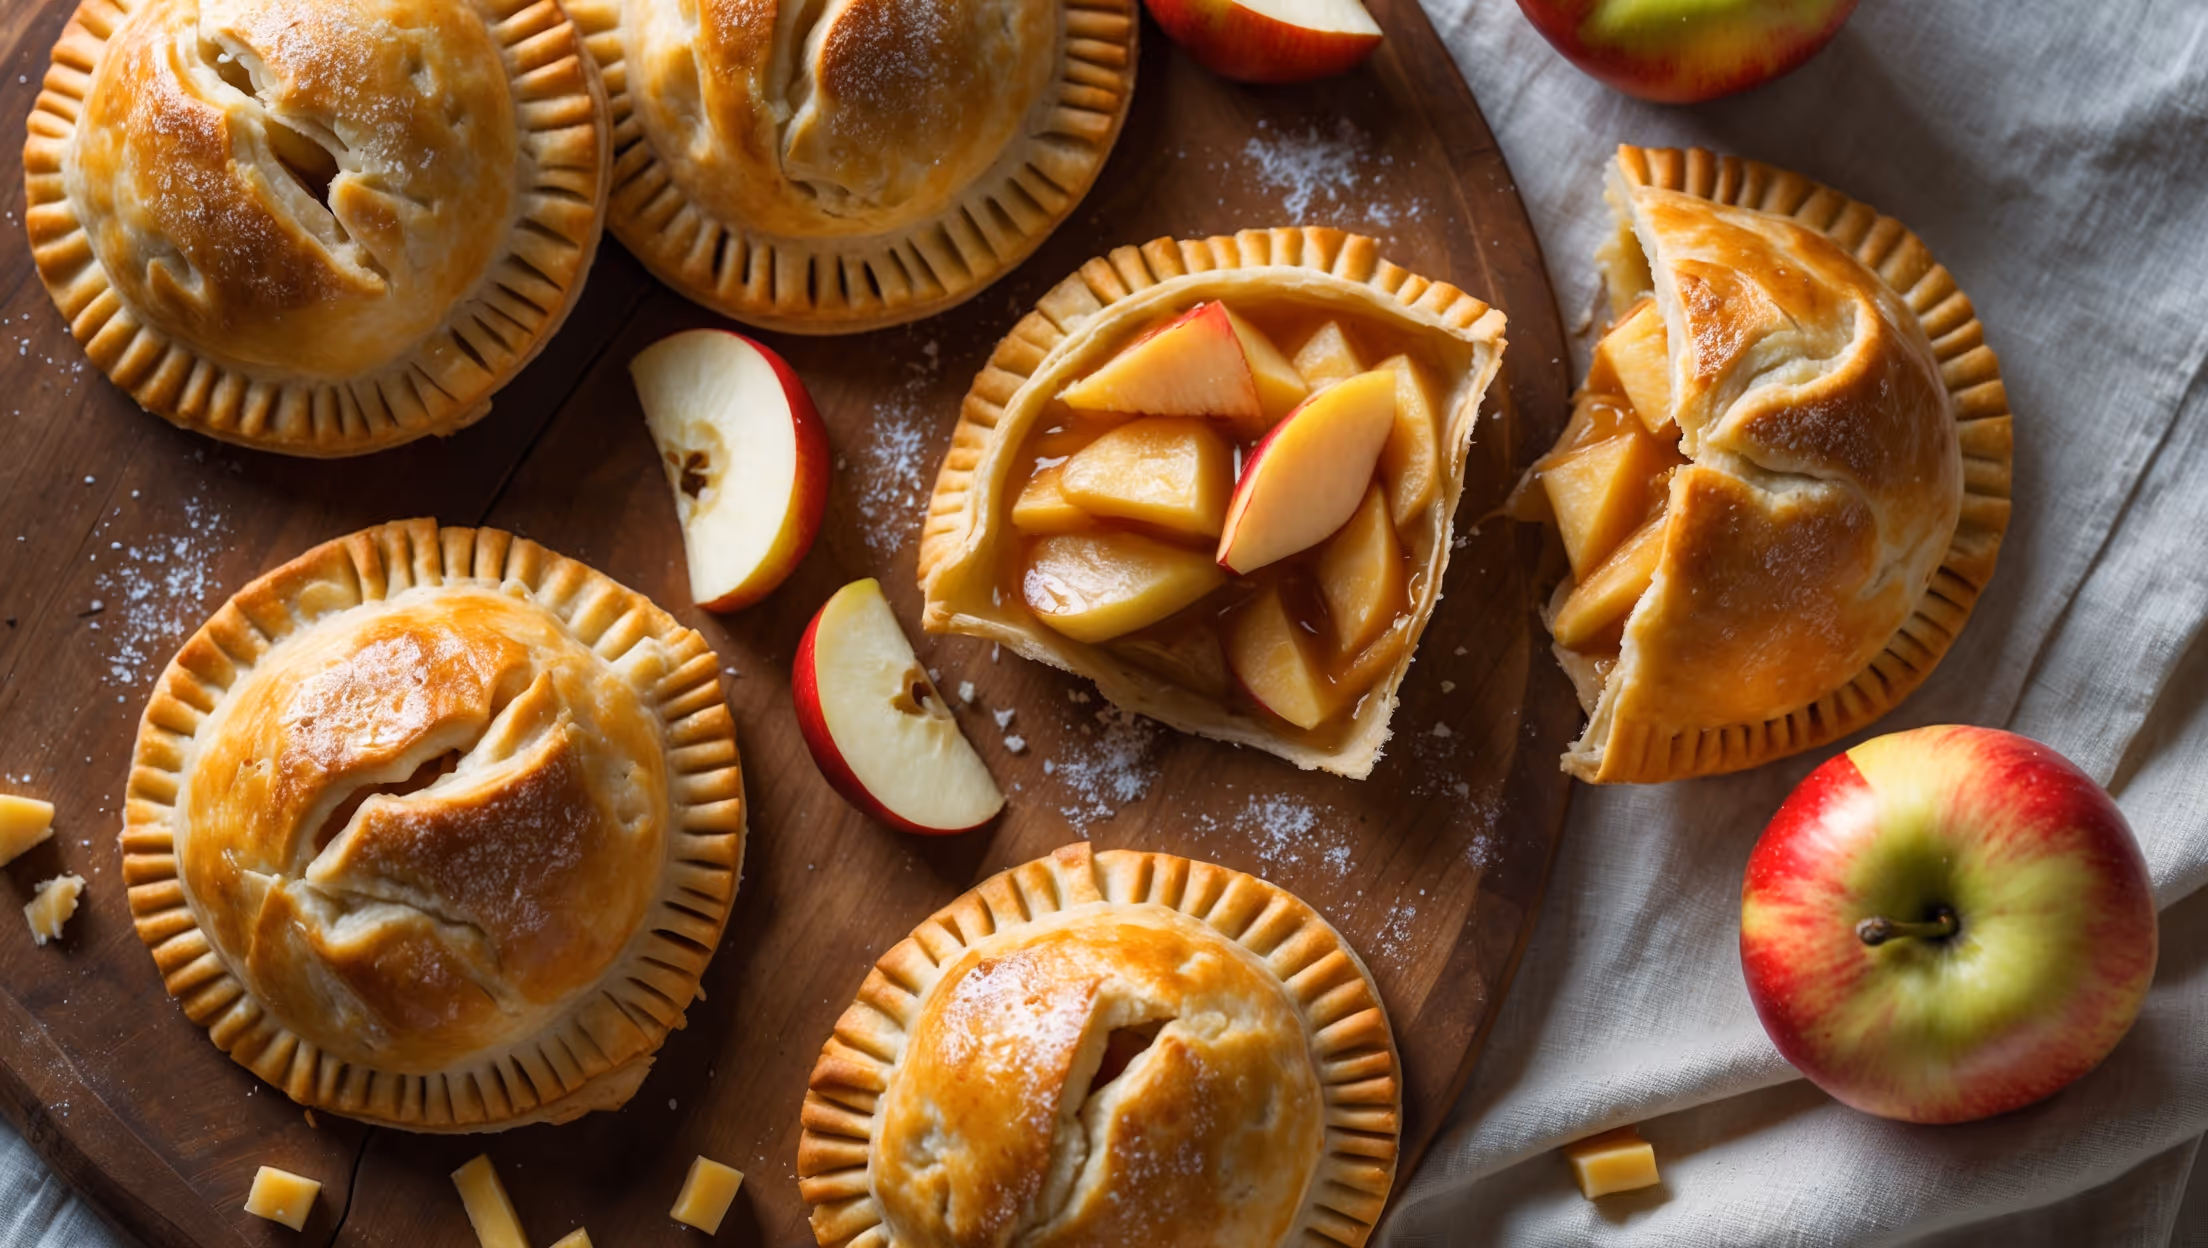
Learn how to cook Bean and Cheese Hand Pies by making a flaky pastry with butter and flour, creating a flavourful bean filling with spices and cheese, then folding the dough over the filling to create half-moon shapes. Crimp the edges, brush with egg wash, and bake until golden brown for a delicious portable meal.
Yes, these savoury hand pies freeze beautifully. After baking, cool completely, then wrap individually in cling film and freeze for up to 3 months. To reheat, simply bake from frozen at 180°C for 15-20 minutes until heated through, making them perfect for meal prep.
The key is keeping butter cold throughout the process. Leave visible pea-sized butter pieces when mixing, avoid overworking the dough, and chill thoroughly before rolling. The cold butter creates steam pockets during baking that result in delicious flaky layers.
For vegetable versions, add diced cooked sweet potato, corn, or spinach to the bean mixture. For meat options, incorporate 150g of cooked ground beef, shredded chicken, or chorizo. Always ensure fillings are cooled completely and not too wet before assembling.
Hand Pies
Try following recommended recipes