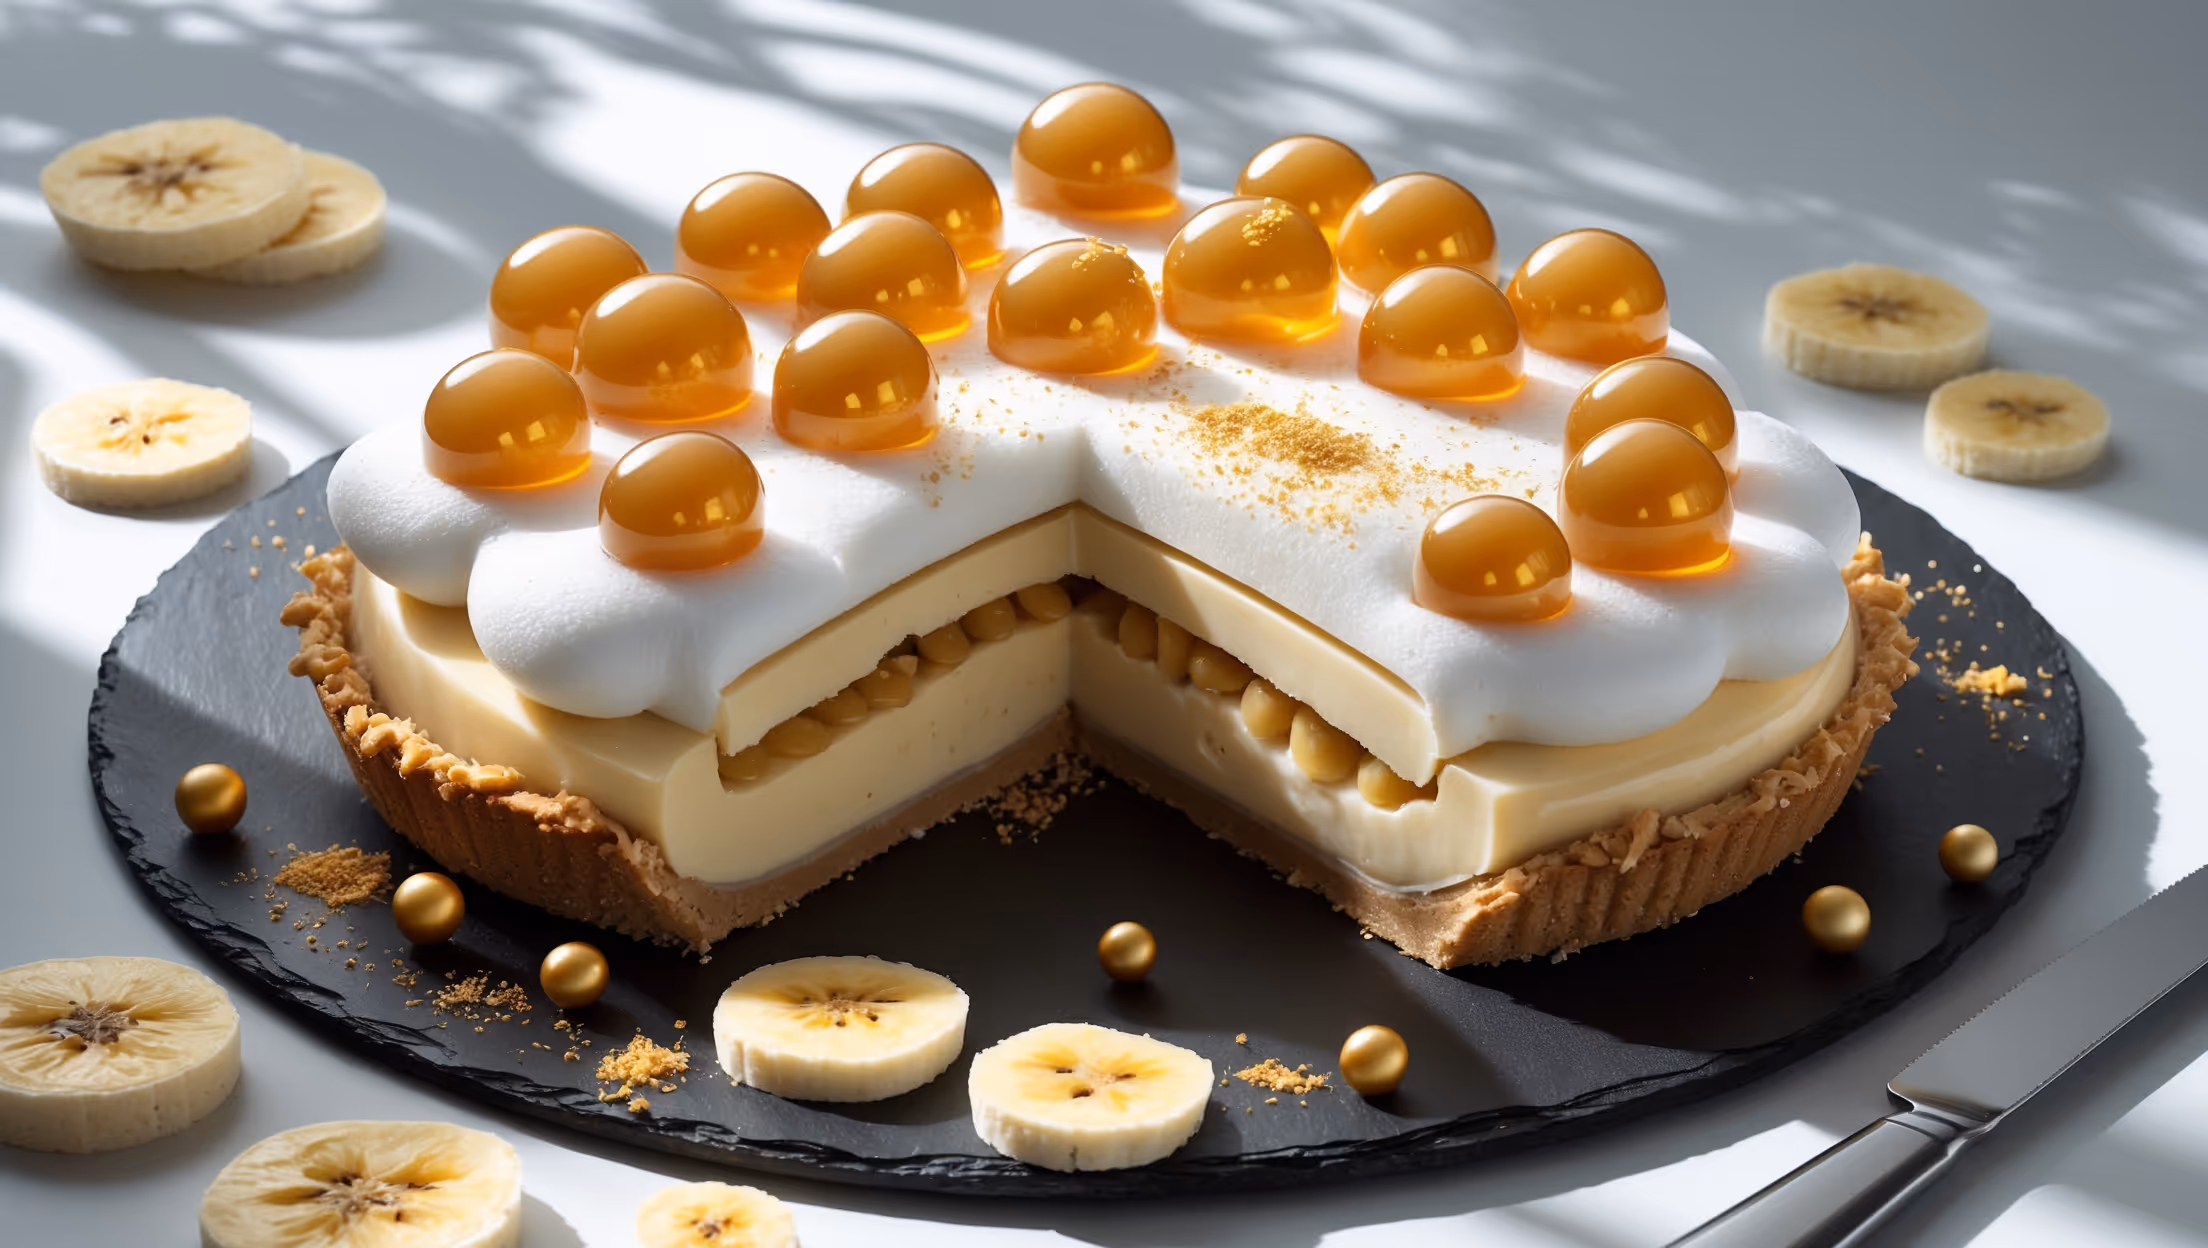
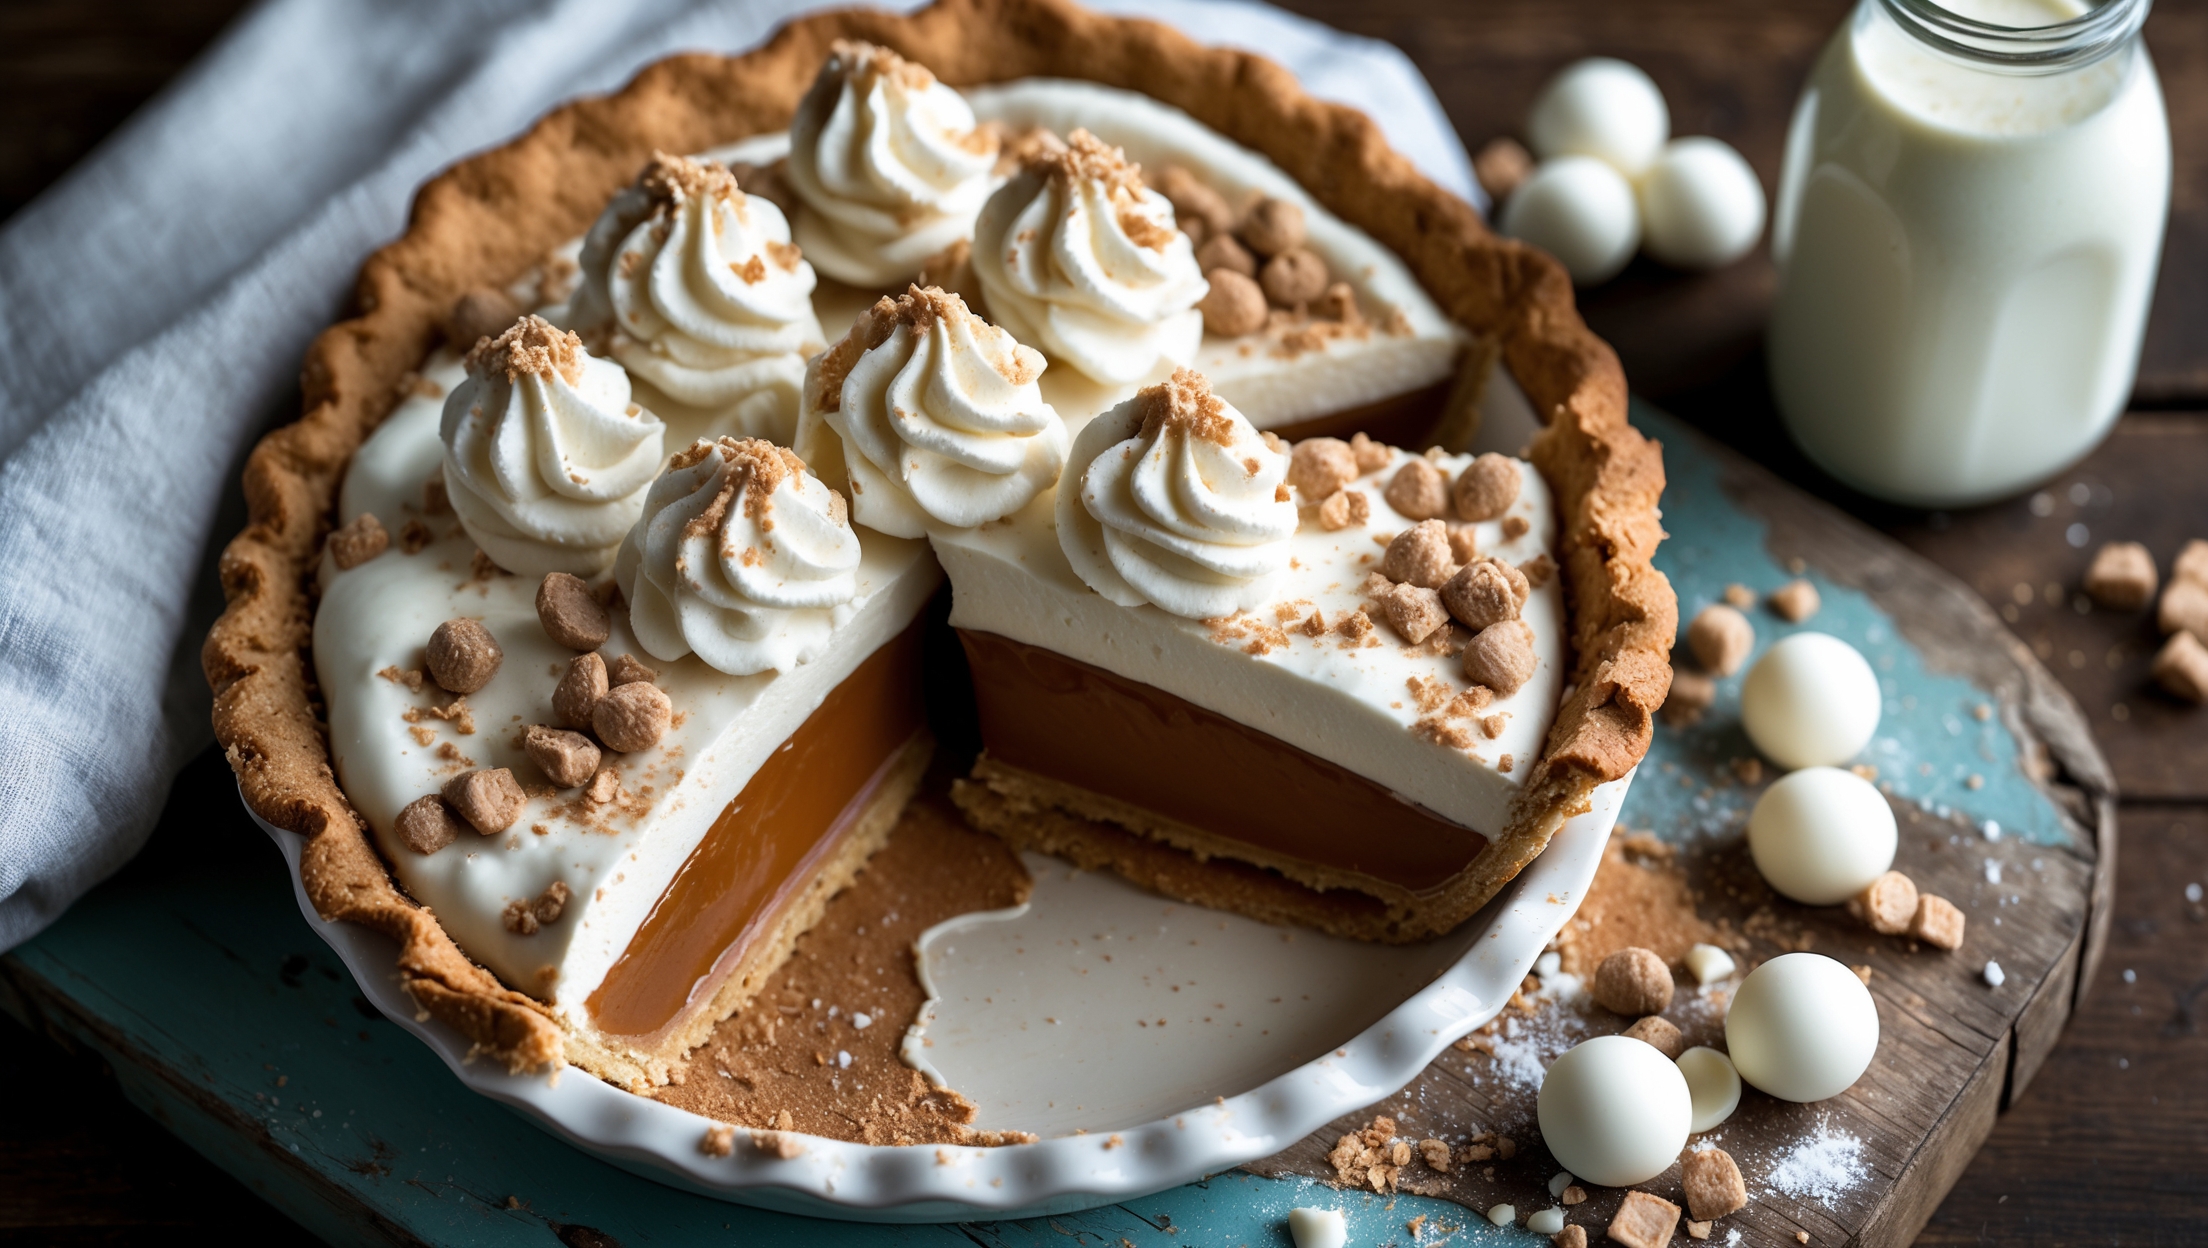
Banoffee Cream Pie Recipe
Ingredients
Equipment
Directions
FAQs
Find answers to your most pressing questions about this delicious recipe right here.
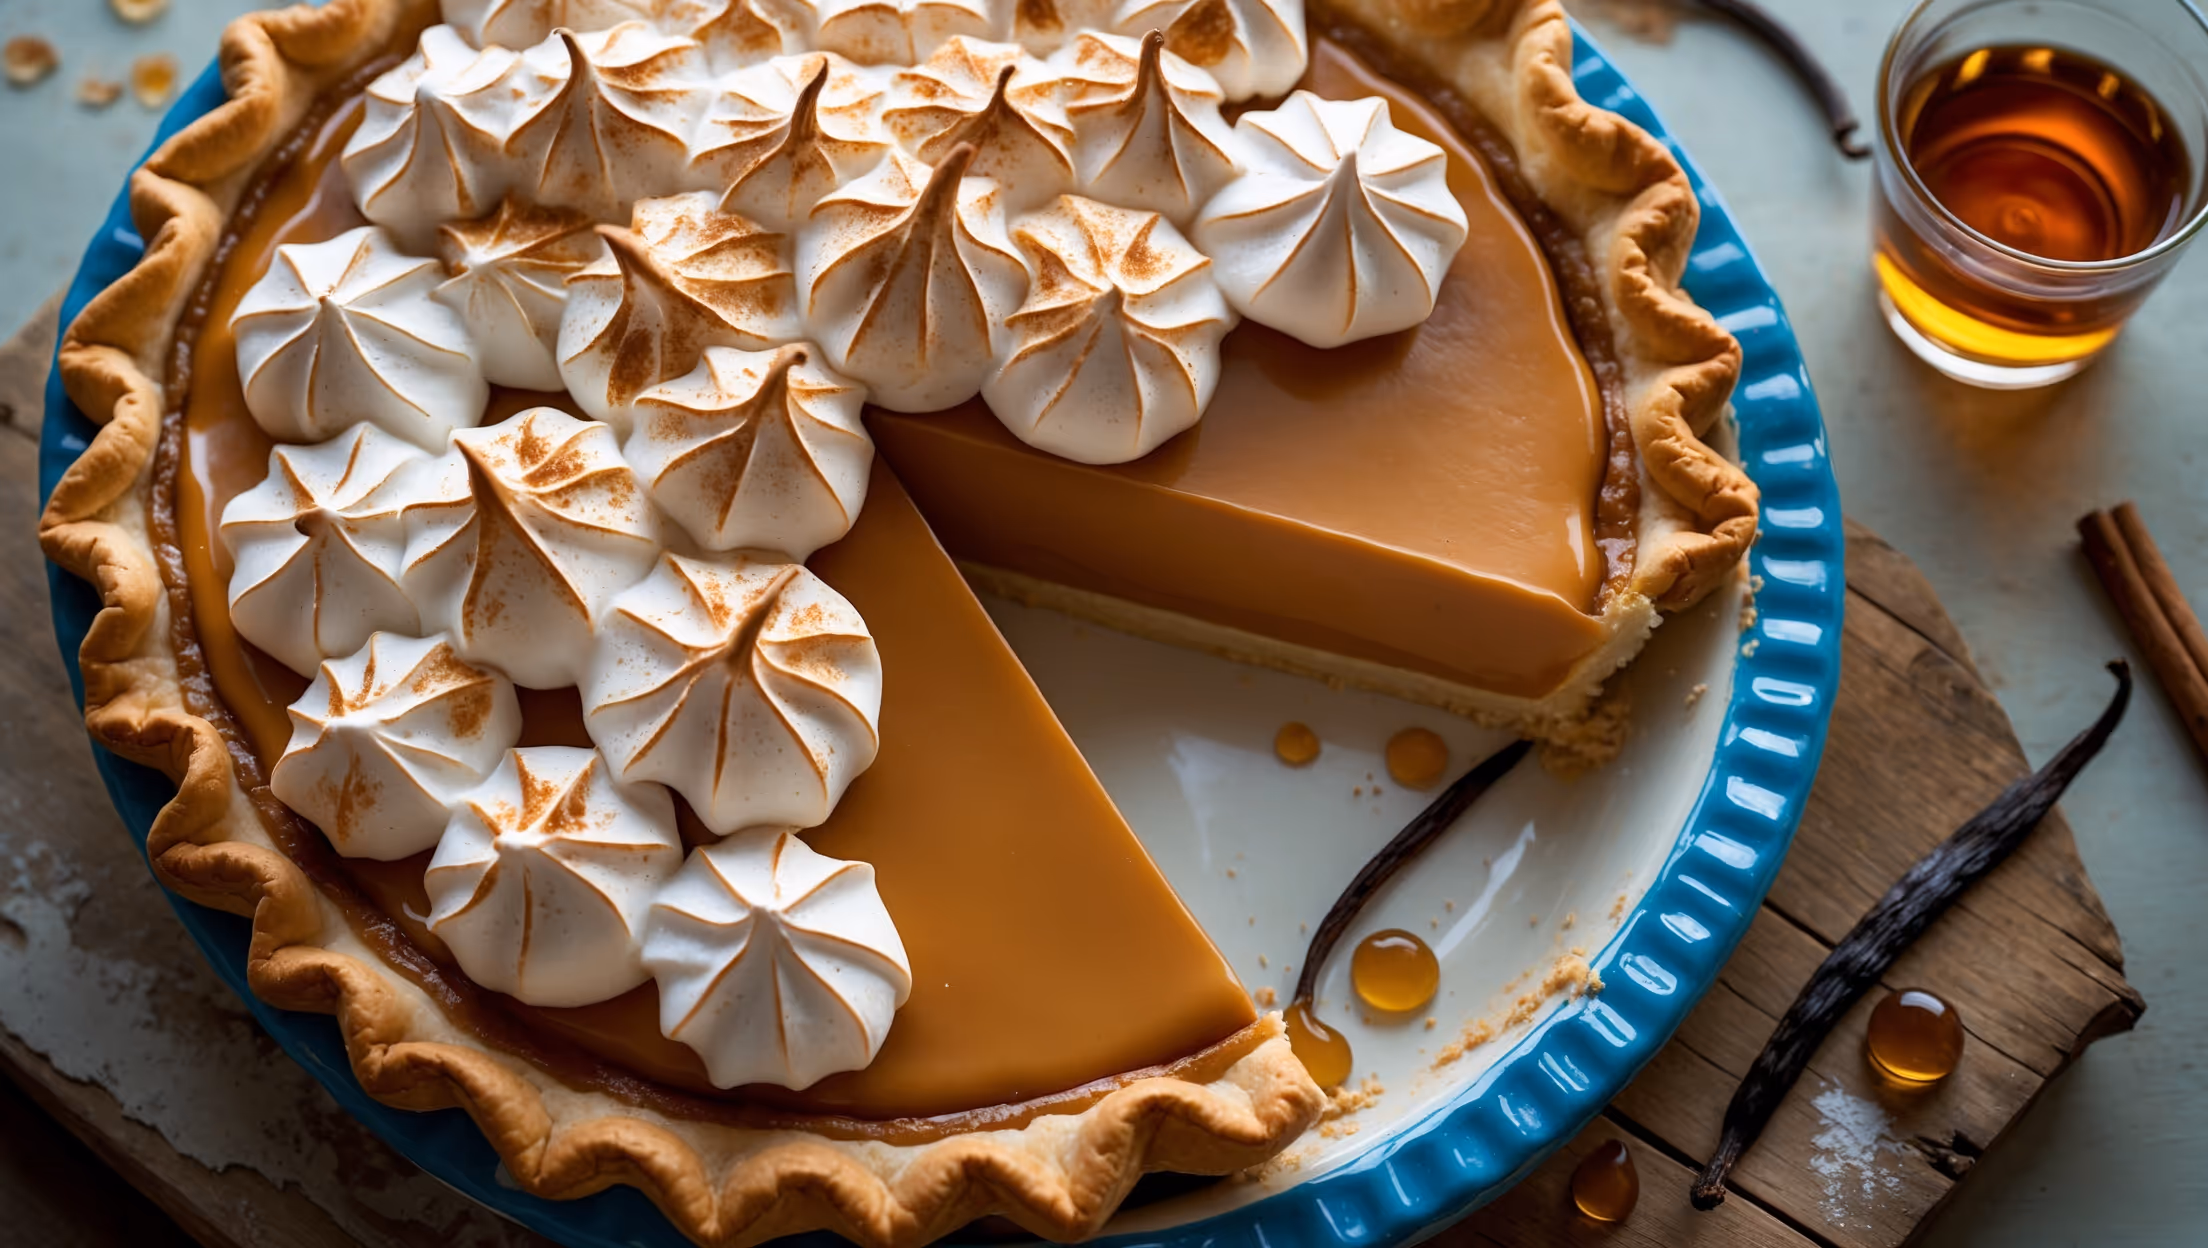
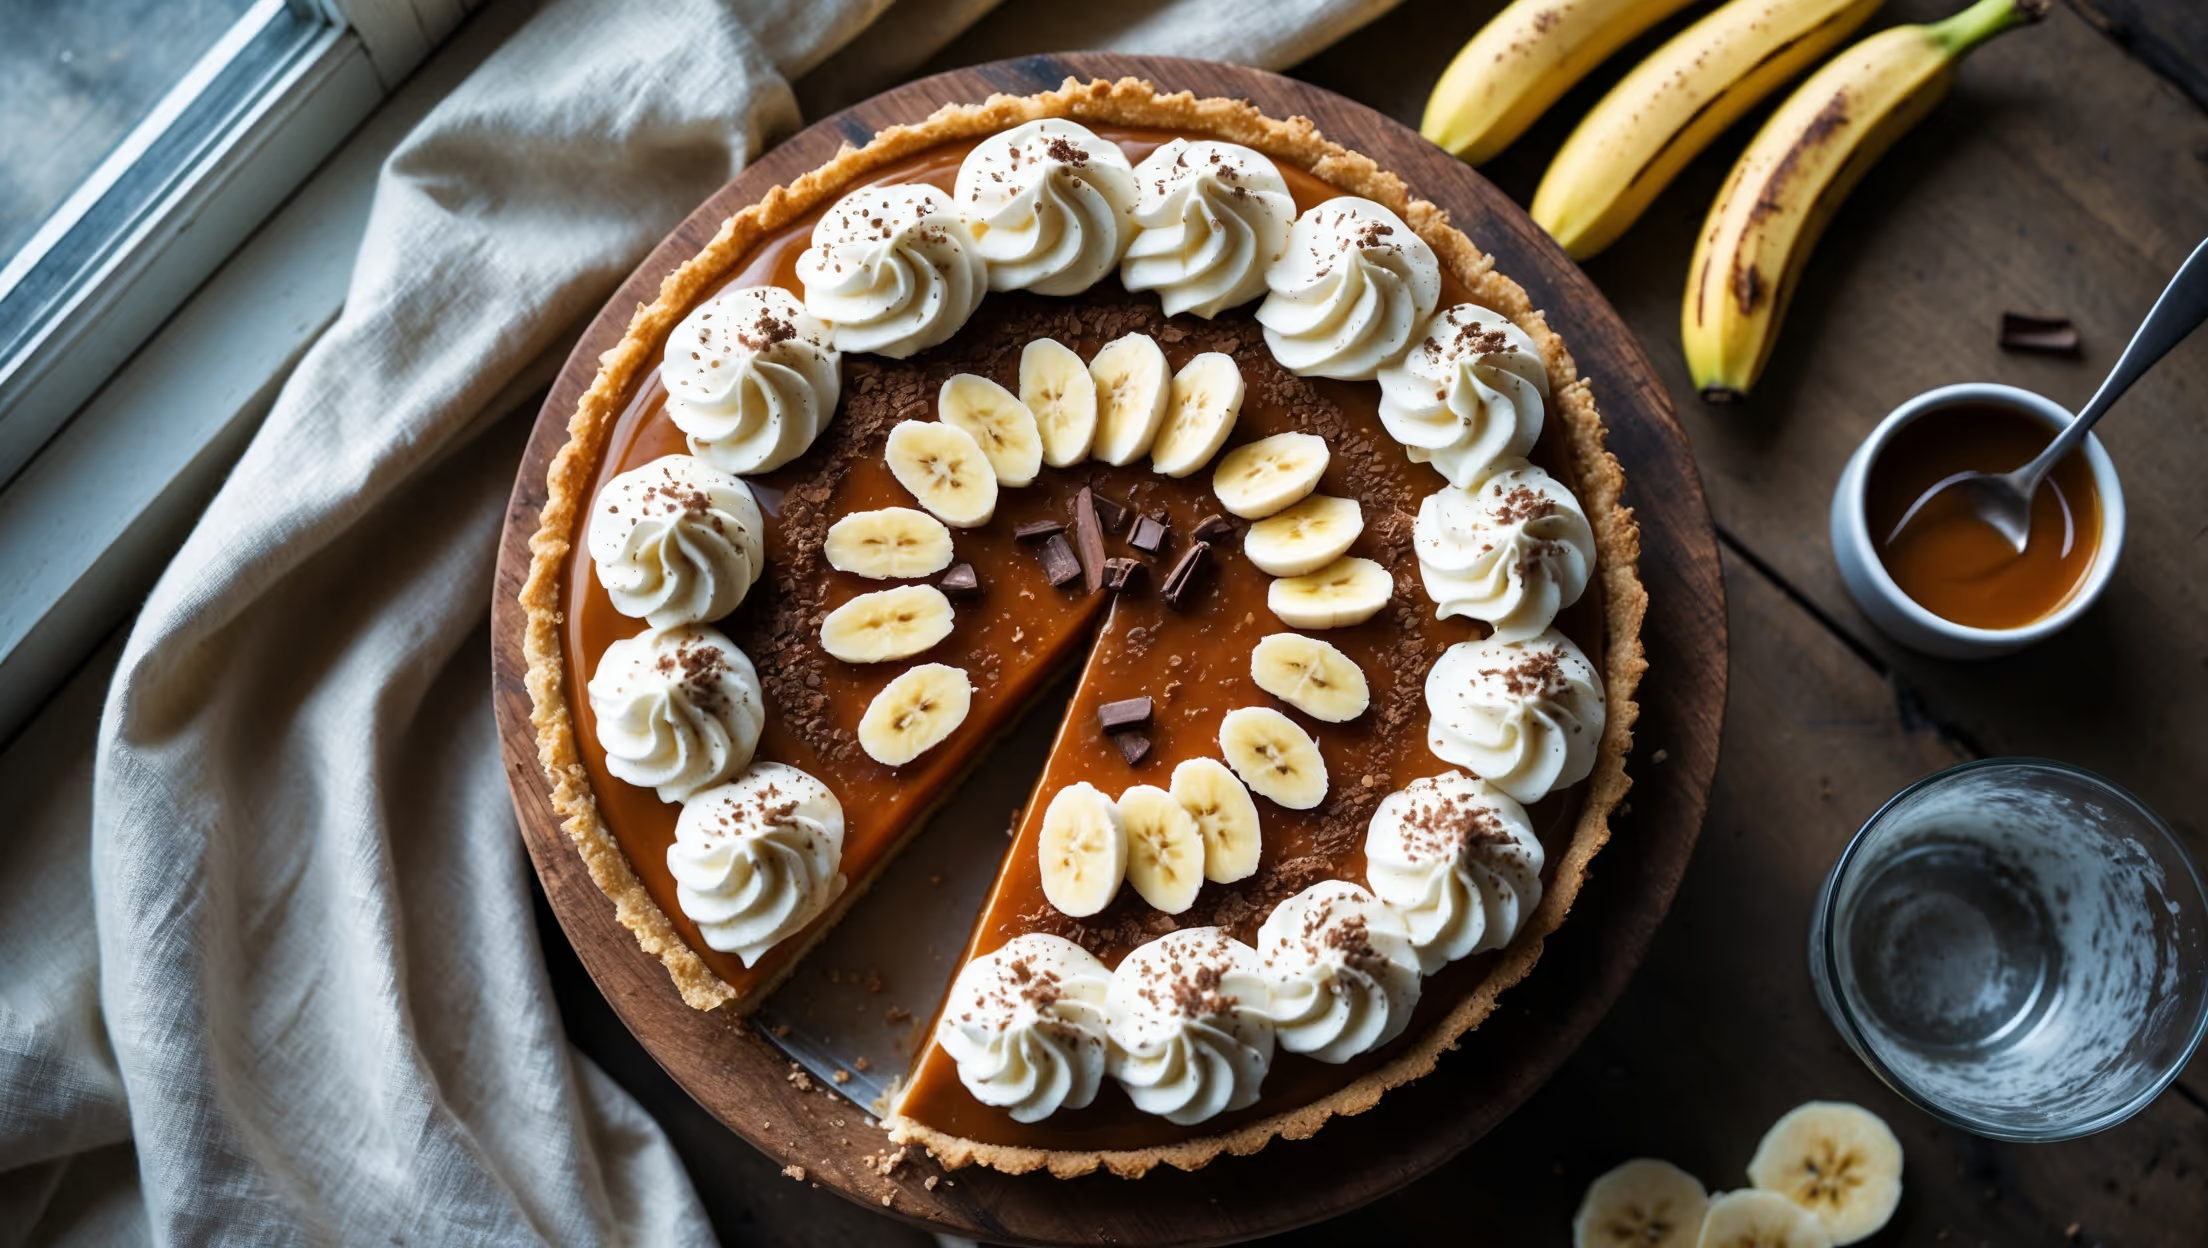
Banoffee Cream Pie requires digestive biscuits, unsalted butter, caramel (dulce de leche), ripe bananas, double cream, icing sugar, vanilla extract, dark chocolate for grating, and optionally a pinch of sea salt to balance the sweetness.
Learn how to cook Banoffee Cream Pie by crushing digestive biscuits and mixing with melted butter for the base, then layering with caramel, banana slices, and freshly whipped cream. The beauty is that it's mostly assembly with minimal actual cooking - just chill the base to set it properly before adding your delicious layers.
Absolutely! You can make caramel by boiling an unopened tin of condensed milk for about 3 hours (keeping it fully submerged), or use a faster stovetop method by stirring condensed milk with butter and sugar until it reaches a deep golden colour and thick consistency.
A crumbly base usually means insufficient butter or pressure. Ensure your biscuit crumbs are evenly coated with enough melted butter and press the mixture firmly into your tin. Chilling the base for at least 30 minutes before adding toppings is also crucial for stability.
To prevent banana discolouration, assemble your pie just before serving or toss banana slices in a little lemon juice before arranging them. Covering the bananas completely with whipped cream also helps create a seal against air exposure, reducing browning.
Cream Pies
Try following recommended recipes