Banana Hand Pies Recipe

Golden pastry pockets bursting with caramelized banana filling, offering a sweet crunch that gives way to warm, cinnamon-spiced fruit with every delightful bite.
Difficulty:
Intermediate
Prep Time:
45 mins
Cook Time:
25 mins
Serves:
8 hand pies
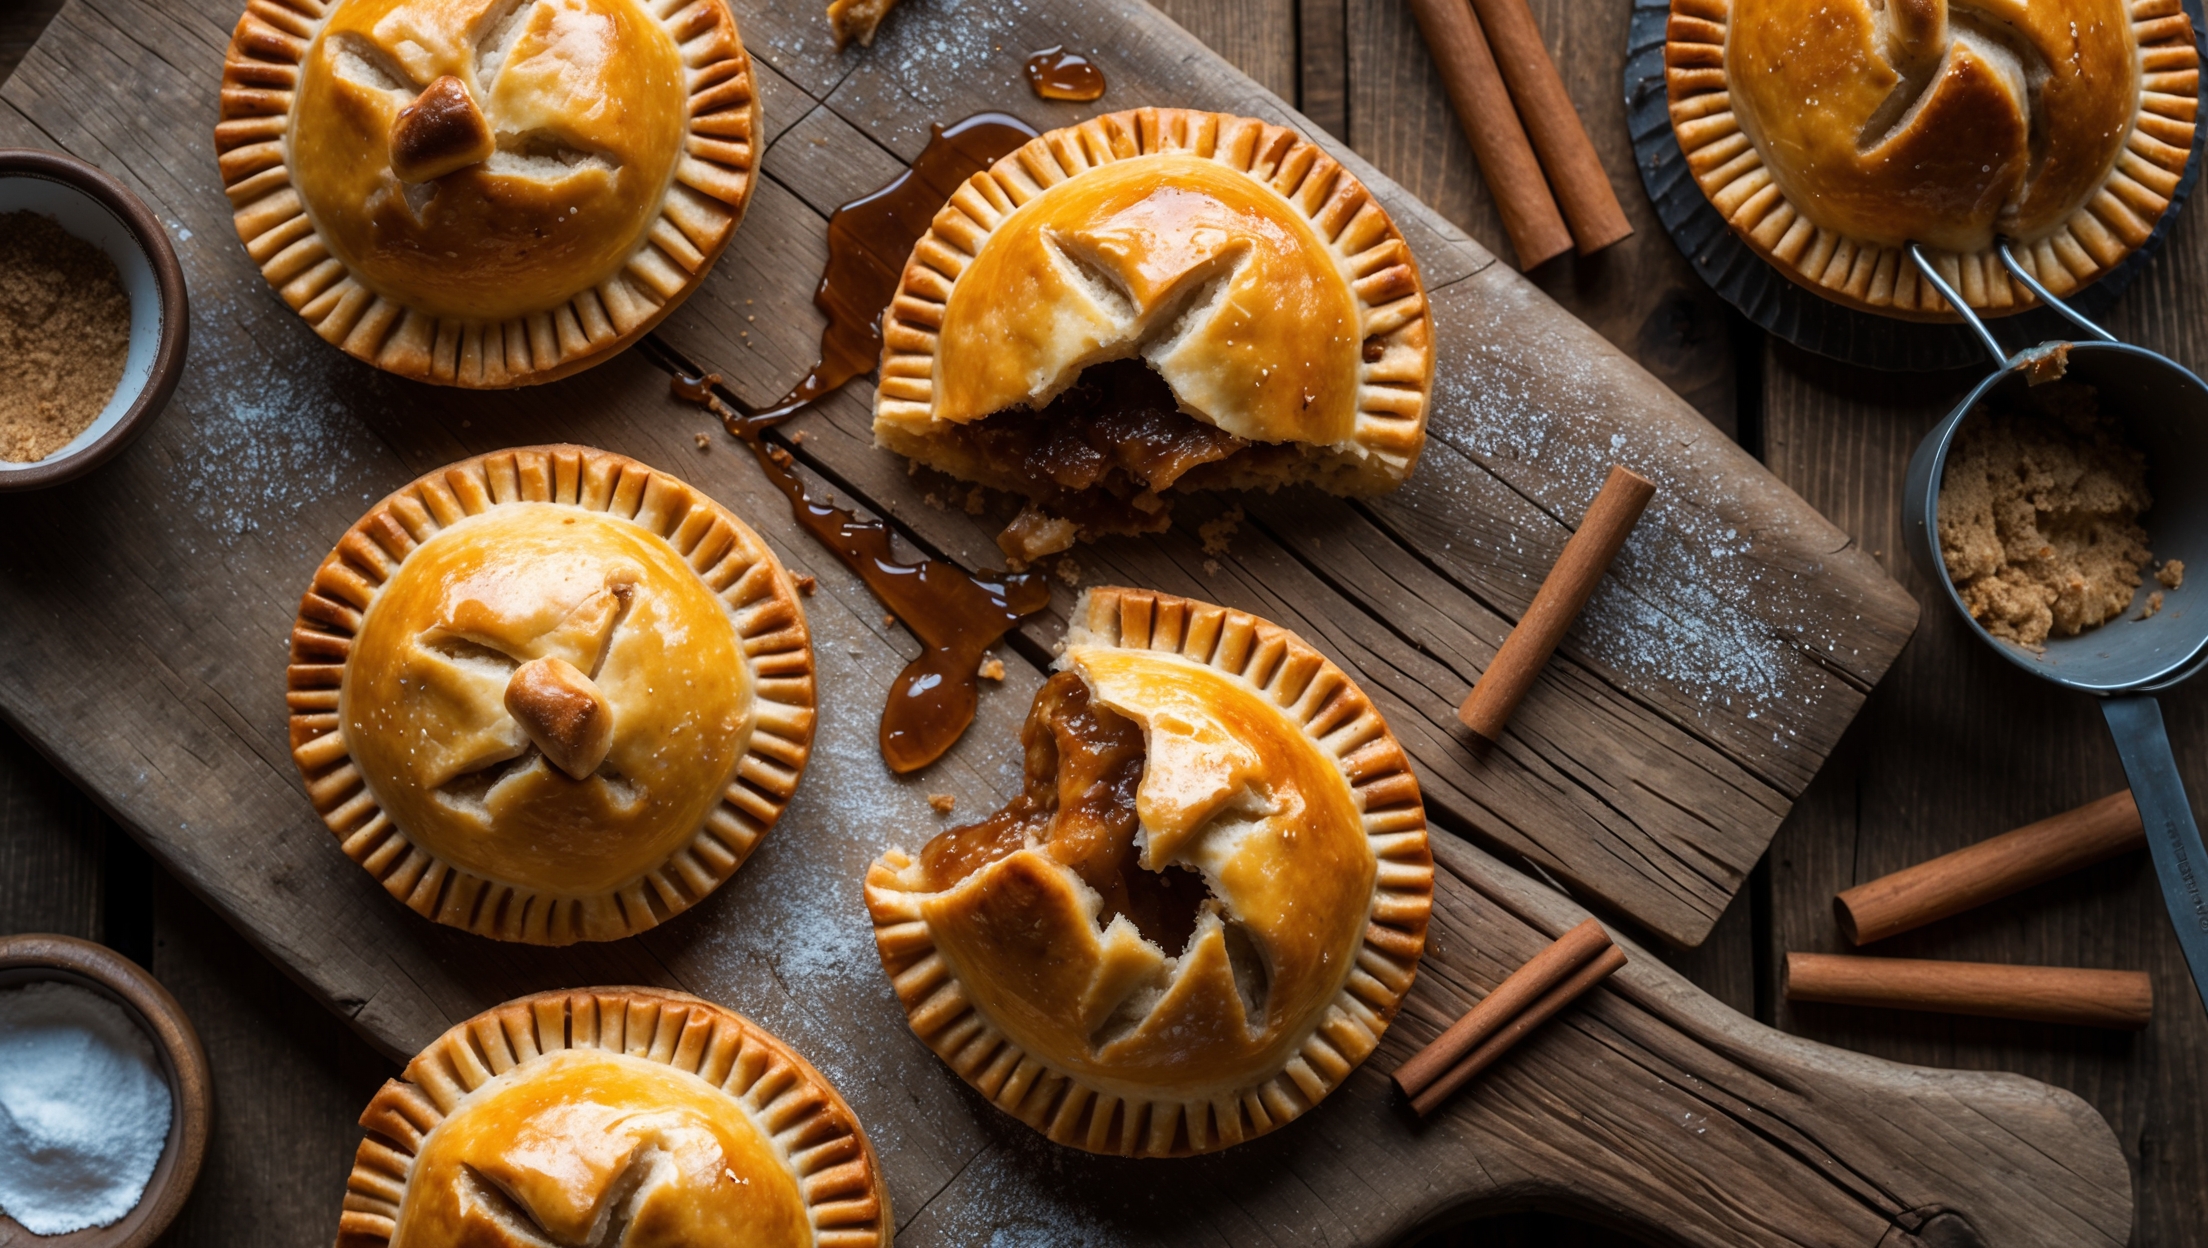
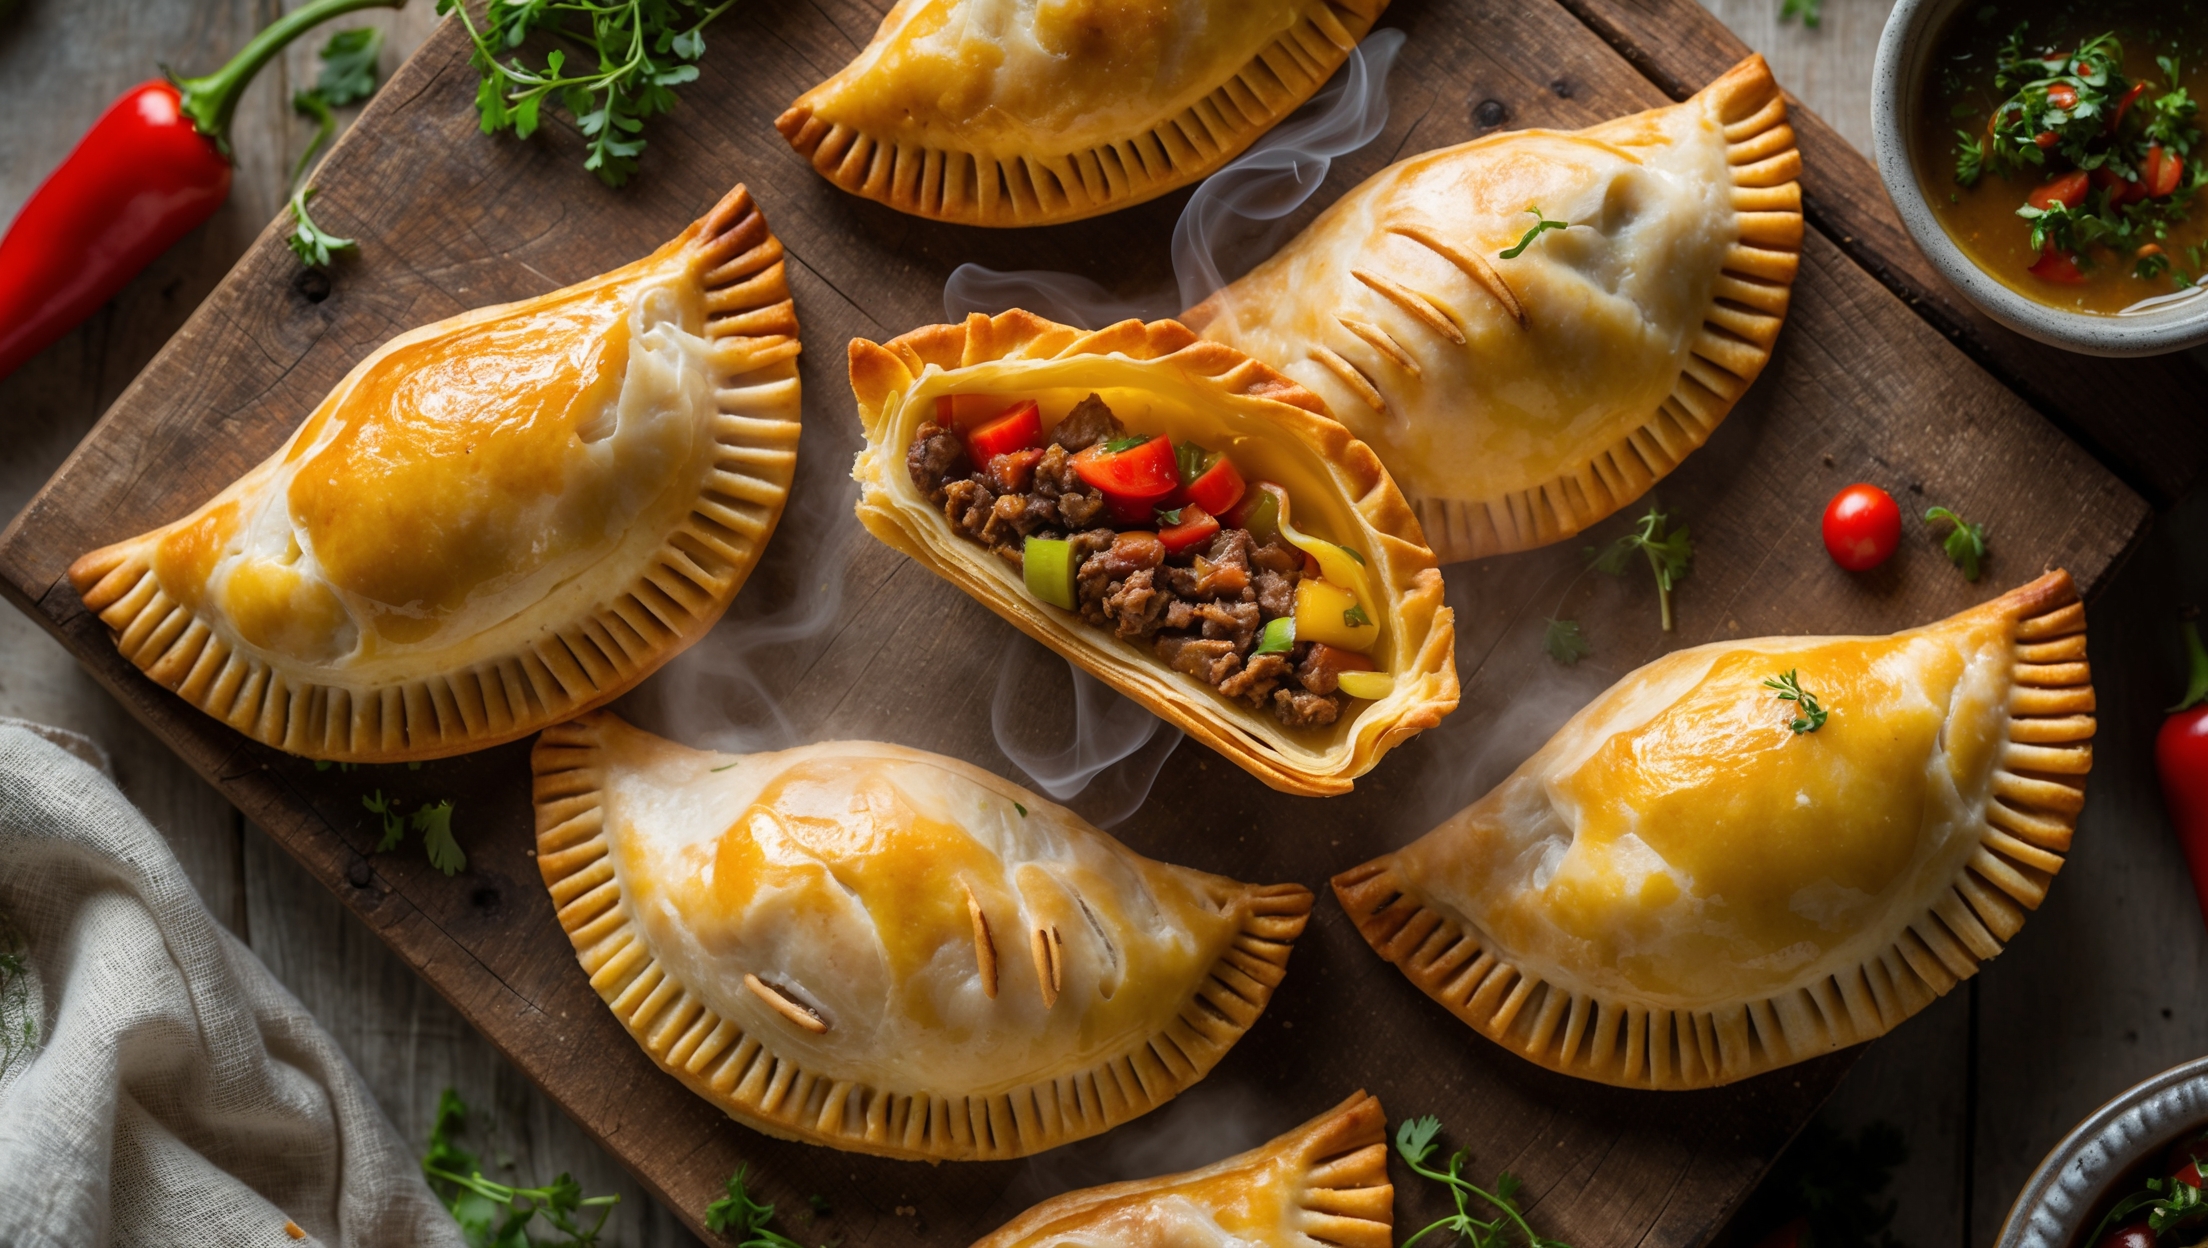
An overhead shot of six golden-brown banana hand pies arranged on a rustic wooden serving board, with one broken in half to reveal the luscious caramelized banana filling oozing slightly. The pastry showcases a perfect flaky texture with visible layers and a sprinkle of turbinado sugar that glistens under soft natural light streaming through a kitchen window. Scattered around the board are fresh banana slices, a small bowl of cinnamon sugar, and a vintage fork. The contrast between the deep amber filling and crisp golden crust is highlighted by the hand pies' crimped edges, with a light dusting of powdered sugar adding a finishing touch to these perfectly portable treats.

Ingredients

<ul class="ingredients-main-list"><li class="ingredients-single-item">For the pastry crust:</li><li class="ingredients-single-item">300g all-purpose flour</li><li class="ingredients-single-item">1 tbsp granulated sugar</li><li class="ingredients-single-item">1/2 tsp salt</li><li class="ingredients-single-item">225g cold unsalted butter, cubed</li><li class="ingredients-single-item">60-80ml ice-cold water</li><li class="ingredients-single-item">1 tsp lemon juice</li><li class="ingredients-single-item">For the filling:</li><li class="ingredients-single-item">4 ripe bananas (about 400g peeled)</li><li class="ingredients-single-item">60g brown sugar</li><li class="ingredients-single-item">30g unsalted butter</li><li class="ingredients-single-item">1 tsp ground cinnamon</li><li class="ingredients-single-item">1/4 tsp ground nutmeg</li><li class="ingredients-single-item">1 tsp vanilla extract</li><li class="ingredients-single-item">1 tbsp cornstarch</li><li class="ingredients-single-item">1 tbsp lemon juice</li><li class="ingredients-single-item">Pinch of salt</li><li class="ingredients-single-item">For assembly:</li><li class="ingredients-single-item">1 egg, beaten with 1 tbsp water (egg wash)</li><li class="ingredients-single-item">2 tbsp turbinado sugar (or granulated sugar)</li></ul>

Equipment

<ul class="equipment-main-list"><li class="equipment-single-item">Food processor (optional)</li><li class="equipment-single-item">Rolling pin</li><li class="equipment-single-item">8cm (3-inch) round cookie cutter or glass</li><li class="equipment-single-item">Pastry brush</li><li class="equipment-single-item">Fork for crimping</li><li class="equipment-single-item">Baking sheet</li><li class="equipment-single-item">Parchment paper</li></ul>
BAKE SMARTER

Kitchen Converter

Quickly switch between common baking units without leaving the recipe.

Convert
Result—

Volume uses US cups, tablespoons, and teaspoons. Converting weight to volume depends on the ingredient.

Directions

<ol class="no-list-style"><li class="MethodStepper"><h4 class="step-title">Step 1</h4>Make the pastry first as it needs time to chill. In a large bowl or food processor, combine flour, sugar, and salt. Add the cold cubed butter and pulse or use your fingertips to work the butter into the flour until you have pea-sized pieces. The varying sizes of butter pieces create pockets of steam during baking, resulting in flaky layers.</li><li class="MethodStepper"><h4 class="step-title">Step 2</h4>Mix the ice-cold water with lemon juice, then gradually add to the flour mixture, 1 tablespoon at a time, until the dough just comes together when pinched. Be careful not to overwork or add too much water - the dough should be shaggy, not smooth. Divide the dough into two equal portions, flatten into discs, wrap in plastic wrap, and refrigerate for at least 1 hour or up to 2 days.</li><li class="MethodStepper"><h4 class="step-title">Step 3</h4>While the dough chills, prepare the filling. In a medium saucepan over medium heat, melt the butter. Add brown sugar and stir until dissolved. Slice the bananas into 1cm thick rounds and add to the pan with cinnamon, nutmeg, and salt. Cook for 3-4 minutes, gently stirring until bananas begin to soften and caramelize.</li><li class="MethodStepper"><h4 class="step-title">Step 4</h4>Mix cornstarch with lemon juice in a small bowl to create a slurry, then add to the banana mixture. Cook for another minute until thickened. The cornstarch acts as a thickening agent, preventing your filling from being too runny when baked. Remove from heat, stir in vanilla extract, and transfer to a bowl. Refrigerate until completely cool, about 30 minutes.</li><li class="MethodStepper"><h4 class="step-title">Step 5</h4>Preheat your oven to 190°C (375°F) and line two baking sheets with parchment paper. Remove one disc of dough from the refrigerator. On a lightly floured surface, roll the dough to about 3mm (1/8 inch) thickness. Using your cookie cutter or glass, cut out as many circles as possible. Re-roll scraps once to cut additional circles.</li><li class="MethodStepper"><h4 class="step-title">Step 6</h4>Place a heaping tablespoon of cooled banana filling in the center of half of the dough circles, leaving a 1cm border around the edges. Brush the border with egg wash, which acts as glue. Top with remaining dough circles and press edges together gently with your fingers.</li><li class="MethodStepper"><h4 class="step-title">Step 7</h4>Crimp the edges firmly with a fork to seal completely - this is crucial to prevent filling leakage. Using a sharp knife, cut two small slits on the top of each pie to allow steam to escape during baking. Transfer assembled pies to the prepared baking sheets, spacing them at least 5cm apart.</li><li class="MethodStepper"><h4 class="step-title">Step 8</h4>Brush the tops of the pies with egg wash for a beautiful golden shine, then sprinkle with turbinado sugar for a delightful crunch and sparkle. Refrigerate the assembled pies for 15 minutes before baking. This chilling step is important as it relaxes the gluten and keeps the butter cold, ensuring maximum flakiness.</li><li class="MethodStepper"><h4 class="step-title">Step 9</h4>Bake in the preheated oven for 22-25 minutes, rotating the pans halfway through, until the pies are deeply golden brown. Look for bubbling filling through the vents and a rich color on the bottom of the pies - pale pastry means undercooked dough.</li><li class="MethodStepper"><h4 class="step-title">Step 10</h4>Allow the hand pies to cool on the baking sheets for 5 minutes, then transfer to a wire rack to cool completely. The filling will be extremely hot right out of the oven! These delightful treats are best enjoyed warm or at room temperature on the day they're made, but can be stored in an airtight container for up to 2 days. For longer storage, freeze unbaked pies and bake from frozen, adding 5-7 minutes to the baking time.</li></ol>

Nutrition Facts (per serving)

🍽️ Serving Size: 1 serving
🔥 Calories: 325 calories
🥑 Fat: 18 g
🧈 Saturated Fat: 11 g
🍞 Carbohydrates: 38 g
🍭 Sugar: 15 g
🍗 Protein: 3 g
🫀 Cholesterol: 75 mg
🧂 Sodium: 220 mg

Chef’s Notes

A few helpful details for making this recipe.

Can I make hand pies with overripe bananas that are too soft for eating?

Absolutely! Overripe bananas are perfect for hand pies as they're naturally sweeter and mash easily into the filling. The darker and spottier your bananas, the more pronounced banana flavour you'll get in your caramelised filling. Just avoid using bananas that have begun to ferment or develop mould.

How do I prevent my hand pie filling from leaking during baking?

To prevent leaks, ensure your filling has cooled completely before assembling, don't overfill (one tablespoon per pie is plenty), seal edges thoroughly with egg wash, use a fork to firmly crimp the borders, create steam vents in the top crust, and most importantly, chill assembled pies before baking.

What's the best way to store hand pies and how long do they last?

For freshly baked hand pies, store at room temperature in an airtight container for up to 2 days. For longer storage, freeze unbaked assembled pies on a baking sheet, then transfer to freezer bags for up to 3 months. Bake directly from frozen, adding 5-7 minutes to the baking time.

Want to try something else in ...

More recipes you might like

Keep exploring with more recipes from What's Baking.