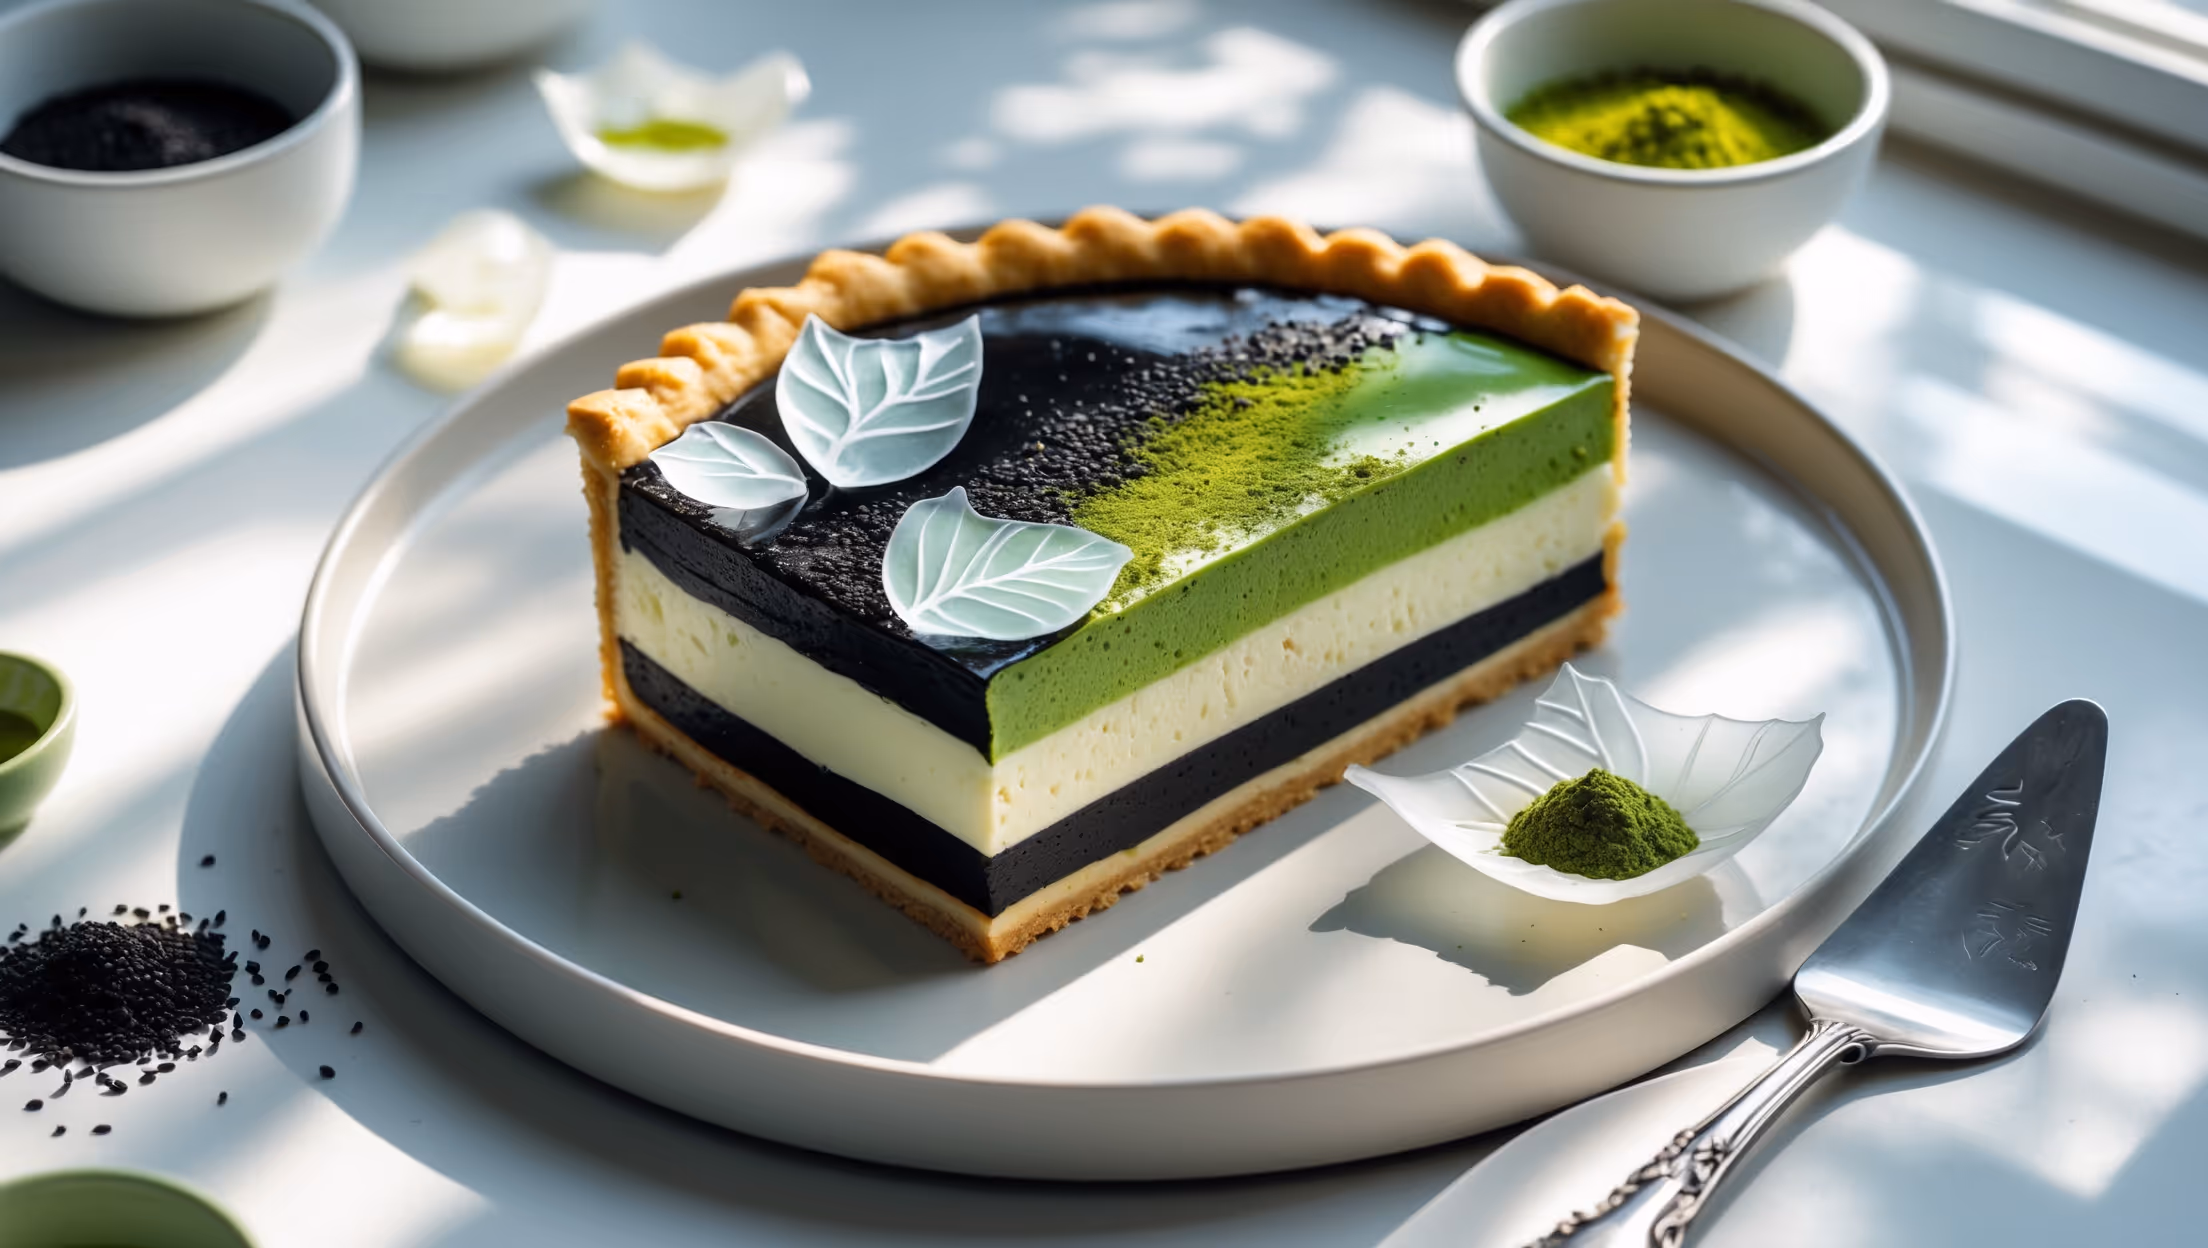
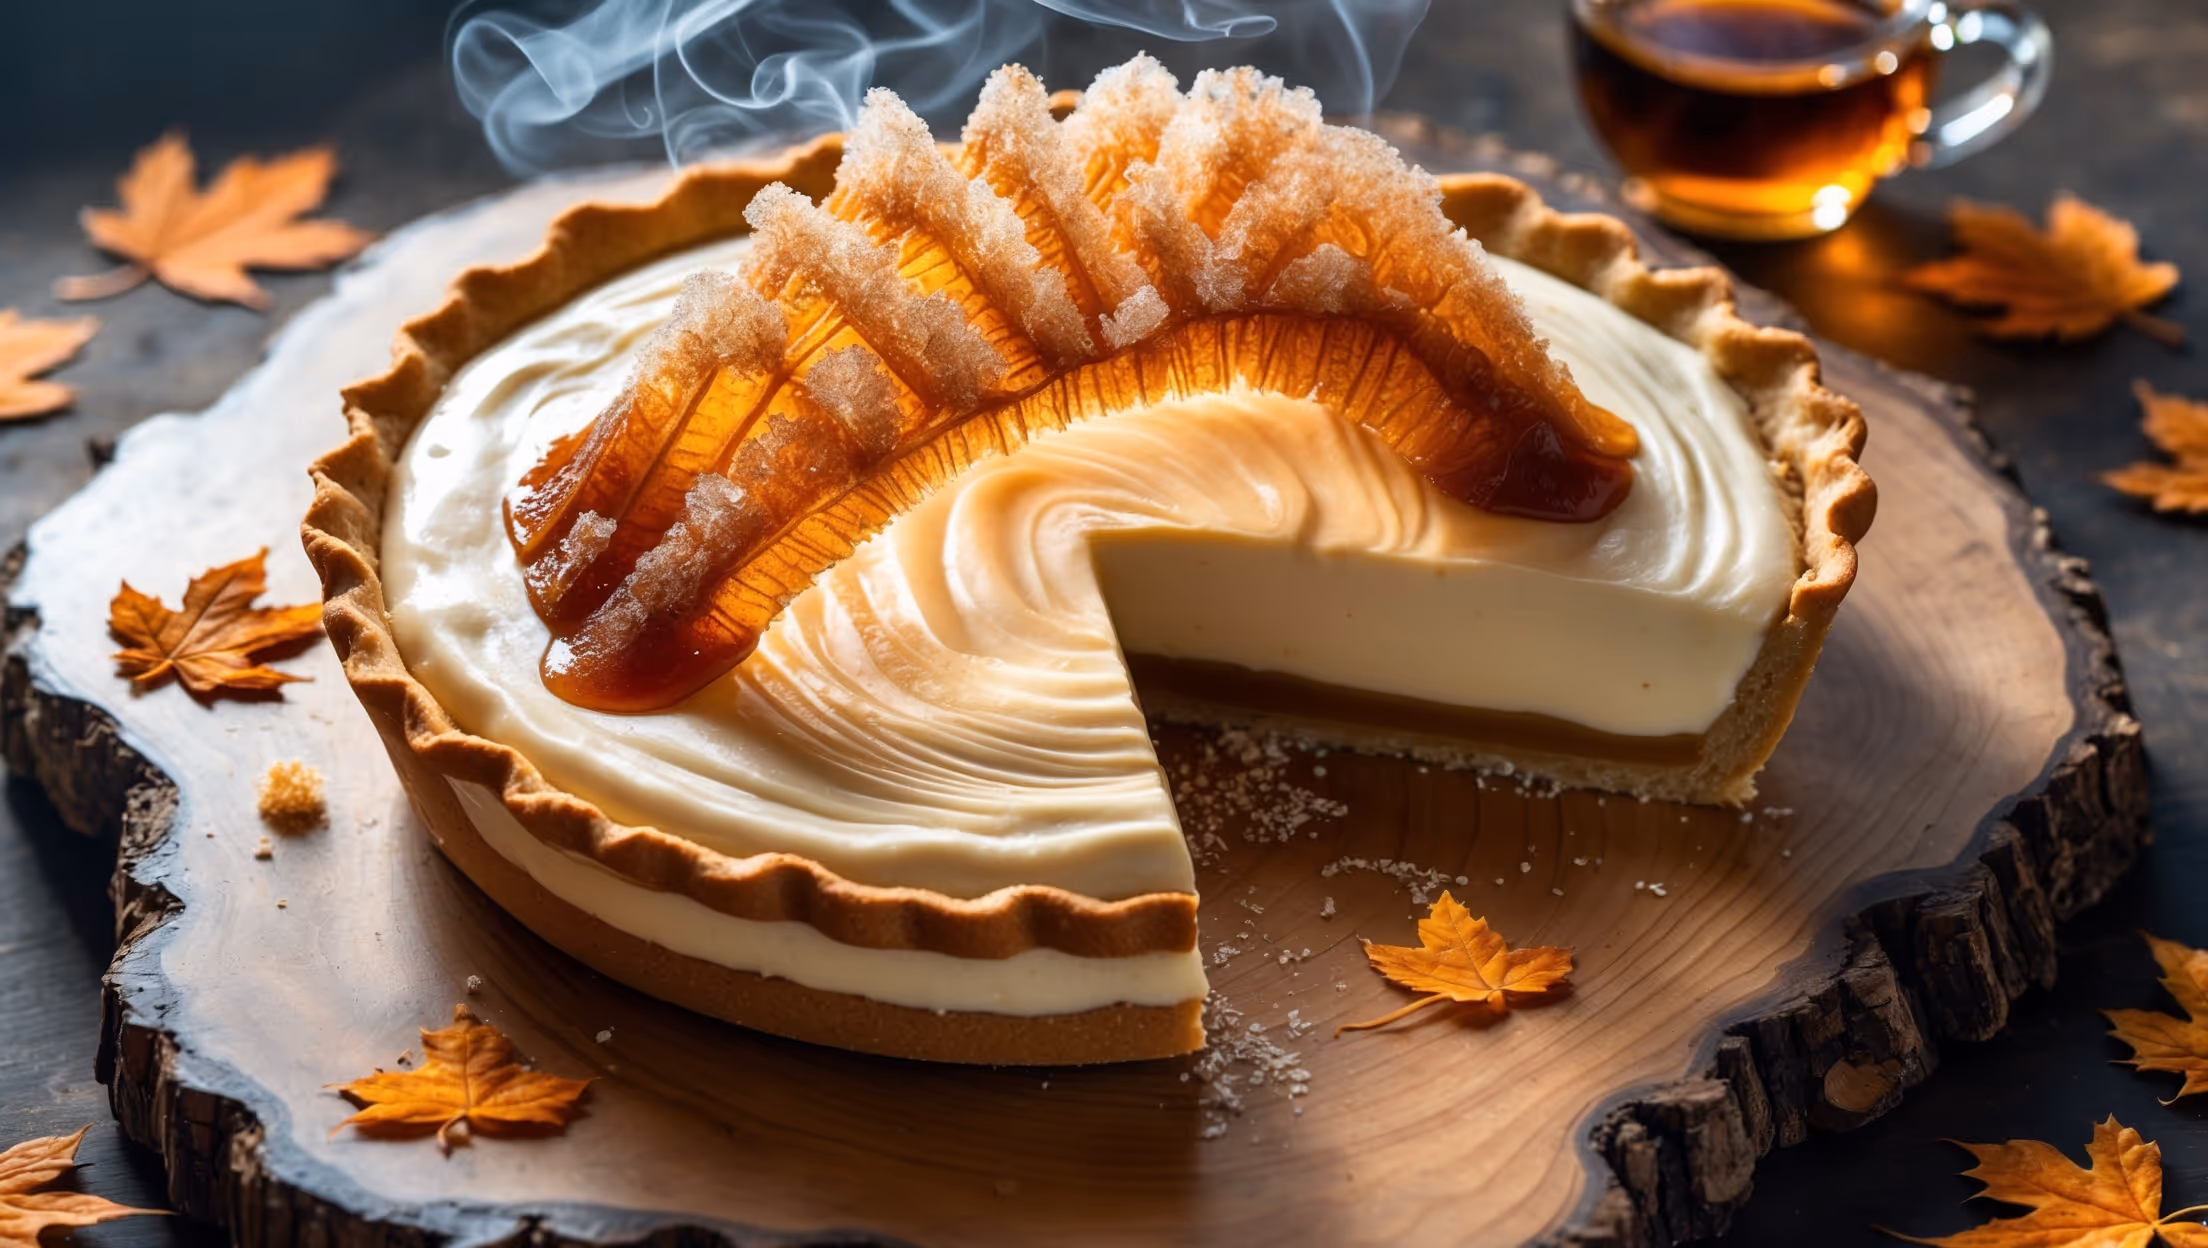
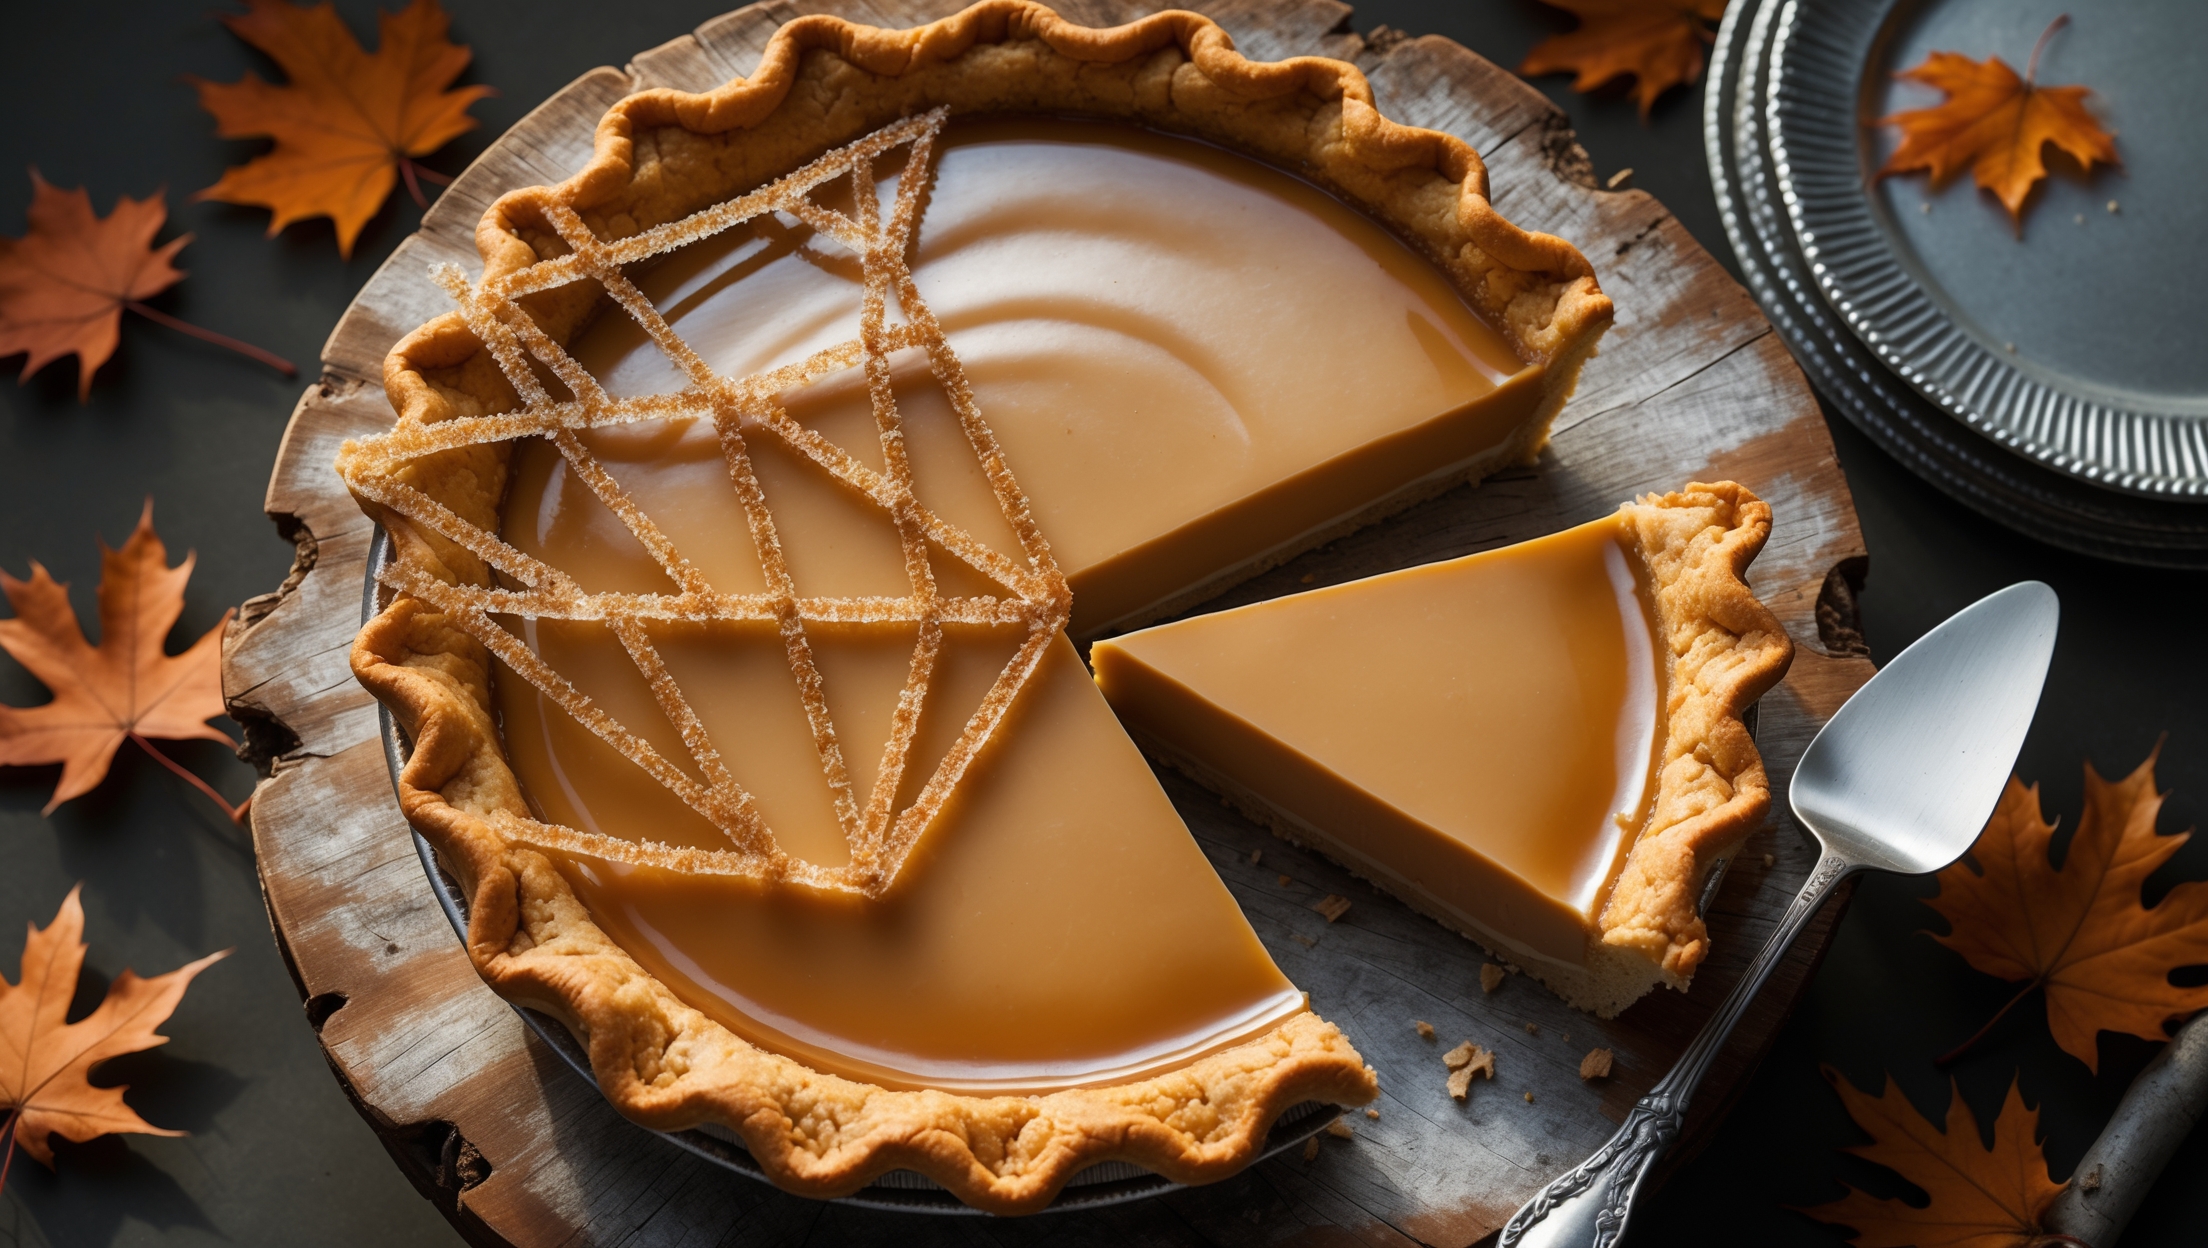
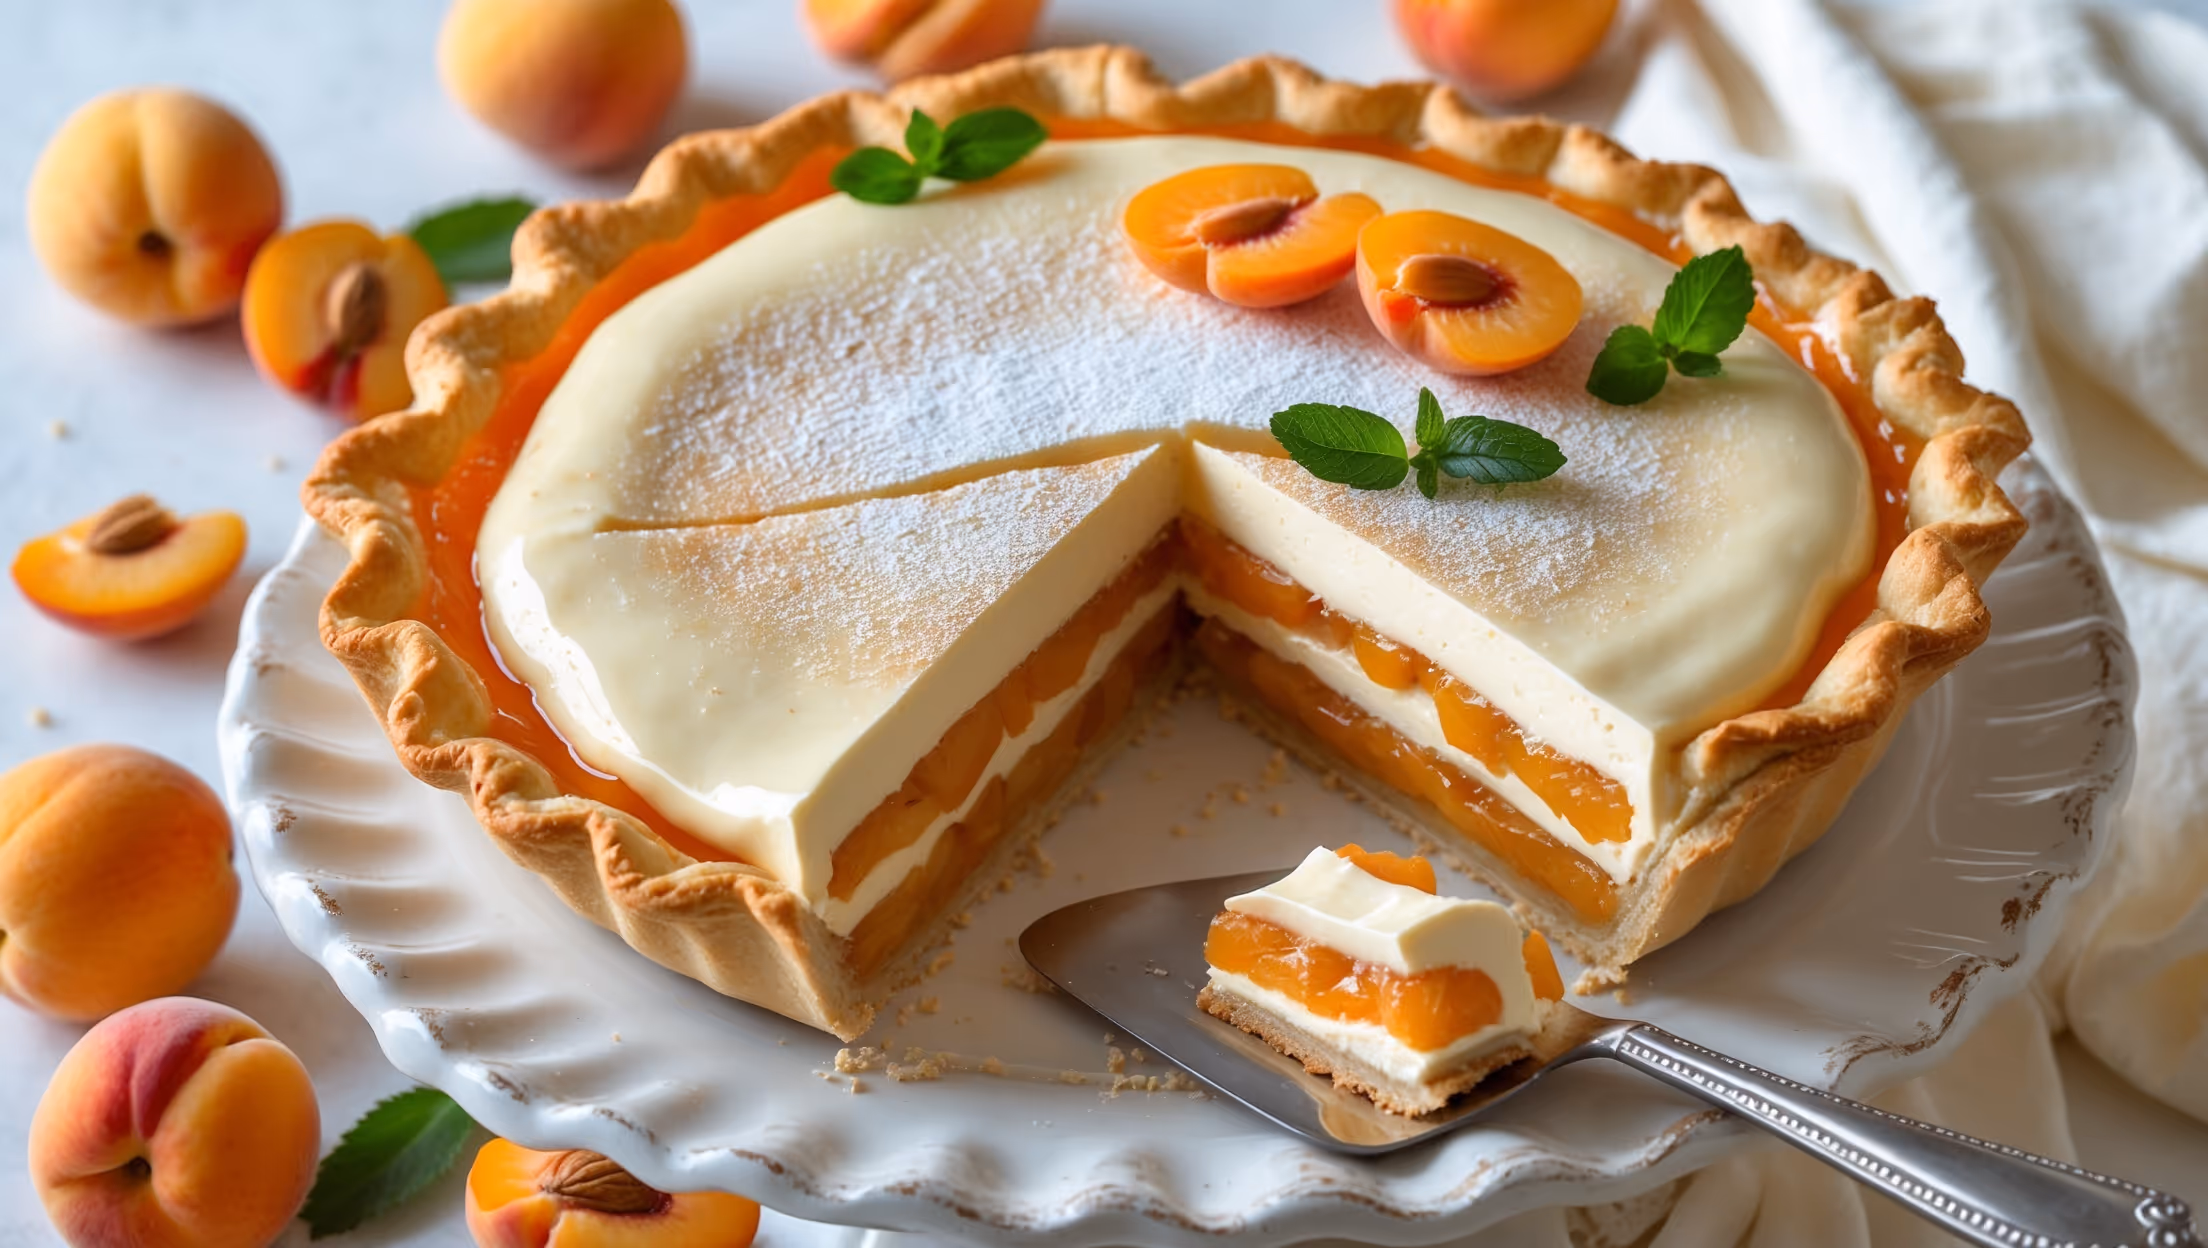
Apricot Cream Pie Recipe
Ingredients
Equipment
Directions
FAQs
Find answers to your most pressing questions about this delicious recipe right here.
This pie requires all-purpose flour, butter, sugar, and salt for the crust; fresh or canned apricots, sugar, cornstarch, lemon juice, and extracts for the filling; and milk, sugar, egg yolks, cornstarch, vanilla extract, and butter for the cream layer.
Learn how to cook Apricot Cream Pie by first blind-baking a buttery pastry crust, then creating a sweet-tart apricot filling that's cooked until thickened. Once cooled, top with a silky vanilla custard made from tempered eggs, milk, and sugar. The chilled pie delivers perfect layers of flaky pastry, fruity brightness, and creamy richness.
Yes, frozen apricots work well as a substitute. Thaw them completely first and drain excess liquid to avoid a soggy filling. You may need to add an extra tablespoon of cornstarch if the thawed apricots release too much moisture during cooking.
The key is patience and proper cooling between layers. Ensure your crust is completely cooled before adding the apricot filling, then let that set before adding the custard. Straining the custard removes lumps, while pressing plastic wrap directly onto the surface prevents skin formation.
This pie will keep well in the refrigerator for up to 3 days. Store it covered to prevent it from absorbing other food odours. The crust may soften slightly over time, but the flavours will continue to develop beautifully for an even more delicious slice the next day.
Cream Pies
Try following recommended recipes