Directions
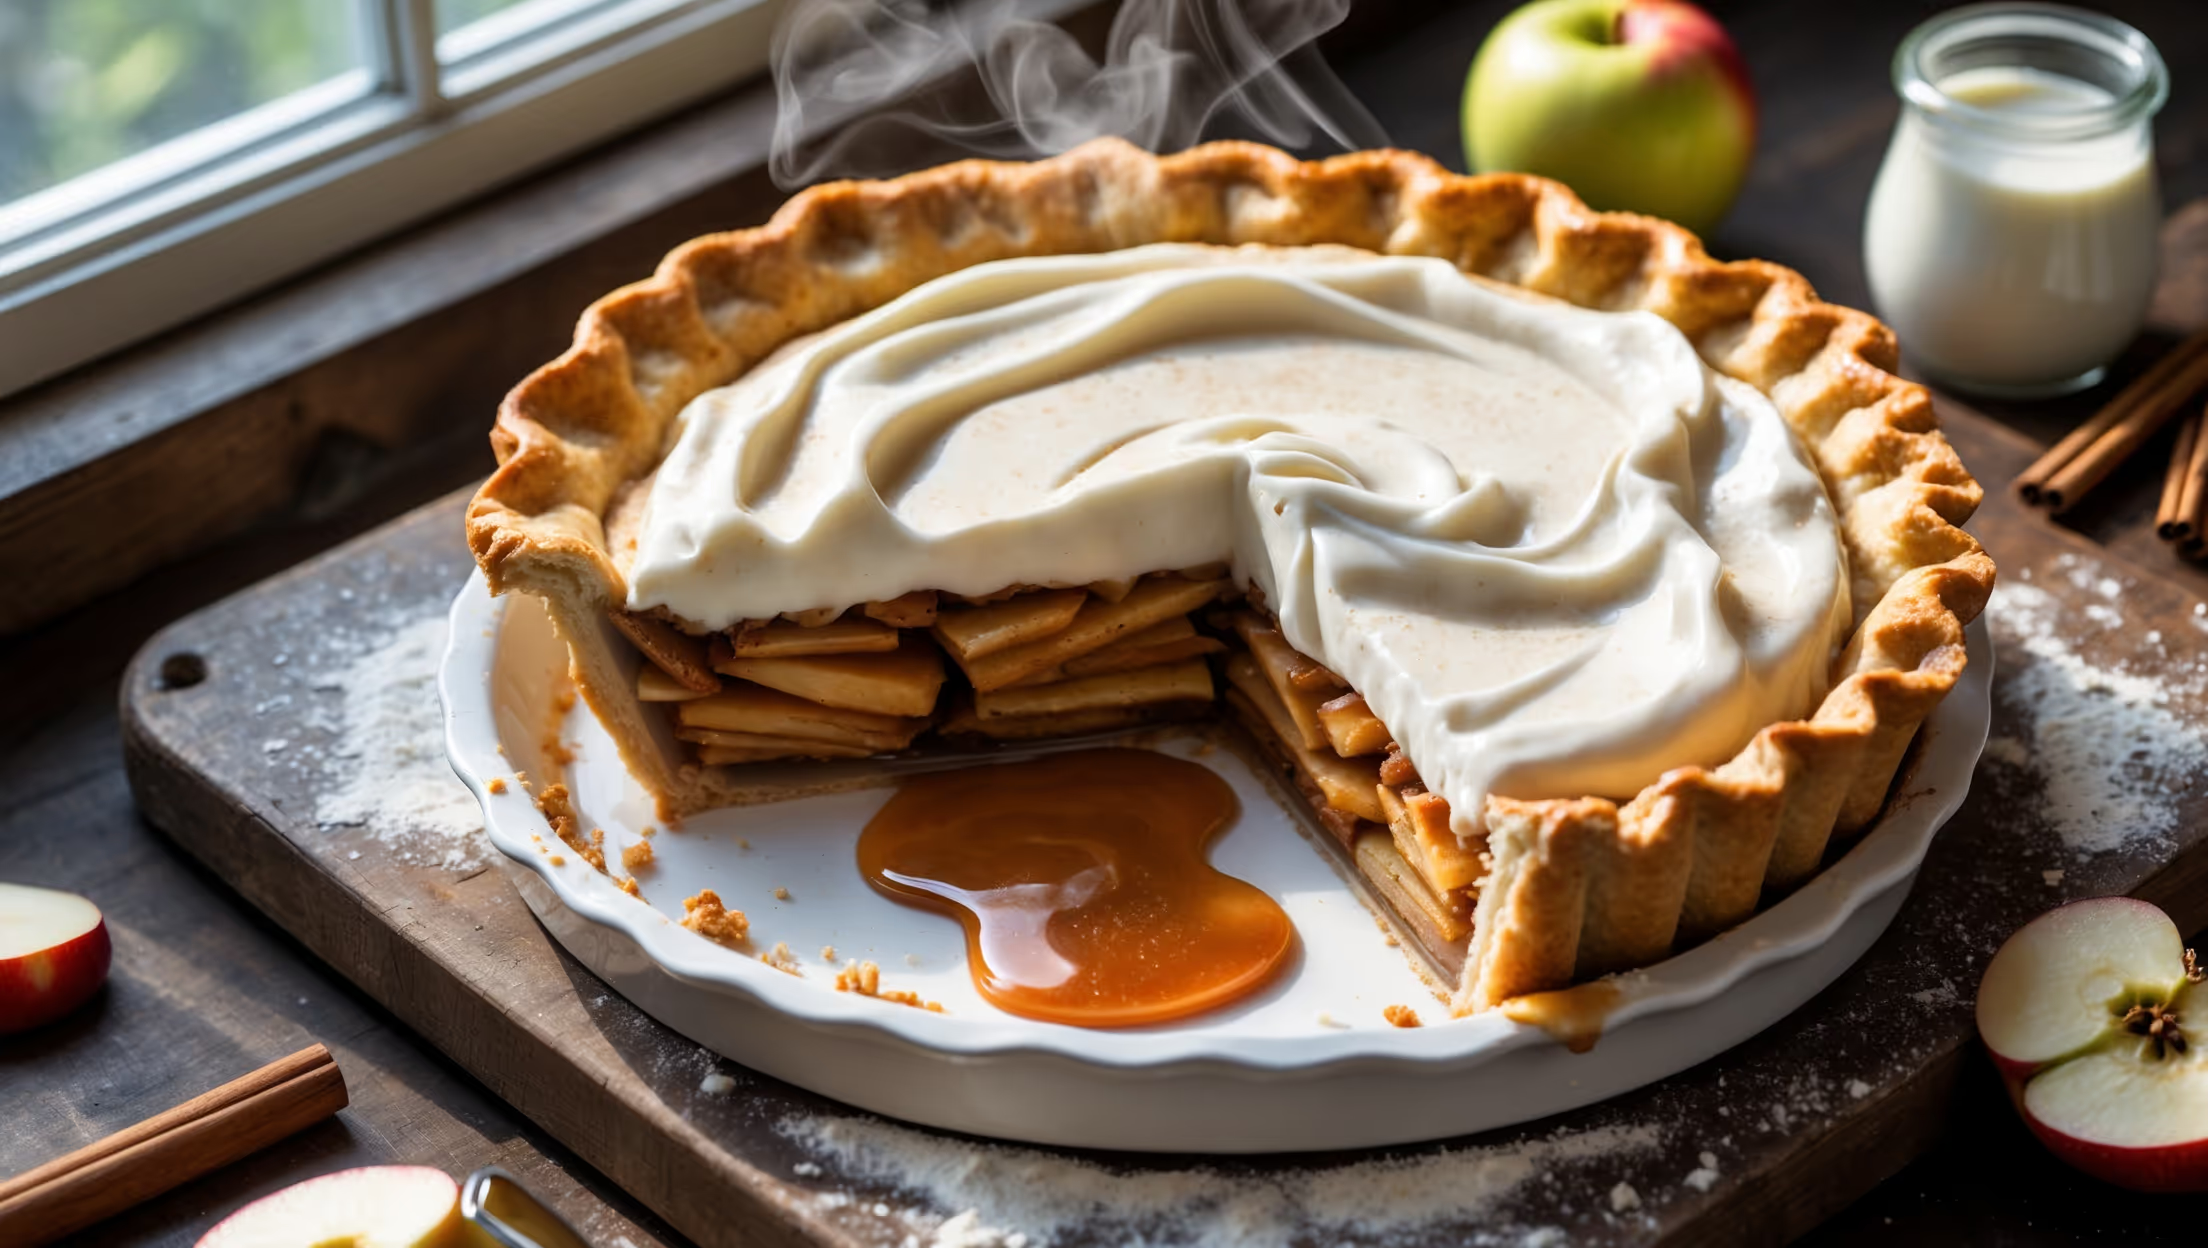
<ol class="no-list-style"><li class="MethodStepper"><h4 class="step-title">Step 1</h4>Begin by making the pastry. Place the flour, salt, and sugar in a large bowl and mix briefly. Add the cold cubed butter and rub into the flour using your fingertips until the mixture resembles fine breadcrumbs. Alternatively, pulse in a food processor. The butter should remain cold throughout this process to ensure a flaky crust.</li><li class="MethodStepper"><h4 class="step-title">Step 2</h4>Add the ice-cold water one tablespoon at a time, mixing with a knife until the dough just comes together – you may not need all the water. The cold temperature prevents gluten development, keeping your pastry tender. Form into a disc, wrap in cling film, and refrigerate for at least 30 minutes. Chilling relaxes the gluten and firms up the butter, preventing shrinkage during baking.</li><li class="MethodStepper"><h4 class="step-title">Step 3</h4>While the pastry chills, prepare the apple filling. Toss the sliced apples with lemon juice to prevent browning. In a separate bowl, mix the sugar, flour, cinnamon, and nutmeg, then combine with the apples, ensuring each slice is coated. The flour will help thicken the juices released during baking, preventing a soggy bottom.</li><li class="MethodStepper"><h4 class="step-title">Step 4</h4>Preheat your oven to 190°C (170°C fan/375°F). Roll out the chilled pastry on a lightly floured surface to about 3mm thickness, making it large enough to line your pie dish with a slight overhang. Press gently into the dish, trim the edges leaving a 2cm overhang, then fold and crimp decoratively. Prick the base with a fork to allow steam to escape.</li><li class="MethodStepper"><h4 class="step-title">Step 5</h4>Line the pastry case with parchment paper and fill with baking beans or rice. Blind bake for 15 minutes, then remove the paper and beans and brush the inside with beaten egg (this creates a seal to prevent a soggy base). Return to the oven for 5 minutes until the base looks dry but not browned. This pre-baking ensures the crust is partially cooked before adding wet fillings.</li><li class="MethodStepper"><h4 class="step-title">Step 6</h4>Arrange the apple mixture in the par-baked crust, mounding slightly in the center. Dot with the 25g butter, which will melt into the apples, creating richness and helping to form a light sauce. Cover the pie edges with foil to prevent over-browning.</li><li class="MethodStepper"><h4 class="step-title">Step 7</h4>Bake for 35-40 minutes until the apples are tender when pierced with a knife but still hold their shape. Look for bubbling juices around the edges – this indicates the filling has properly cooked and the flour has activated as a thickener. Remove from the oven and allow to cool completely on a wire rack.</li><li class="MethodStepper"><h4 class="step-title">Step 8</h4>When the pie is completely cool, prepare the cream topping. In a chilled bowl (cold equipment helps achieve maximum volume), whip the double cream until it begins to thicken. Add the mascarpone, sugar, and vanilla extract and continue whipping until soft peaks form. Be careful not to over-whip – the cream should be billowy and hold its shape but still look silky.</li><li class="MethodStepper"><h4 class="step-title">Step 9</h4>Spread or pipe the cream mixture over the cooled apple filling, creating decorative swirls if desired. The pie must be completely cool before adding the cream to prevent it from melting or separating. Refrigerate for at least 1 hour to set the cream.</li><li class="MethodStepper"><h4 class="step-title">Step 10</h4>Just before serving, dust lightly with icing sugar for a professional finish. The pie is best enjoyed the same day but will keep refrigerated for up to 2 days. Let it sit at room temperature for 15-20 minutes before serving to allow the flavors to fully develop and the crust to soften slightly from its chilled state.</li></ol>