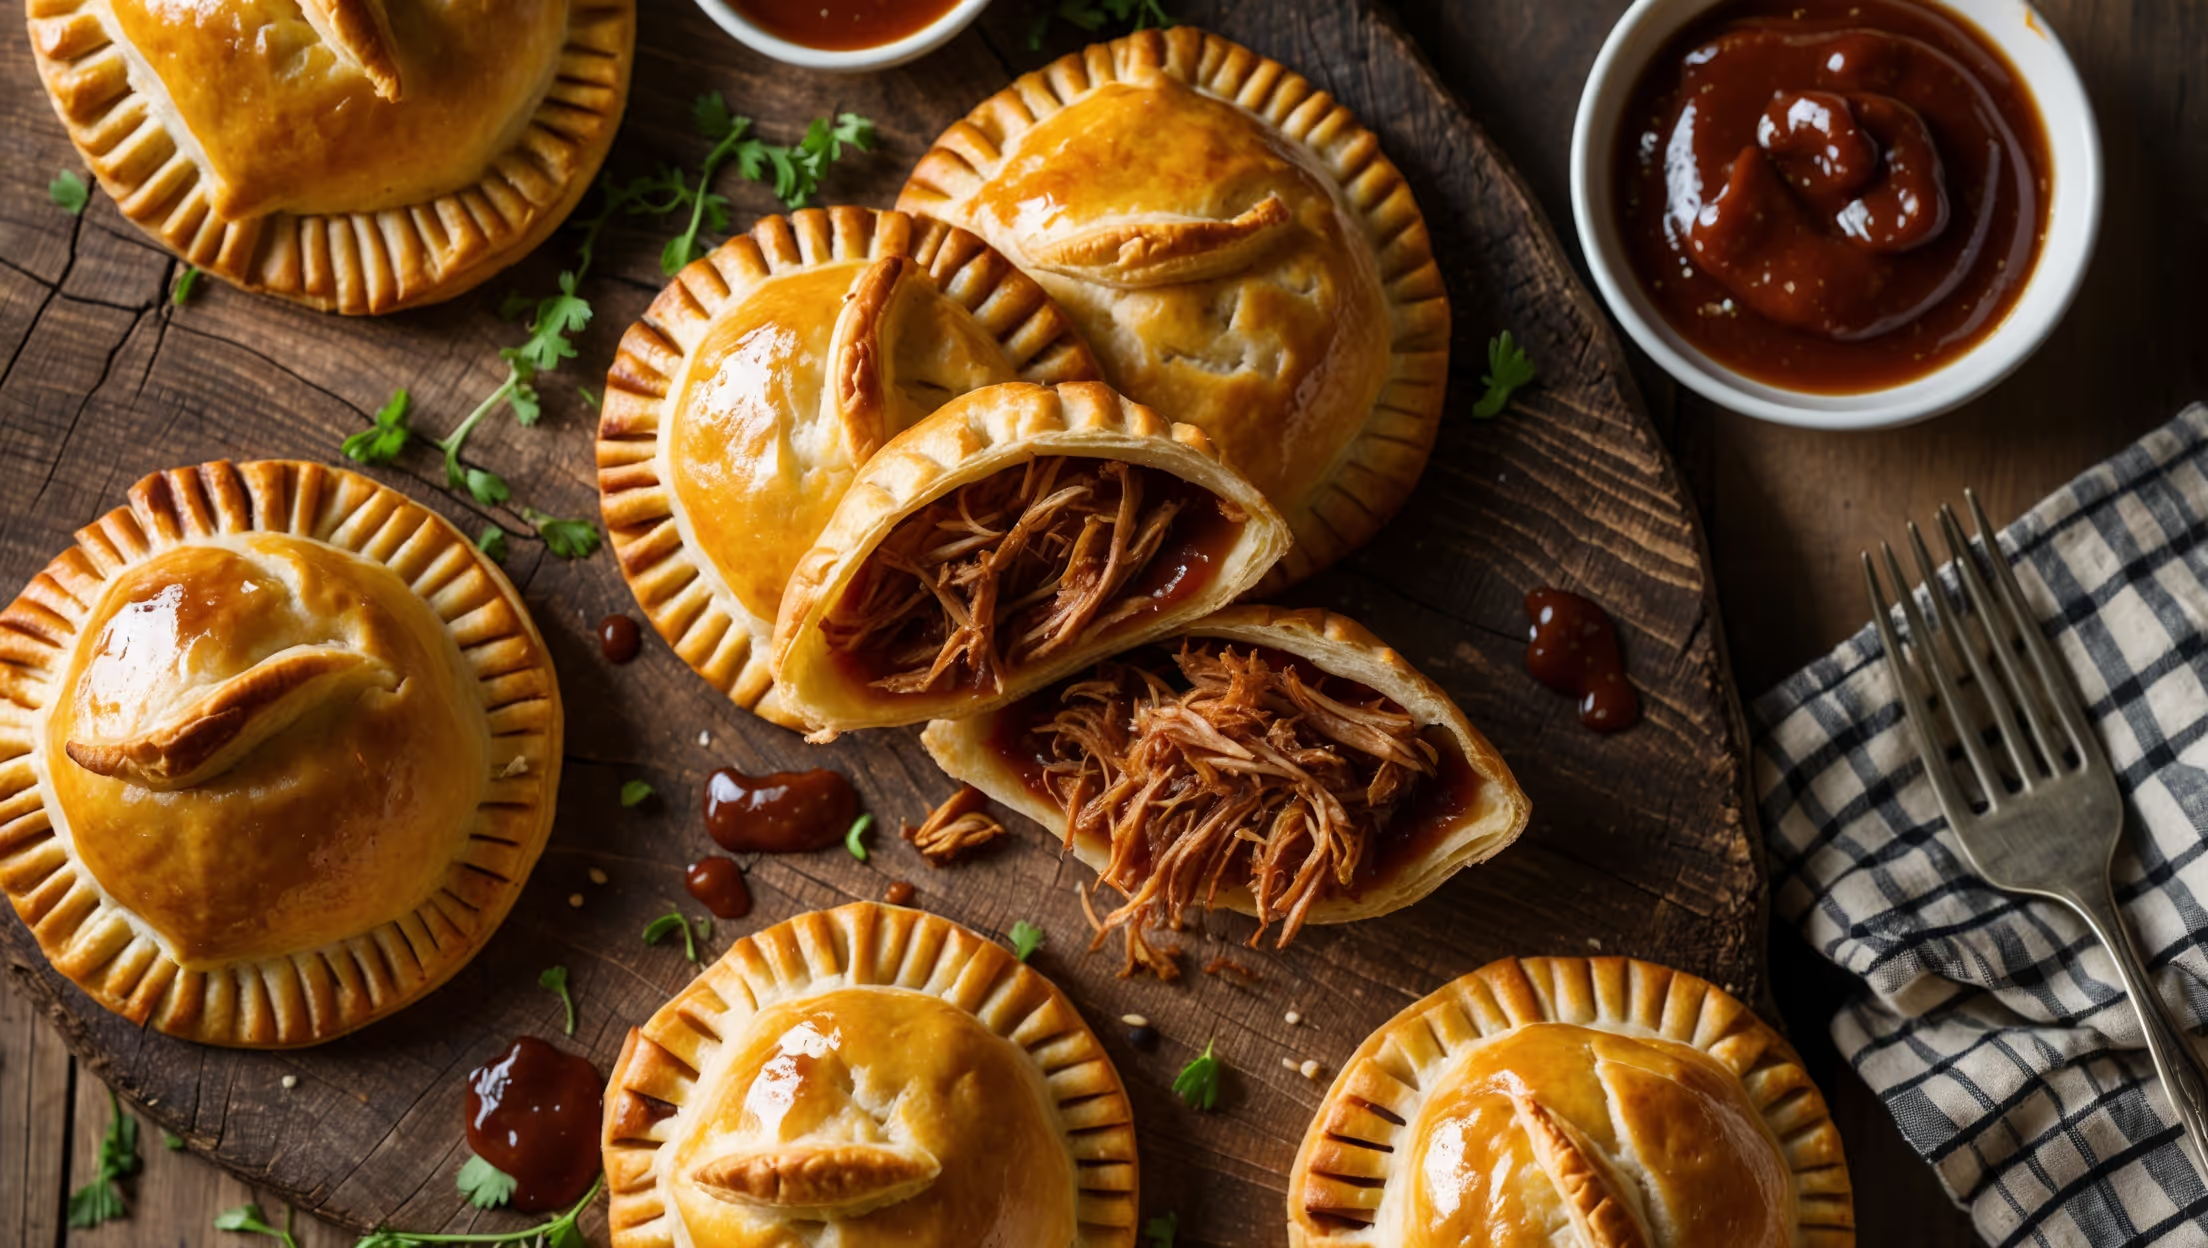
Directions
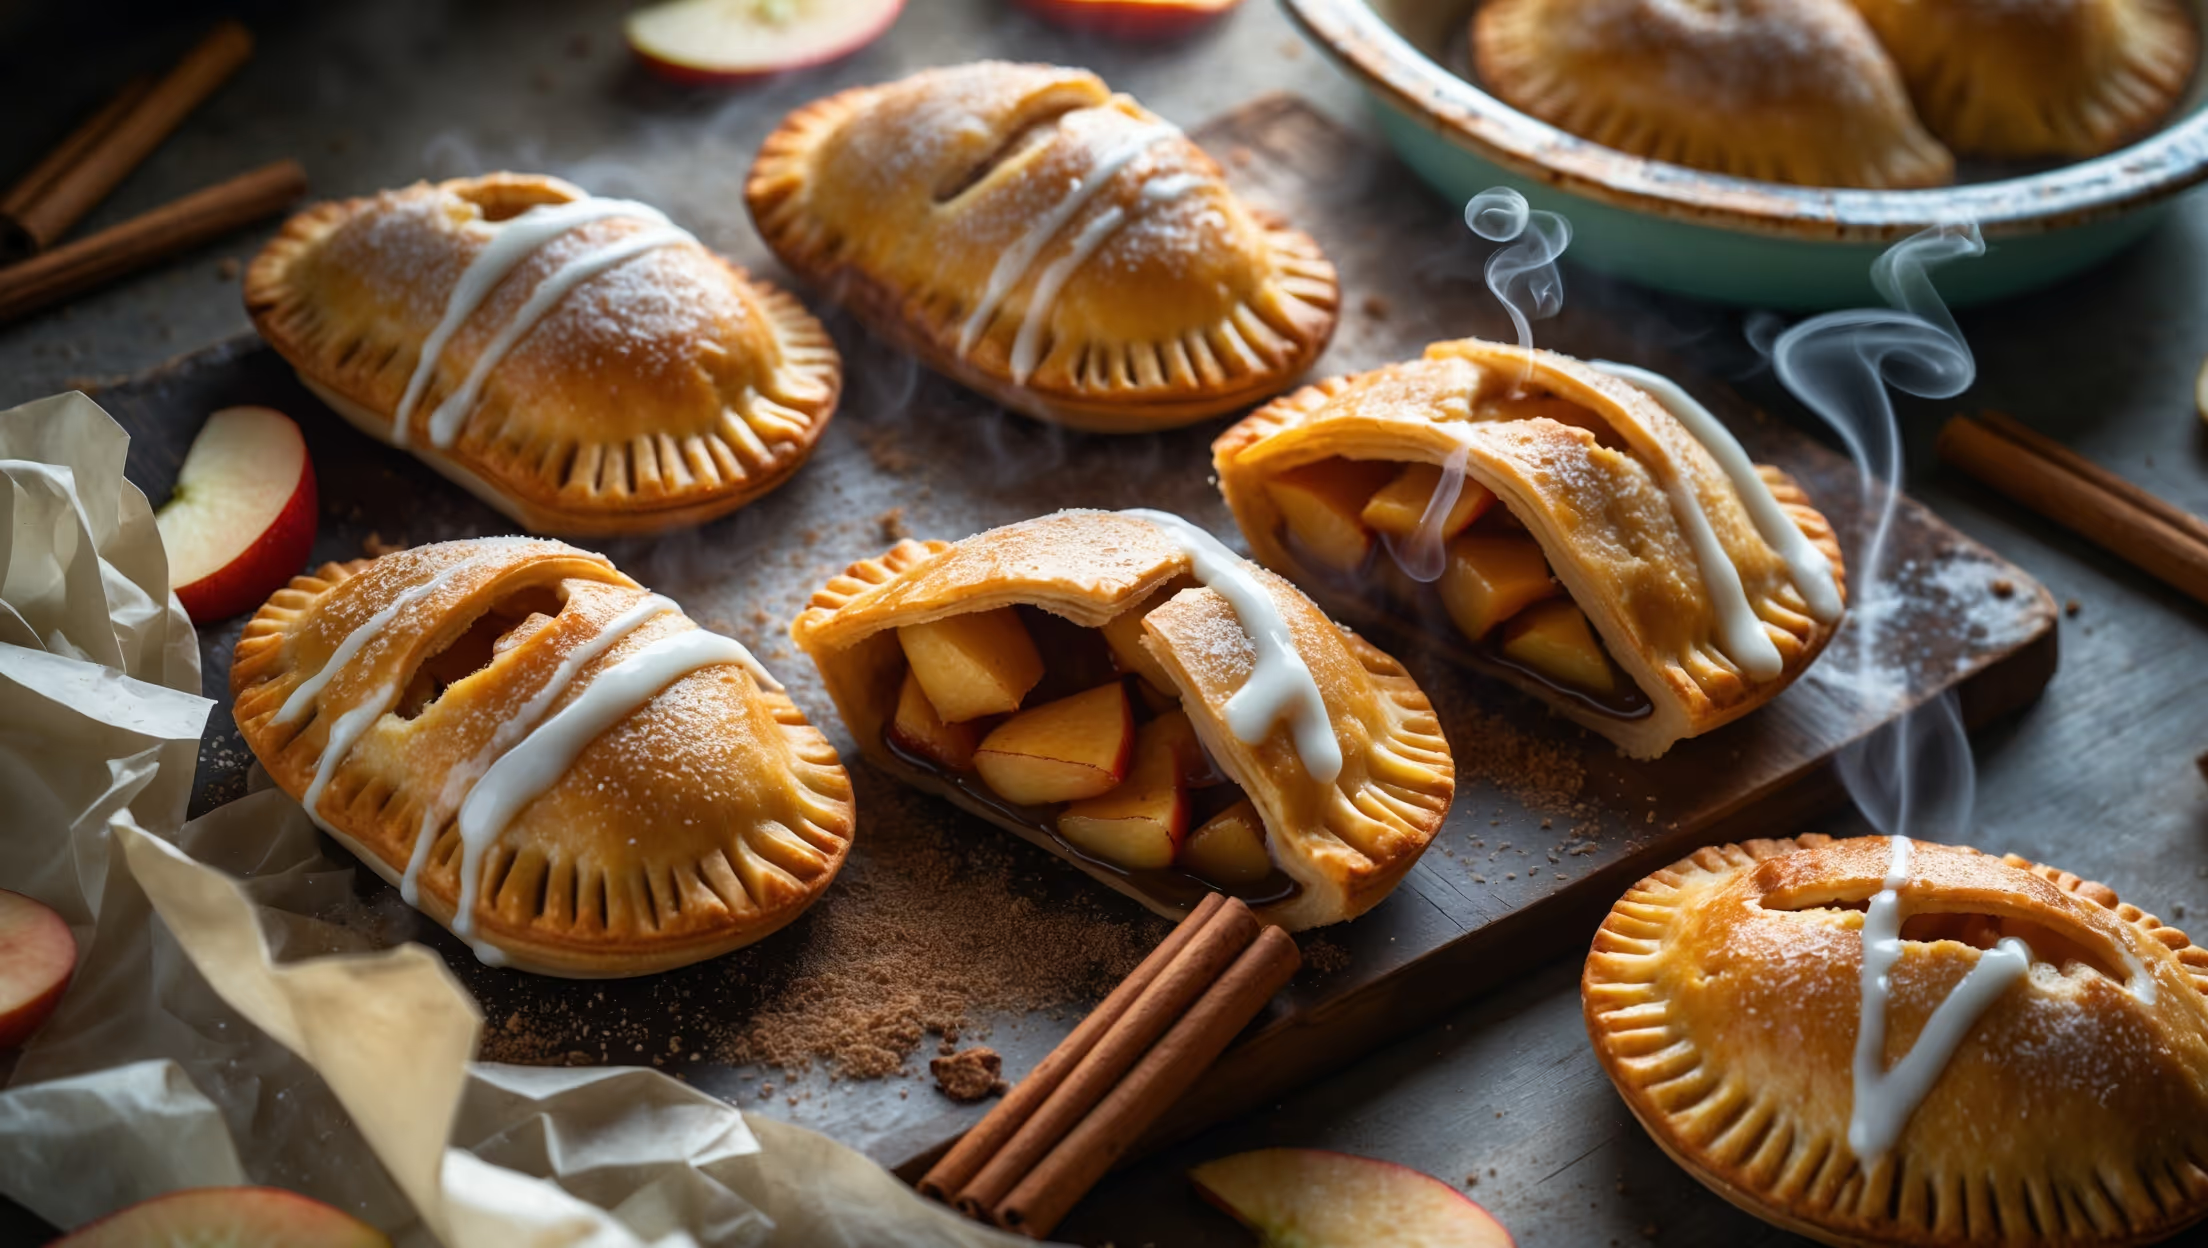
<ol class="no-list-style"><li class="MethodStepper"><h4 class="step-title">Step 1</h4>Prepare your sous vide fillings first as they'll need time to cool. Set your immersion circulator to 82°C for berry filling, 65°C for chocolate filling, or 85°C for apple filling. For berry filling, combine berries, sugar, cornstarch, lemon juice, and vanilla in a vacuum-seal bag or zip-top bag using water displacement method to remove air. For chocolate filling, place chocolate, cream and butter in a bag. For apple filling, combine all apple ingredients in a bag. Seal bags and cook berry filling for 45 minutes, chocolate for 30 minutes, and apple for 1 hour.</li><li class="MethodStepper"><h4 class="step-title">Step 2</h4>While fillings cook, prepare your laminated dough. In a large bowl, whisk together flour, salt, and sugar. Set aside 55g of the butter, then cut remaining butter into 1 cm cubes and toss in the flour mixture. The key to flaky layers is keeping the butter cold and in distinct pieces, rather than fully incorporating it.</li><li class="MethodStepper"><h4 class="step-title">Step 3</h4>Combine ice water and vinegar in a measuring cup (the vinegar inhibits gluten development, ensuring tenderness). Make a well in the flour mixture and pour in half the liquid. Gently mix with a fork, then add just enough remaining liquid to form a shaggy dough that holds together when pressed. You may not need all the liquid.</li><li class="MethodStepper"><h4 class="step-title">Step 4</h4>Turn the dough onto a lightly floured surface and shape into a rough rectangle. Roll it to approximately 30x20 cm. Melt the reserved 55g butter and let cool slightly. Brush the entire surface of the dough with the melted butter, leaving a 1 cm border. This creates additional layers within your lamination.</li><li class="MethodStepper"><h4 class="step-title">Step 5</h4>Fold the dough like a business letter: fold the bottom third up, then the top third down. Turn the dough 90 degrees so the open end faces right. Roll again to a 30x20 cm rectangle. You've now created 3 layers. Fold in thirds again, wrap in plastic, and refrigerate for 30 minutes. The resting period allows the gluten to relax and the butter to firm up, essential for creating distinct layers.</li><li class="MethodStepper"><h4 class="step-title">Step 6</h4>After chilling, place the dough on a floured surface with the open end facing right. Roll to 30x20 cm and fold in thirds again. Turn 90 degrees, roll out, and fold in thirds once more. Wrap and chill for 30 minutes. You now have 27 layers (3x3x3).</li><li class="MethodStepper"><h4 class="step-title">Step 7</h4>Repeat Step 6 once more to achieve 72 layers (27x3). The extended lamination process creates the signature honeycomb texture when baked. Wrap tightly and refrigerate for at least 1 hour or overnight. Longer resting improves flavor development and makes the dough easier to handle.</li><li class="MethodStepper"><h4 class="step-title">Step 8</h4>Remove sous vide fillings from water bath. Transfer to bowls, mix well, and refrigerate until completely chilled, at least 2 hours. The fillings must be cold when added to the pastry to prevent melting the butter layers in the dough.</li><li class="MethodStepper"><h4 class="step-title">Step 9</h4>Preheat oven to 200°C with racks in upper and lower thirds. Line two baking sheets with parchment paper. On a lightly floured surface, roll the chilled dough to 3mm thickness, maintaining a rectangular shape. For even baking, uniform thickness is crucial.</li><li class="MethodStepper"><h4 class="step-title">Step 10</h4>Cut dough into 12x12 cm squares. You should get approximately 24 squares, which will make 12 hand pies. Place 2 tablespoons of chilled filling in the center of 12 squares, leaving a 1.5 cm border. Brush borders with egg wash, which acts as glue.</li><li class="MethodStepper"><h4 class="step-title">Step 11</h4>Place remaining dough squares on top of the filled squares. Press edges firmly with fingers, then use a fork to crimp and seal completely. The tight seal prevents filling leakage during baking. Cut a small vent in the top of each pie with a sharp knife to allow steam to escape.</li><li class="MethodStepper"><h4 class="step-title">Step 12</h4>Transfer pies to prepared baking sheets. Brush tops with egg wash for a golden finish, then sprinkle with demerara sugar for crunch and caramelization. Refrigerate assembled pies for 15 minutes before baking to re-chill the butter, which is essential for maximum puff and flakiness.</li><li class="MethodStepper"><h4 class="step-title">Step 13</h4>Bake for 20-25 minutes, rotating and switching pans halfway through. Look for a deeply golden brown color and visible flaky layers. The pies are done when the bottoms are golden and crisp. If browning too quickly, reduce temperature to 180°C and continue baking.</li><li class="MethodStepper"><h4 class="step-title">Step 14</h4>Let pies cool on baking sheets for 5 minutes, then transfer to a wire rack. Allow to cool for at least 15 minutes before serving—the filling will be extremely hot! The cooling period also allows the layers to set and become more defined. Serve warm or at room temperature for the perfect balance of flaky crust and luscious filling.</li></ol>