On this page
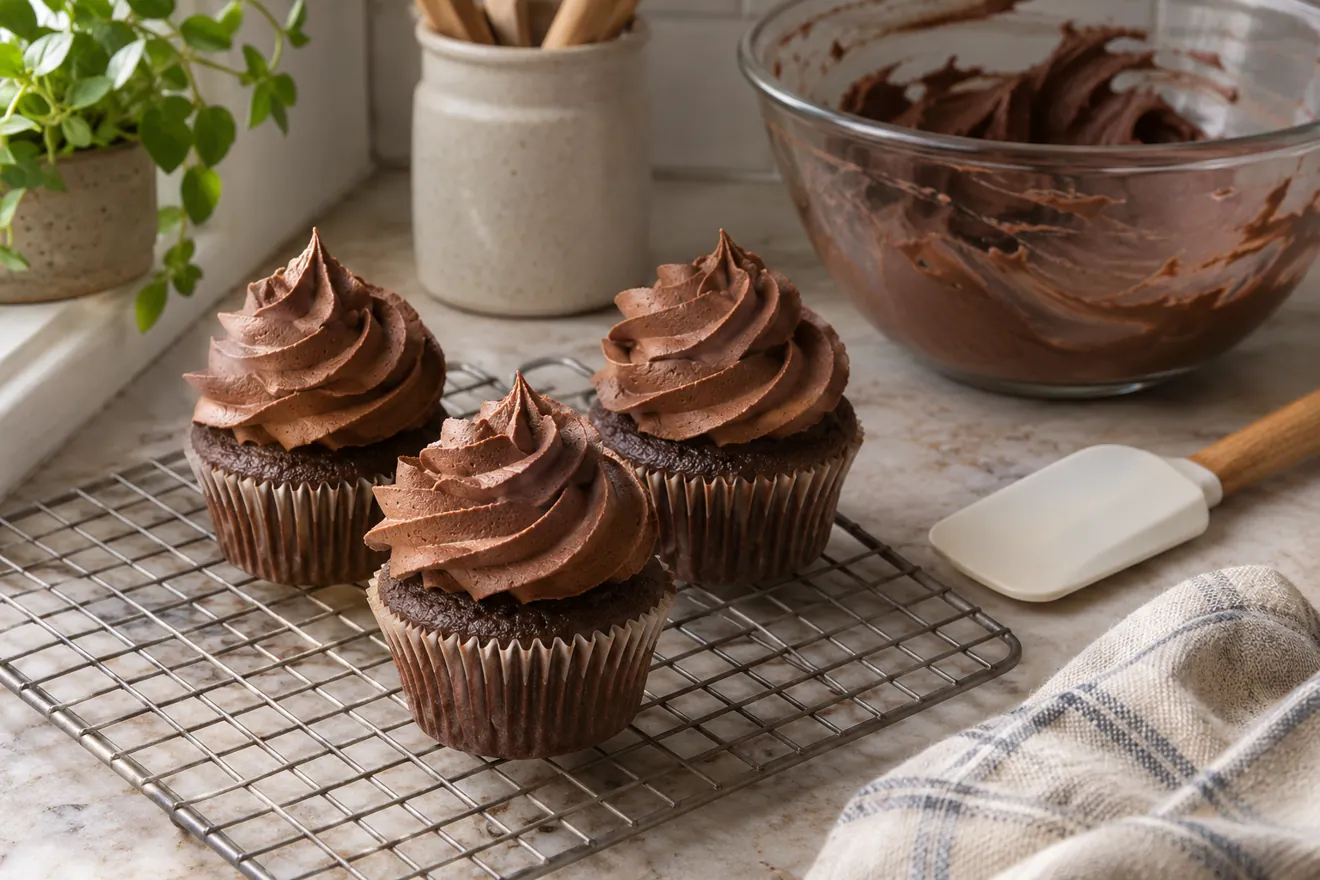
Whipped ganache sits somewhere between a classic chocolate ganache and a cloud of chocolate frosting. It has the rich flavour of real chocolate but can be light enough to pipe into soft swirls on a layer cake or cupcake. The texture looks effortless, yet it depends on a few careful choices: the chocolate, the amount of cream, a properly formed emulsion and enough time in the refrigerator.
If you've ever watched a beautiful ganache turn grainy the moment you reached for the mixer, this guide is for you. We'll explain how whipped ganache works, how to choose a suitable recipe and how to get a smooth, stable texture without overwhipping.
What Exactly Is Whipped Ganache?
Traditional ganache is a mixture of chocolate and a water-containing liquid, commonly heavy cream. When blended correctly, fat, water, sugar and cocoa particles form a smooth, cohesive emulsion. Depending on its formula and temperature, ganache can be pourable, spreadable or firm enough for truffles.
Whipped ganache is a formulation designed to incorporate air after it has chilled. Some methods start with warm cream and chocolate, then add more cold cream; others set a carefully formulated classic ganache and whip it. The final texture should be soft, aerated and smooth, not oily or gritty.
Why Whipped Ganache Needs a Different Ratio
A firm truffle ganache is not necessarily suitable for whipping. It may contain too little liquid or a high proportion of chocolate, making it stiff and difficult to aerate evenly. On the other hand, a very thin ganache may not develop enough body to pipe.
Use a recipe specifically developed for whipped ganache and for the exact chocolate type you have. Dark, milk and white chocolates contain different balances of cocoa solids, cocoa butter, milk solids and sugar. Their cream requirements are not interchangeable.
Choosing Chocolate for the Best Flavor
Dark chocolate makes a deeply flavoured whipped ganache that can balance sweet cake. Milk chocolate produces a gentler, sweeter result. White chocolate creates a creamy vanilla-like base suitable for fruit or delicate flavourings.
Choose real chocolate with cocoa butter when the recipe calls for it. Some white baking chips or confectionery coatings use different fats and will not behave like white chocolate couverture. Read the ingredient list and select a recipe designed for the product.
Heavy Cream and Fat Content
Whipping cream provides both the water phase needed for ganache and fat that helps create an aerated texture when cold. Professional methods often specify cream at about 35% fat, although the exact recipe should govern.
A lower-fat milk substitution changes the balance and may fail to whip into the intended structure. Don't replace heavy cream with half-and-half or milk unless the recipe was developed for that ingredient.
Equipment You'll Need
Use a kitchen scale, saucepan or suitable microwave-safe vessel, heat-resistant spatula, bowl, refrigerator and an electric whisk or mixer. Some recipes recommend an immersion blender to create a particularly fine emulsion before chilling.
For the immersion blender, keep its head fully submerged to avoid incorporating large air bubbles. A shallow covered container can help the ganache cool evenly in the refrigerator.
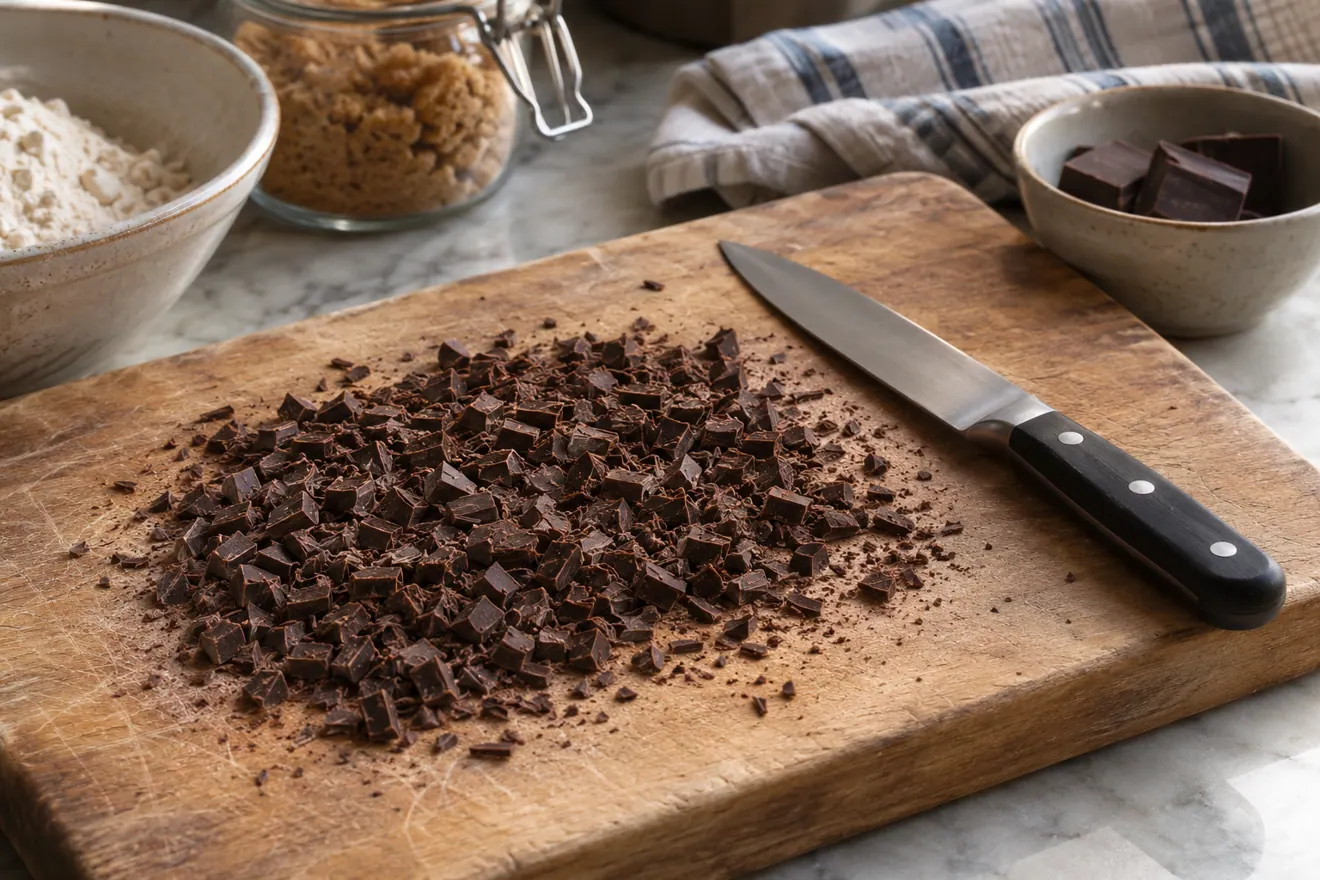
Step 1: Chop or Partially Melt the Chocolate
Chop chocolate into small, even pieces so it melts predictably. Alternatively, follow a professional recipe that calls for partially melted chocolate. Overheating can damage its texture or destabilize the final emulsion, so melt gently.
If using a microwave, heat in short intervals and stir between them. Stop before the chocolate becomes overly hot.
Step 2: Warm the First Portion of Cream
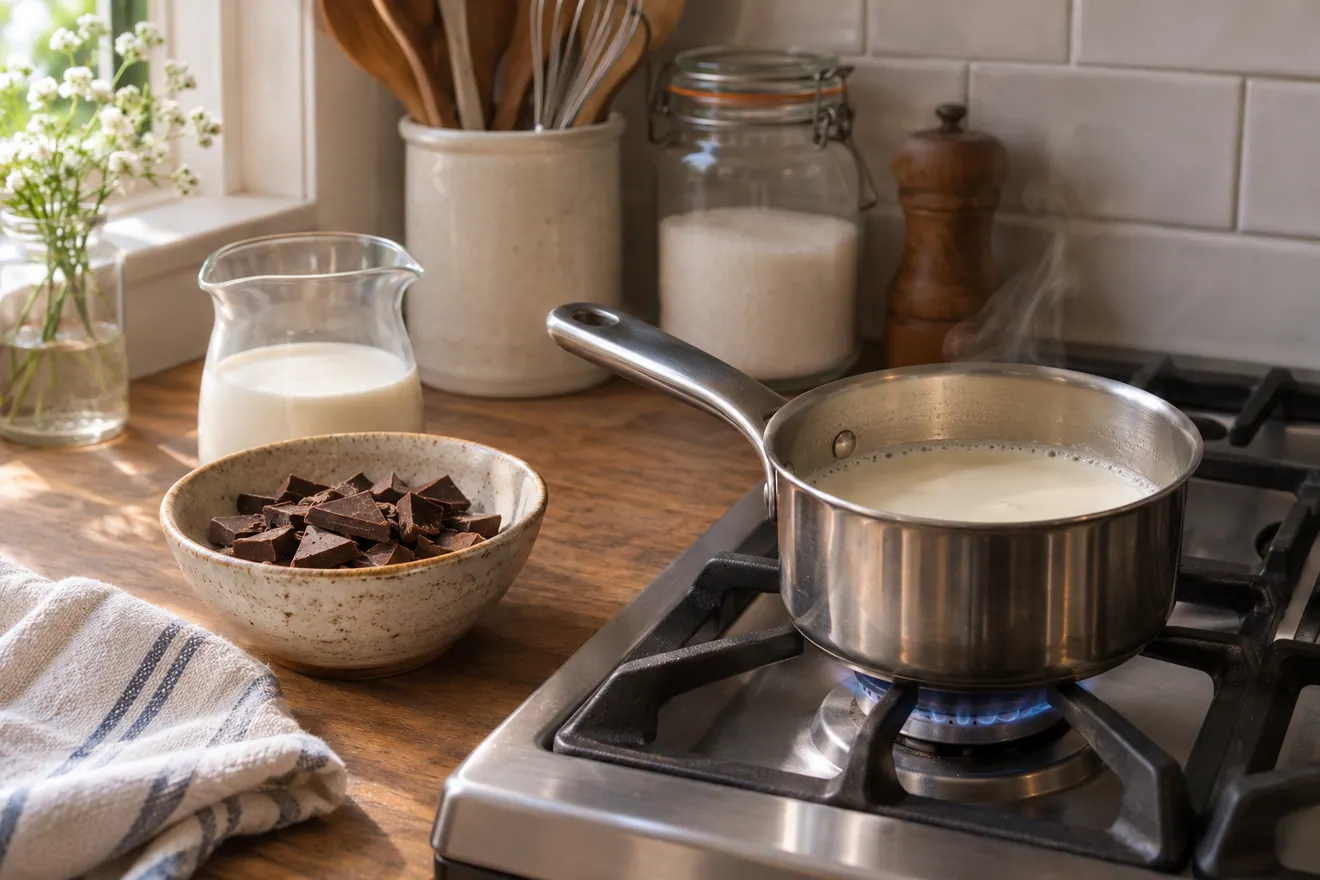
In a two-stage whipped ganache formula, part of the cream is heated and used to establish the emulsion. Some recipes also include a sweetener, gelatin or another ingredient for a particular texture; follow those directions exactly.
A gentle steaming temperature is often sufficient to melt finely chopped chocolate in home recipes. Do not let cream boil aggressively unless the specific formula asks for it.
Step 3: Build a Smooth Emulsion
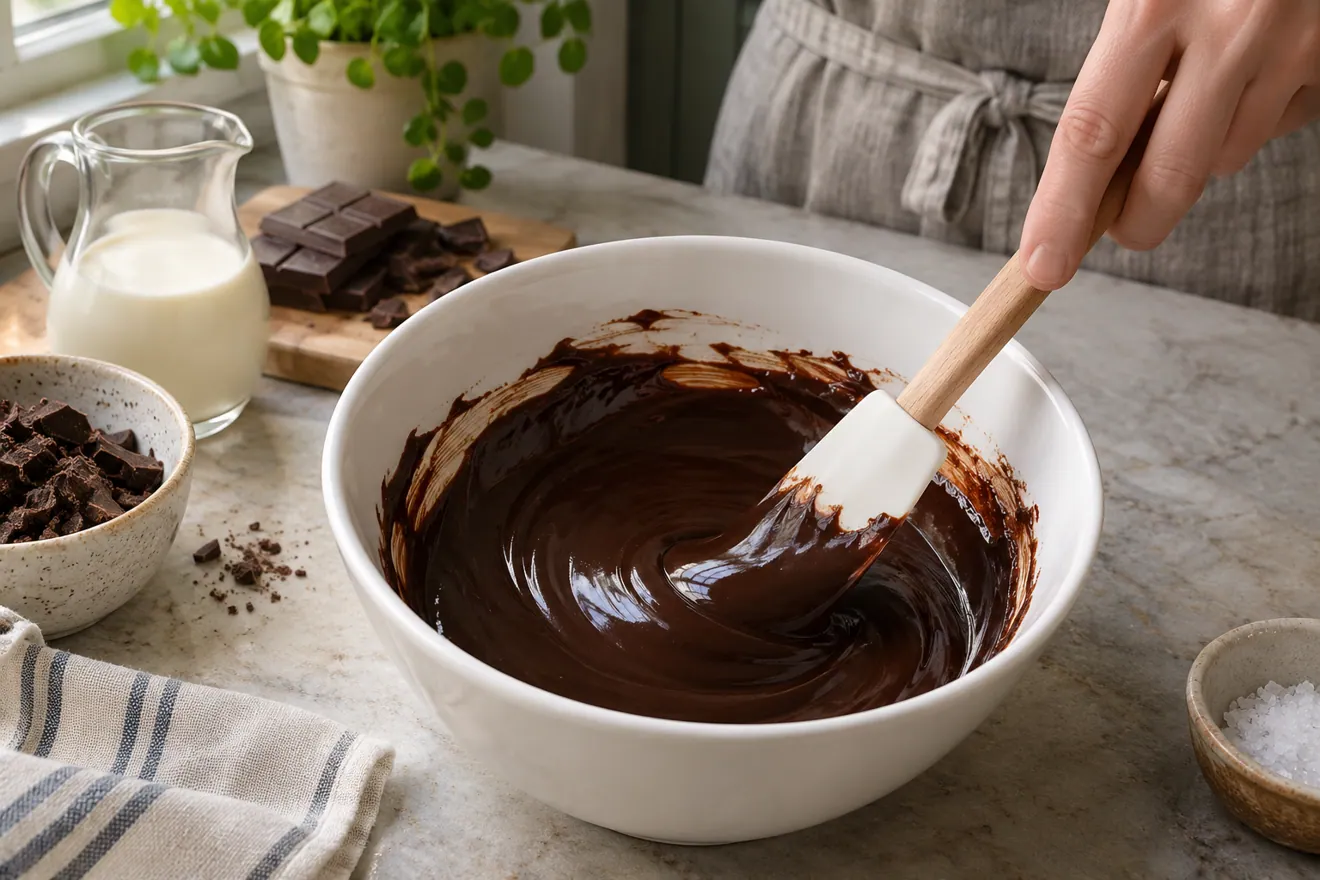
Add the hot cream to the chocolate as the recipe directs. Professional methods often begin with a portion of the cream, stirring from the centre to form a glossy, elastic mixture before adding the remainder gradually.
Don't panic if the mixture briefly looks separated at the beginning of the process. With the correct proportions and gradual mixing, it should become shiny and cohesive. If it stays oily or grainy, stop heating and investigate the formula rather than whisking violently without a plan.
Step 4: Incorporate the Cold Cream
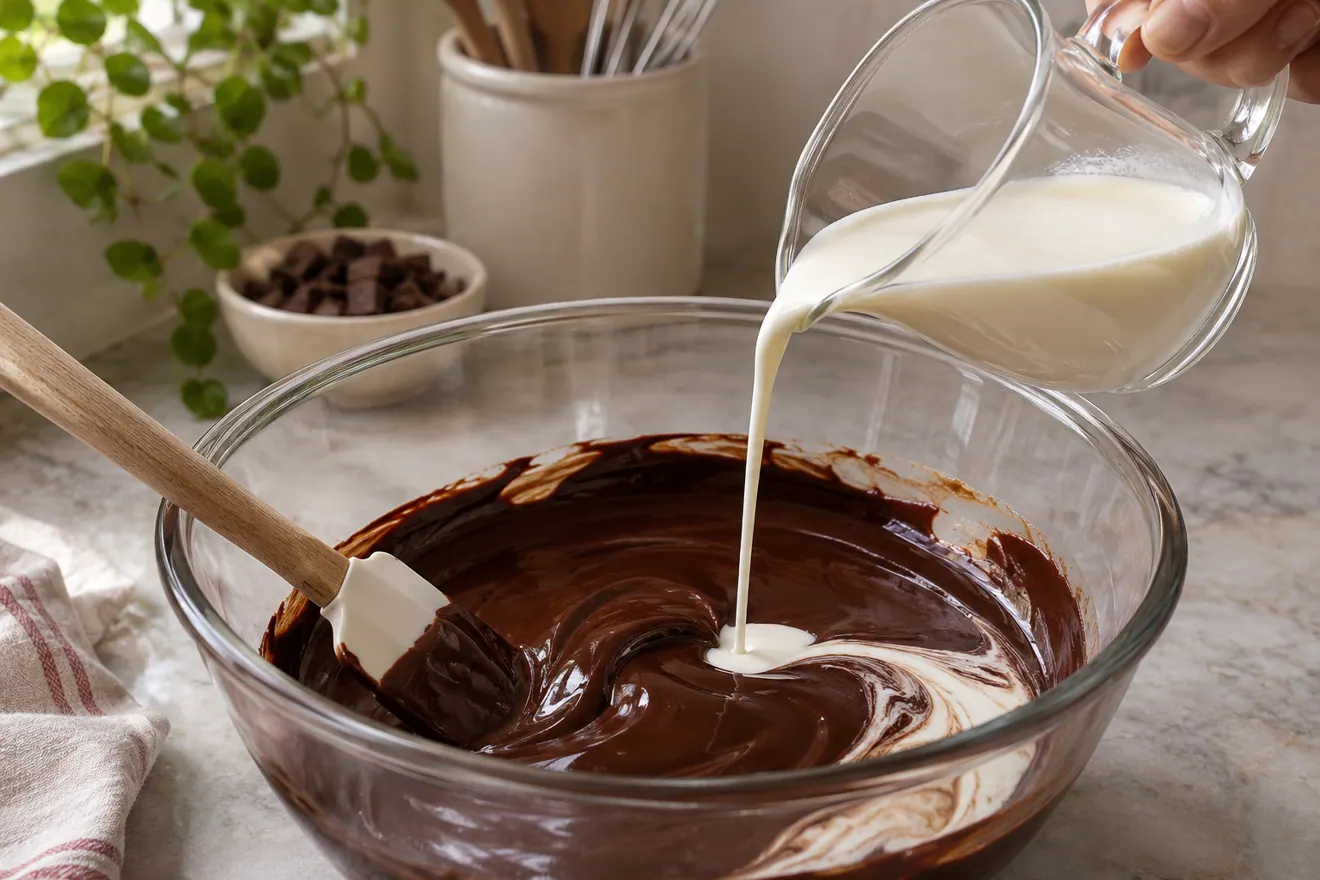
Some whipped ganache recipes call for an additional portion of cold whipping cream after the initial emulsion is established. This helps create a blend with the correct temperature, liquid content and fat balance for later whipping.
Fold or blend the cold cream in as instructed until the mixture is uniform. Adding an unmeasured extra amount just to make the mixture thinner may leave it too soft to hold a piping shape.
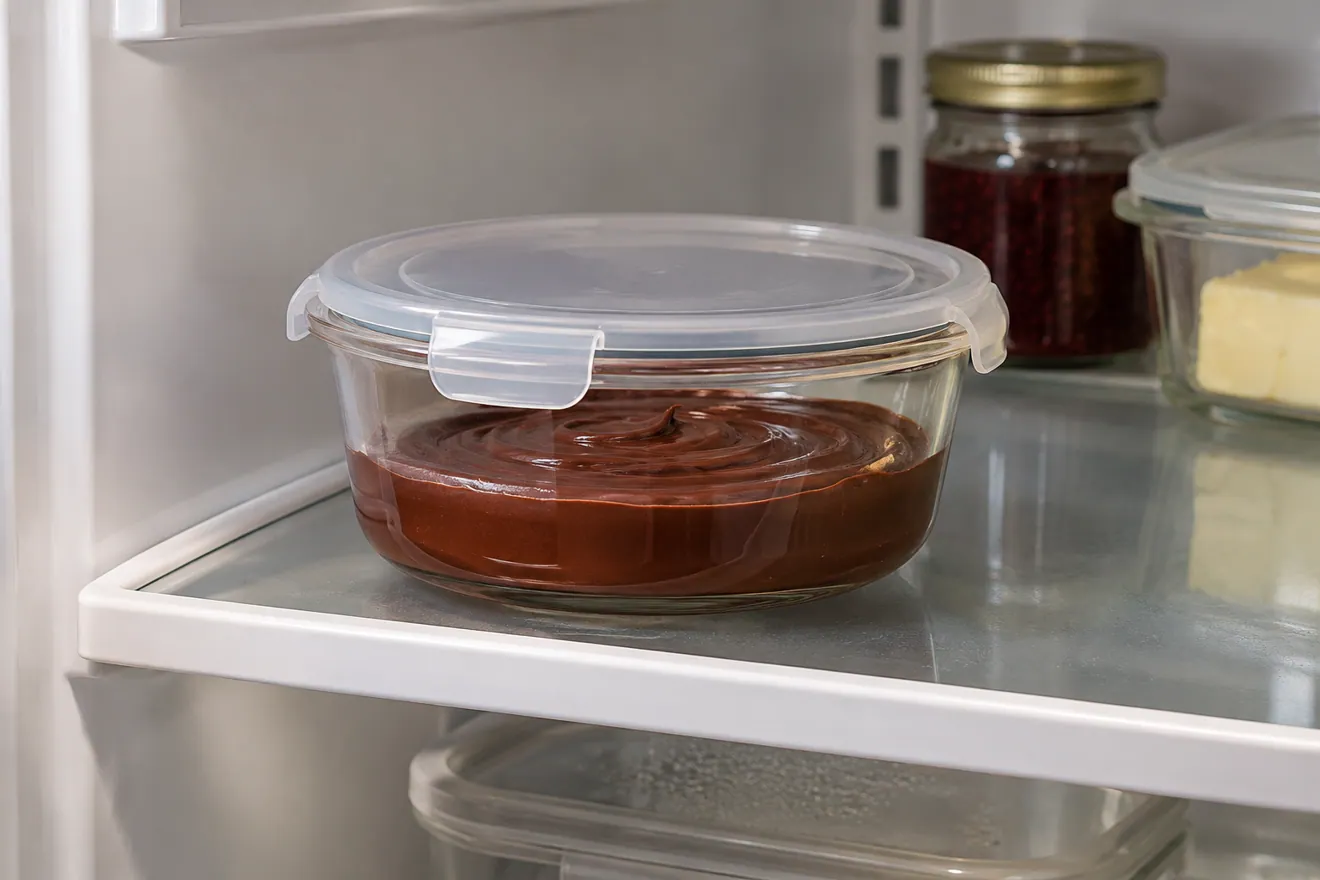
Step 5: Chill Until Completely Cold
Chilling isn't an optional convenience. The cocoa butter and dairy fat need time to organize into a structure capable of holding air. Recipes may specify several hours of refrigeration or an overnight rest.
Cover the ganache appropriately, refrigerate at 4°C (40°F) or colder, and use the stated chilling time. A warm centre can cause uneven whipping even if the surface feels cold.
Plan the chill before you bake the cake. Follow the timing of your own formula if it differs.
Step 6: Whip Slowly and Watch the Texture
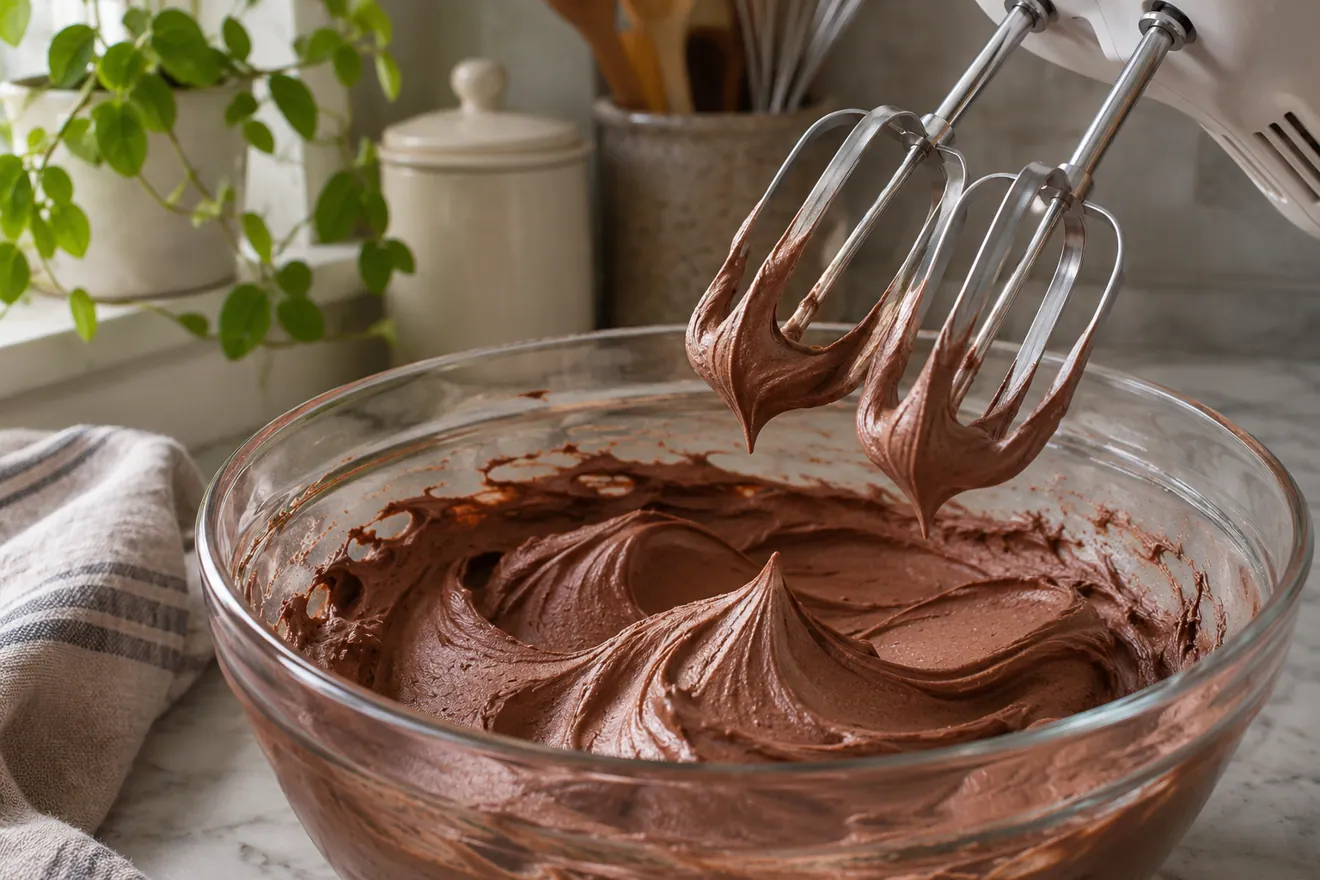
Transfer the chilled ganache to a mixing bowl if necessary and begin at the speed recommended by the recipe. The mixture will gradually lighten in colour and gain volume. Stop when it reaches the consistency needed for spreading or piping.
Whipped ganache can move from smooth and fluffy to dense, grainy or greasy relatively quickly. More whipping doesn't automatically make it more stable. Start checking often as soon as soft peaks or defined whisk marks begin to form.
When the whisk leaves a trail that holds briefly, pause the mixer and lift it to check the peak. It should stand at the base and curve softly at the tip for a light piping texture.
Step 7: Use It While It Is Workable
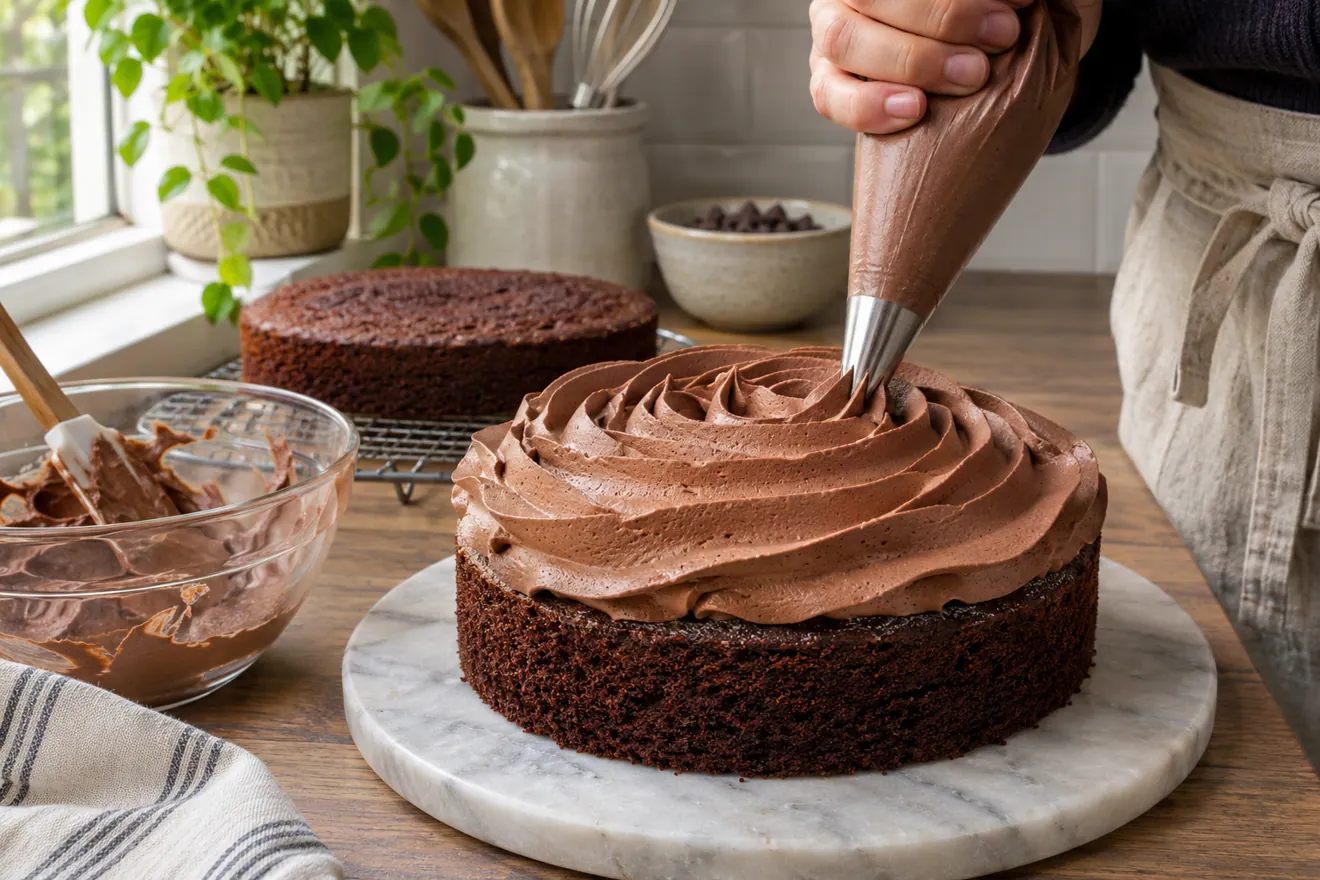
Once whipped, ganache may gradually firm up, particularly if the room is cool or the chocolate contains more cocoa butter. Fill a piping bag promptly and use gentle pressure to avoid warming the mixture excessively with your hands.
For a layer cake, spread an even layer rather than overfilling between soft cake layers. If the frosting is too firm, follow the recipe's instructions; adding warm liquid directly to already whipped ganache may break the texture.
How Does Whipped Ganache Compare with Buttercream?
Buttercream usually relies on butter, sugar and sometimes eggs or another liquid, while whipped ganache develops its structure from chocolate and cream. Buttercream can be very sweet and holds different shapes depending on its style. Whipped ganache offers a distinct chocolate flavour and a softer, mousse-like mouthfeel.
Neither is universally more stable. Heat, moisture, recipe formulation and cake structure determine which performs best. For an outdoor summer party with limited refrigeration, neither should be assumed suitable without an appropriate storage plan.
How Does It Compare with Chocolate Mousse?
Whipped ganache and mousse can look similar, but mousse may involve eggs, whipped cream, meringue or other aerating components. They use different techniques and may have different texture and safety requirements.
A whipped ganache is often convenient for cake decoration because it can be piped after chilling, while a mousse may be poured into moulds or assembled with a setting agent.
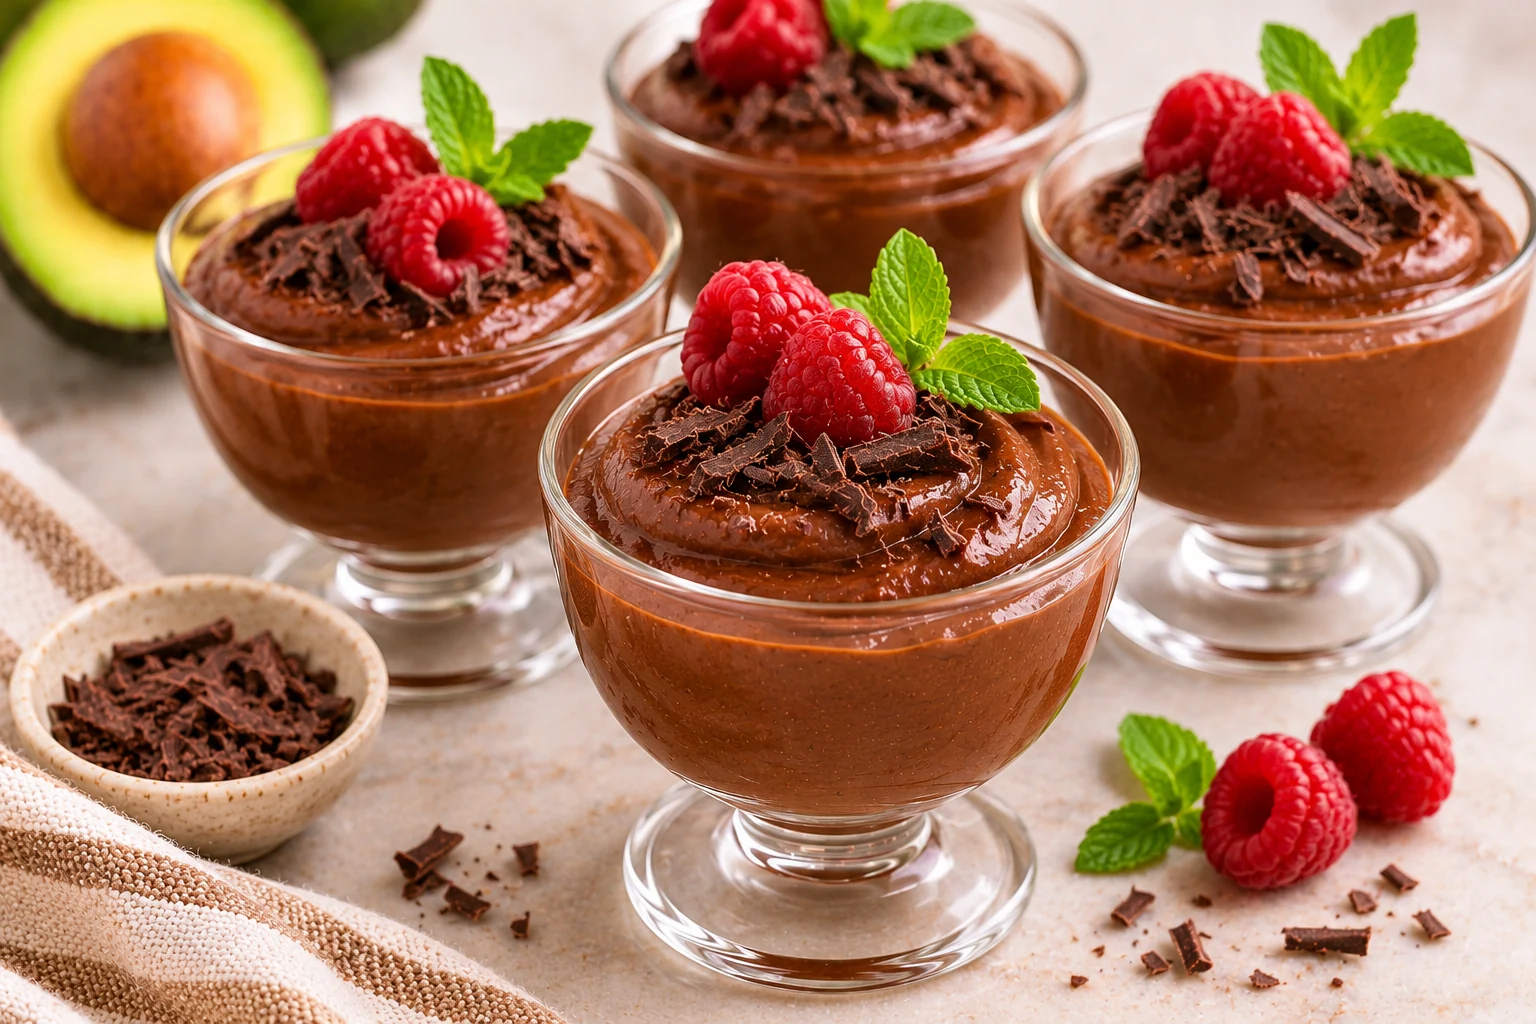
Try Vegan Chocolate Avocado Mousse for a spoonable chocolate dessert that gets body from blended avocado.
What About Gelatin?
Some professional whipped ganache formulas use gelatin to create a particular set, improve stability or support a lighter formulation. Others rely entirely on chocolate and cream.
Don't add an arbitrary amount of powdered gelatin to a finished recipe. Its bloom strength, hydration, temperature and quantity affect the final result. If you need a firmer piping texture, choose a recipe designed for that goal.
Flavoring Whipped Ganache
Vanilla, coffee, citrus zest or infused cream can make whipped ganache more distinctive. Use a tested flavouring method; strong extracts, fruit purées or syrups can alter the liquid balance and emulsion.
For a raspberry or passion-fruit ganache, an established fruit-ganache formula is preferable to stirring raw fruit purée into an already whipped batch. Fruit adds water and acidity that must be accounted for.
Best Uses for Whipped Ganache
It can frost cupcakes, fill layer cakes, top tart shells or be piped into dessert cups when the recipe's consistency is suitable. For a chocolate cake, whipped milk chocolate ganache can give a lighter sweetness, while dark chocolate ganache provides a more intense contrast.
For pastry fillings, think about whether the filling will remain cold and whether the shell will soften after assembly. Add crisp elements close to serving when the recipe recommends it.
The cooled cakes from Vegan Vanilla Bean Cupcakes make a simple vanilla base for practising swirls. Using this dairy ganache changes the finished cupcake’s dietary suitability.
Why Did My Whipped Ganache Turn Grainy?
Overwhipping is a common cause. Excessive mixing can destabilize the fat network and make the texture look curdled or greasy. A poorly formed emulsion before chilling may also become visible once the ganache is whipped.
If it's only slightly overworked, stop immediately and consult the recipe's recovery instructions. Severe separation may not be fully reversible in the whipped form, and attempting to add random cream can worsen the problem.
Why Won't My Ganache Whip?
It may be too warm, not chilled long enough, made with a low-fat substitute or formulated with too much liquid for the chocolate. Check the recipe, ingredient weights and refrigerator temperature first.
More mixing doesn't solve a fundamentally unsuitable ratio. An underchilled batch may improve after the proper chilling period, but one with incorrect ingredients may need a different use.
Why Is My Ganache Too Stiff for Piping?
A high chocolate-to-cream proportion or excessive chilling may make the mixture firm. It can also become dense if whipped too far. Follow the recipe's serving-temperature instructions rather than heating whipped ganache until it melts.
For next time, select a recipe with a softer intended finish. A truffle filling formula shouldn't be expected to pipe like whipped cream.
Storage and Serving
Refrigerate homemade cream ganache and desserts filled or frosted with it at 4°C (40°F) or colder. Limit room-temperature handling and serving to a total of two hours. Divide large amounts into shallow clean containers to refrigerate promptly, and use the shortest storage time given for any component.
For make-ahead desserts, refrigerate the covered base for the time the recipe specifies, then whip it near the time you plan to fill or frost.
Frequently Asked Questions
Can you whip regular ganache?
Some classic ganache formulations can be whipped after cooling, but not all ratios make a light stable frosting. A dedicated whipped-ganache recipe is more reliable.
How long should I chill it before whipping?
Follow the recipe's specified time; many professional methods recommend several hours or overnight. The centre must be thoroughly cold.
Can I make whipped ganache with white chocolate?
Yes, with a recipe designed for white chocolate. Its higher sugar and different cocoa butter balance require a different cream ratio from many dark-chocolate recipes.
Can I leave a whipped ganache cake at room temperature?
Don't assume so. Cream-based ganache is perishable, and safe storage and display depend on the recipe and conditions.
Can I overwhip ganache?
Yes. It can become grainy, dense or greasy. Stop as soon as you reach the intended spreading or piping texture.
A Soft Chocolate Finish Worth the Preparation
Build a smooth emulsion, chill it for the time your recipe specifies, then check the texture as you whip. Put a small amount in the piping bag first to check that the swirl holds.
Some images are AI-generated illustrations of the dishes and techniques described.
IN PICTURES
From the baking notebook
FROM THE RECIPE BOX