On this page
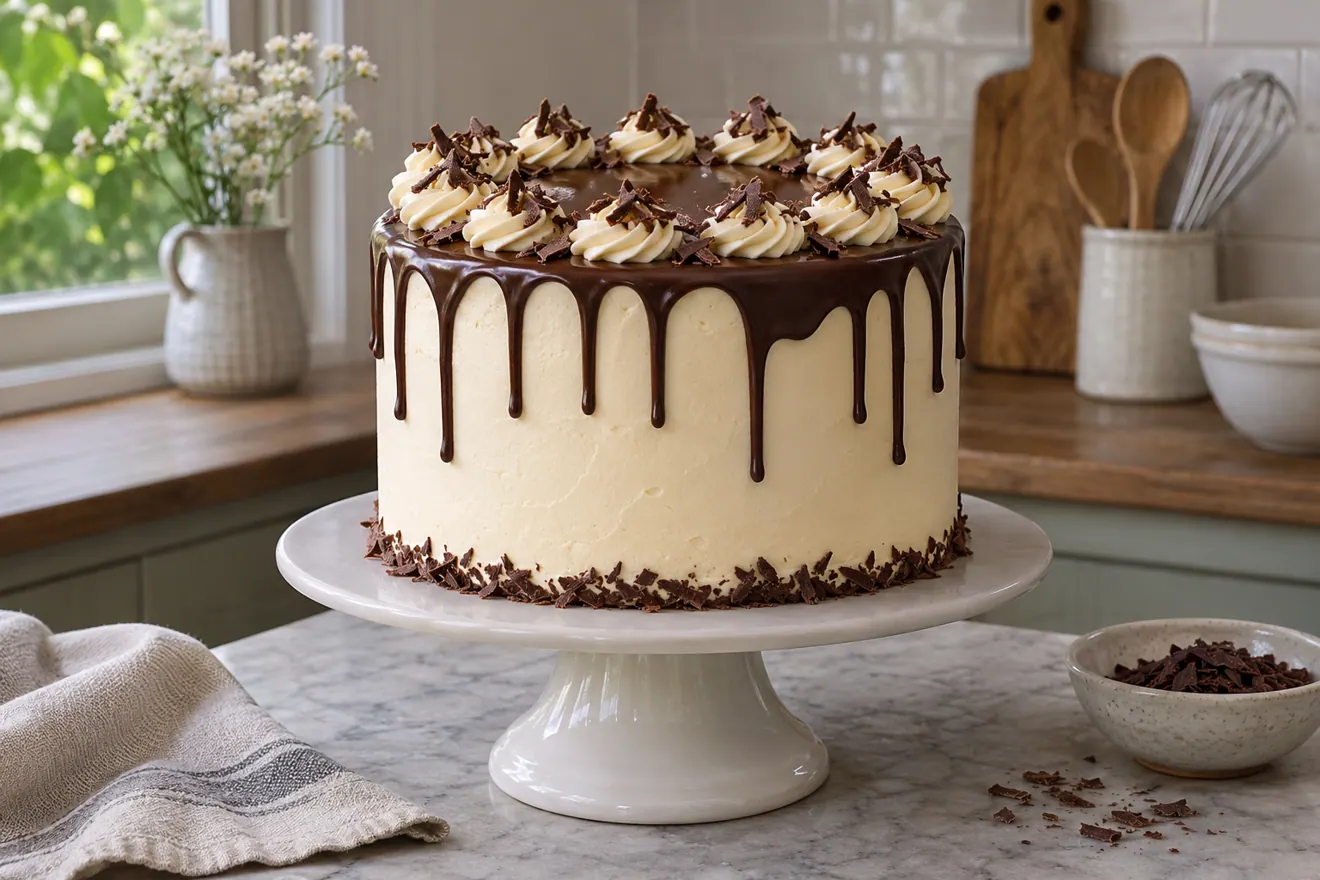
A chocolate drip cake has a special kind of appeal. A smooth layer of frosting forms the backdrop, while glossy ribbons of chocolate flow over the edge at different lengths. Done well, the drips look natural and controlled—some short, some longer, none forming a puddle at the bottom of the cake.
The technique seems simple until your first attempt. Ganache that is too hot races down the sides. Ganache that is too cold stops in thick lumps near the top. And a cake that hasn't been chilled may soften just as you're trying to decorate it. The solution is not a special tool but good control of consistency, temperature and timing.
What Is a Chocolate Drip?
A chocolate drip is a pourable chocolate glaze applied around the top edge of a cake so some of it travels down the sides before setting. The most familiar version uses chocolate ganache: an emulsion of chocolate and cream. Other recipes may use different coatings, but those have their own ratios and setting behaviour.
The chocolate should be fluid enough to move gently and thick enough to stop partway down the cake. The finished look depends on both the ganache and the temperature of the frosting underneath.
Why a Chilled Cake Matters
Many drip-cake methods work best when the cake has been smoothly frosted and adequately chilled. Cool frosting helps the chocolate begin setting as it runs, making it easier to control the drip length.
A room-temperature cake with soft buttercream may allow ganache to travel farther and can develop smears if the drip is very warm. Follow the frosting's storage instructions and avoid moving a perishable cake in and out of temperature control for long periods.
Choose the Right Frosting Base
Buttercream and suitably set ganache frostings are common backdrops for a drip cake. The coating should have a relatively smooth finish and enough firmness to resist the spoon or squeeze bottle during application.
Very soft whipped cream, delicate mousse or unset fillings may not provide a suitable surface for a heavy chocolate drip. If your cake relies on a softer frosting, choose a drip method designed for that particular combination.
Which Chocolate Should You Use?
Semisweet and bittersweet chocolate are popular for a classic dark drip. Their cocoa percentages influence thickness, flavour and how much cream is needed. Milk chocolate generally tastes sweeter and may require a different ratio; white chocolate has another setting profile altogether.
Use the chocolate named in a tested drip recipe. Real white chocolate and white baking coating are not always interchangeable, and chocolate chips may melt differently from chopped bars.
A Simple Dark-Chocolate Ganache Starting Point
For an illustrative small batch of soft semisweet ganache, you can start with 100 g finely chopped semisweet chocolate and 100 g heavy whipping cream. Equal weights are a familiar pourable ganache formulation, but this isn't a guaranteed drip ratio for every chocolate brand or cake temperature.
If the ganache is too fluid or too stiff for your cake, the correct approach is to use a tested drip formulation with the chocolate you have and check its setting behaviour. Always make a test drip before decorating the entire cake. For a firmer result, many formulas increase chocolate relative to cream.
Tools for a Clean Chocolate Drip
Have a kitchen scale, small heatproof bowl, spatula, saucepan or suitable microwave-safe vessel, spoon or food-safe squeeze bottle, offset spatula and a cake stand or turntable. A paper towel nearby helps keep the edge of the stand clean.
A spoon offers more immediate control for beginners, while a squeeze bottle gives repeatable portioning once you understand the flow. Neither compensates for ganache that is too thin.
Step 1: Frost the Cake Smoothly
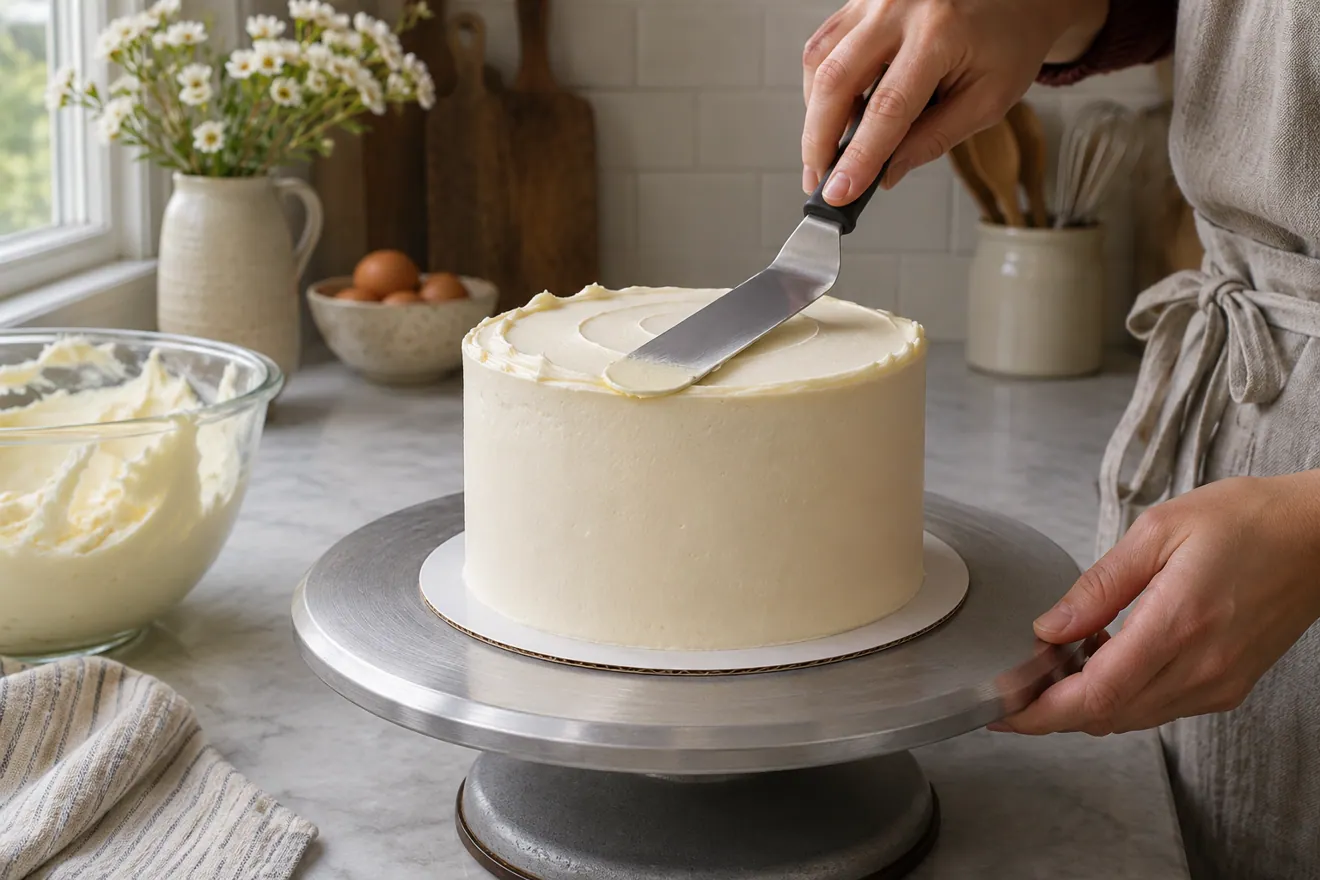
Assemble the layers, apply a suitable crumb coat and finish with smooth frosting according to the cake recipe. Pay particular attention to the top edge, where uneven bumps can deflect the ganache and make the drips look unpredictable.
You don't need an impossibly sharp professional edge, but a level top helps the chocolate spread consistently. Let the frosting set before proceeding.
Step 2: Chill the Frosted Cake
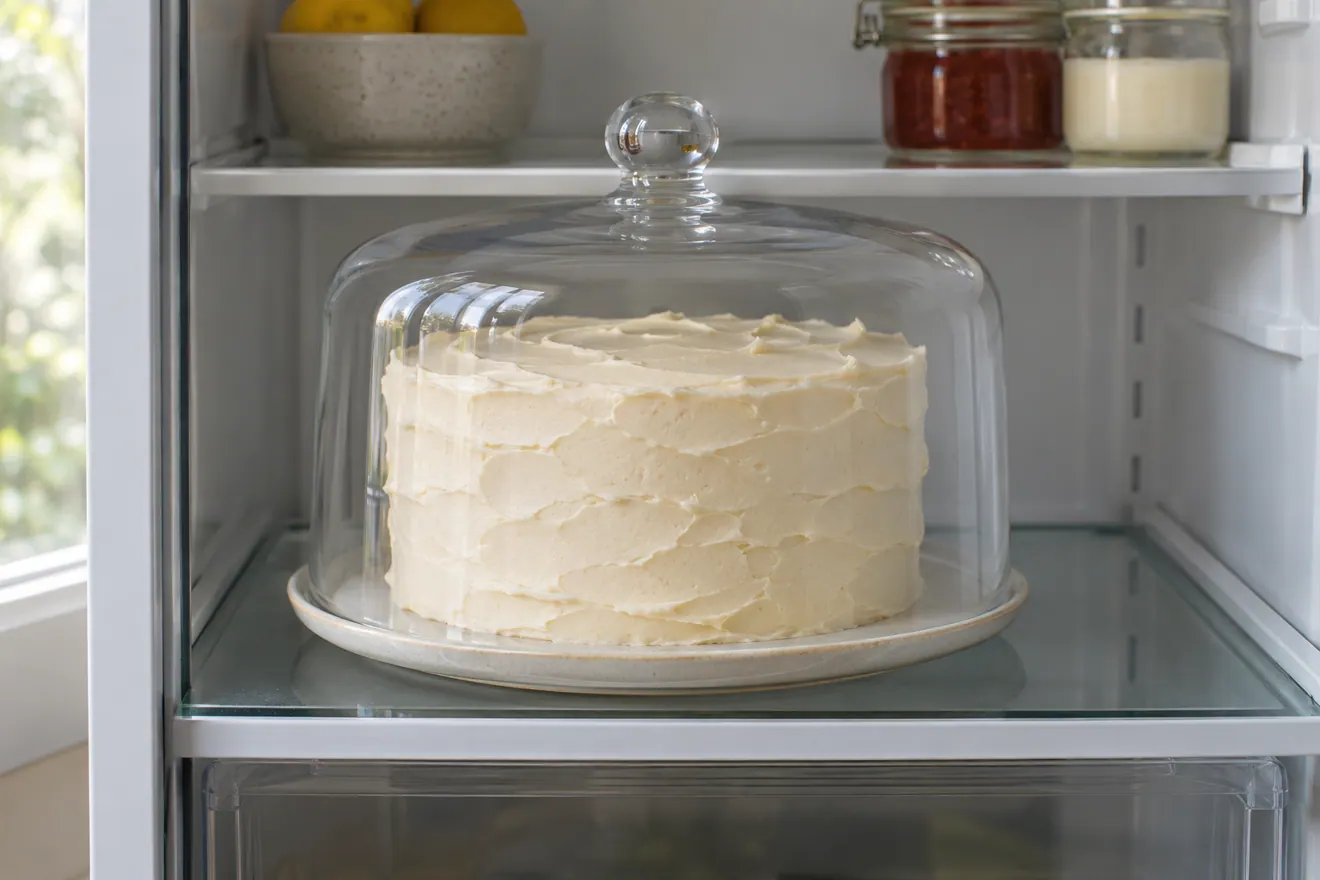
Refrigerate the cake for the period specified by the frosting and drip method. The surface should be firm enough that a tiny drip doesn't immediately melt or disturb it. Avoid freezing the cake on a whim; frost or condensation may affect the finish.
Keep the cake in appropriate refrigeration, generally 4°C (40°F) or colder where its ingredients require it, until you're ready to add the chocolate.
Step 3: Chop the Chocolate Finely
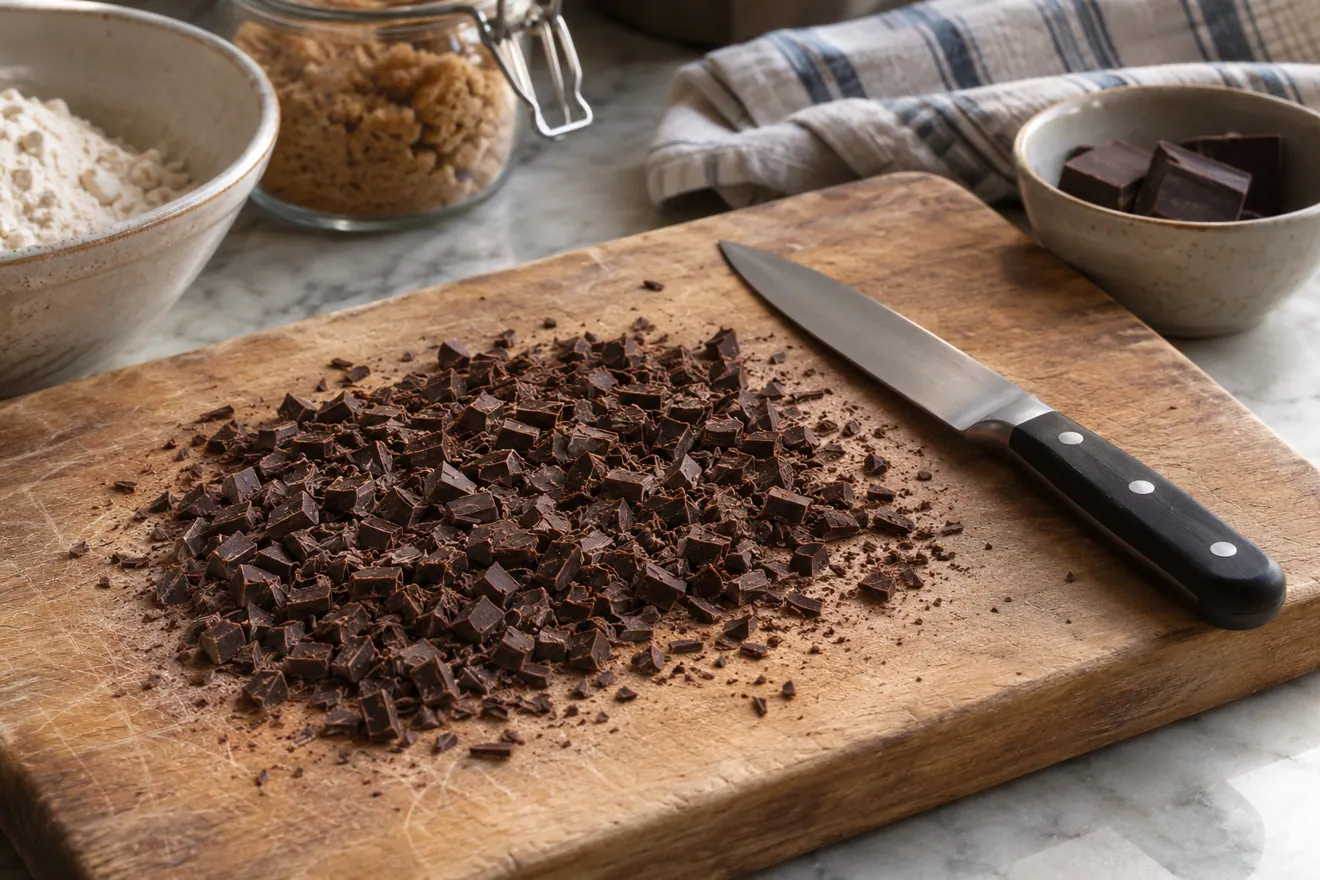
Finely chopped pieces melt more evenly under the warm cream. Place chocolate in a clean, dry heatproof bowl. If using callets or suitable small couverture pieces, additional chopping may not be necessary.
Measure ingredients by weight rather than estimating from a cup of irregular chocolate chunks.
Step 4: Warm the Cream Gently
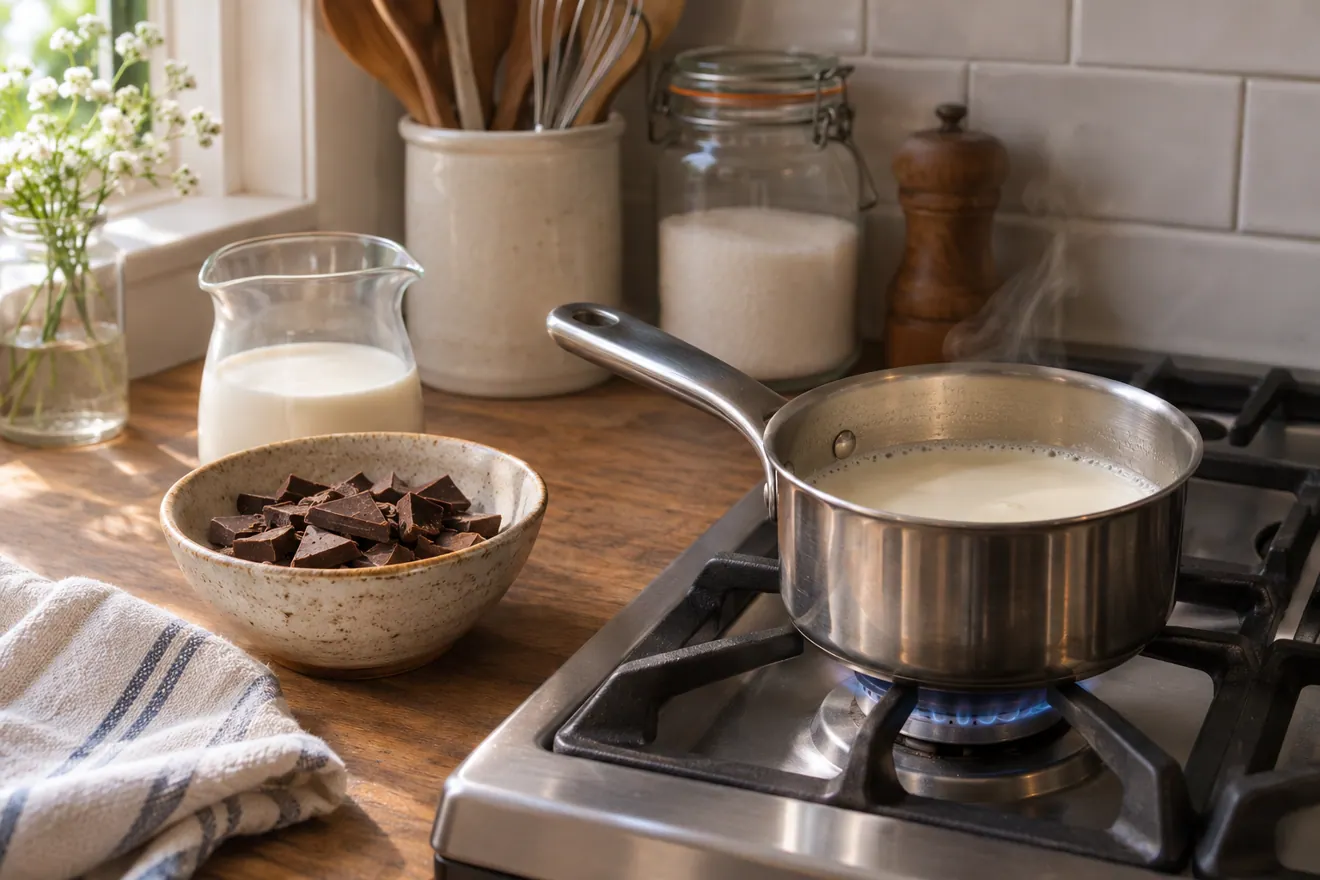
Heat the cream until steaming as directed by your selected recipe, then pour it over the chocolate. Let the heat soften the pieces for the specified time. Avoid aggressively boiling the cream or evaporating a significant amount of liquid.
If small pieces remain unmelted, use brief controlled warming instead of overheating the entire bowl.
Step 5: Stir Until Smooth
Begin in the centre, stirring gently until a cohesive, shiny emulsion forms. Work in the remaining liquid and chocolate as the recipe directs. A properly emulsified ganache should not have an oily ring or gritty chunks.
Keep the mixing tool beneath the surface as much as practical to avoid unwanted air bubbles. If you use an immersion blender, hold its head submerged.
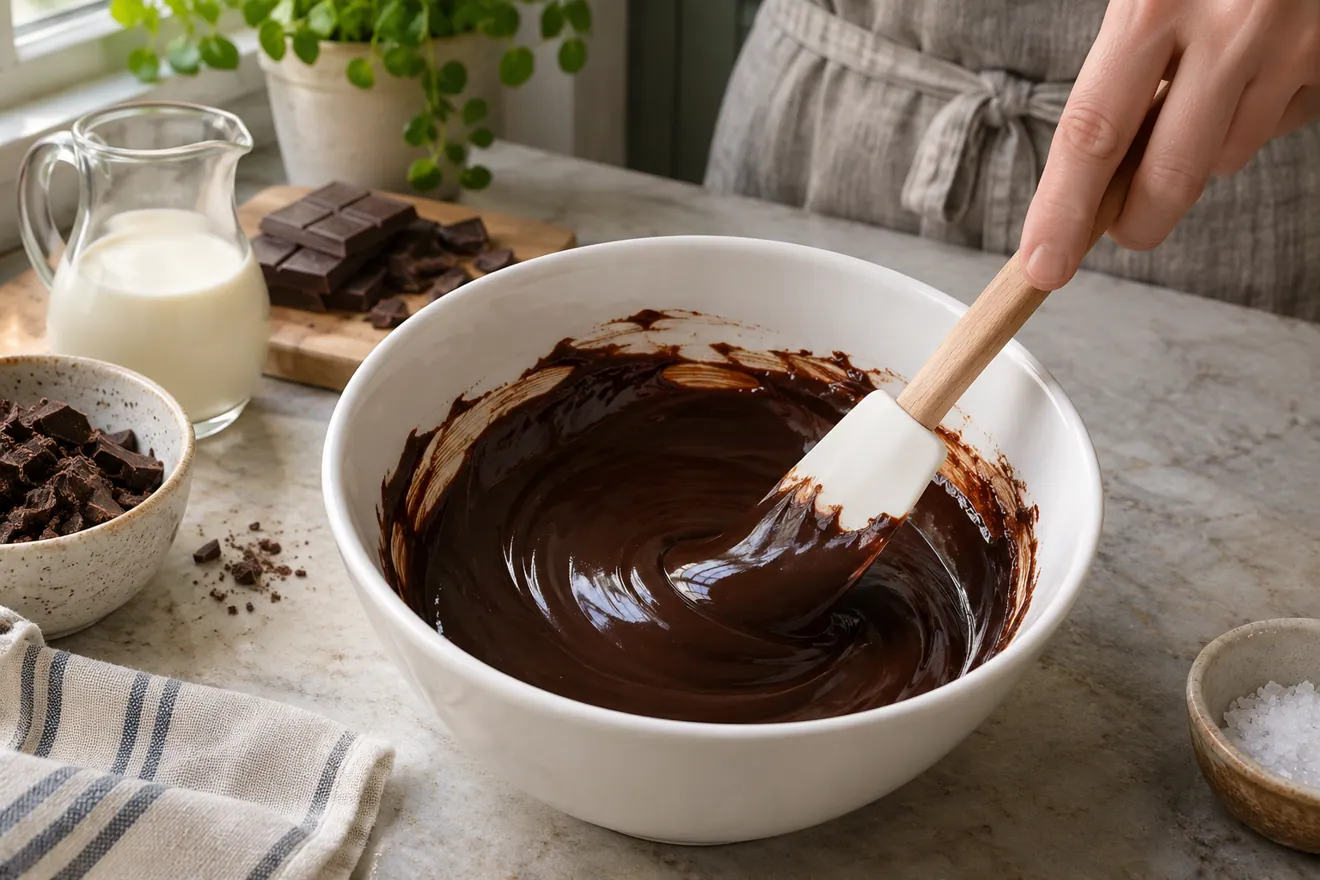
Step 6: Let Ganache Cool Before Decorating
Freshly made ganache may be much too hot and thin for a frosted cake. Let it cool and thicken according to your drip recipe, stirring occasionally to keep the temperature even. The ideal point is warm enough to flow but not hot enough to melt the underlying frosting.
There is no single exact temperature that suits all chocolate types, cream ratios and frostings. Treat the ganache's movement during a test drip as the final practical check.
Stir gently before taking a spoonful. You want a slow, continuous ribbon. Wait for any visible steam to disappear and use the actual cake to test flow.
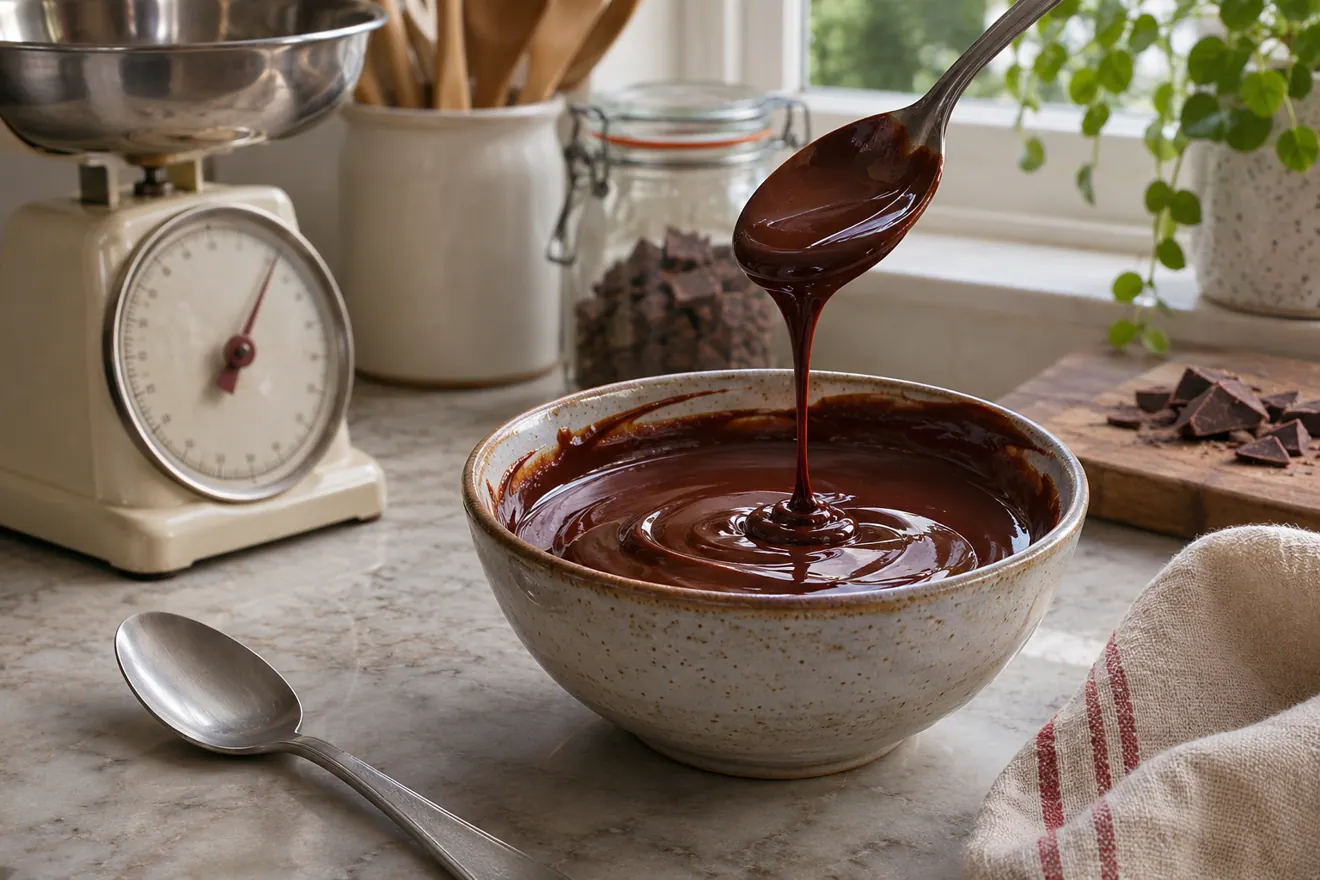
Step 7: Make One Test Drip
At the back or another discreet part of the chilled cake, place a small amount of ganache at the top edge. Watch how far it travels and how quickly it stops. A good drip should move steadily and set at the length you want without continuing all the way to the cake stand.
If it races to the bottom, the ganache may be too warm or thin, or the cake may not be cold enough. If it hardly moves, it may be too cool or thick. Adjust cautiously and repeat the test before committing.
Use the back of the cake for the first test. Give it time to stop moving before deciding whether to cool the bowl further or warm it gently.
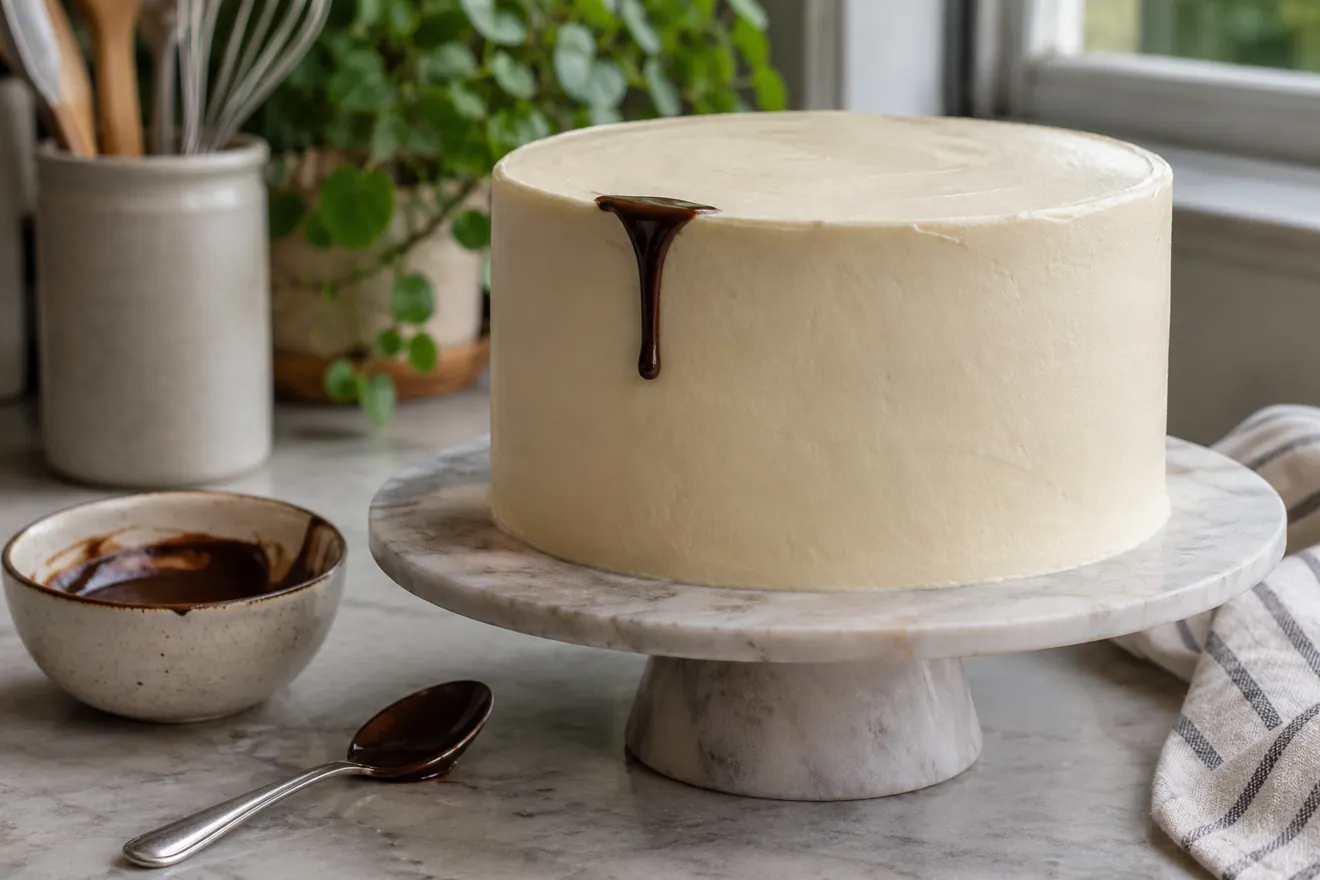
Step 8: Work Around the Edge
Using a spoon or squeeze bottle, place small amounts at intervals around the cake's top edge. Vary the amount slightly to create different drip lengths. Keep the cake on a turntable if possible, but don't rotate so quickly that chocolate smears sideways.
Leave a little space between the drips so they remain distinct. You can add another one later, but it's difficult to remove a run that has already stretched to the bottom.
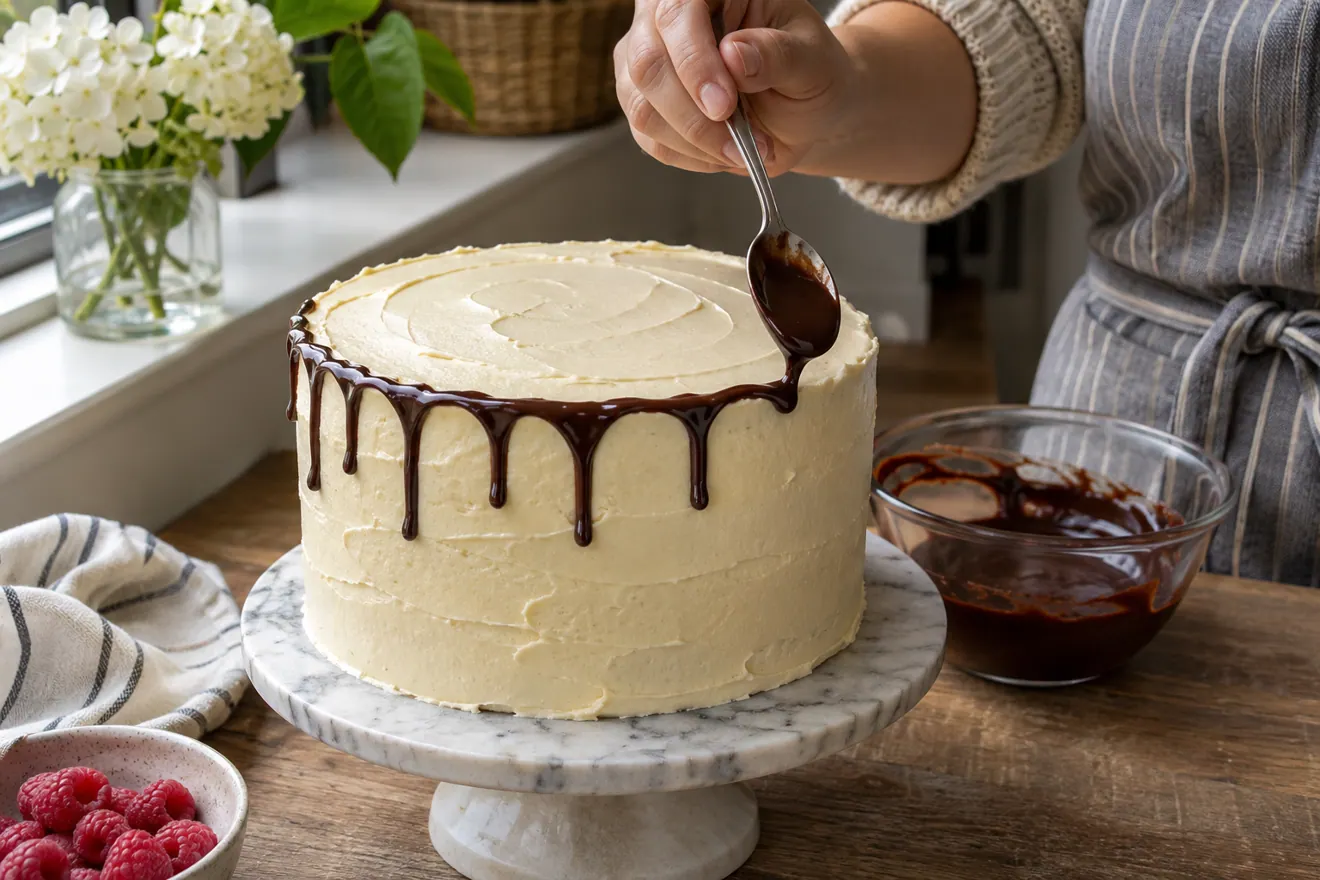
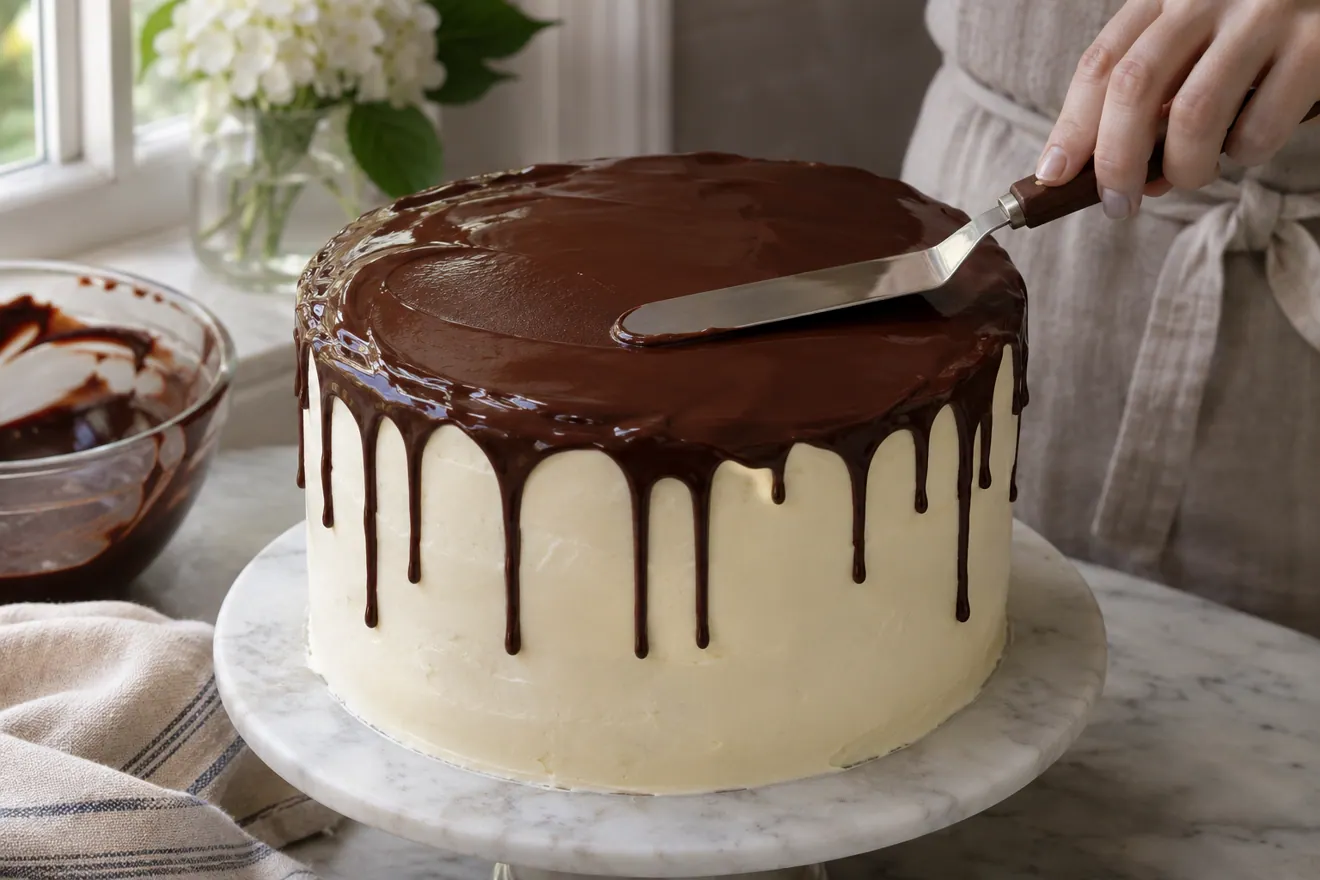
Step 9: Cover the Top
Once the side drips look right, pour a modest amount of ganache onto the top centre and use an offset spatula to guide it gently toward the edge, joining it to the drip border. Avoid pushing too much glaze over the edge and creating a second uncontrolled wave.
Work while the ganache is still spreadable. If it begins setting, stop and assess before reheating or adding extra liquid; abrupt temperature changes can harm the finish.
Step 10: Let the Finish Set
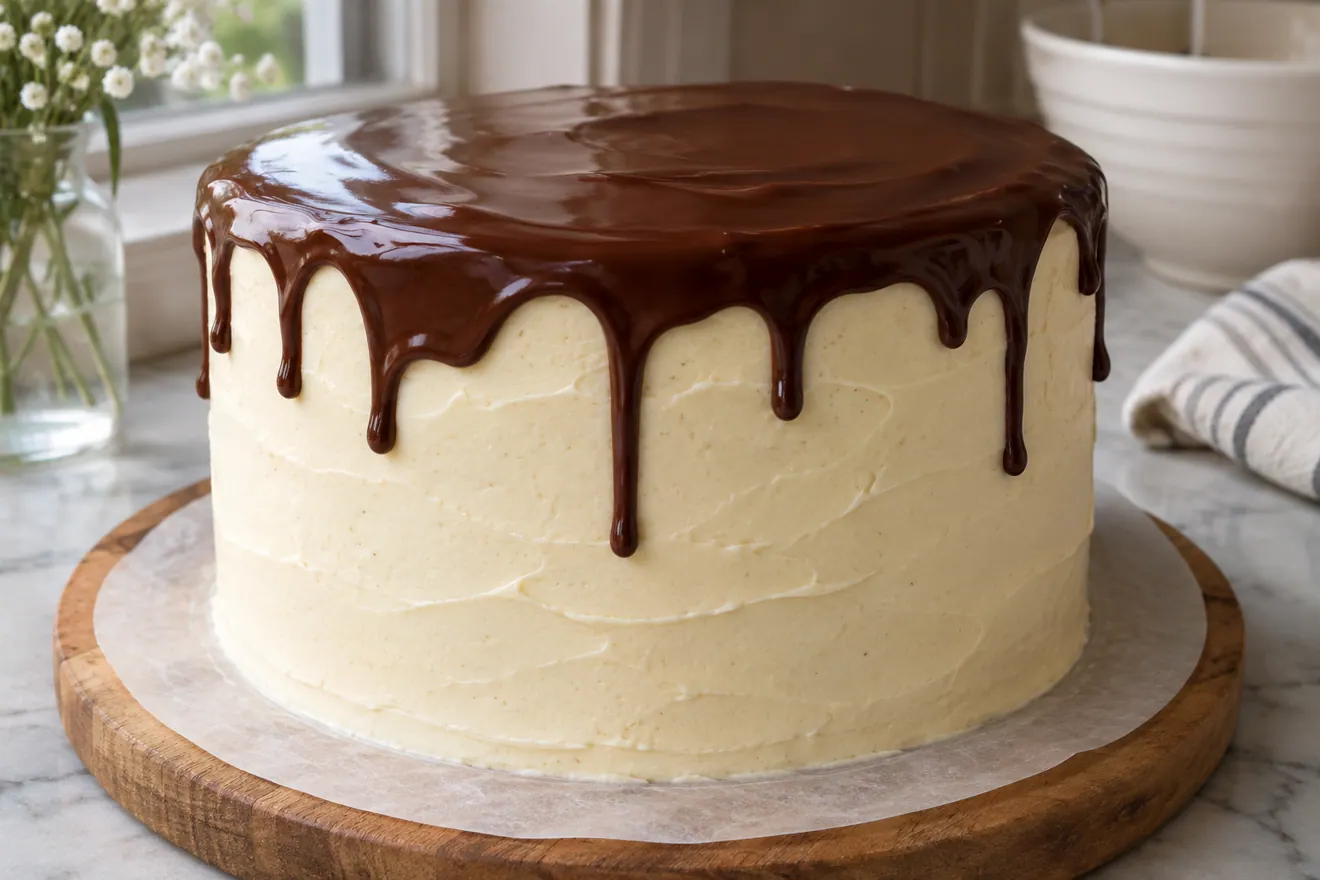
Allow the cake to set according to the ganache and frosting recipes. Refrigeration may help a perishable cake hold its shape, but follow the actual storage instructions rather than assuming every ganache cake can sit at room temperature all day.
Add delicate decorations once the surface will support them. Heavy toppings pushed into a soft drip can slide or leave dents.
How to Create Drips of Different Lengths
Use different amounts of ganache while keeping its consistency constant. A small spoonful often creates a shorter drip, while a slightly larger amount may travel farther. Apply the chocolate near the edge and observe before adding more.
It's tempting to force long drips with a very thin mixture, but that makes short drips harder to control. A balanced ganache allows variety without flooding the base of the cake.
How to Make a White Chocolate Drip
White chocolate contains different proportions of fat, sugar and milk solids, so it usually needs a different cream balance from dark chocolate. Use a recipe specifically designed for white chocolate drip cakes.
For coloured drips, use compatible food-grade colouring and test the consistency after tinting. Extra water-based colouring may affect the emulsion and change how the drip sets.
Can You Use Chocolate Chips?
Some ganache recipes accommodate chocolate chips, while others recommend chopped bars or couverture for more predictable melting. Chips may contain ingredients that help them retain shape during baking, which can affect how they melt and flow.
If you're working with chips, choose a drip recipe tested with them rather than assuming the same ratio will give identical results to a bar of chocolate.
Why the Drip Runs All the Way to the Bottom
Likely causes include ganache that is too warm, a mixture with too much cream for the chocolate, a cake that isn't adequately chilled or an overly large amount applied at once.
Let ganache cool to the correct consistency and use smaller test amounts. If the recipe's ratio is fundamentally too thin, temperature alone may not solve the problem once the cake warms up.
Why the Drip Stops at the Top
Ganache may have cooled too much or contain a high proportion of chocolate. It could also have begun setting before you finished the circle. A drip doesn't need to be hot, but it does need enough fluidity to move.
Use gentle warming only as permitted by the ganache recipe, stir to distribute heat evenly and perform another test. Avoid repeated aggressive microwaving that can split the emulsion.
Why the Chocolate Looks Dull or Streaky
A broken emulsion can produce oily streaks, while air bubbles or incomplete mixing can make the surface uneven. Condensation on the chilled cake or the bowl may also affect appearance.
Check whether the ganache is smooth before applying. If separated, address the emulsion first; a broken ganache won't become a perfect drip simply because the cake is cold.
Why the Drip Has Bubbles
Whisking or blending with the tool above the liquid surface can trap air. Stir in a controlled way and let the ganache rest briefly, if the recipe allows, before using it. A squeeze bottle may also release small air pockets as you work.
Test a few drops and assess the finish rather than covering an entire cake with bubbly ganache.
Decorating the Top of a Drip Cake
Simple chocolate shavings, fresh fruit, appropriate cookies or restrained frosting swirls can look beautiful over a smooth drip. Choose decorations that suit the cake's flavour and can be stored safely with the frosting and ganache.
Very heavy cookies, candies or chocolate bars may tip or sink into a soft surface. If using fresh berries, prepare and apply them according to the cake's serving plan.
For a smaller practice bake, use the cooled cakes from Vegan Vanilla Bean Cupcakes and add a tiny chocolate drip at the edge of the frosting. Cream ganache will change the dietary suitability of the finished cupcakes.
How Far in Advance Can You Make a Drip Cake?
Refrigerate homemade cream ganache and desserts filled or frosted with it at 4°C (40°F) or colder. Limit room-temperature handling and serving to a total of two hours. Divide large amounts into shallow clean containers to refrigerate promptly, and use the shortest storage time given for any component.
You can bake many cake bases a day ahead. Add the drip to the chilled, frosted cake before serving or transport it in a cooler as appropriate for its filling and frosting.
Transporting a Drip Cake
Chill the decorated cake as required, place it on a sturdy board and use a rigid box with sufficient clearance. Transport on a level, nonslip surface and avoid a hot car, which can soften frosting and the drip.
If the event is outdoors or very warm, reconsider delicate decorations or plan temperature-controlled transport and storage.
Frequently Asked Questions
Do you need a squeeze bottle for a chocolate drip?
No. A small spoon offers excellent control and is often easier for beginners. A squeeze bottle can be convenient for repeatable drips once you know the consistency.
Should the cake be cold or room temperature?
Many drip methods use a properly chilled frosted cake, which helps control flow. Follow the instructions for the specific frosting and ganache combination.
Can you pour hot ganache over buttercream?
Avoid applying ganache so hot that it melts or damages the frosting. Let it cool, then perform a test drip first.
Why do my drips reach the cake board?
The ganache may be too warm or thin, the cake may not be chilled enough, or too much chocolate may have been applied. Test one drip before continuing.
Can I make a coloured chocolate drip?
Yes, often with a tested white chocolate drip formula and compatible food colouring. Avoid assuming a dark-chocolate ratio will work unchanged.
A Chocolate Finish with Confidence
Use a chilled, smoothly frosted cake and test one drip before decorating the rest. If the drip runs to the board, let the mixture cool briefly and test again. If it stalls at the top, warm it gently and repeat the test.
Some images are AI-generated illustrations of the dishes and techniques described.
IN PICTURES
From the baking notebook
FROM THE RECIPE BOX