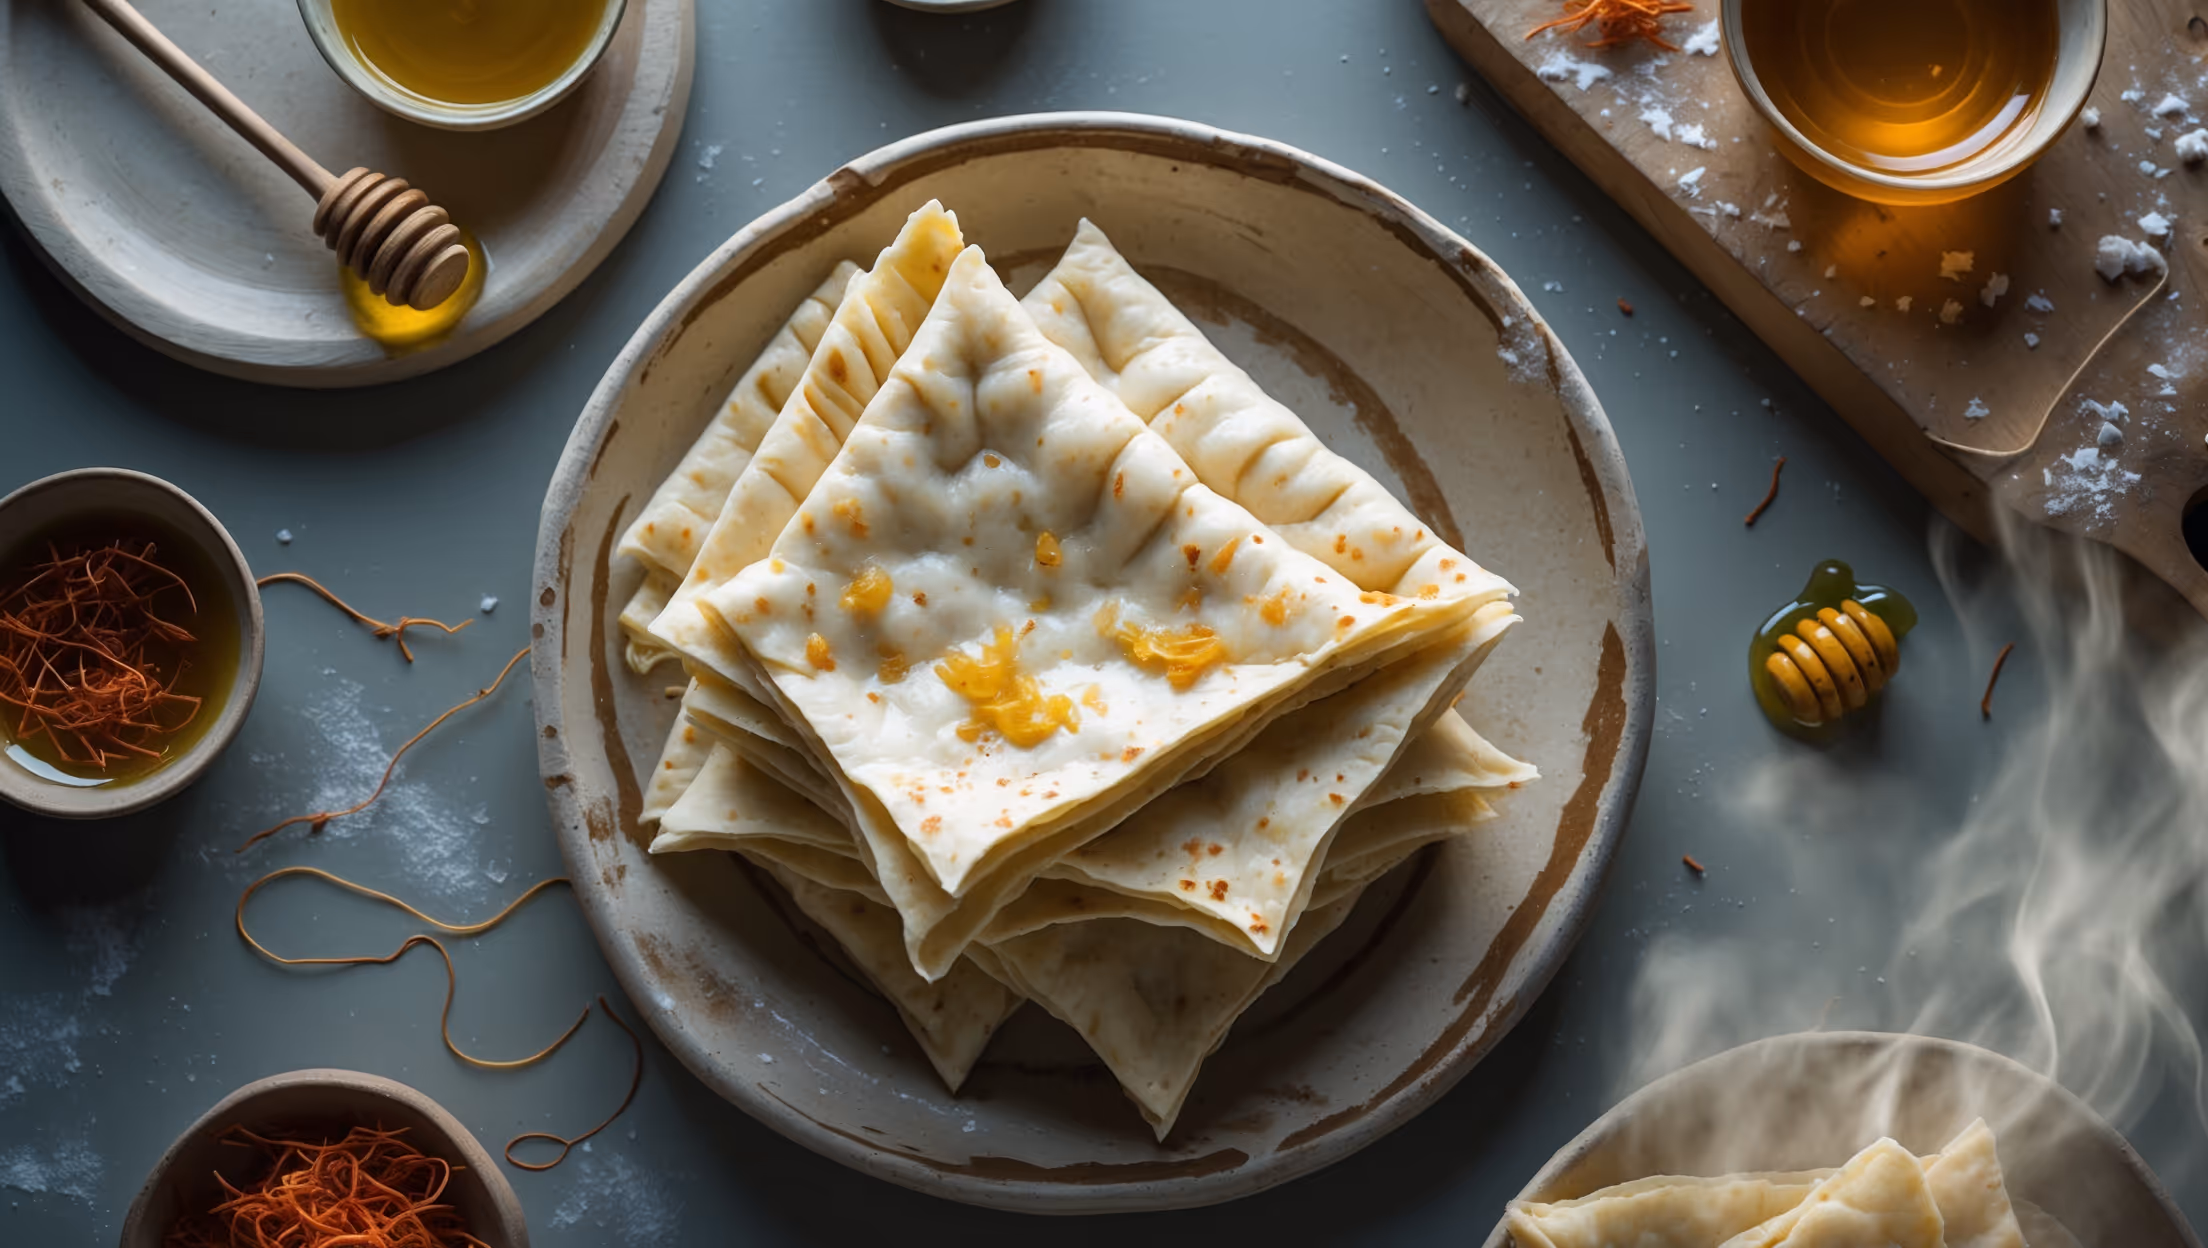
Tigelle (Italian Flatbread) Recipe
Ingredients
Equipment
Directions
FAQs
Find answers to your most pressing questions about this delicious recipe right here.
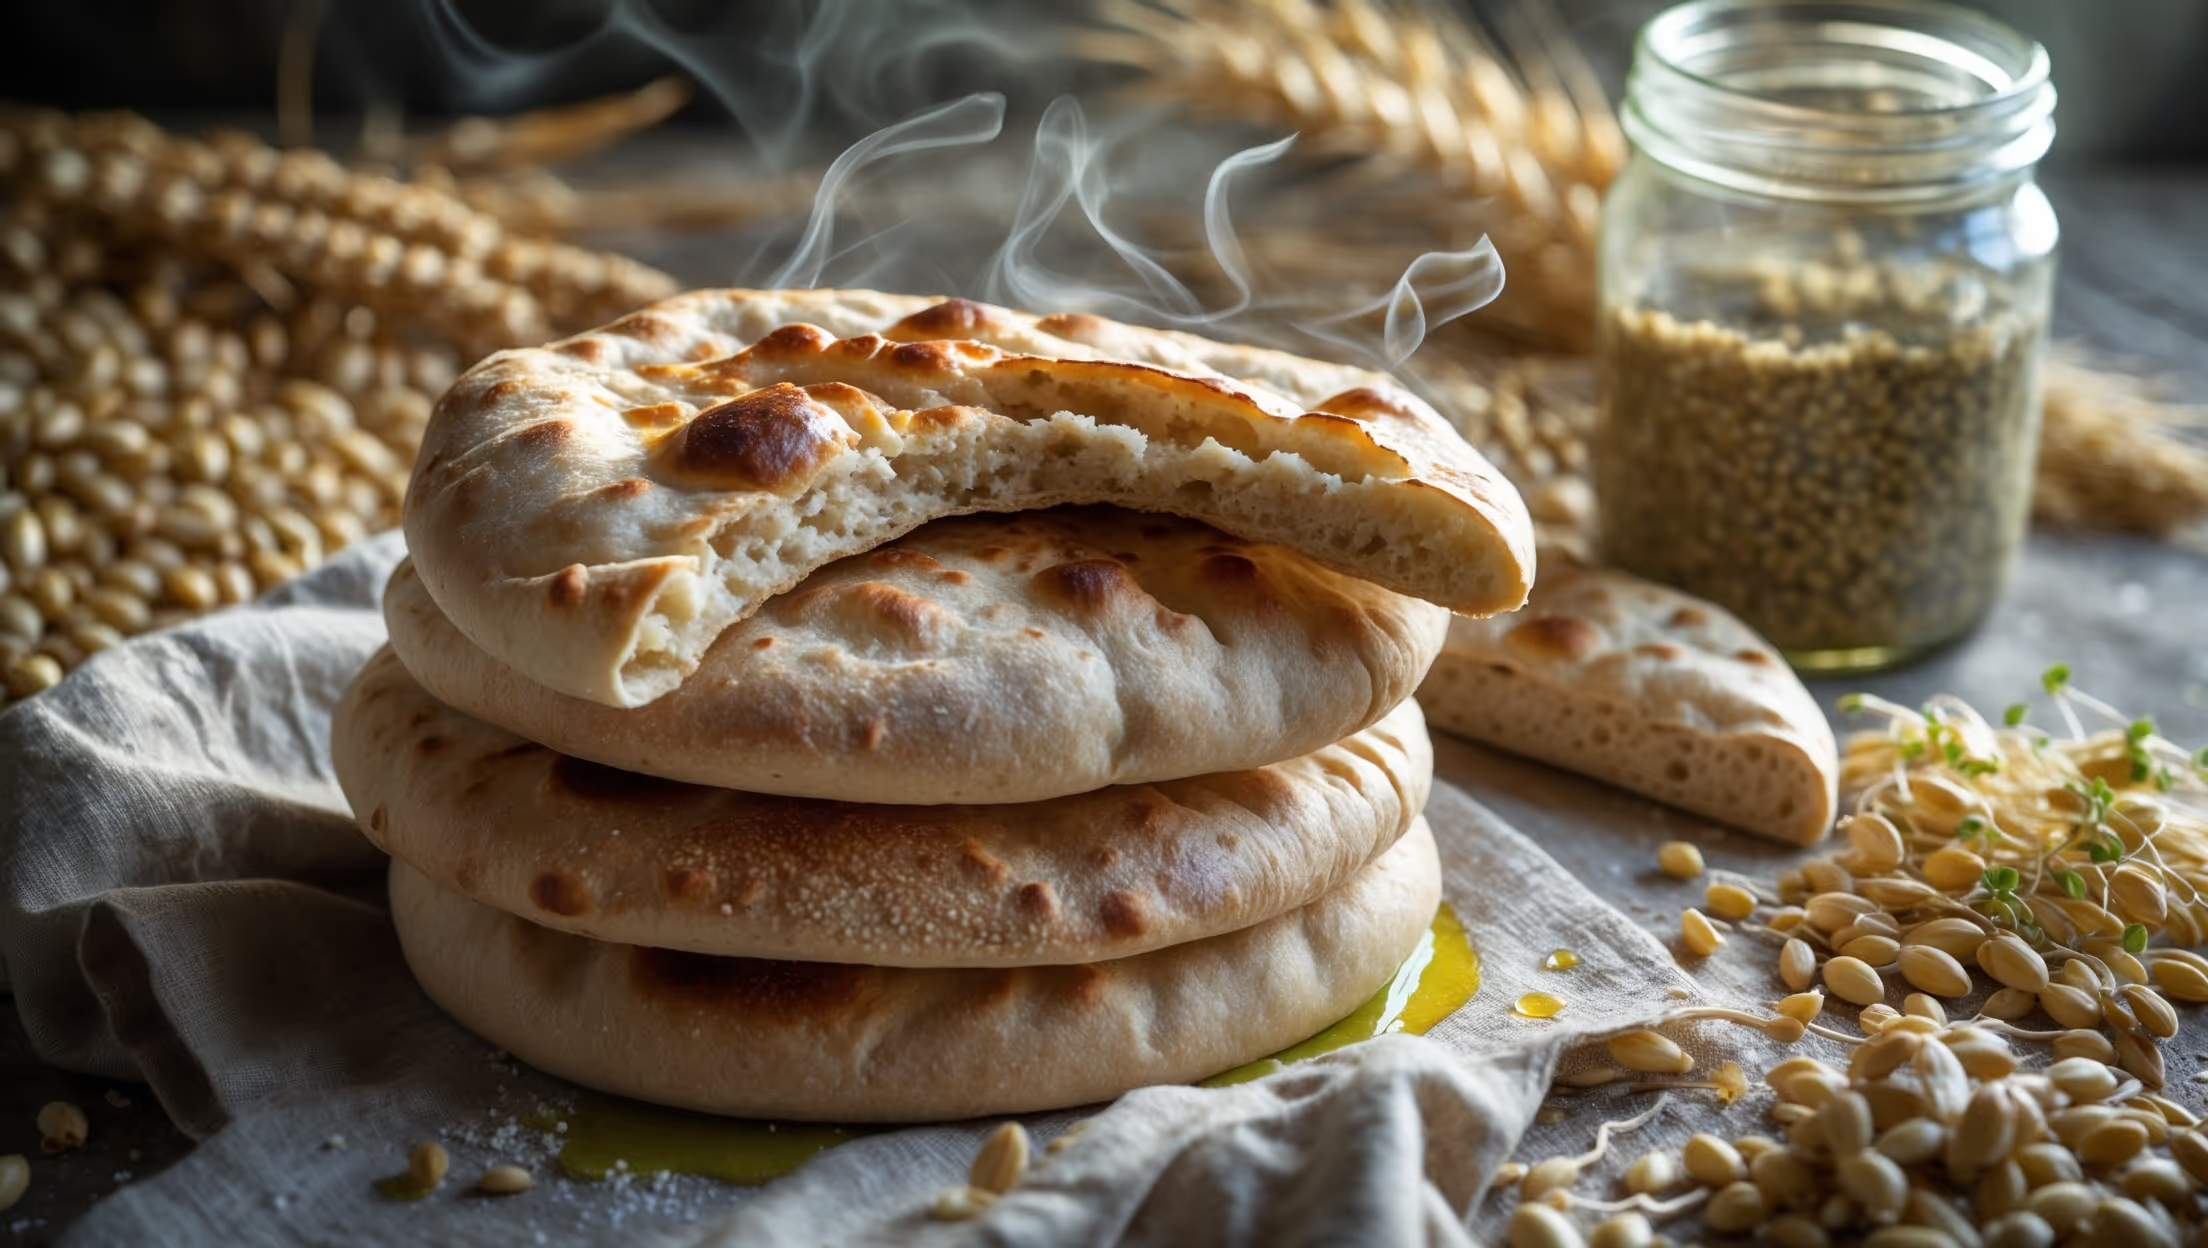
Tigelle requires basic pantry staples: all-purpose flour, lukewarm milk, unsalted butter, instant dry yeast, salt, sugar, and extra virgin olive oil. These simple ingredients combine to create authentic flatbreads with a crisp exterior and soft interior characteristic of this Emilia-Romagna specialty.
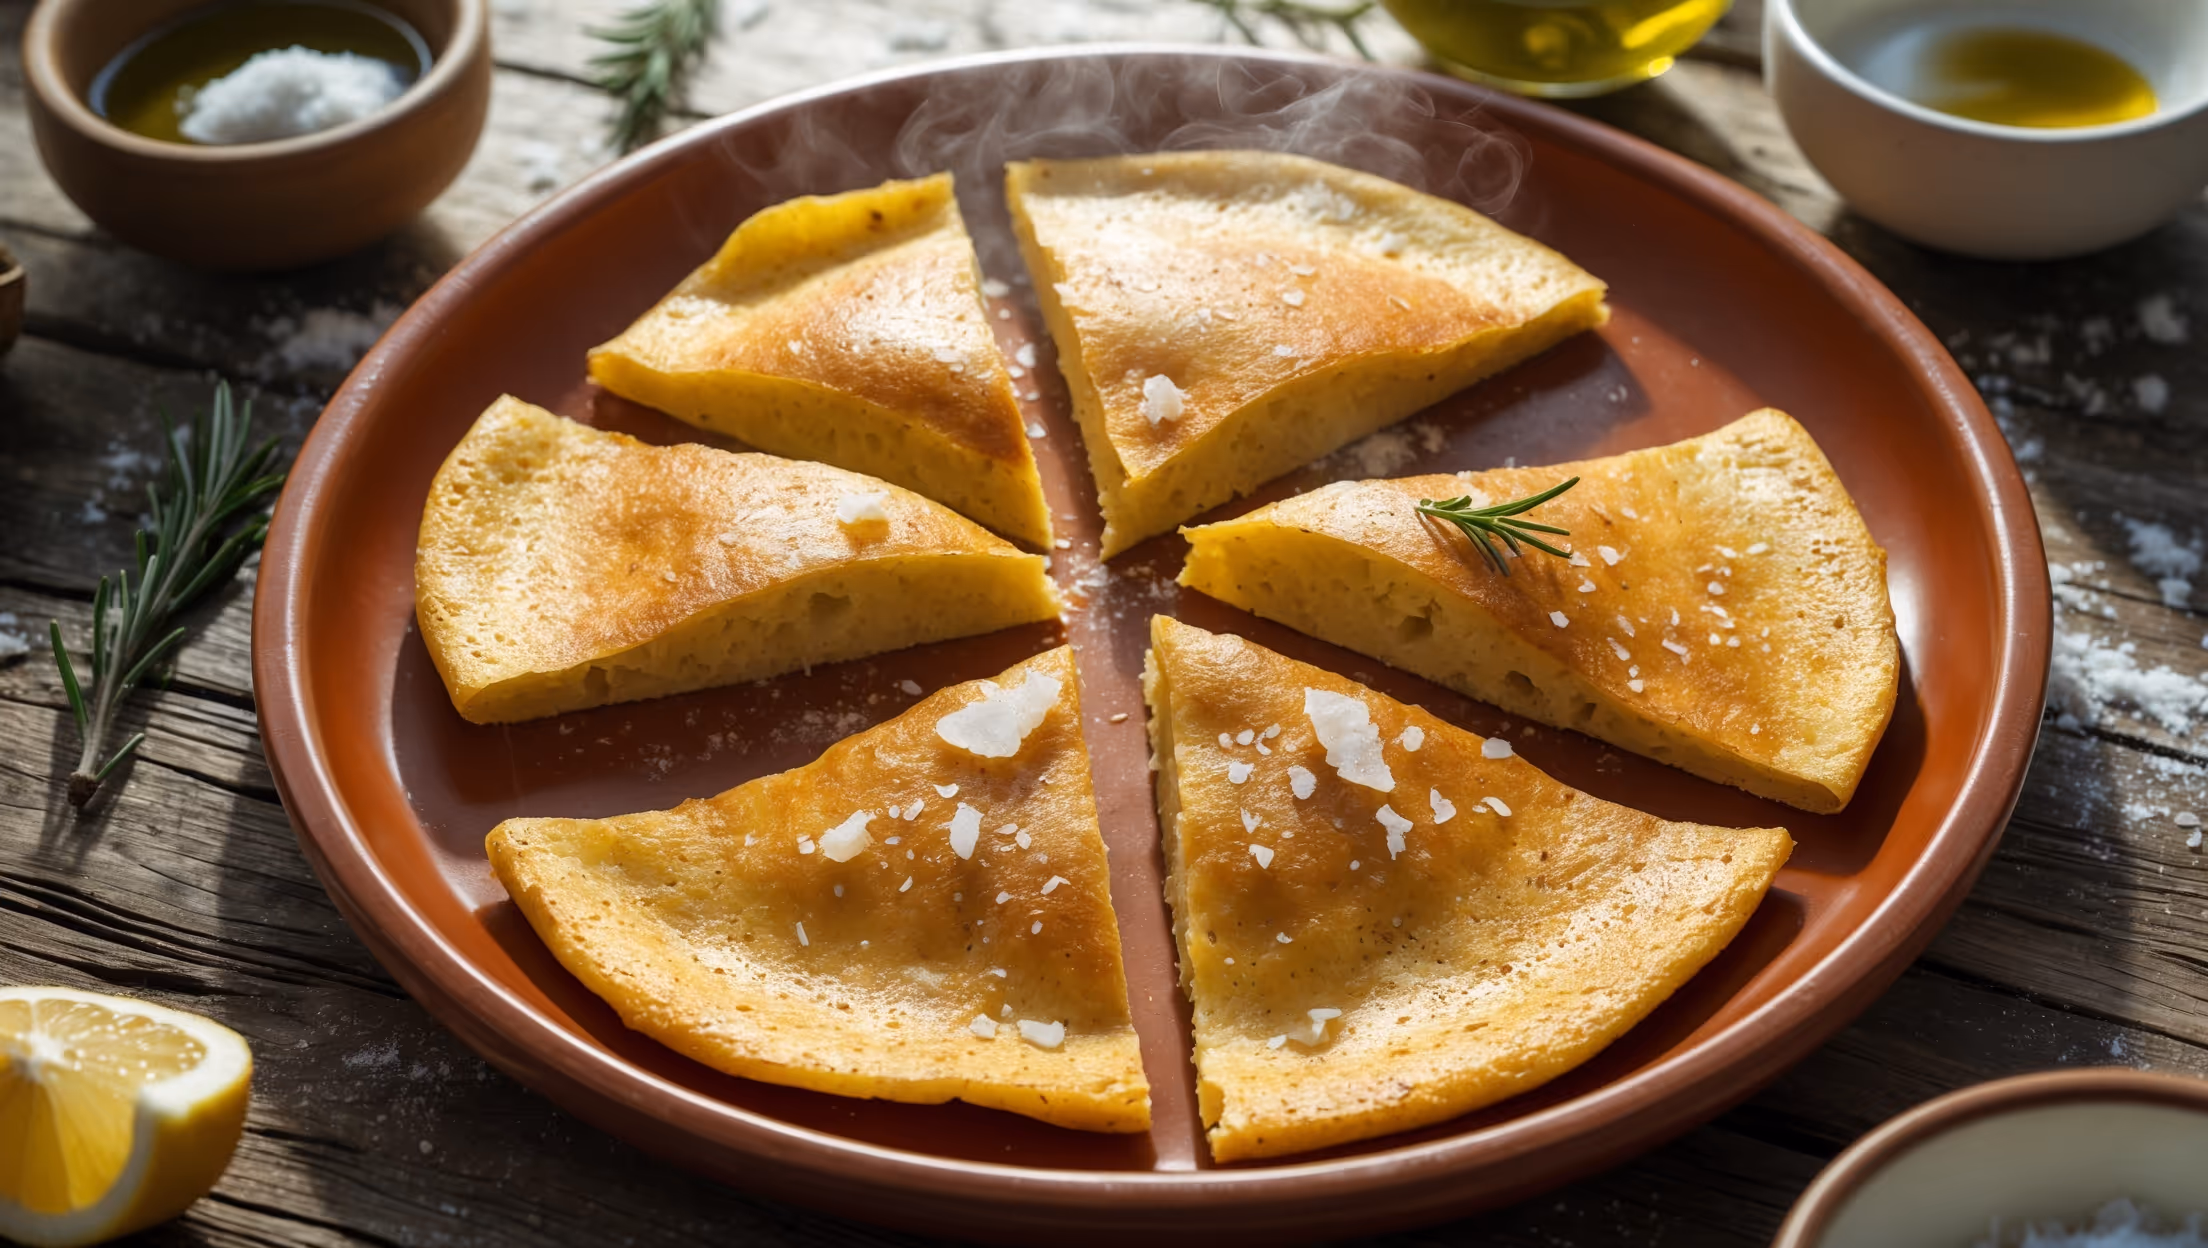
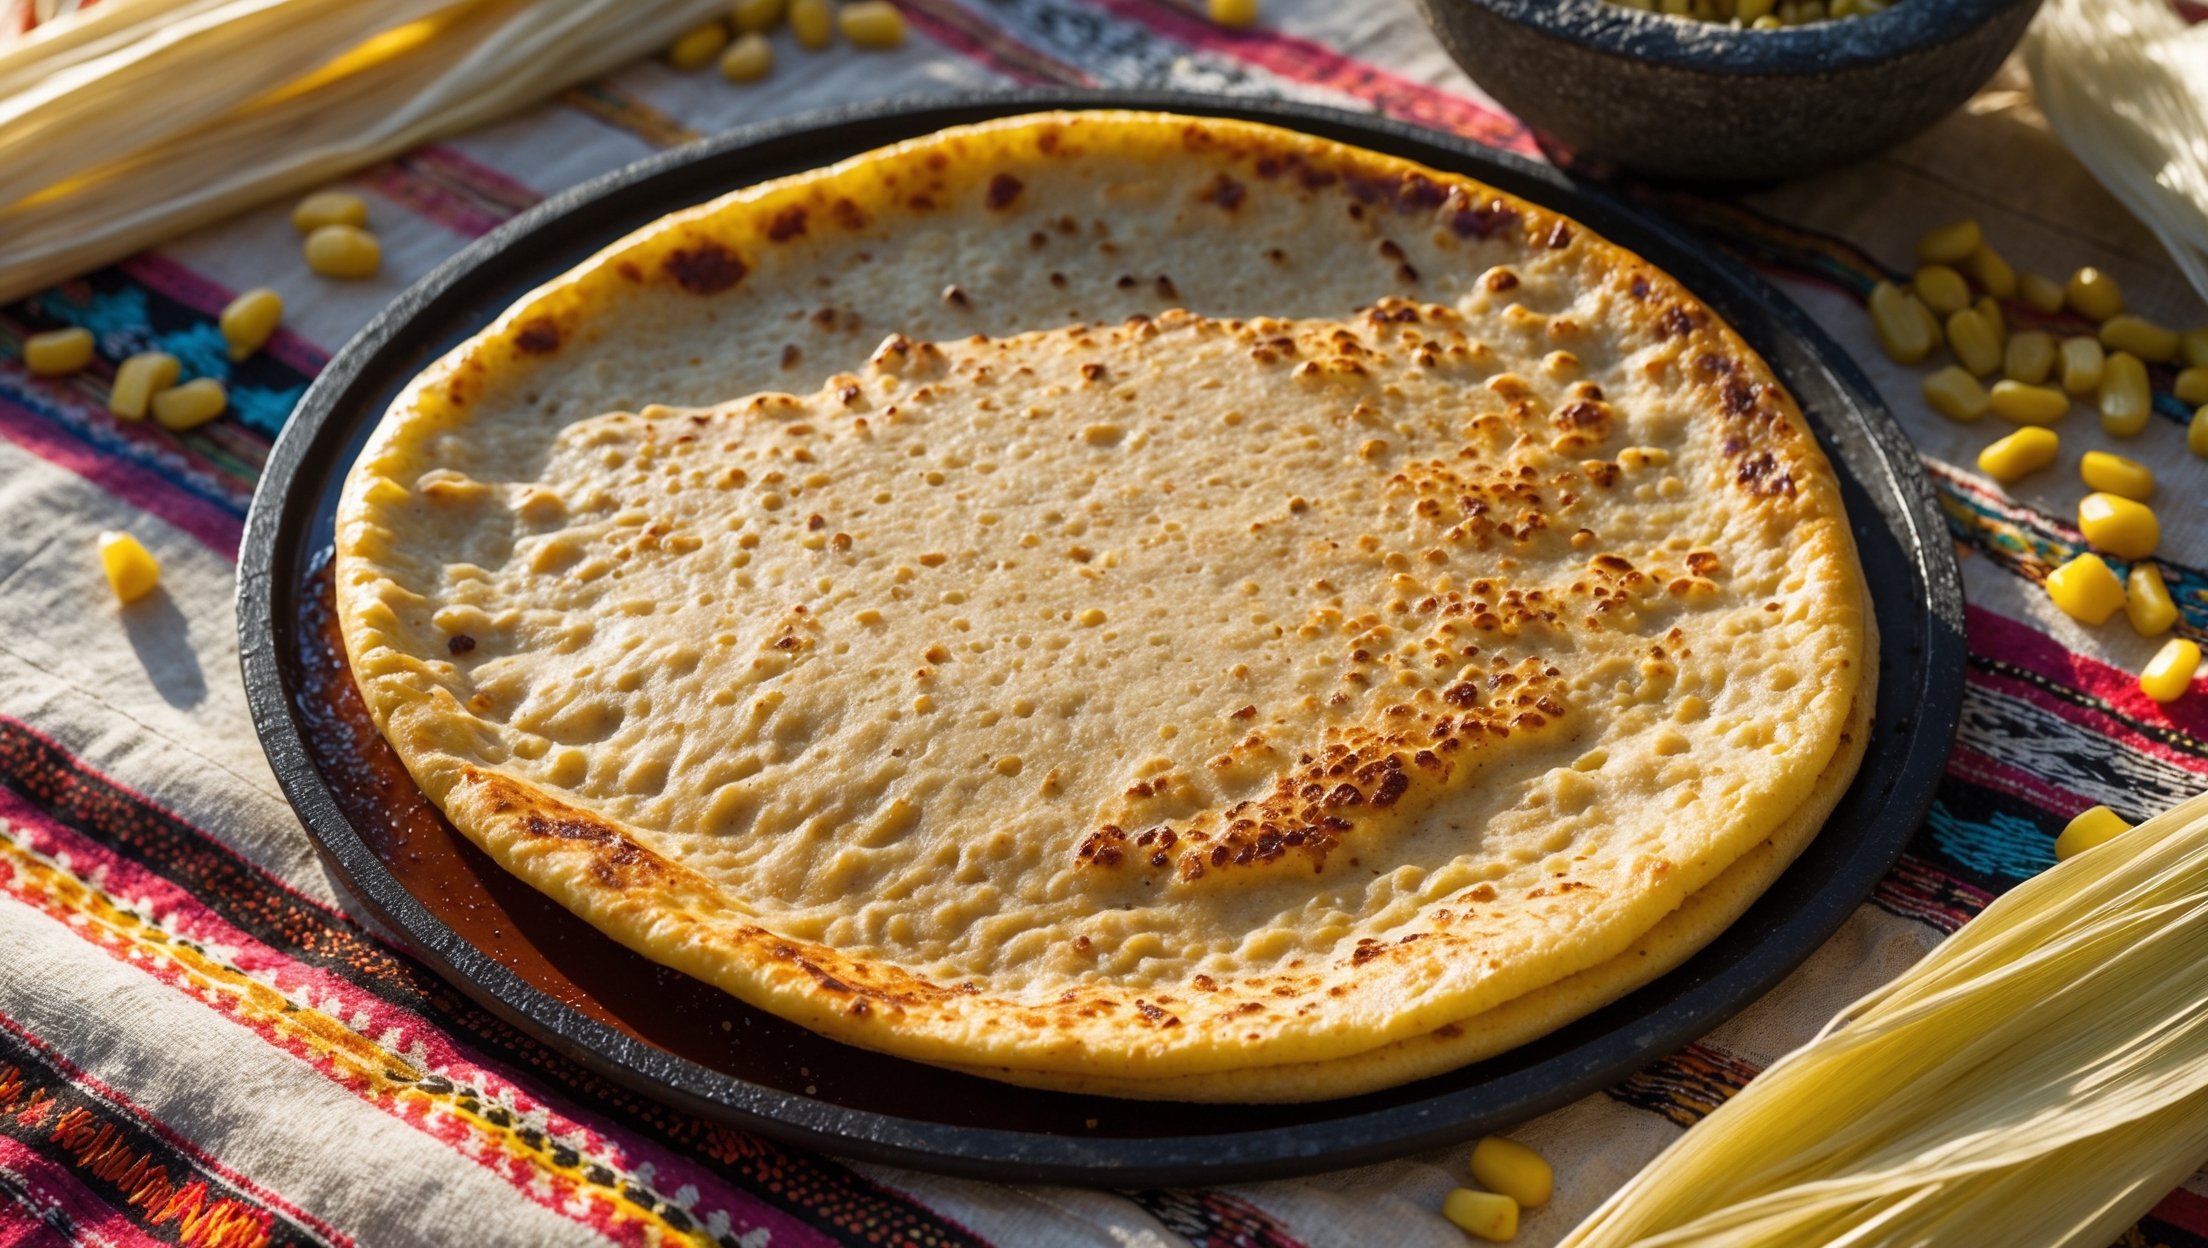
Learn how to cook Tigelle (Italian Flatbread) by preparing a yeasted dough, allowing it to rise, then cutting it into small discs. Cook these discs in a traditional tigelle iron or cast iron skillet until golden brown on both sides. The process creates perfectly puffed flatbreads with a crispy exterior and soft, pillowy interior that's ideal for serving with Italian cured meats and cheeses.
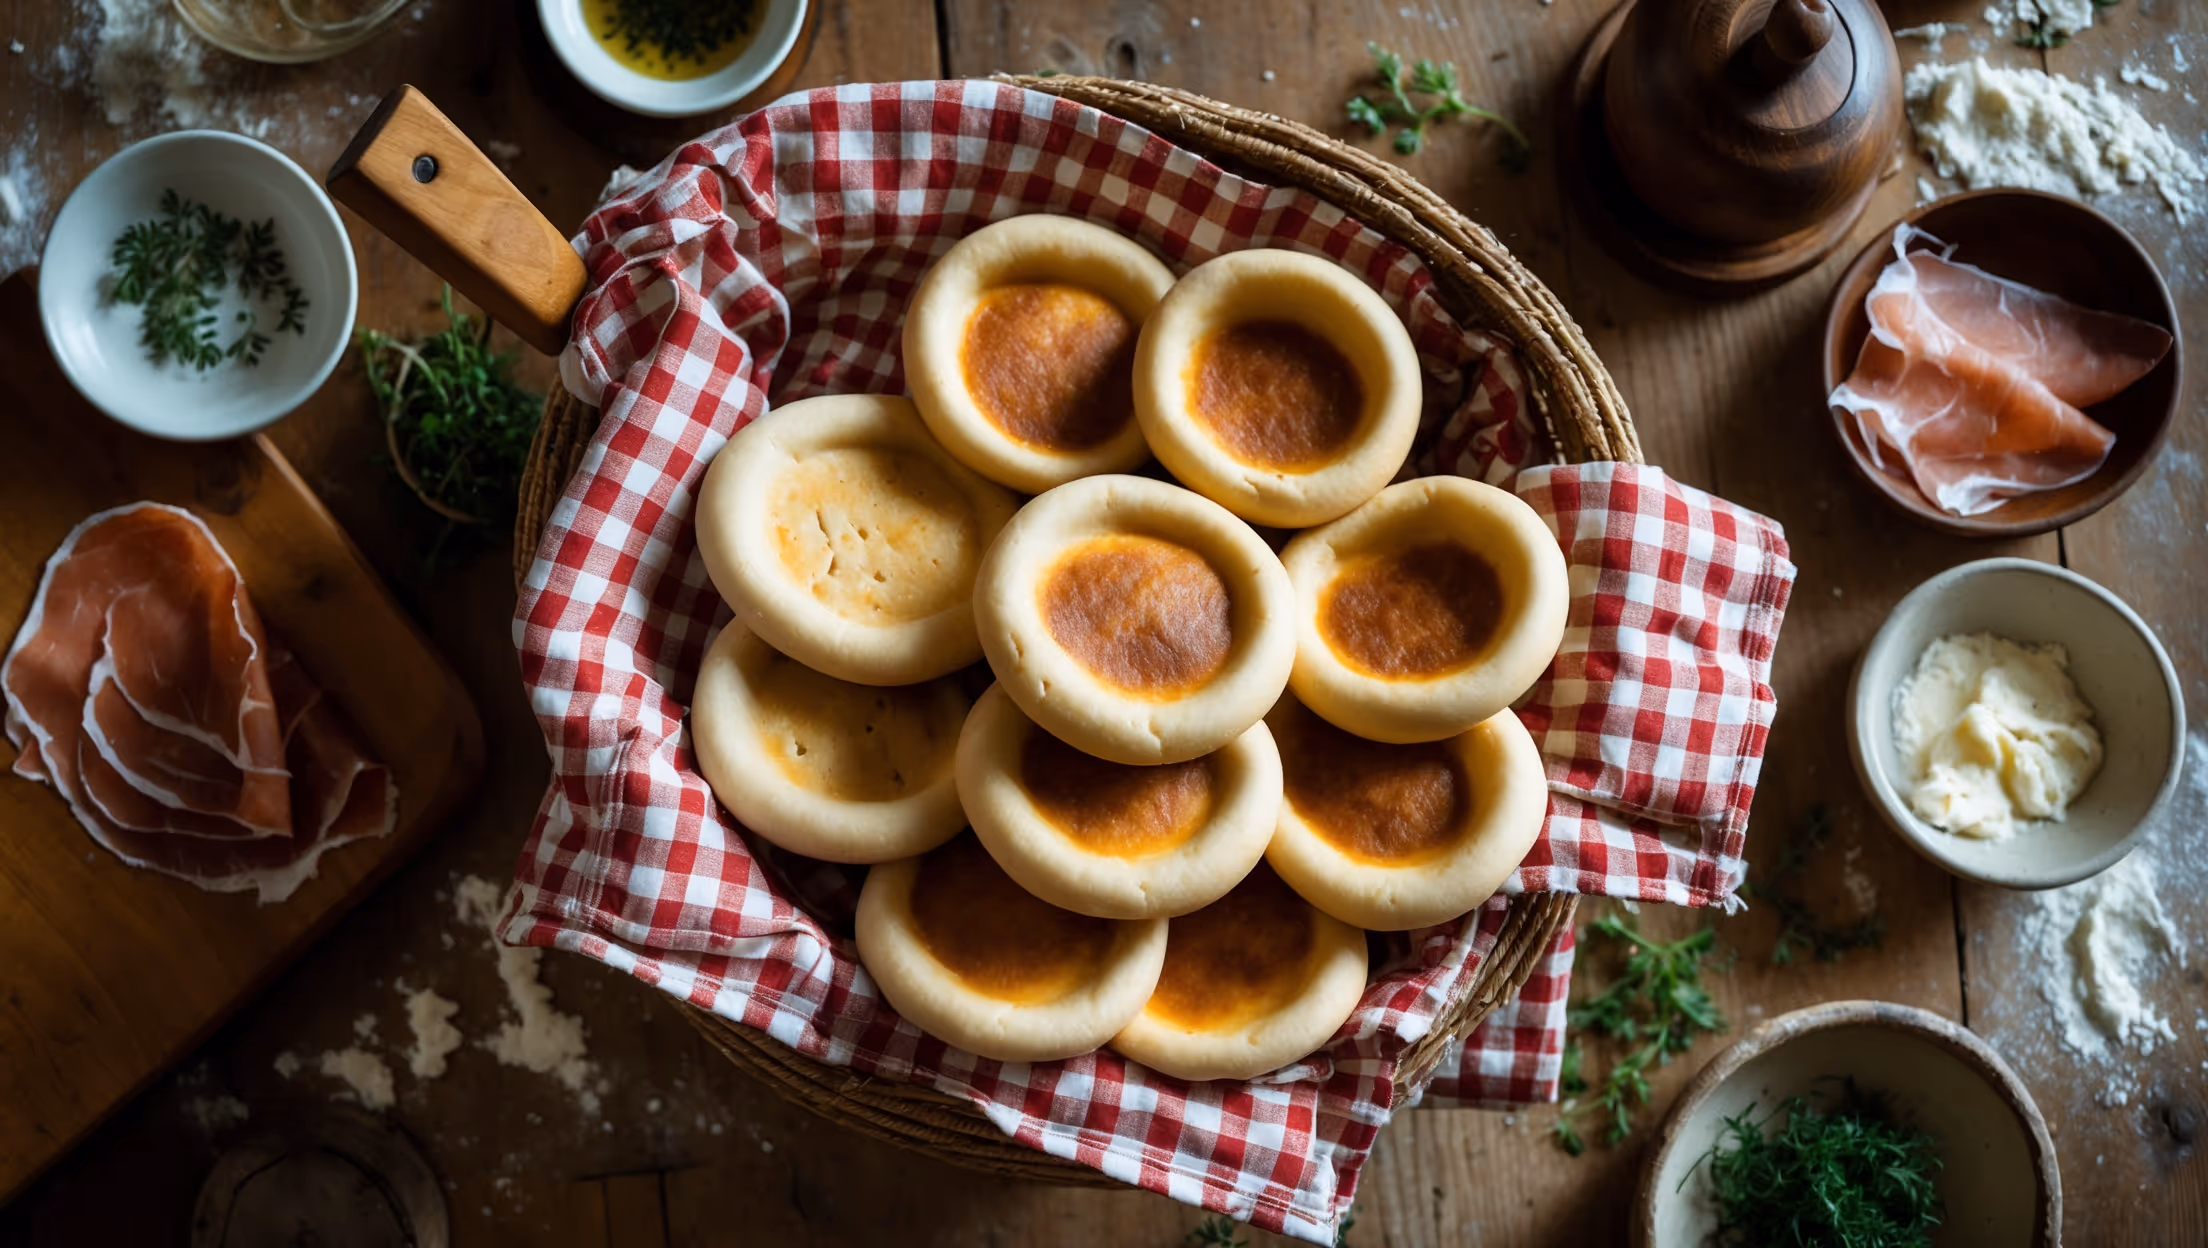
Traditionally, these flatbreads are split in half and filled with regional specialties from Emilia-Romagna. Classic fillings include prosciutto, salami, stracchino or squacquerone cheese, and cunza (a flavourful spread made of lard, garlic and rosemary). They're typically enjoyed as part of an antipasti spread.
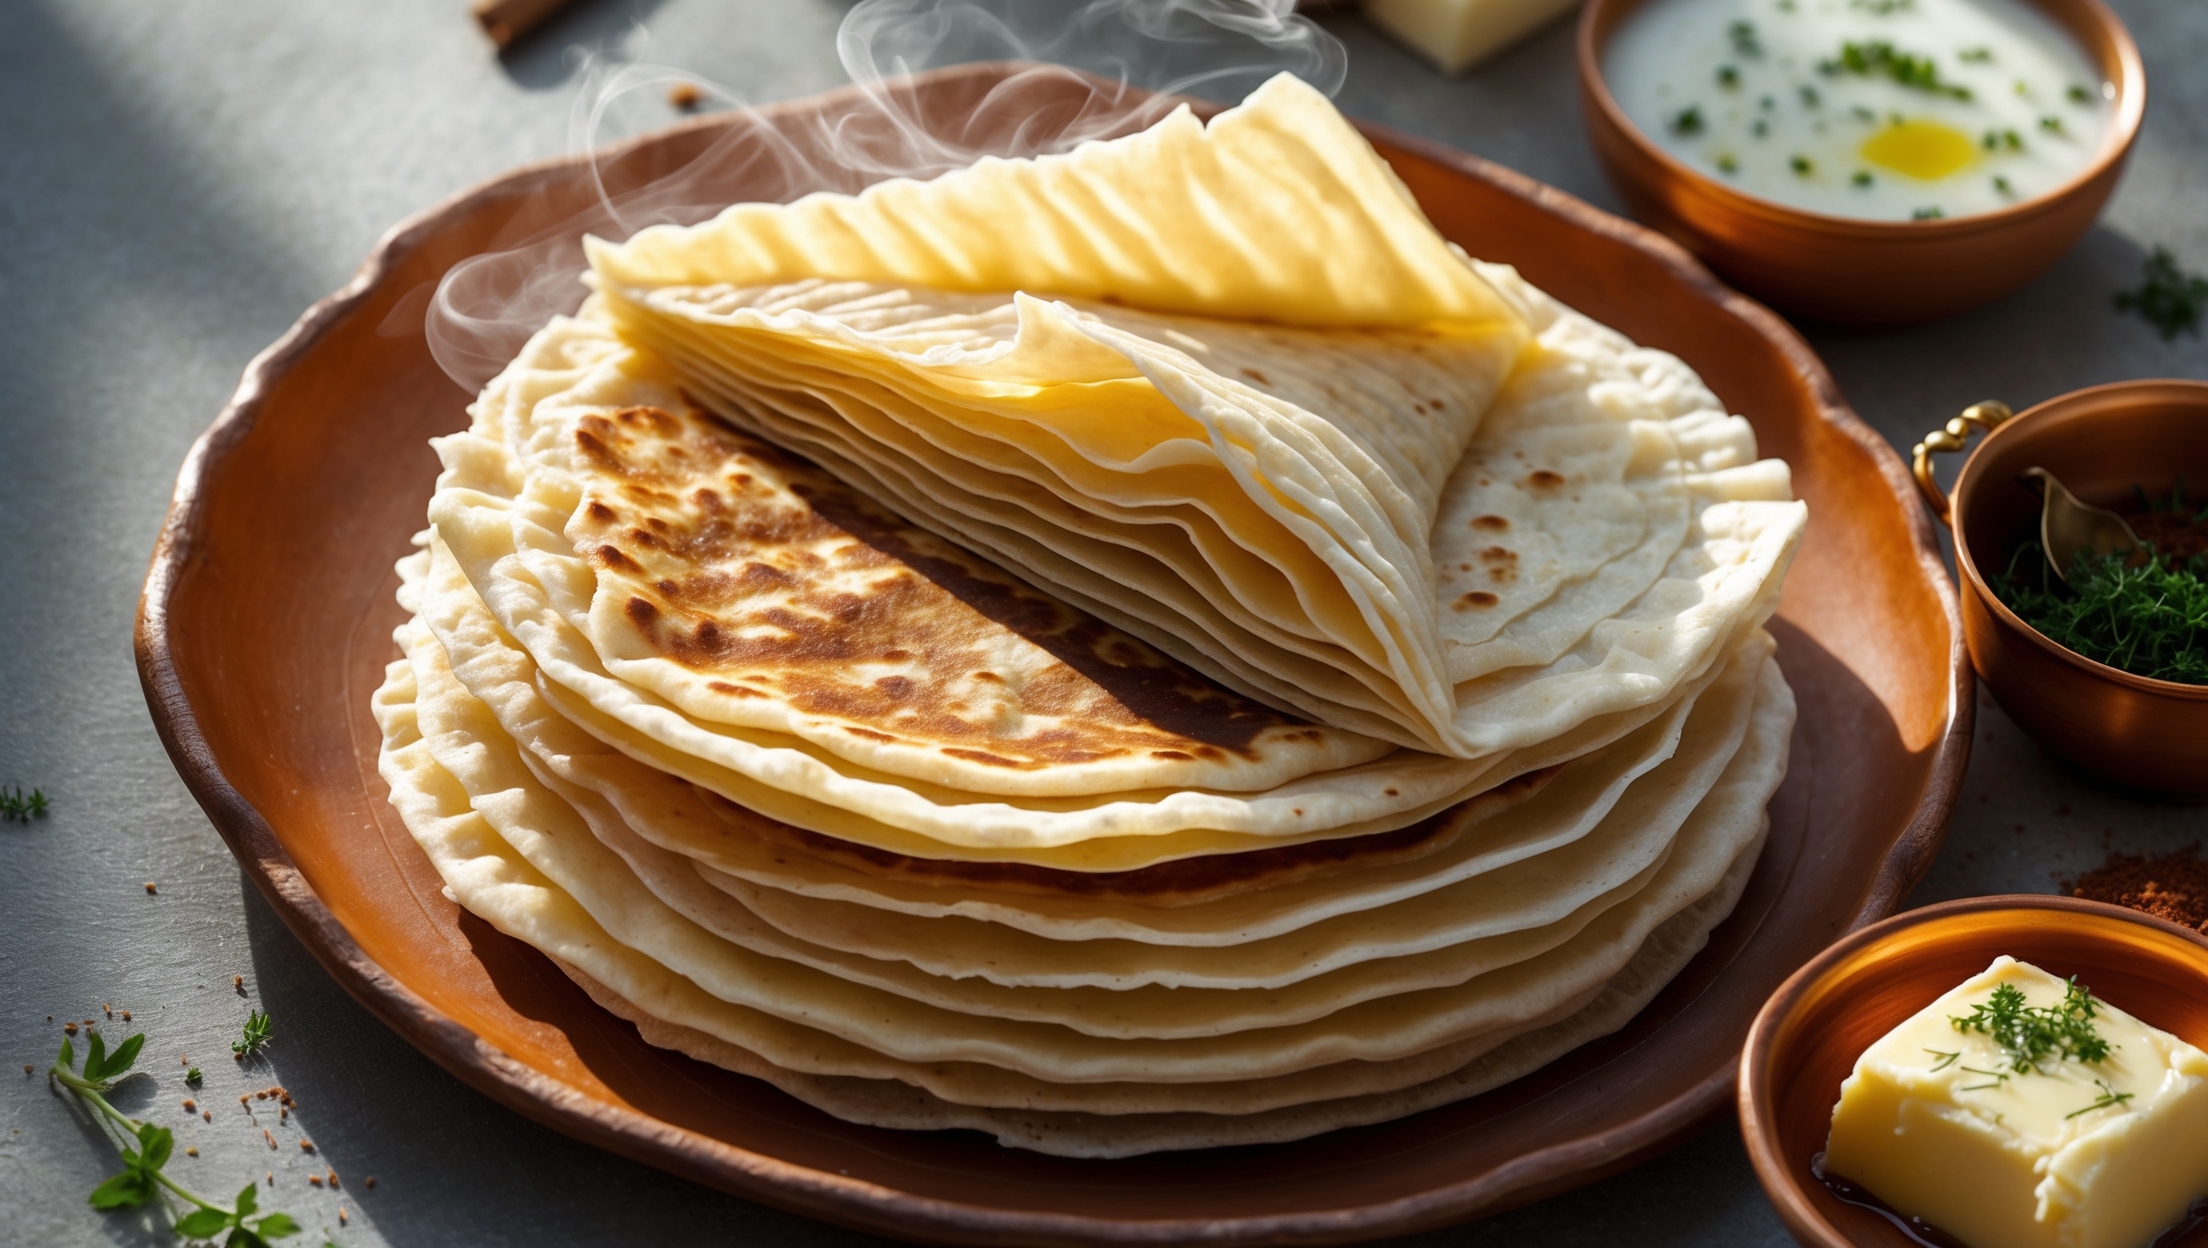
Yes! While a traditional tigelle iron creates the authentic pattern and perfect thickness, you can achieve excellent results using a heavy-bottomed cast iron skillet. Simply cook the dough discs for 2-3 minutes per side, applying gentle pressure with a spatula to ensure even cooking and the characteristic puffing.
Homemade tigelle remain fresh for 2-3 days when stored in an airtight container at room temperature. For longer storage, freeze them for up to a month. To refresh before serving, simply warm them briefly in a low oven or toast lightly to restore their delightful contrast of crispy exterior and soft interior.
Flatbreads
Try following recommended recipes