Slow-Fermented Sourdough Pita with Sprouted Grains Recipe
Ingredients
Equipment
Directions
FAQs
Find answers to your most pressing questions about this delicious recipe right here.
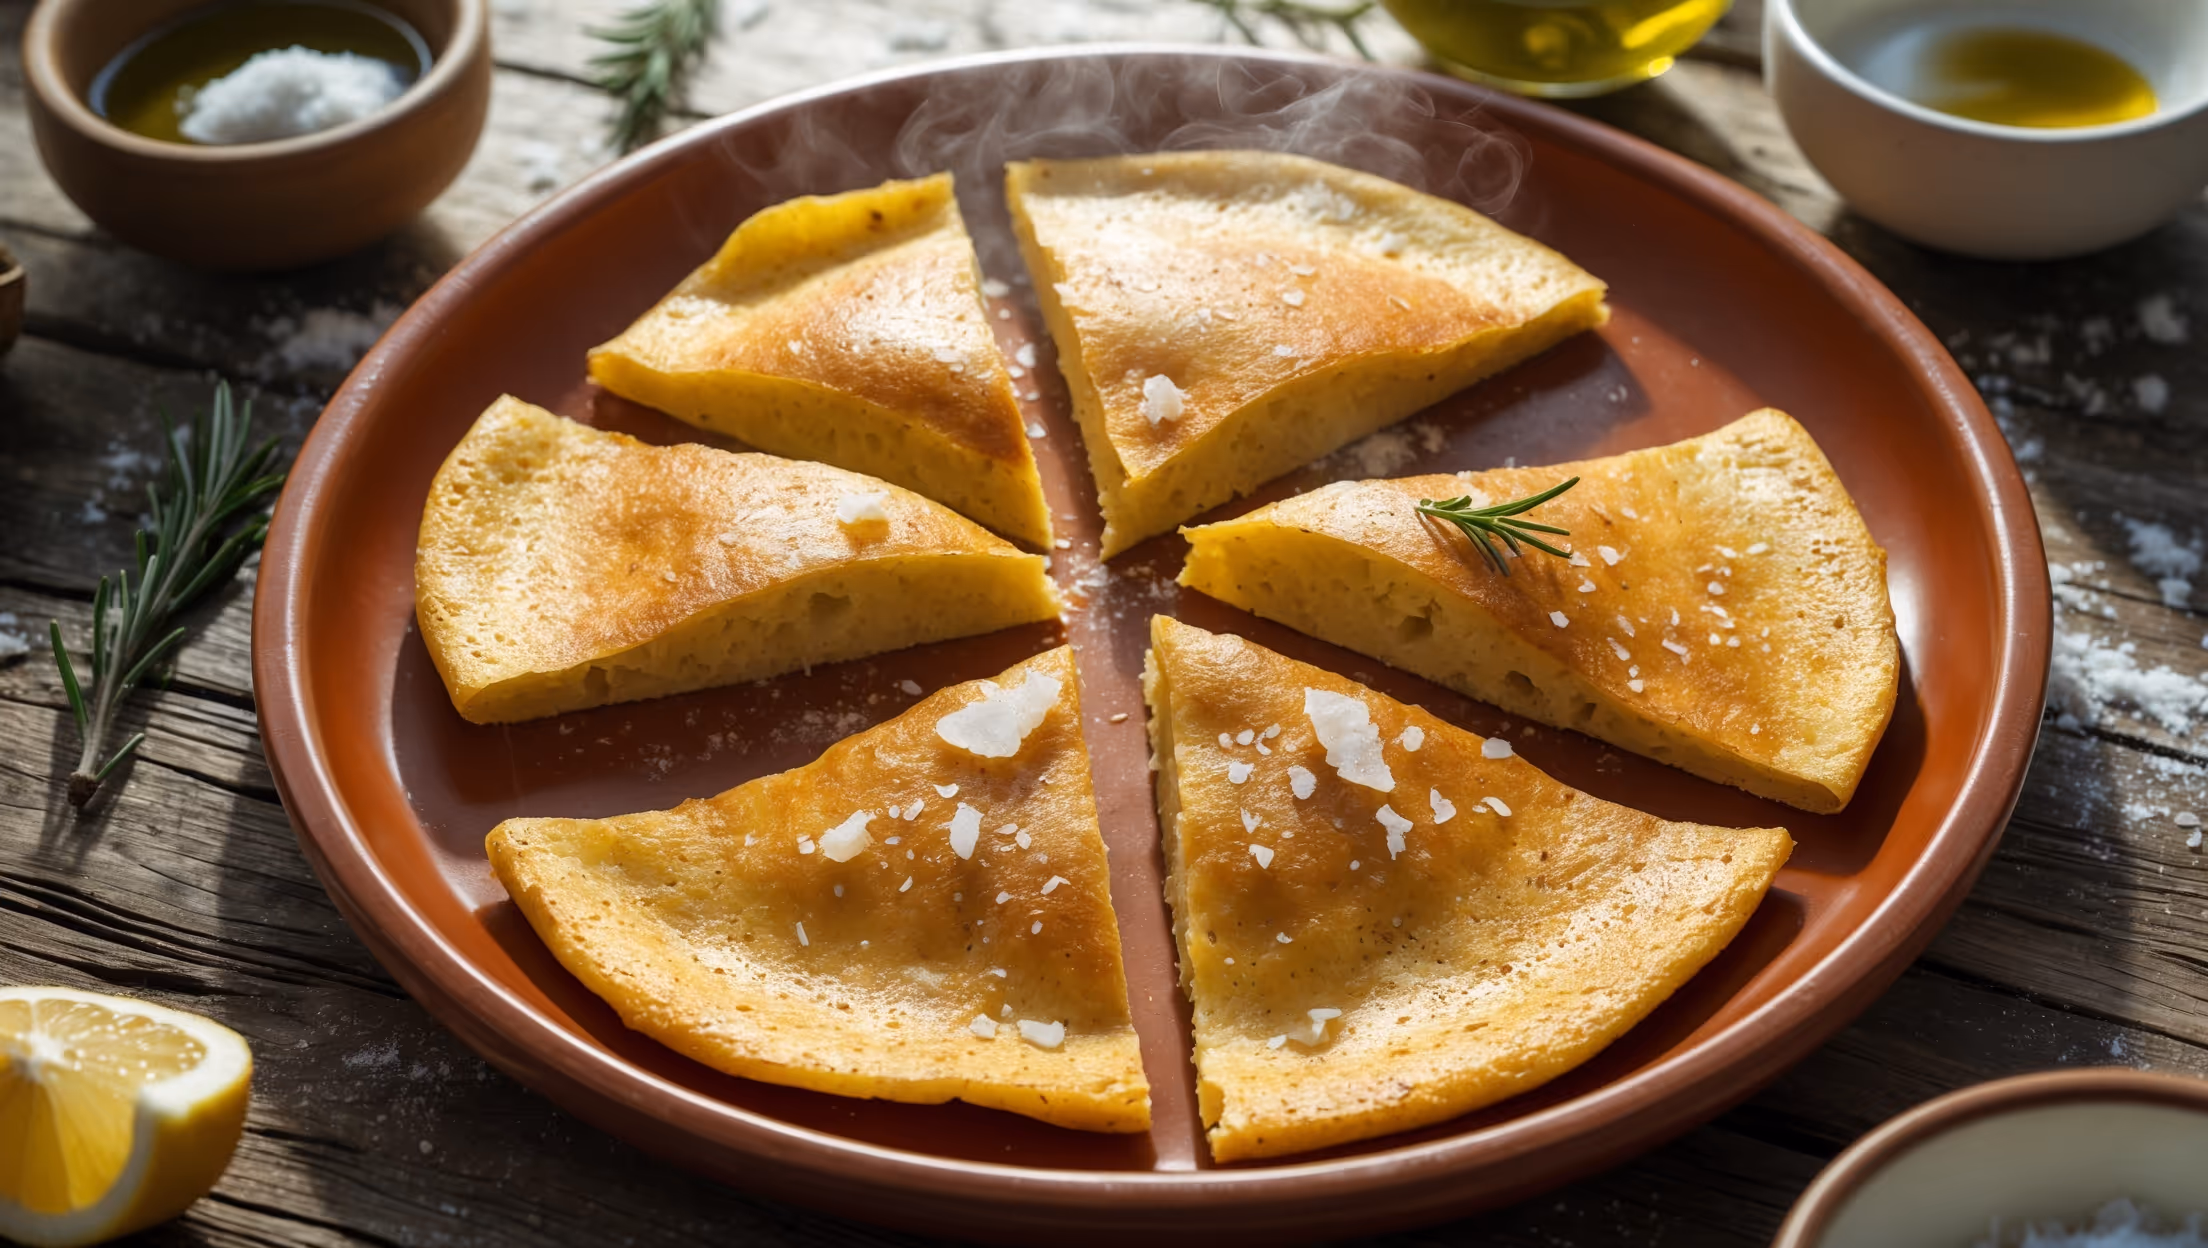
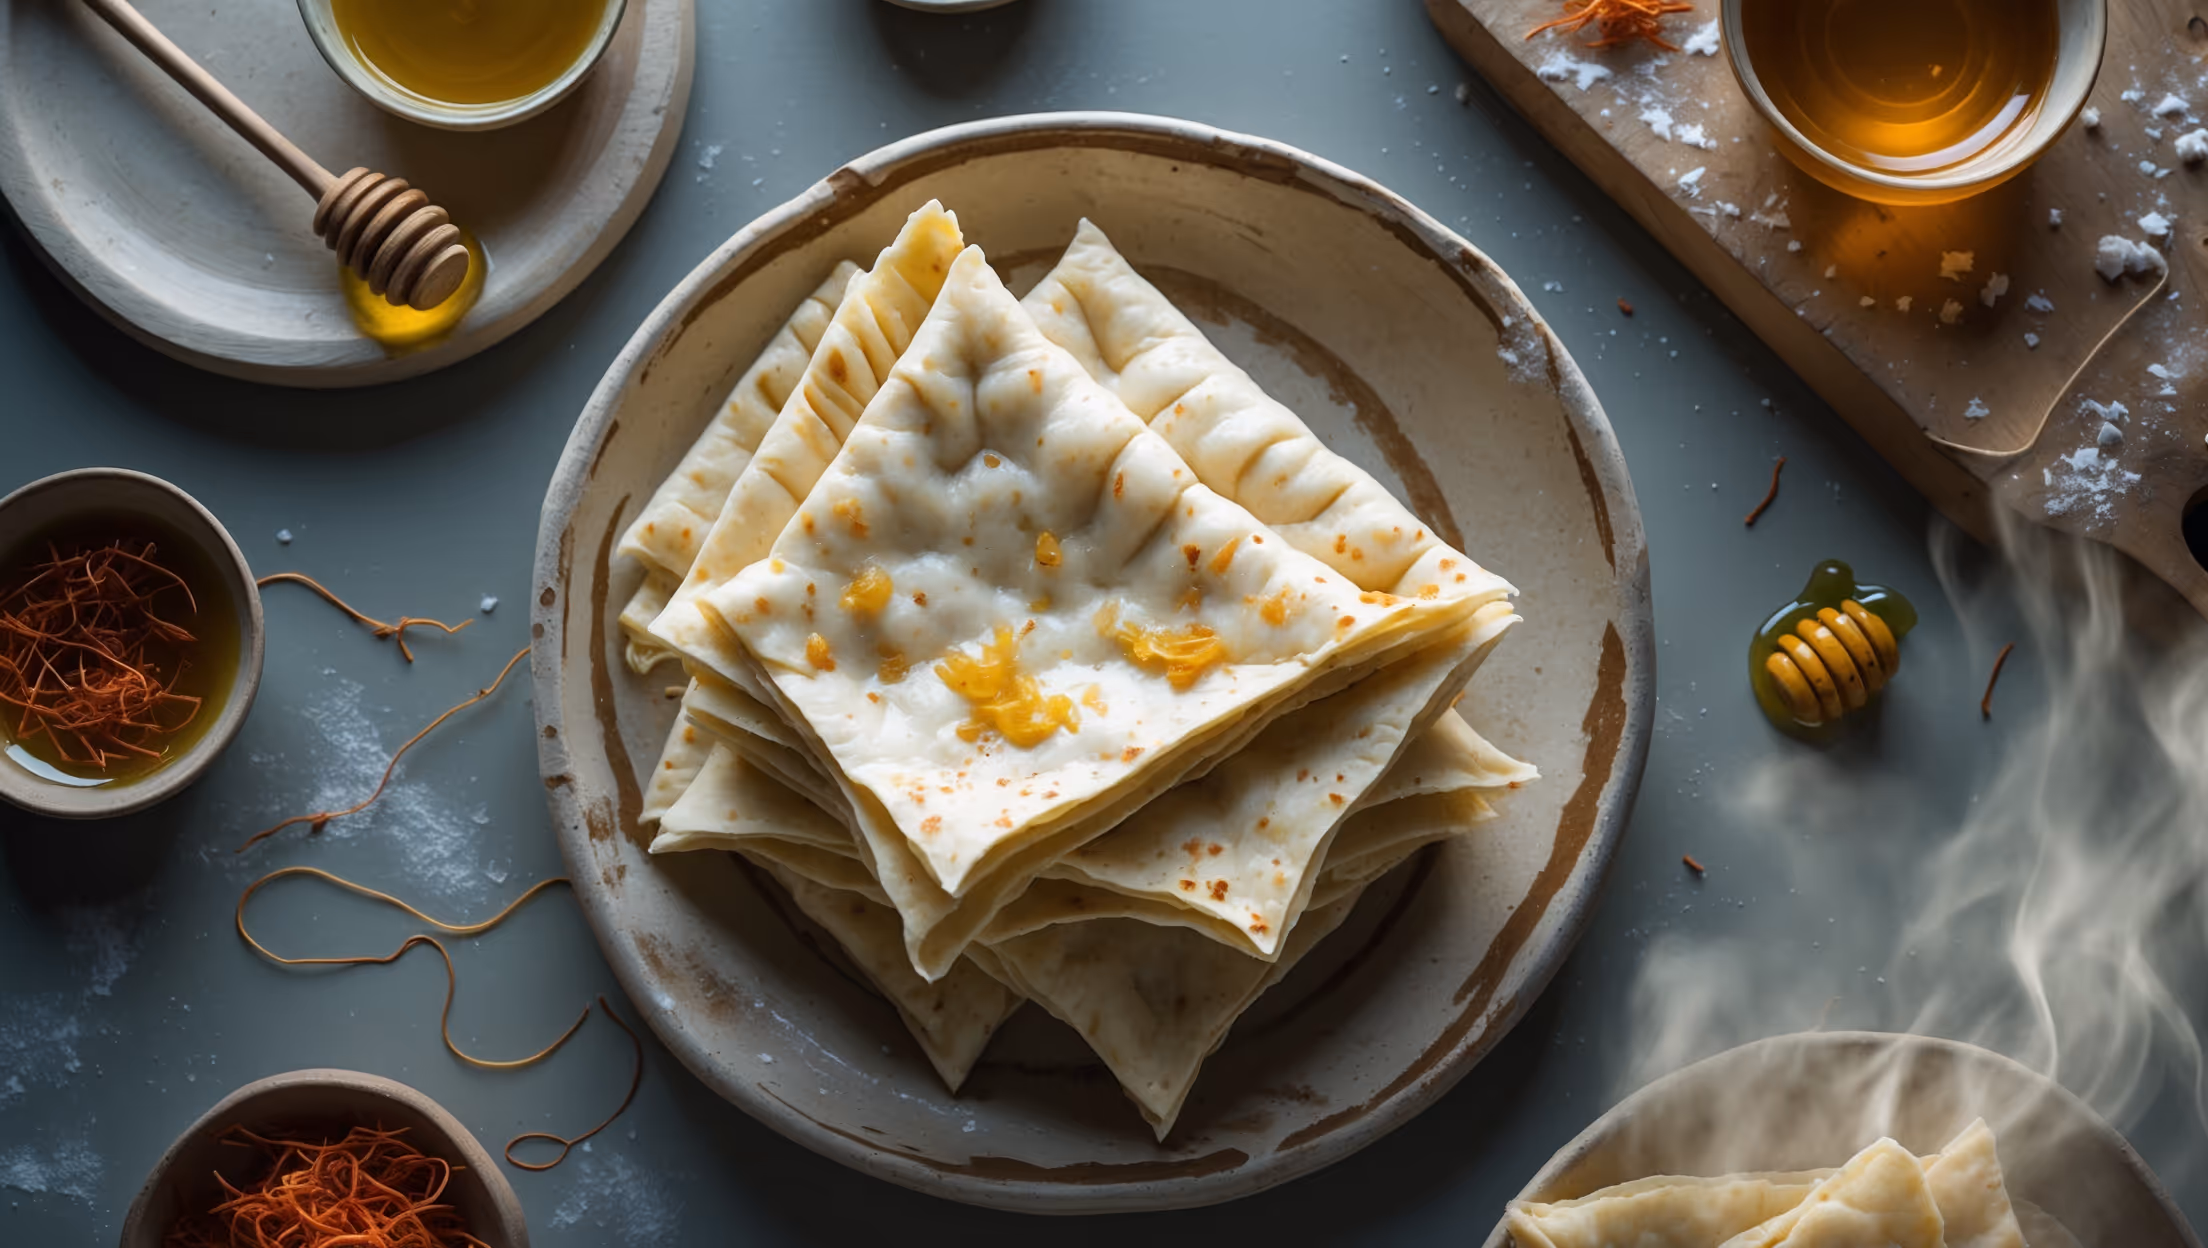
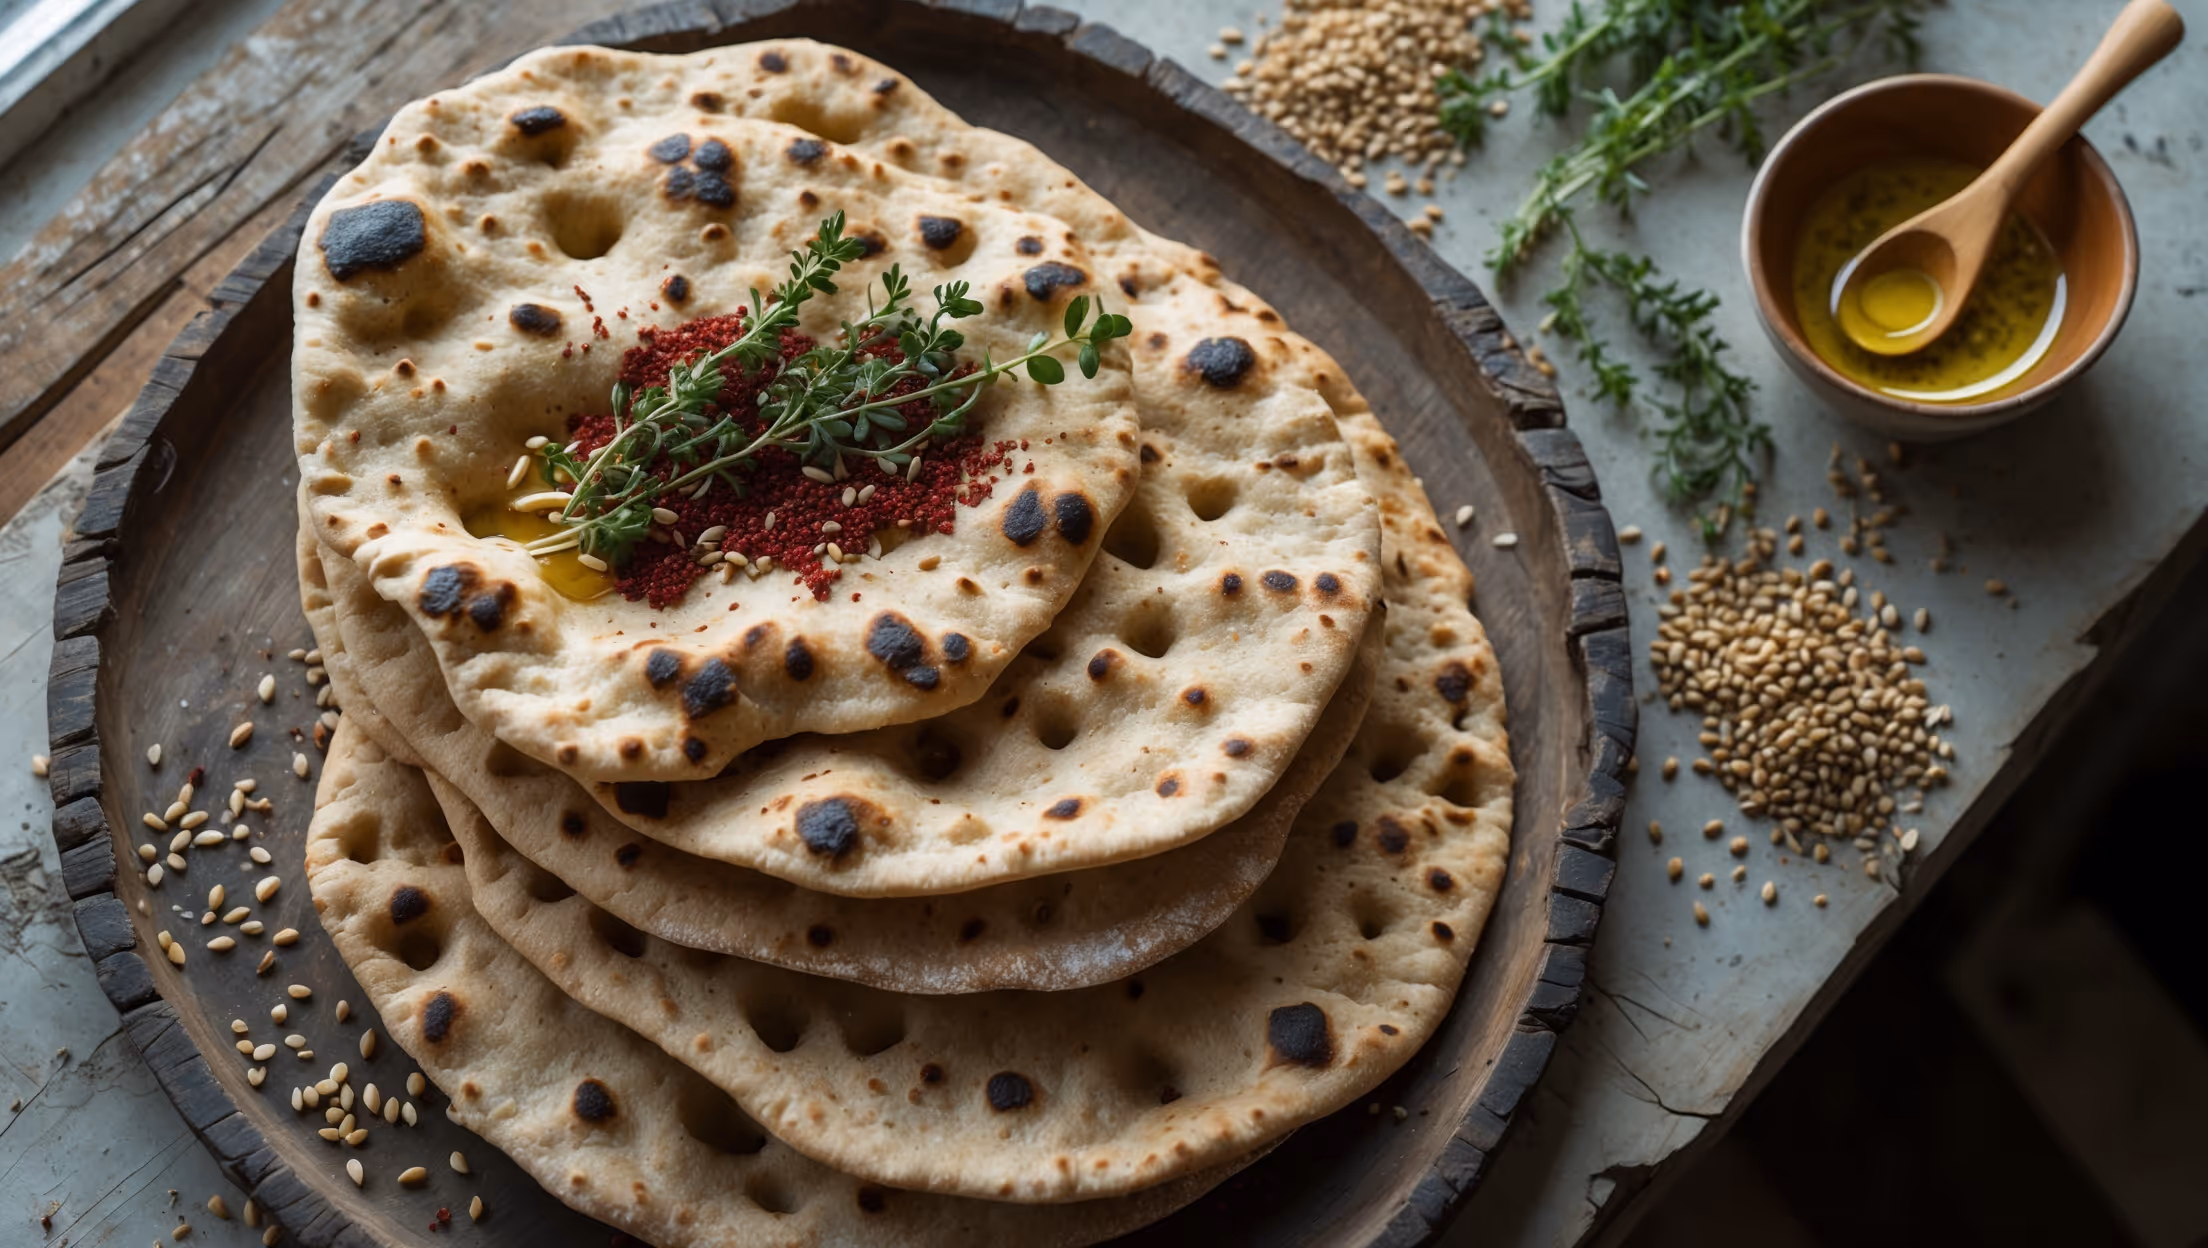
This artisanal pita requires active sourdough starter, bread flour, sprouted wheat flour, sprouted grains, filtered water, salt, olive oil, and optional honey. The combination of standard and sprouted flours creates a nutritionally rich bread with complex flavour.
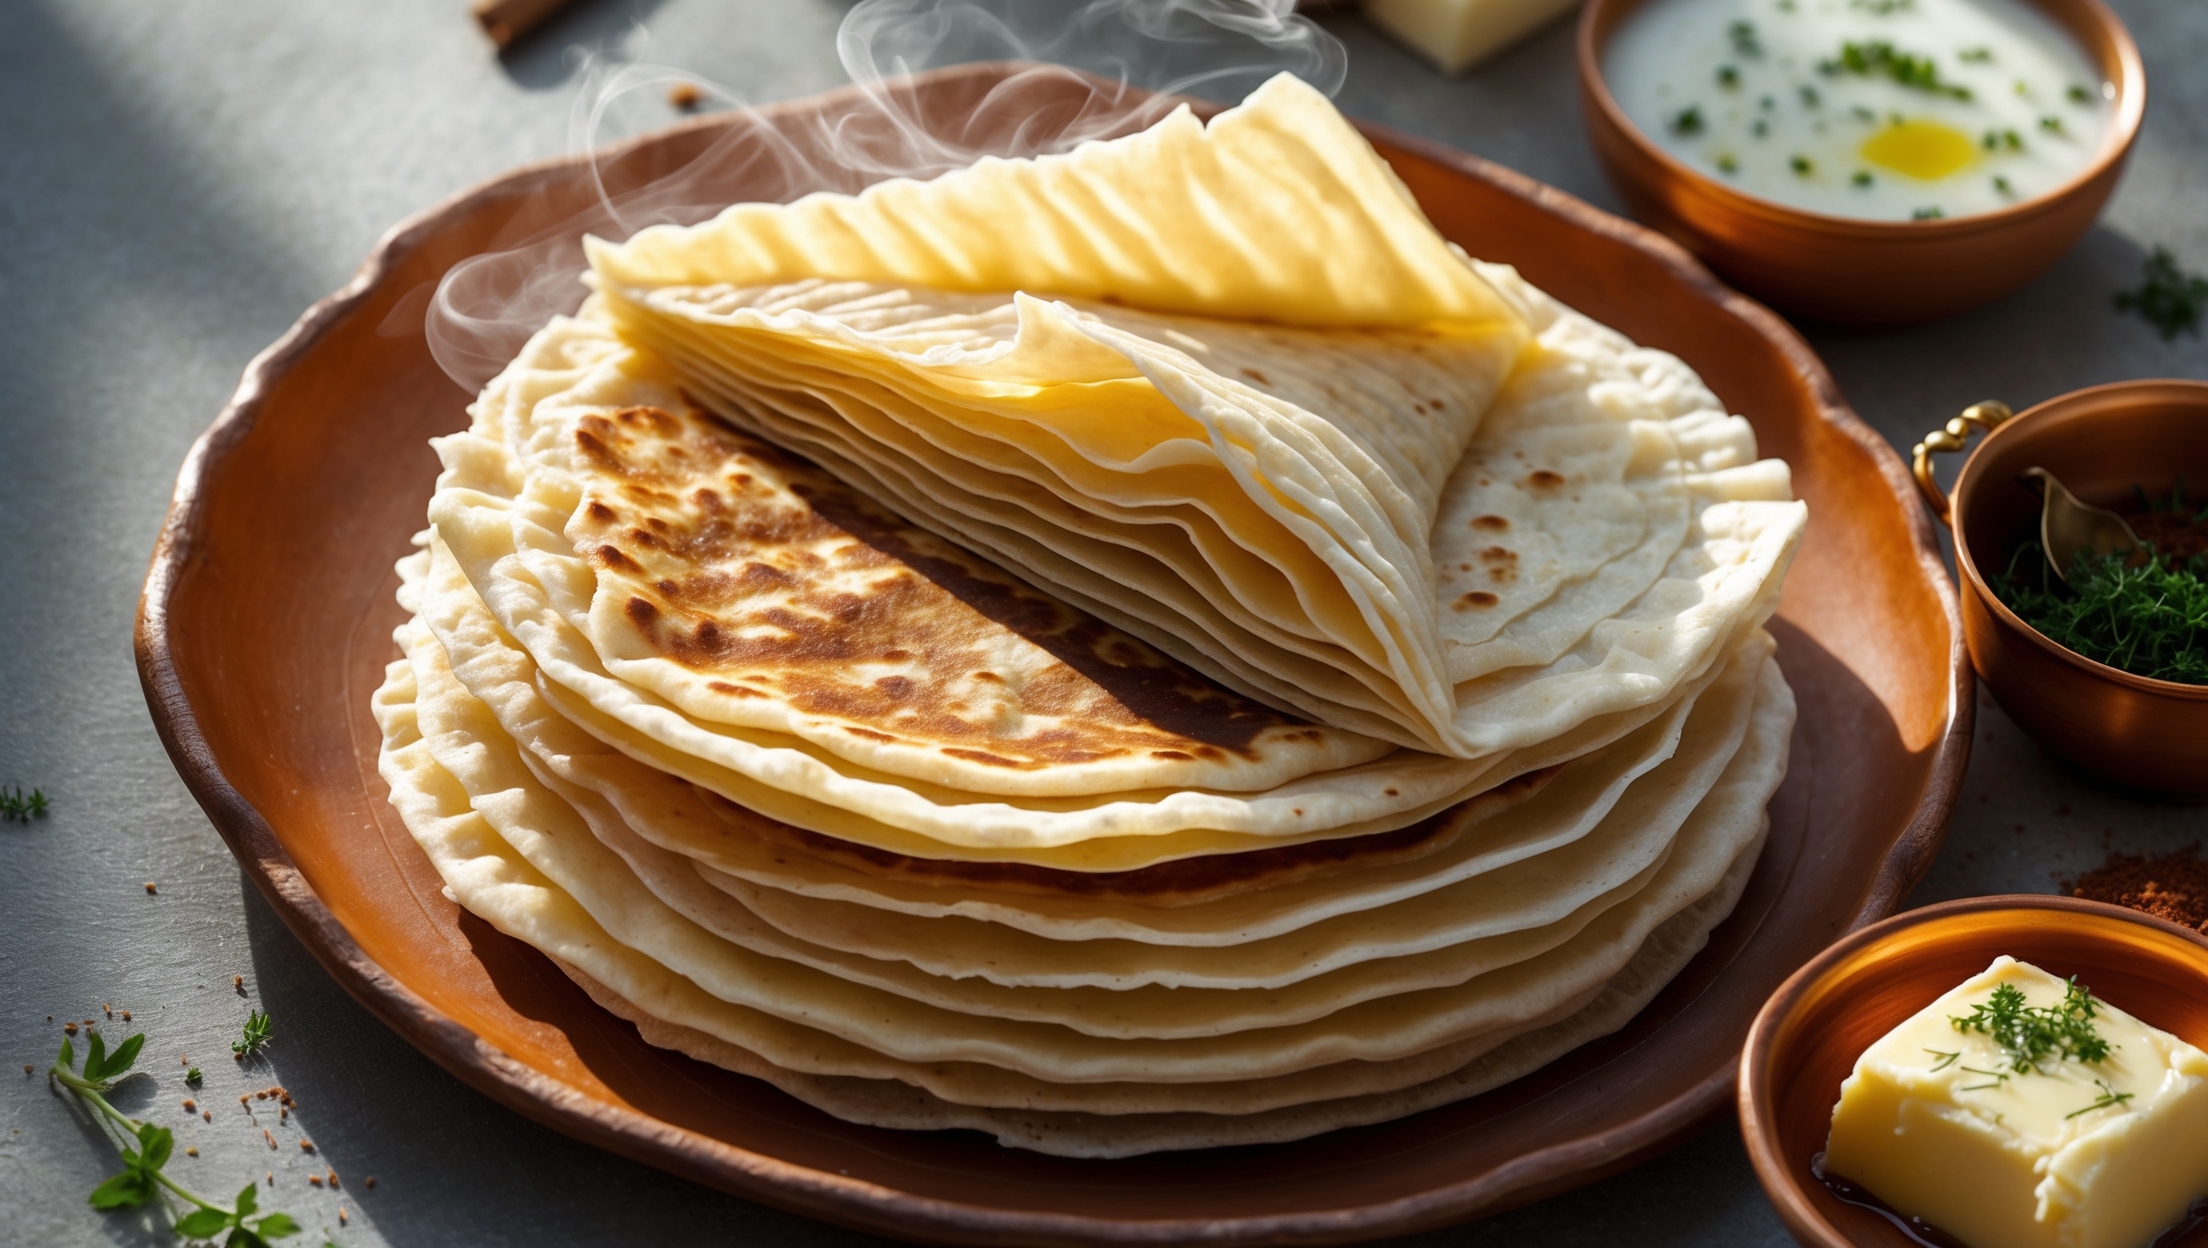
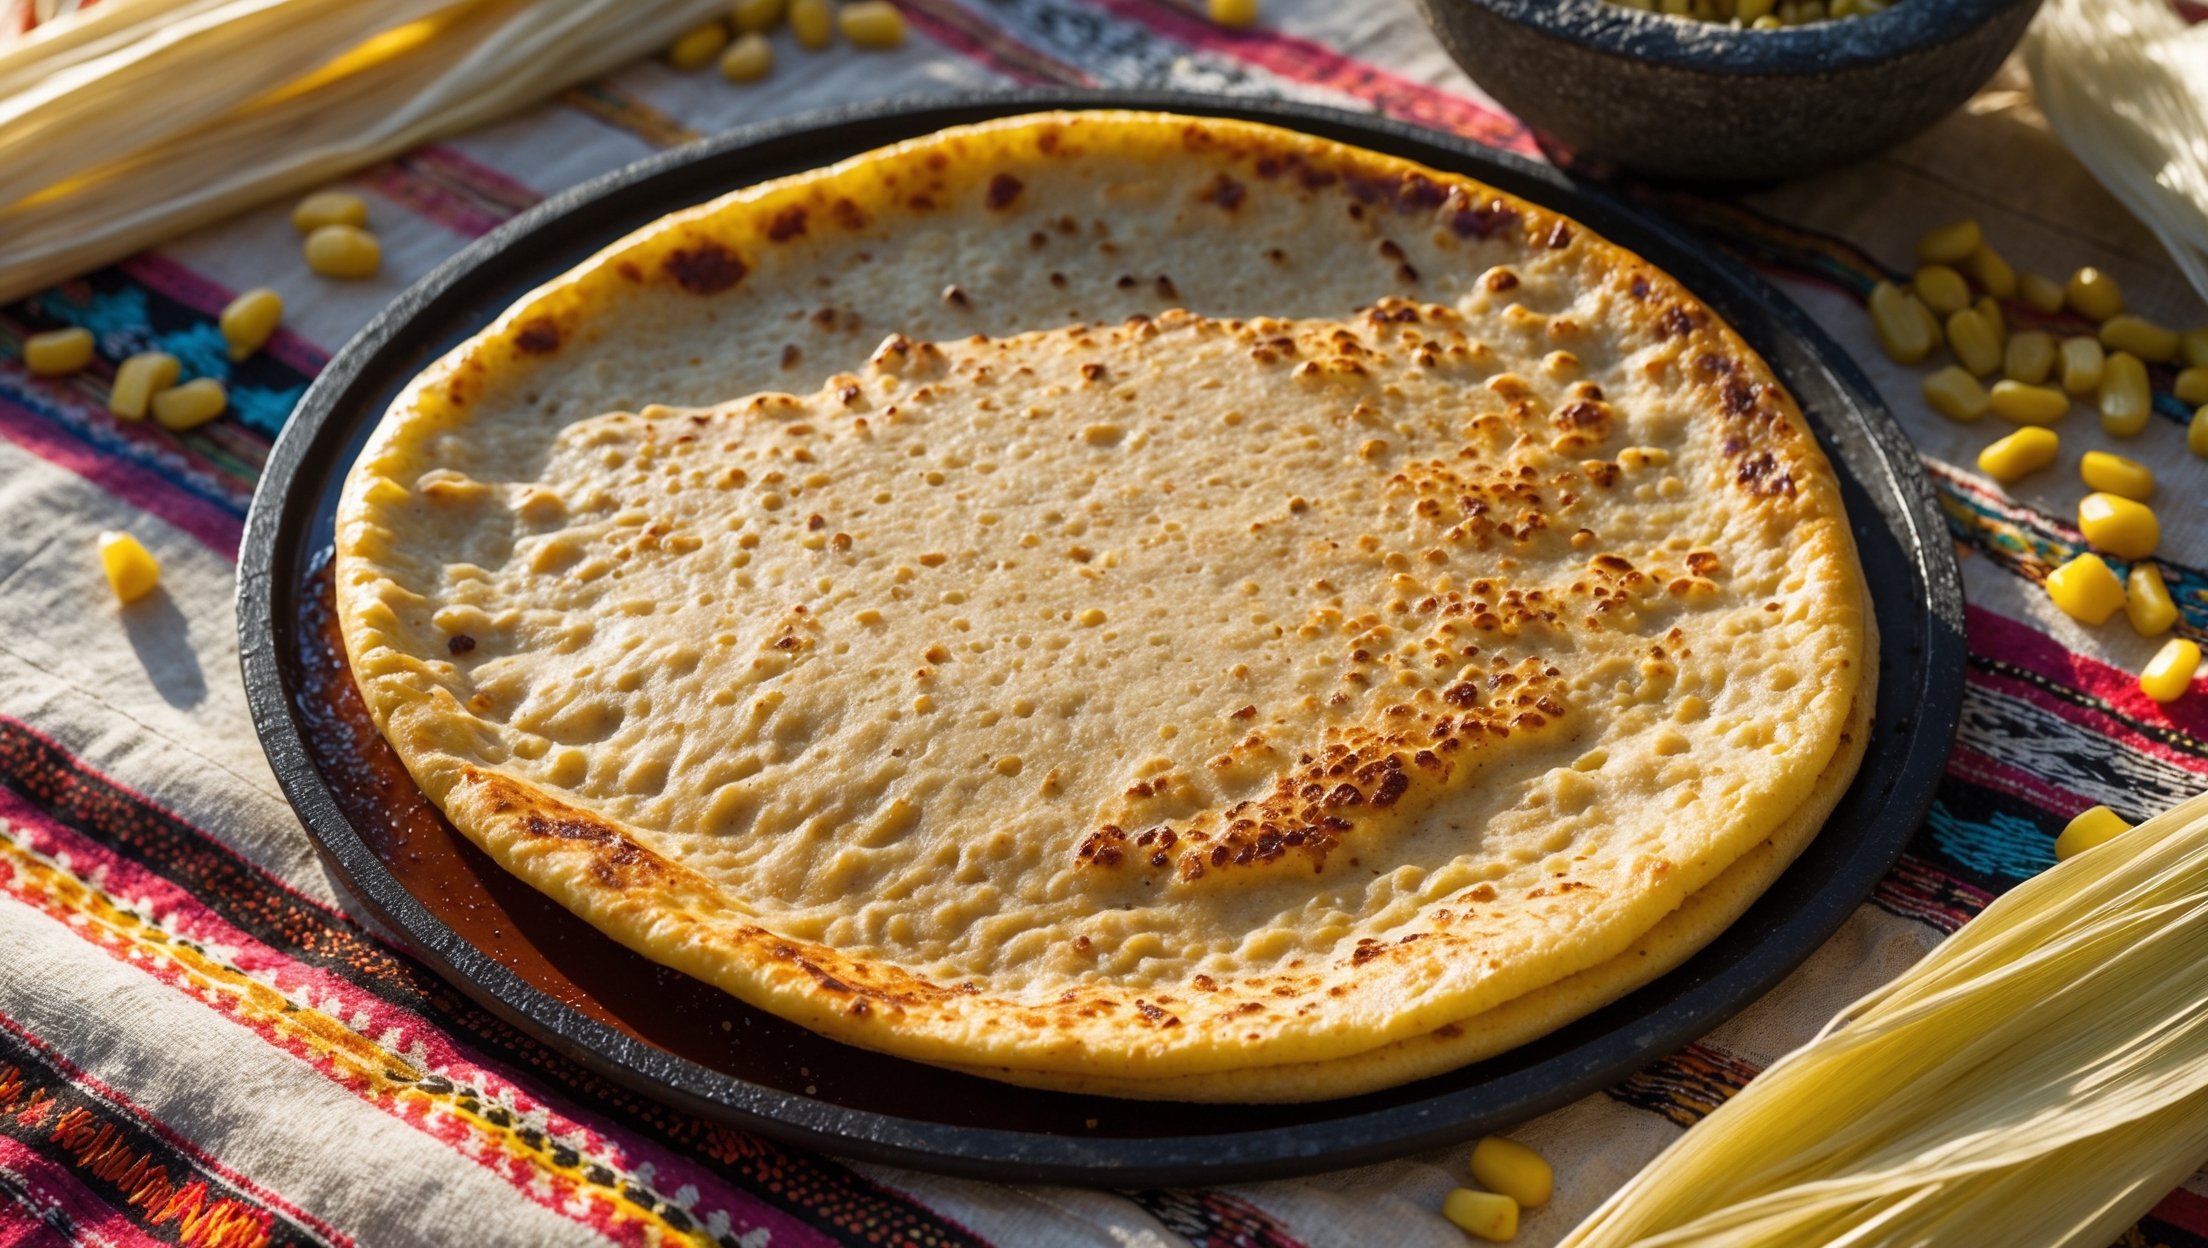
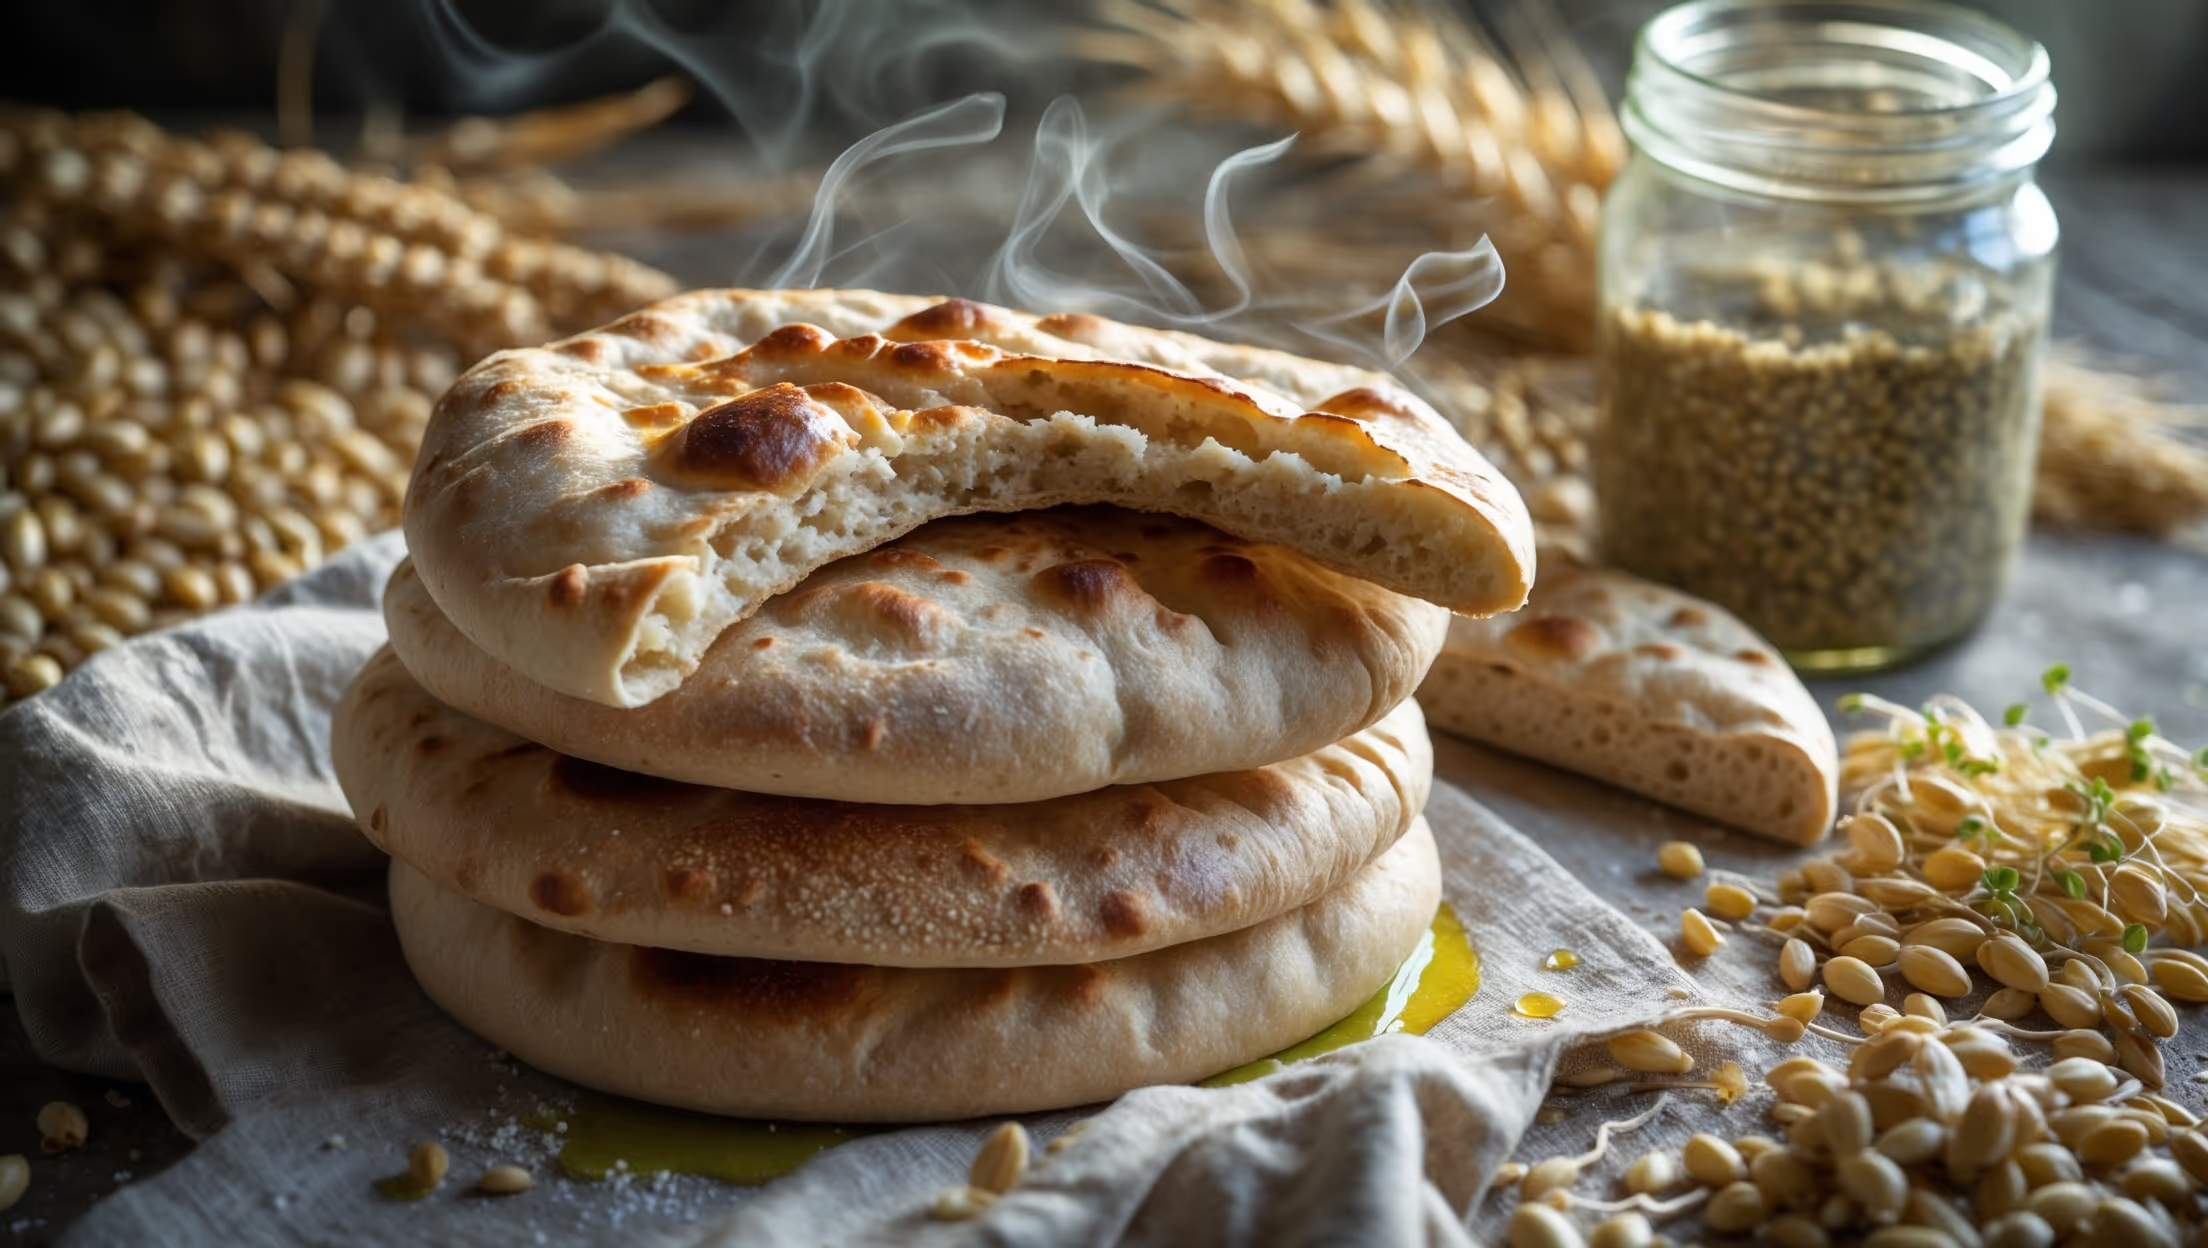
Learn how to cook Slow-Fermented Sourdough Pita with Sprouted Grains by preparing an active sourdough starter, mixing it with the flours and other ingredients, allowing for long fermentation (16-24 hours), dividing and shaping the dough into small rounds, and cooking them either on a hot cast iron skillet or baking stone until they puff up and form pockets.
Pitas may fail to pocket due to insufficient heat (your cooking surface must be very hot), rolling the dough too thin or thick (aim for 5mm), inadequate fermentation, or overworking the dough. The steam created during cooking must be intense enough to separate the layers.
Yes, you can substitute the sprouted grain components with regular whole wheat flour or additional bread flour. While you'll miss some nutritional benefits and texture complexity, the sourdough fermentation will still produce delicious pita bread with good pocket formation.
Freshly baked sourdough pitas stay soft at room temperature in an airtight container for 2-3 days. For longer storage, freeze them for up to 3 months. To refresh, lightly sprinkle with water and warm in the oven or toaster before serving.
Flatbreads
Try following recommended recipes