Directions
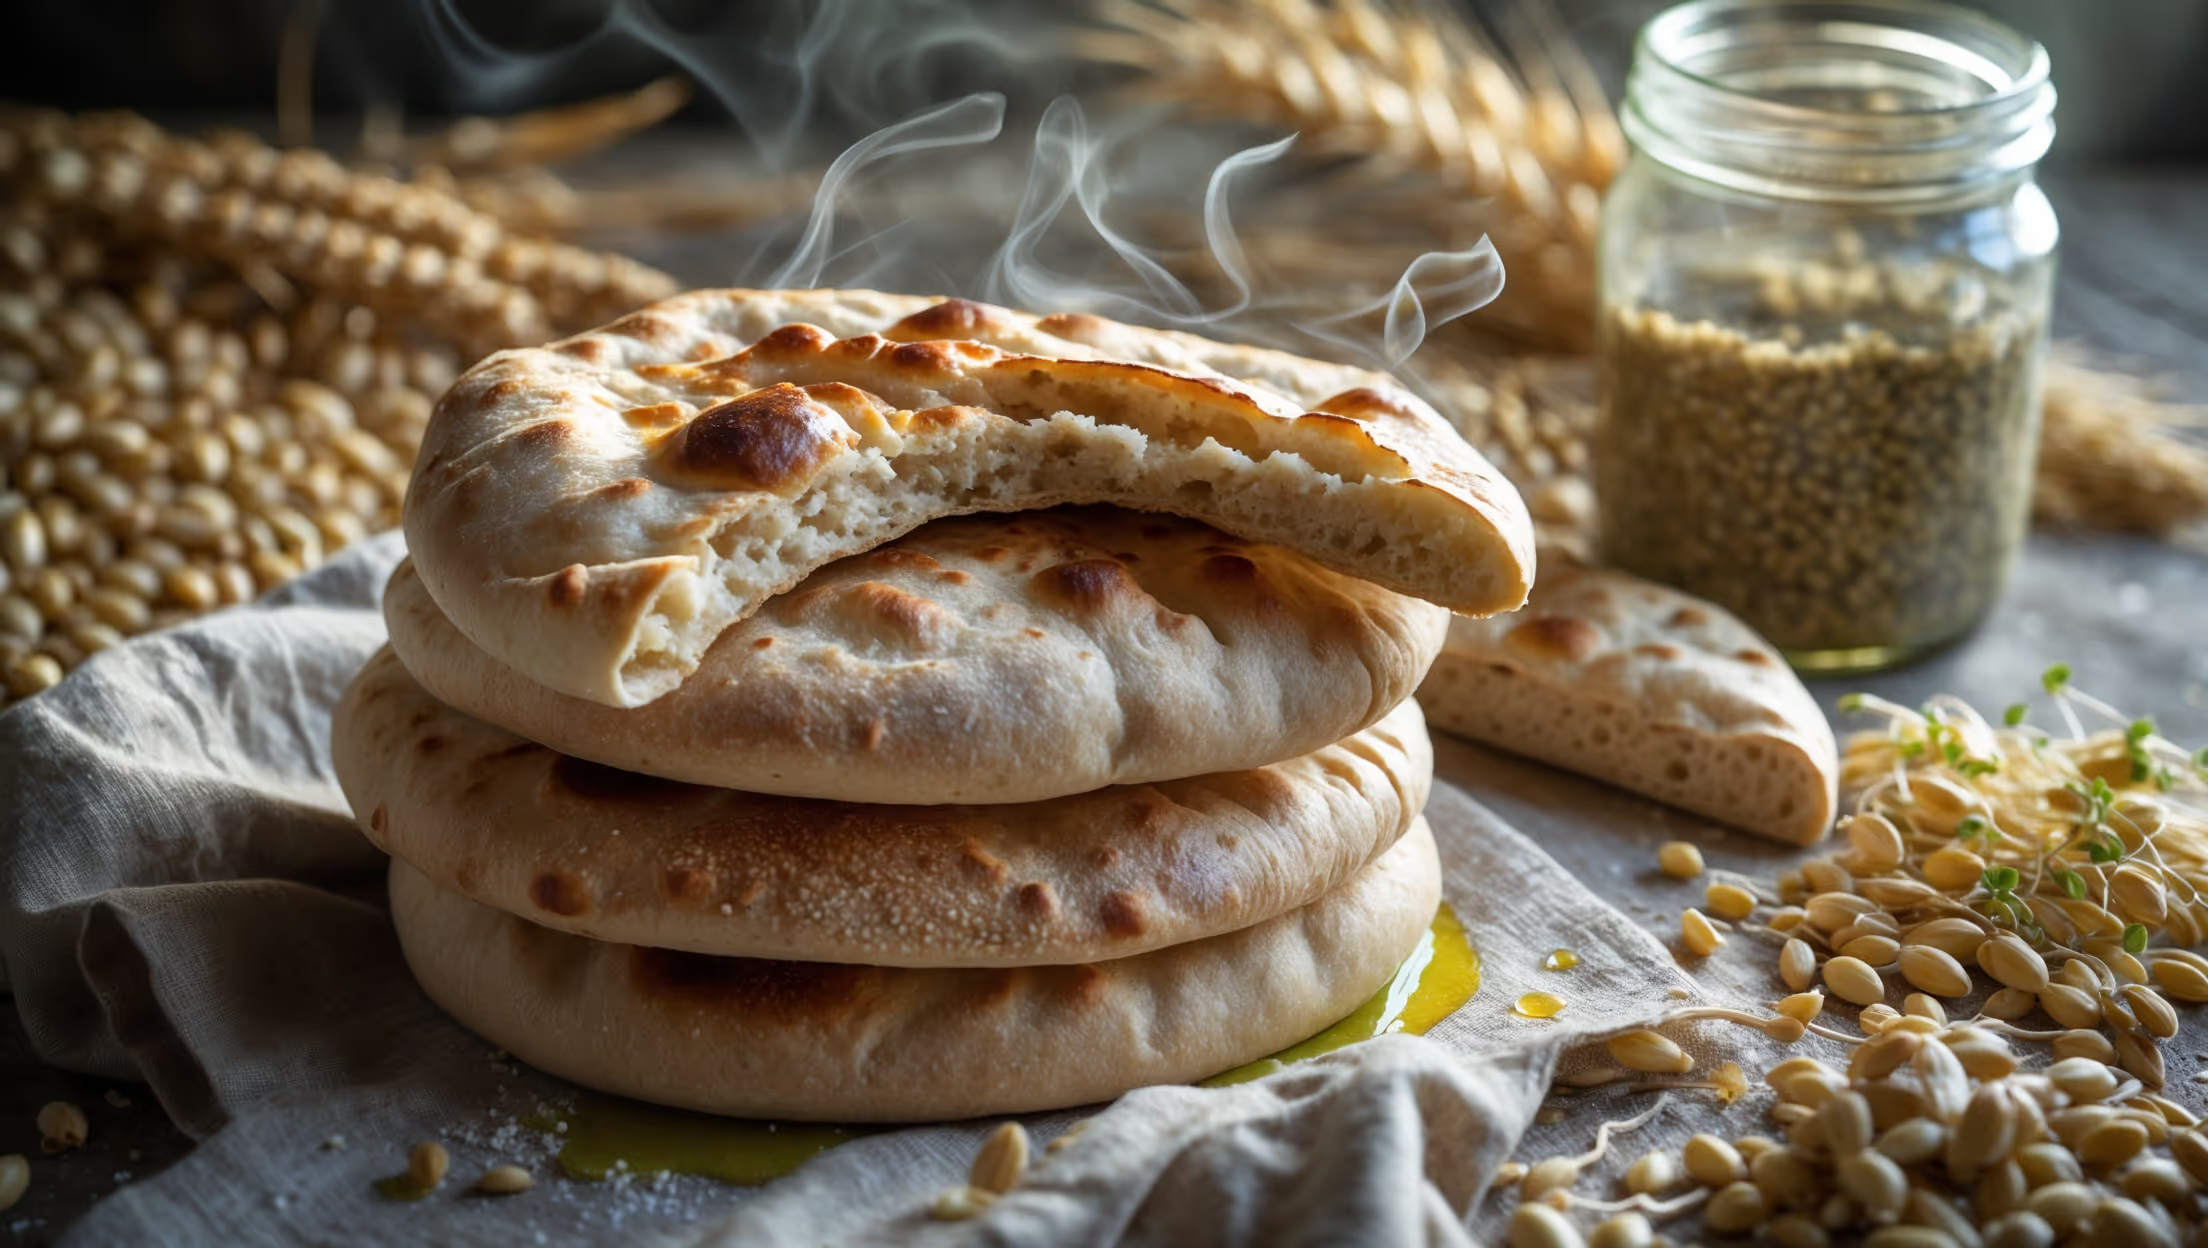
<ol class="no-list-style"><li class="MethodStepper"><h4 class="step-title">Step 1</h4>Start the wild yeast starter 5-7 days before baking. In a large glass jar, mix 100g whole wheat flour, 100g water, and 1 tablespoon honey. Cover loosely and leave at room temperature. Each day, discard half the mixture and feed with 50g flour and 50g water, stirring well. By day 5-7, you should see regular bubbling and a pleasant, tangy smell. Your starter is ready when it doubles in volume within 4-6 hours after feeding.</li><li class="MethodStepper"><h4 class="step-title">Step 2</h4>The night before baking, prepare your dough. In a stand mixer bowl, combine 350g active starter (fed 4-6 hours prior), 500g bread flour, 200ml water, and 10g salt. Mix on low speed for 2 minutes until incorporated, then drizzle in 30g olive oil. Increase to medium speed and knead for 5-7 minutes until the dough becomes smooth and elastic. The long fermentation will develop gluten further, so don't worry if it's not perfectly smooth now.</li><li class="MethodStepper"><h4 class="step-title">Step 3</h4>Transfer the dough to a lightly oiled bowl, cover with plastic wrap, and refrigerate overnight (12-14 hours). This slow, cold fermentation develops complex flavors and improves the bread's structure and digestibility as the wild yeast slowly processes the flour's complex carbohydrates.</li><li class="MethodStepper"><h4 class="step-title">Step 4</h4>The next day, remove the dough from the refrigerator and let it sit at room temperature for 1-2 hours. Meanwhile, grate the cheeses and mix them together in a bowl. Place a baking stone or steel in your oven and preheat to 250°C (480°F) for at least 45 minutes to ensure your stone is properly heated.</li><li class="MethodStepper"><h4 class="step-title">Step 5</h4>Divide the dough into 4 equal pieces (about 250g each). On a lightly floured surface, roll each piece into an oval shape about 25cm long and 15cm wide. The dough should be about 5mm thick - thin enough to hold the filling but thick enough to support the cheese and egg.</li><li class="MethodStepper"><h4 class="step-title">Step 6</h4>Roll the two long sides of each oval toward the center, creating a boat shape with pointed ends. Pinch and twist the ends firmly to seal - this is crucial to prevent the cheese from leaking during baking. Your khachapuri should now resemble a boat or eye shape with a hollow center.</li><li class="MethodStepper"><h4 class="step-title">Step 7</h4>Transfer the shaped dough onto a floured pizza peel or rimless baking sheet. Fill the center of each boat with about 125g of the cheese mixture, leaving room for expansion. The traditional boat shape allows the cheese to melt while maintaining a barrier of bread around the edges.</li><li class="MethodStepper"><h4 class="step-title">Step 8</h4>Brush the exposed dough edges with egg wash for a beautiful golden color. Carefully slide the khachapuri onto the preheated stone in the oven and bake for 10-12 minutes until the edges begin to turn golden brown and the cheese is bubbling.</li><li class="MethodStepper"><h4 class="step-title">Step 9</h4>Remove the khachapuri from the oven, and immediately make a small well in the center of the melted cheese. Carefully crack an egg yolk into each well and add a small piece of cold butter on top. The residual heat will partially cook the yolk while keeping it runny.</li><li class="MethodStepper"><h4 class="step-title">Step 10</h4>Return the khachapuri to the oven for 2-3 minutes more, just until the edges are deep golden and the egg yolk is warm but still runny. Watch carefully at this stage as the yolks can overcooked quickly.</li><li class="MethodStepper"><h4 class="step-title">Step 11</h4>Serve immediately! The traditional way to eat khachapuri is to tear off the pointed ends first and use them to mix the egg yolk and butter into the hot cheese, creating a rich, creamy center. Then tear pieces from the sides and dip into the cheese mixture. The wild yeast gives the bread a complex tanginess that perfectly complements the rich, savory filling.</li></ol>