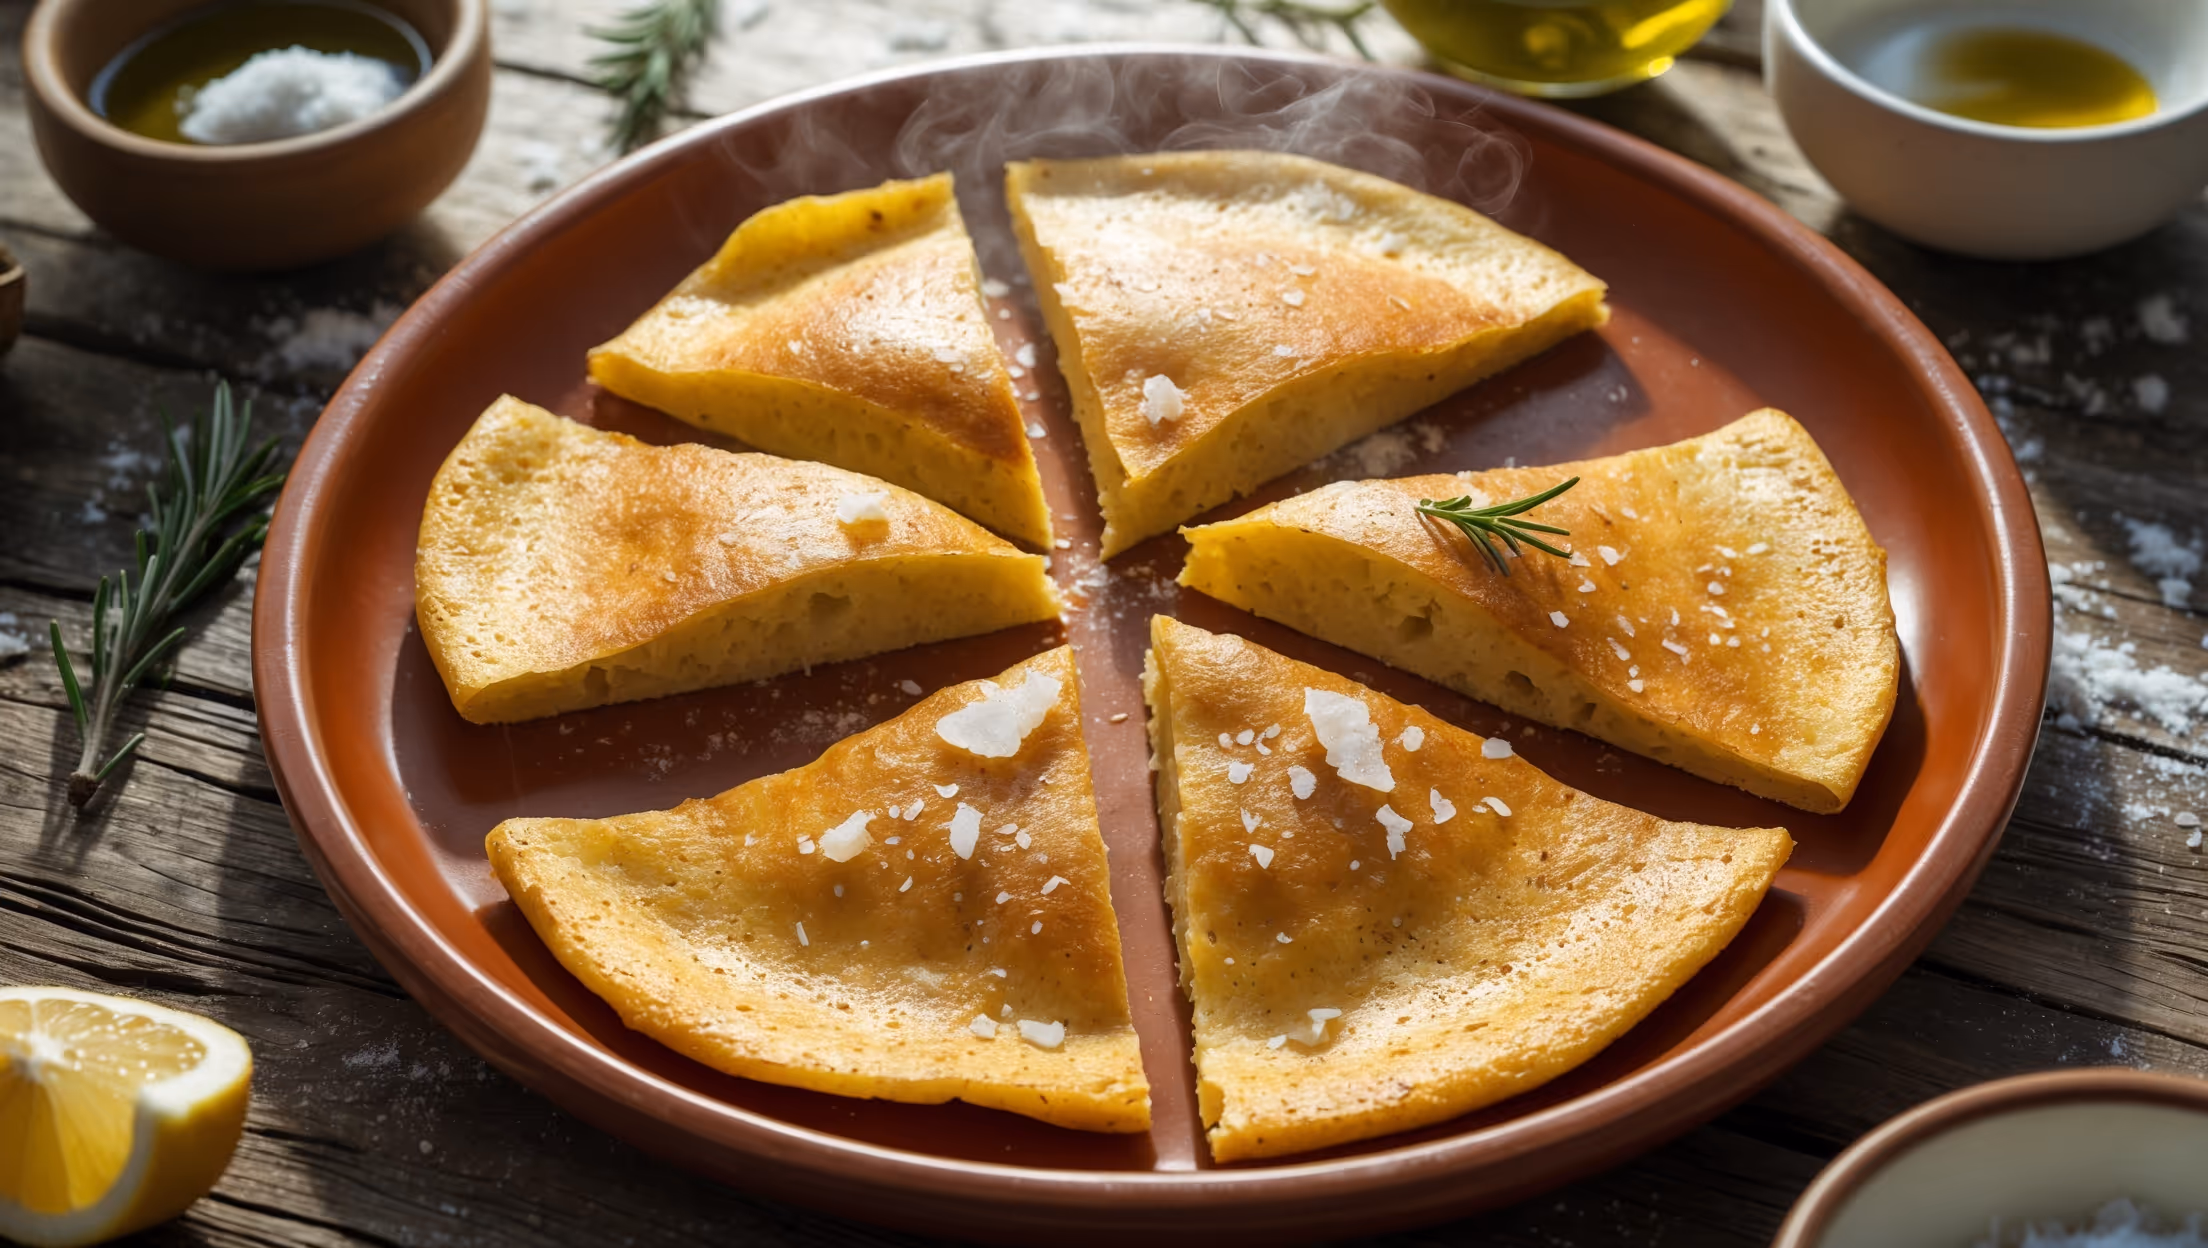
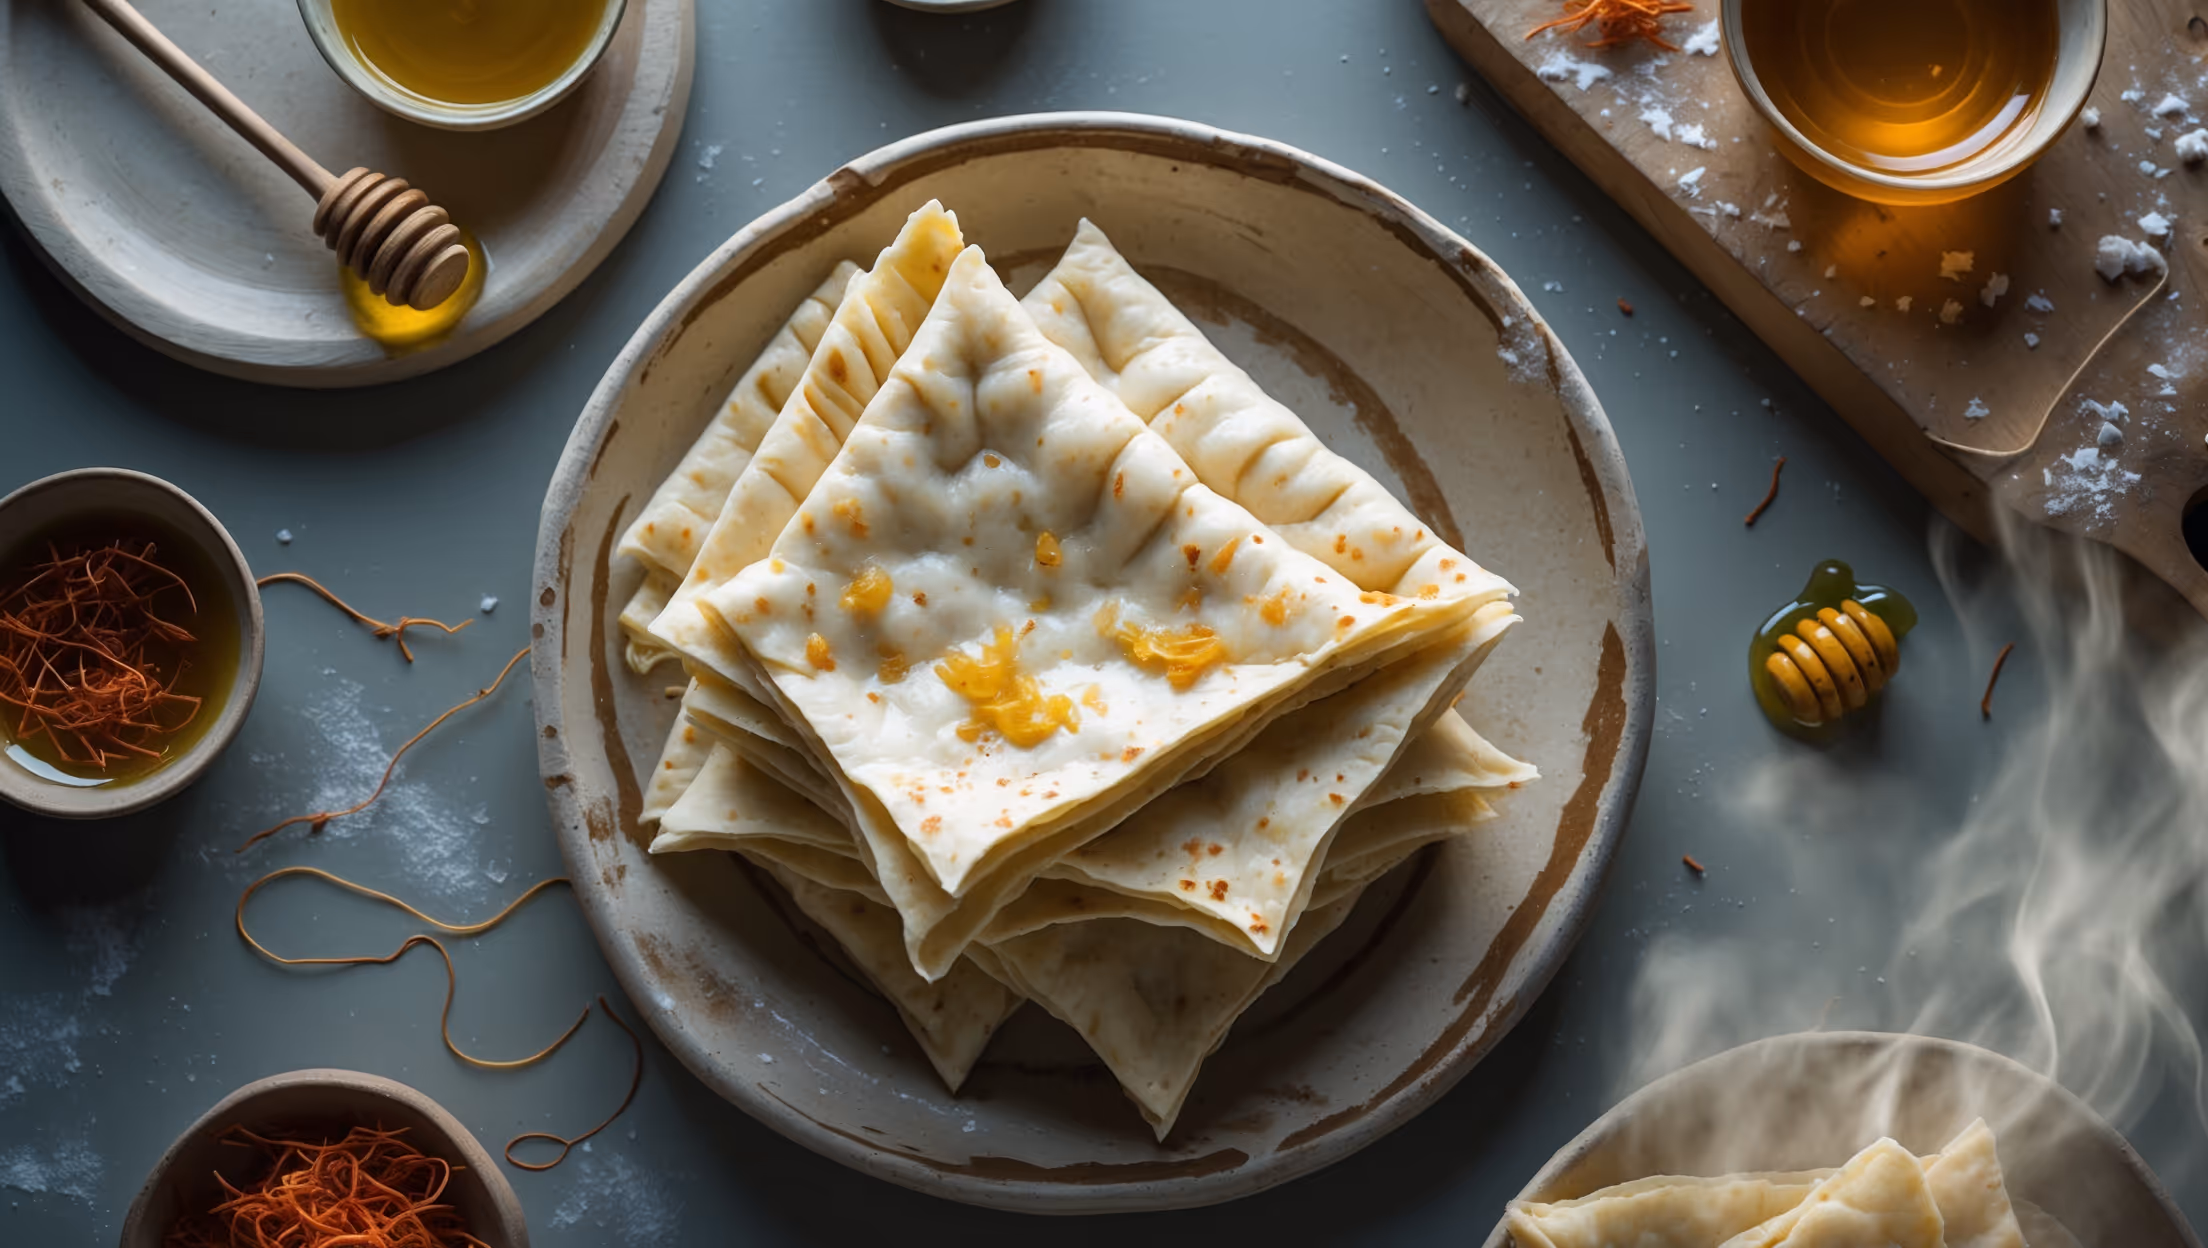
Hand-Stretched Yufka with Cultured Butter Lamination Recipe

Ingredients
Equipment
Directions
FAQs
Find answers to your most pressing questions about this delicious recipe right here.
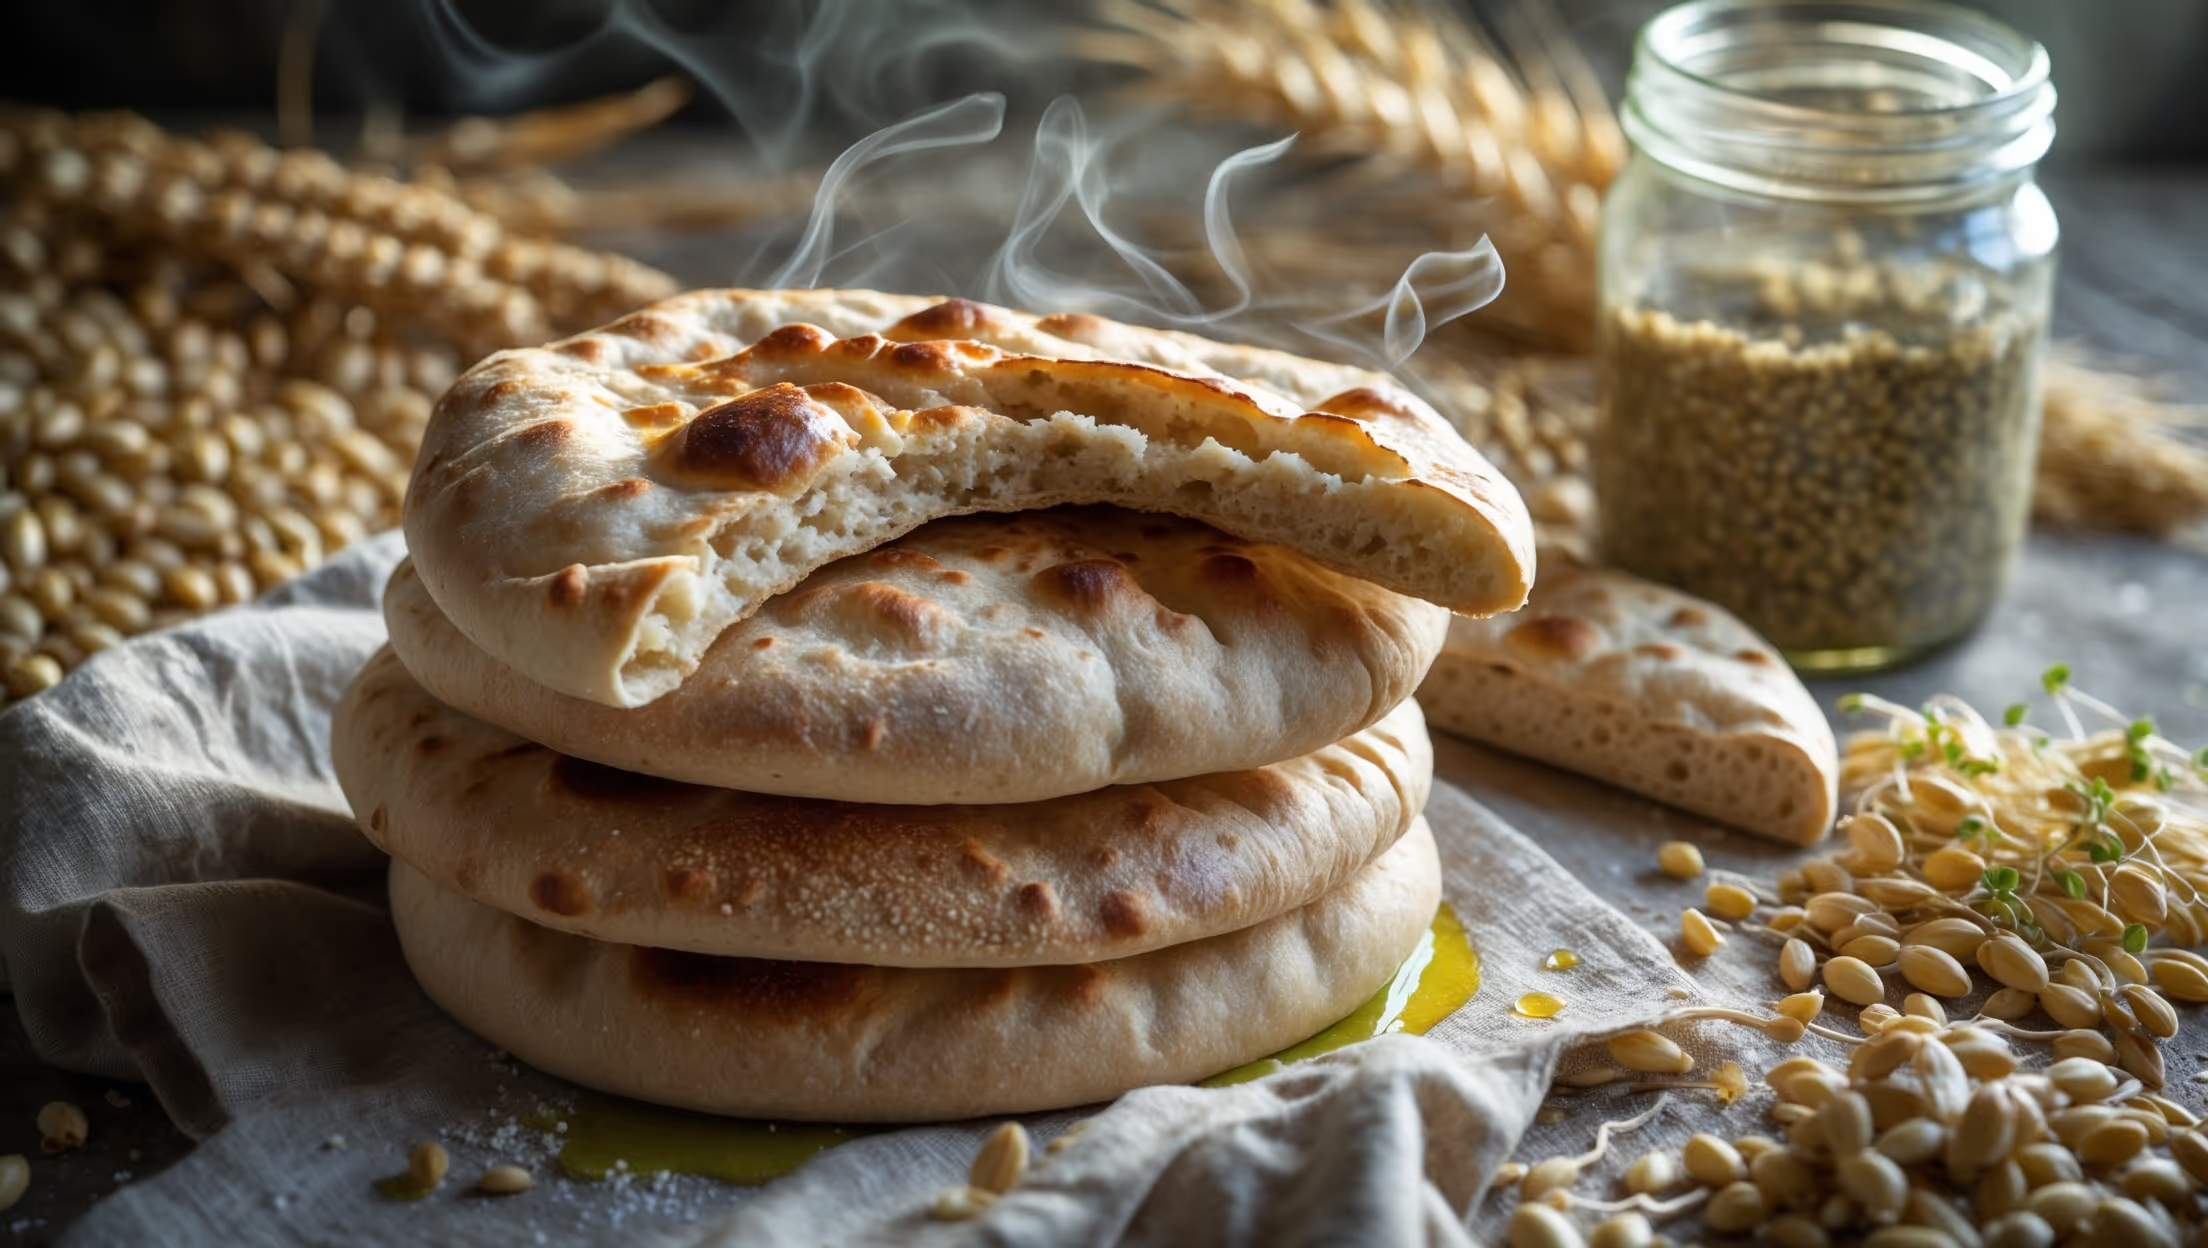
This Turkish-inspired pastry requires high-protein bread flour, warm water, salt, olive oil, cultured European-style butter (82% fat), cornstarch for dusting, white vinegar, and optional toppings like sesame seeds and flaky sea salt.
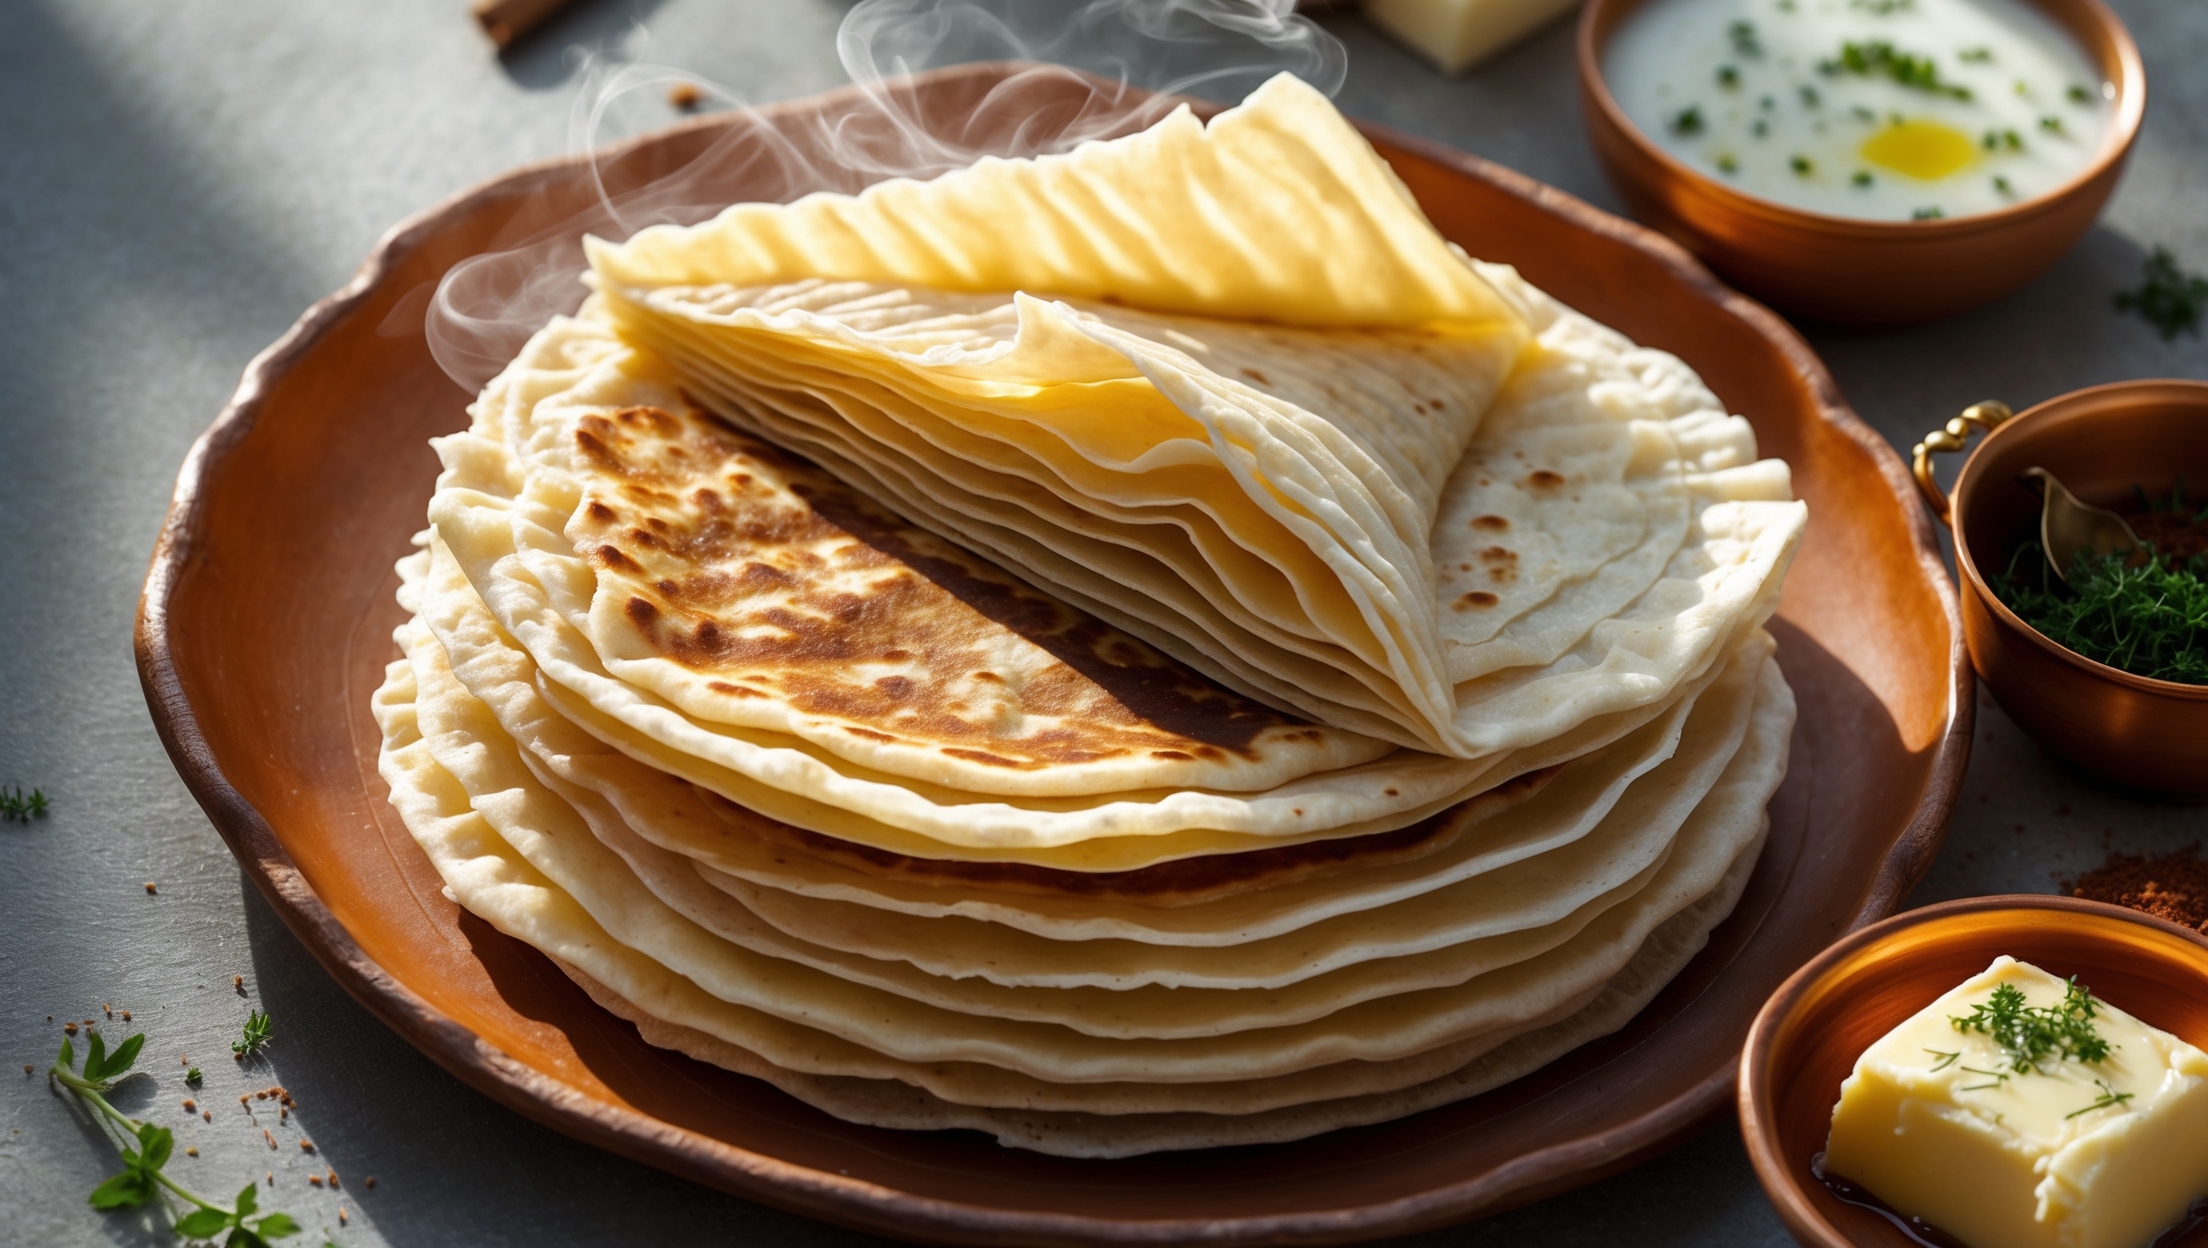
Learn how to cook Hand-Stretched Yufka with Cultured Butter Lamination by first preparing a well-kneaded dough, stretching it paper-thin, layering with cultured butter, folding to create multiple laminated layers, and baking at 200°C until golden and flaky. The technique requires patience but rewards with extraordinary crisp, buttery pastry.
Cultured butter contains beneficial bacteria that create complex tangy flavour notes and higher fat content (82% vs standard 80%), resulting in more distinct, flakier layers. Its lower water content also prevents sogginess, allowing the pastry to achieve superior crispness and that signature shattering texture.
The secret lies in proper gluten development through thorough kneading, sufficient resting periods, and using the backs of your hands rather than fingertips. The vinegar in the recipe helps strengthen gluten strands, while working on a cornstarch-dusted cloth prevents sticking.
Yes, though best enjoyed fresh, you can prepare the laminated dough packets and refrigerate for up to 24 hours before baking. Alternatively, bake fully and reheat in a hot oven for 5 minutes to restore crispness. The unbaked dough can also be frozen for up to a month if tightly wrapped.
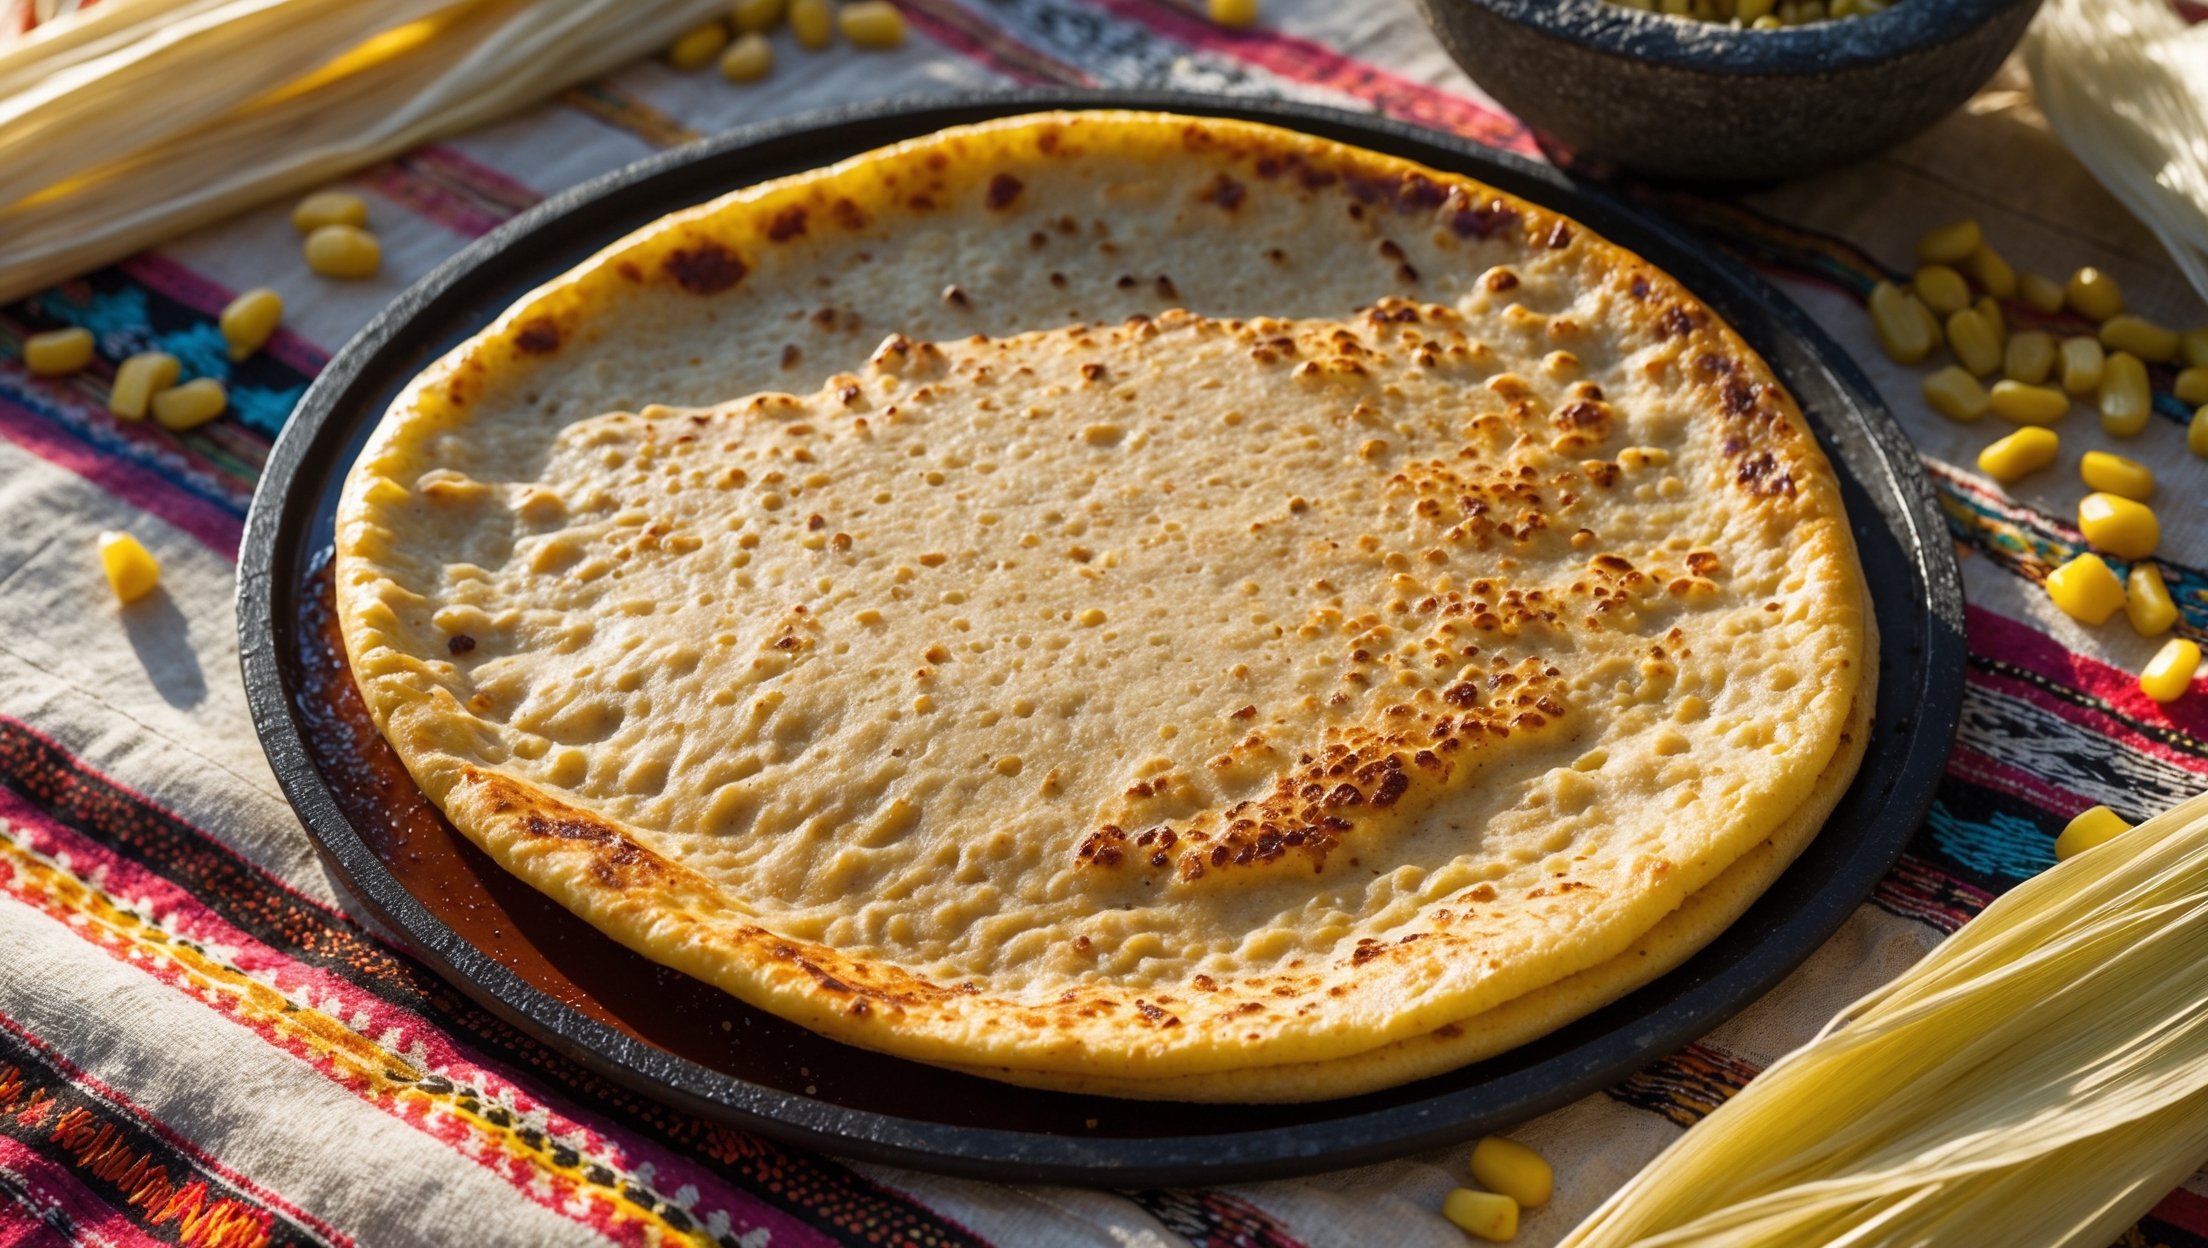
Flatbreads
Try following recommended recipes