Cultured Butter Paratha with 24-Layer Lamination Recipe
Ingredients
Equipment
Directions
FAQs
Find answers to your most pressing questions about this delicious recipe right here.
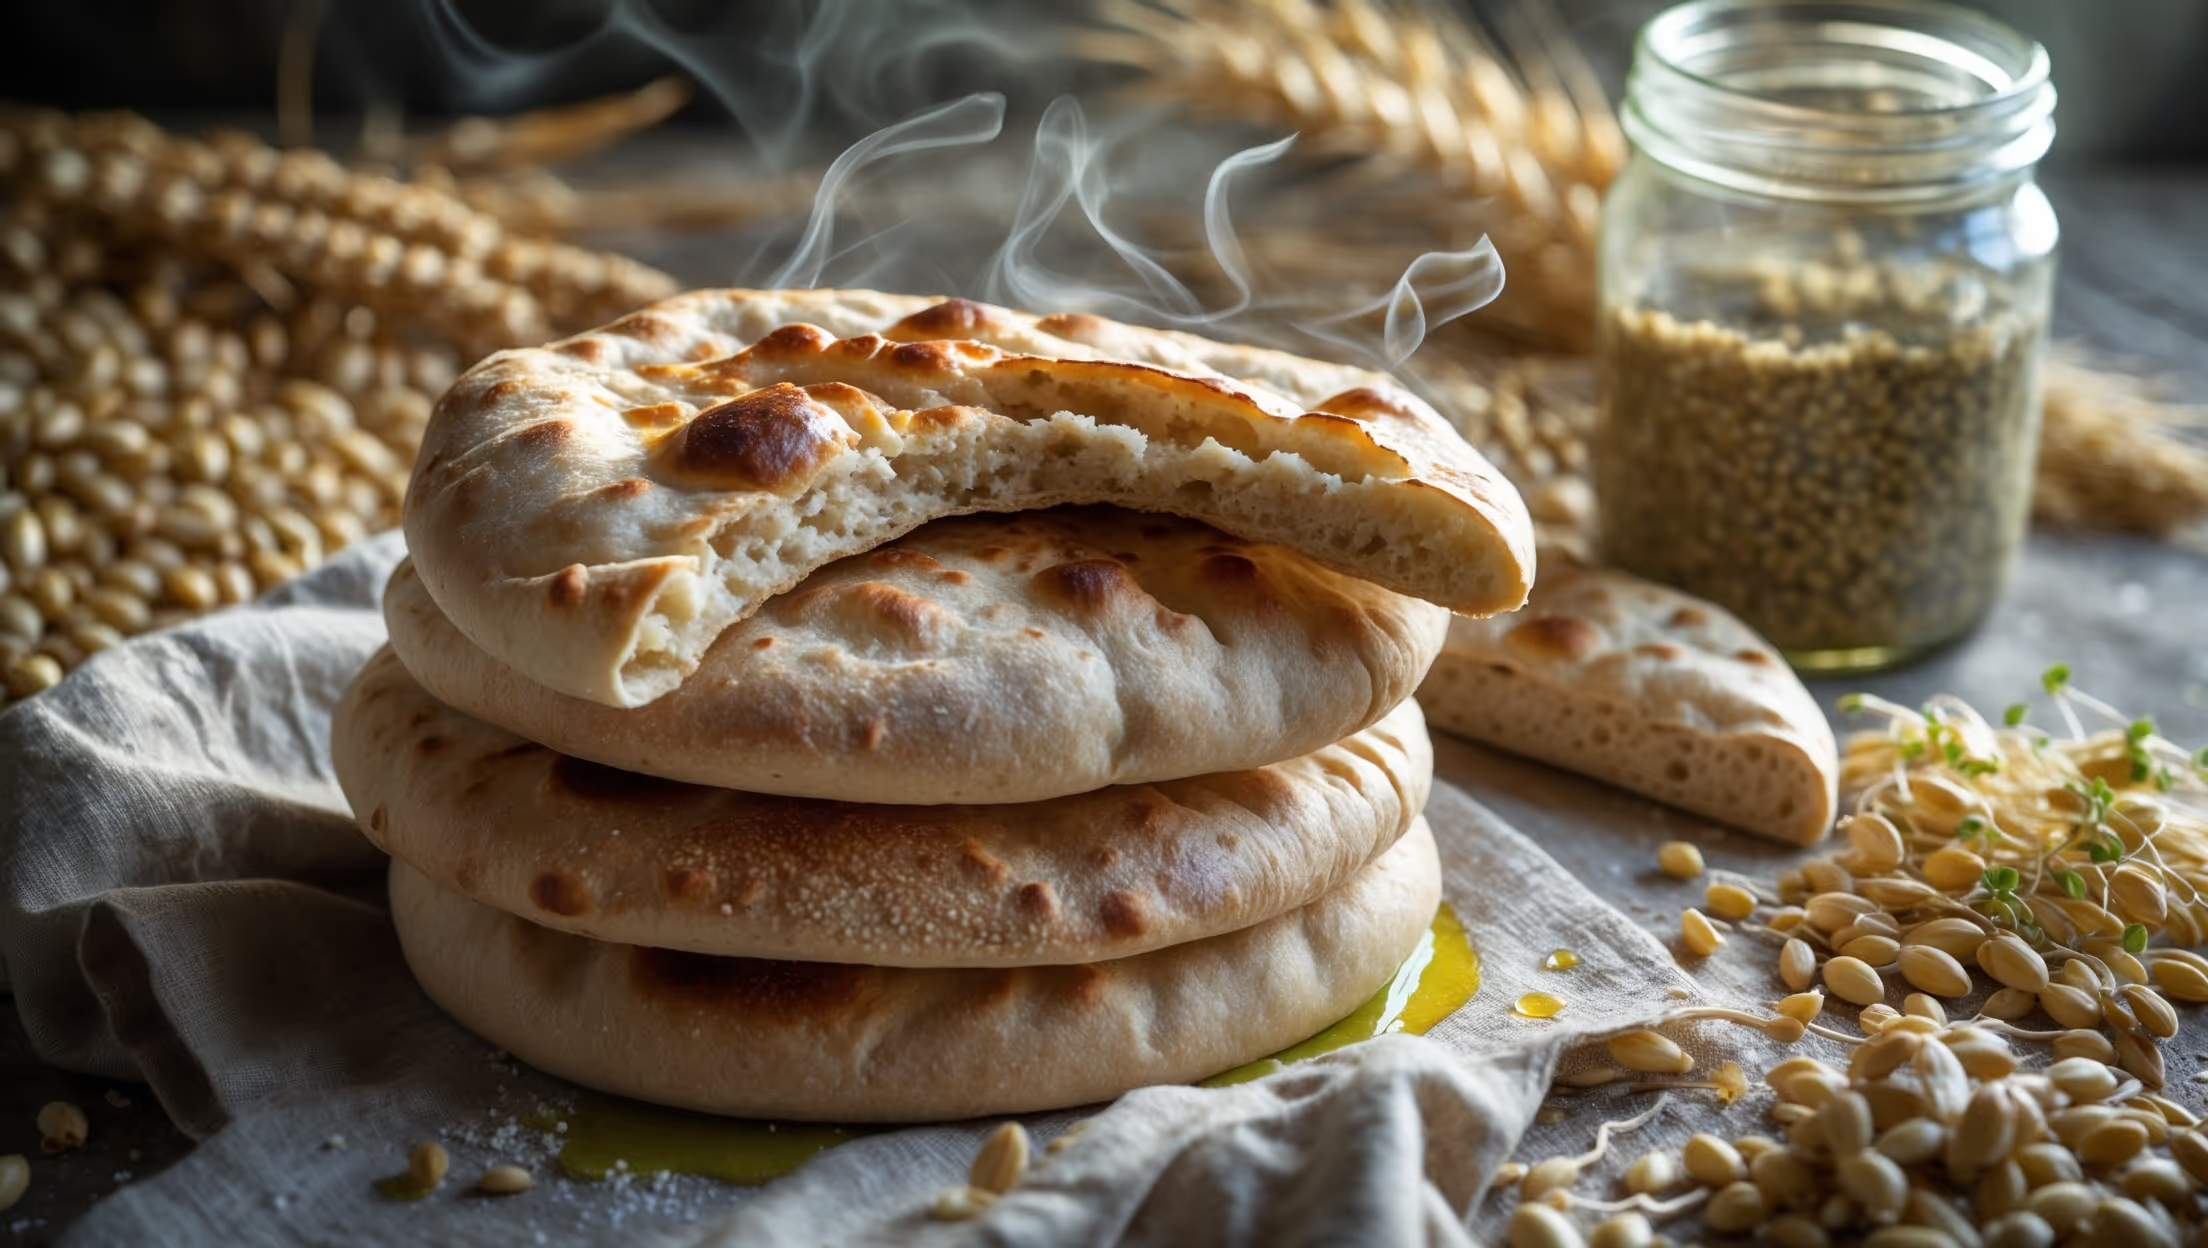
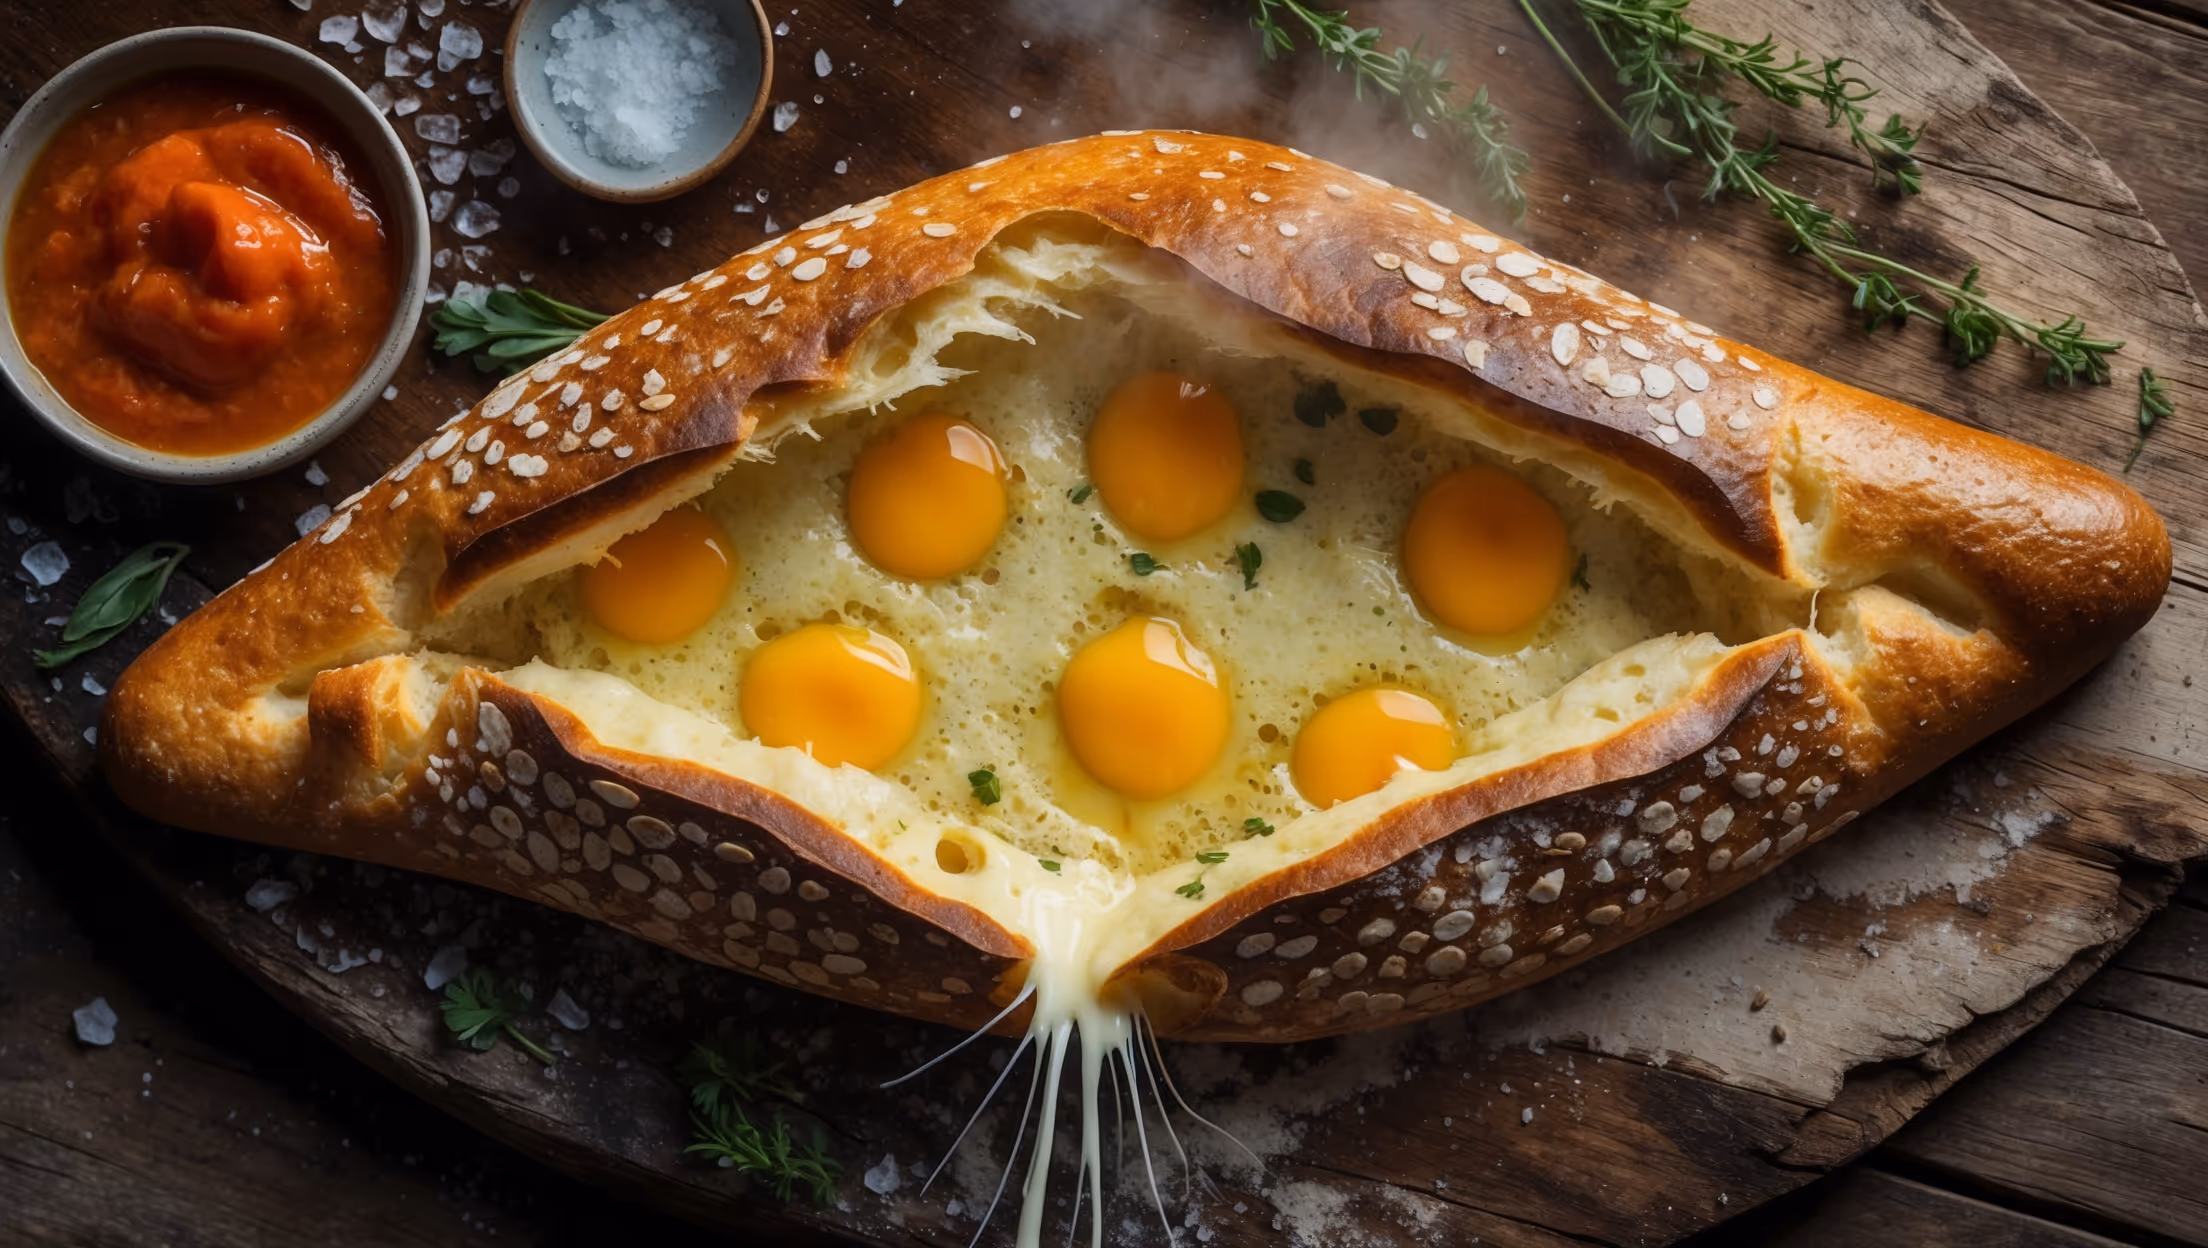
The main ingredients include all-purpose flour, water, salt, cultured butter (or European-style butter mixed with yogurt), vegetable oil, nigella seeds (optional), and ghee for cooking. These components work together to create the distinctive flaky layers.
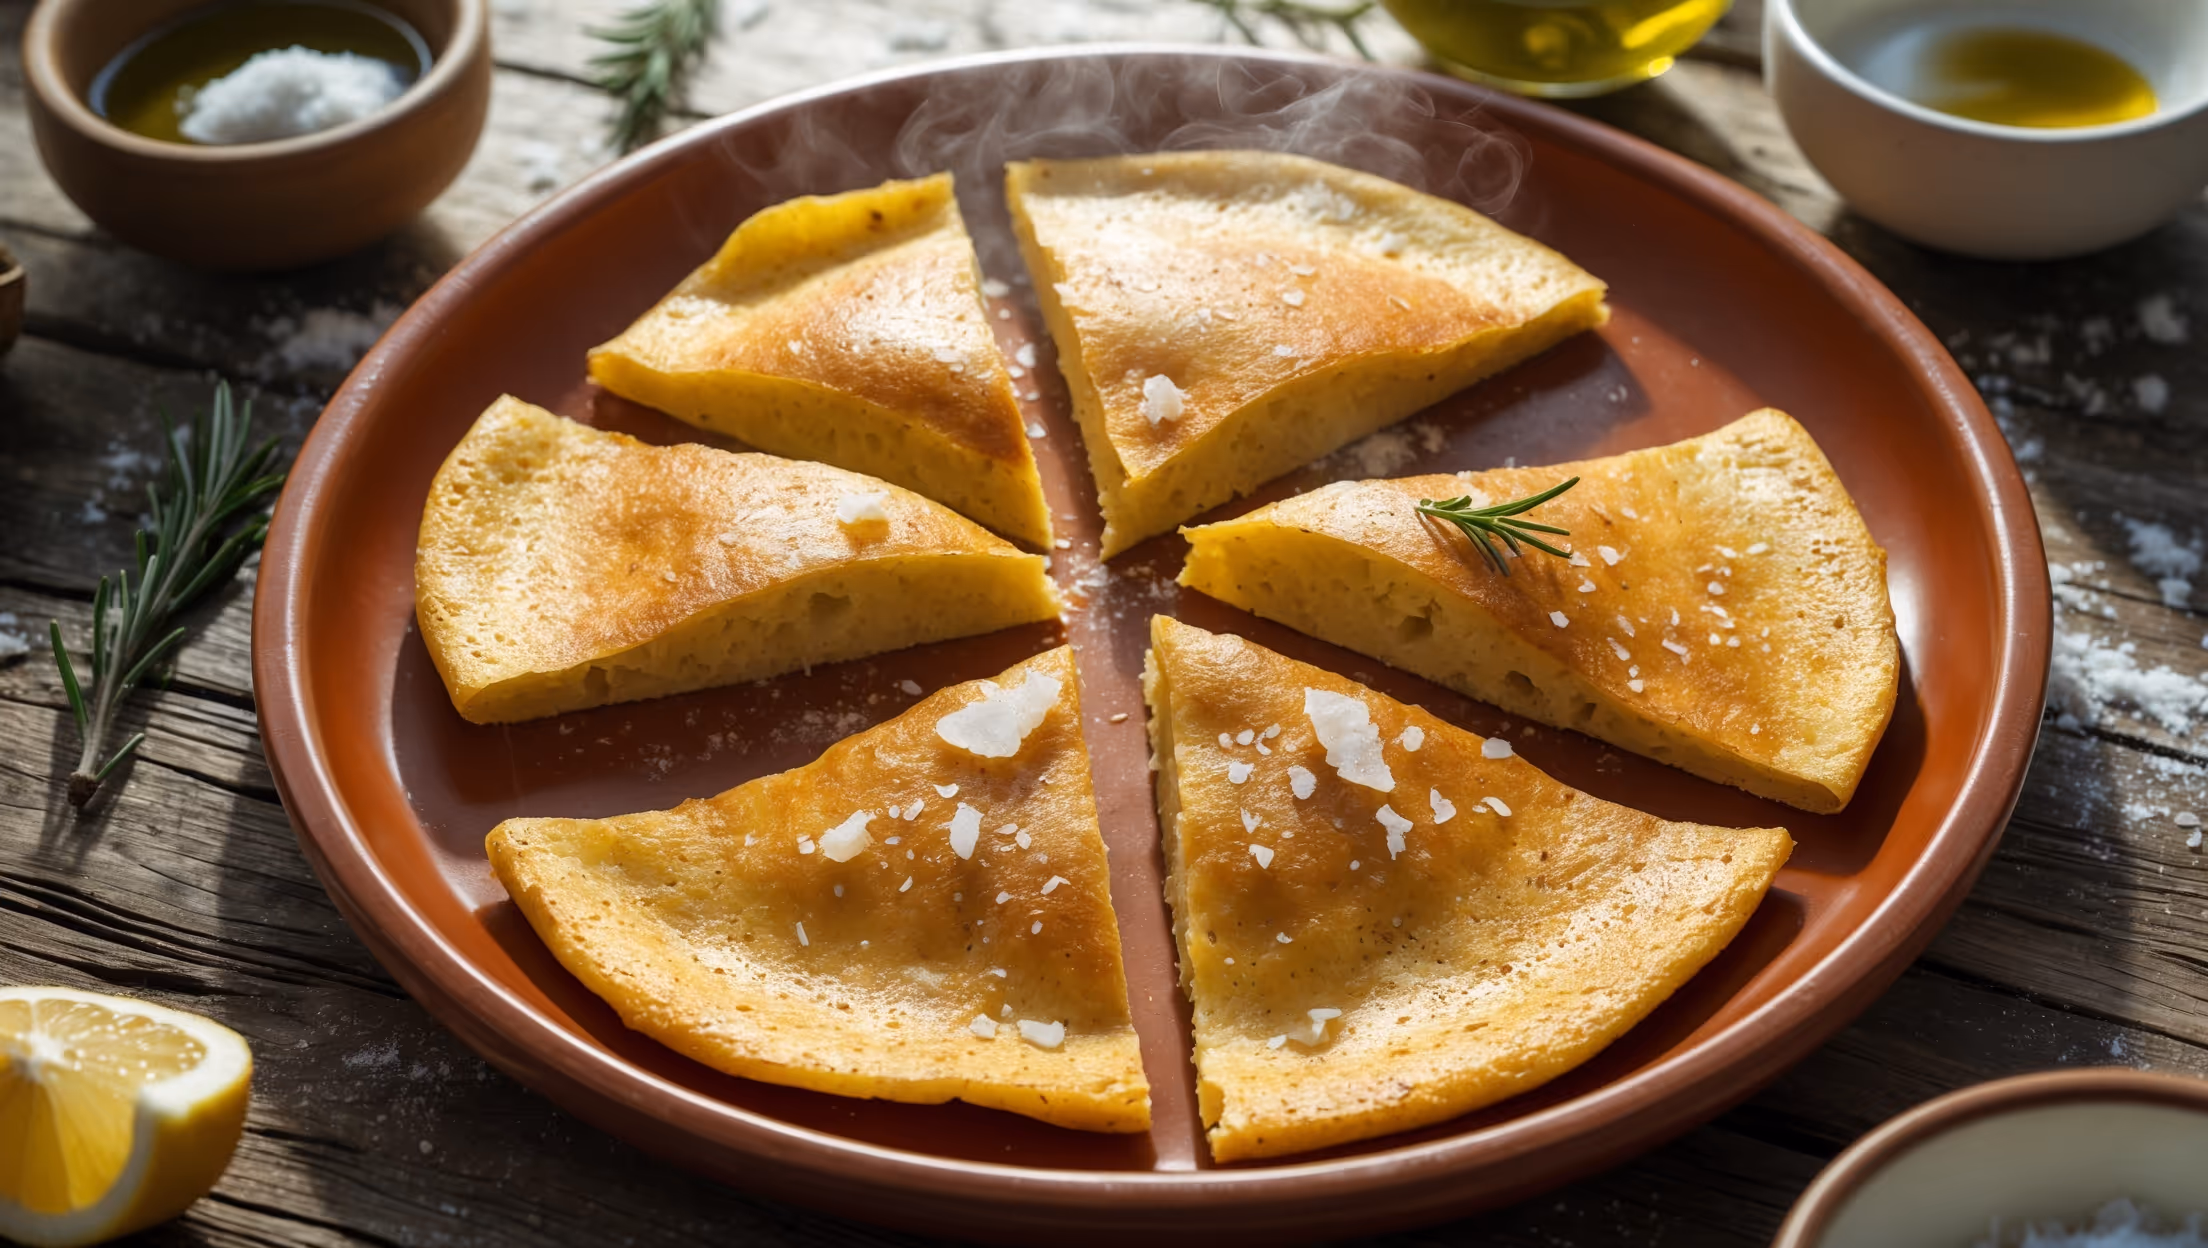
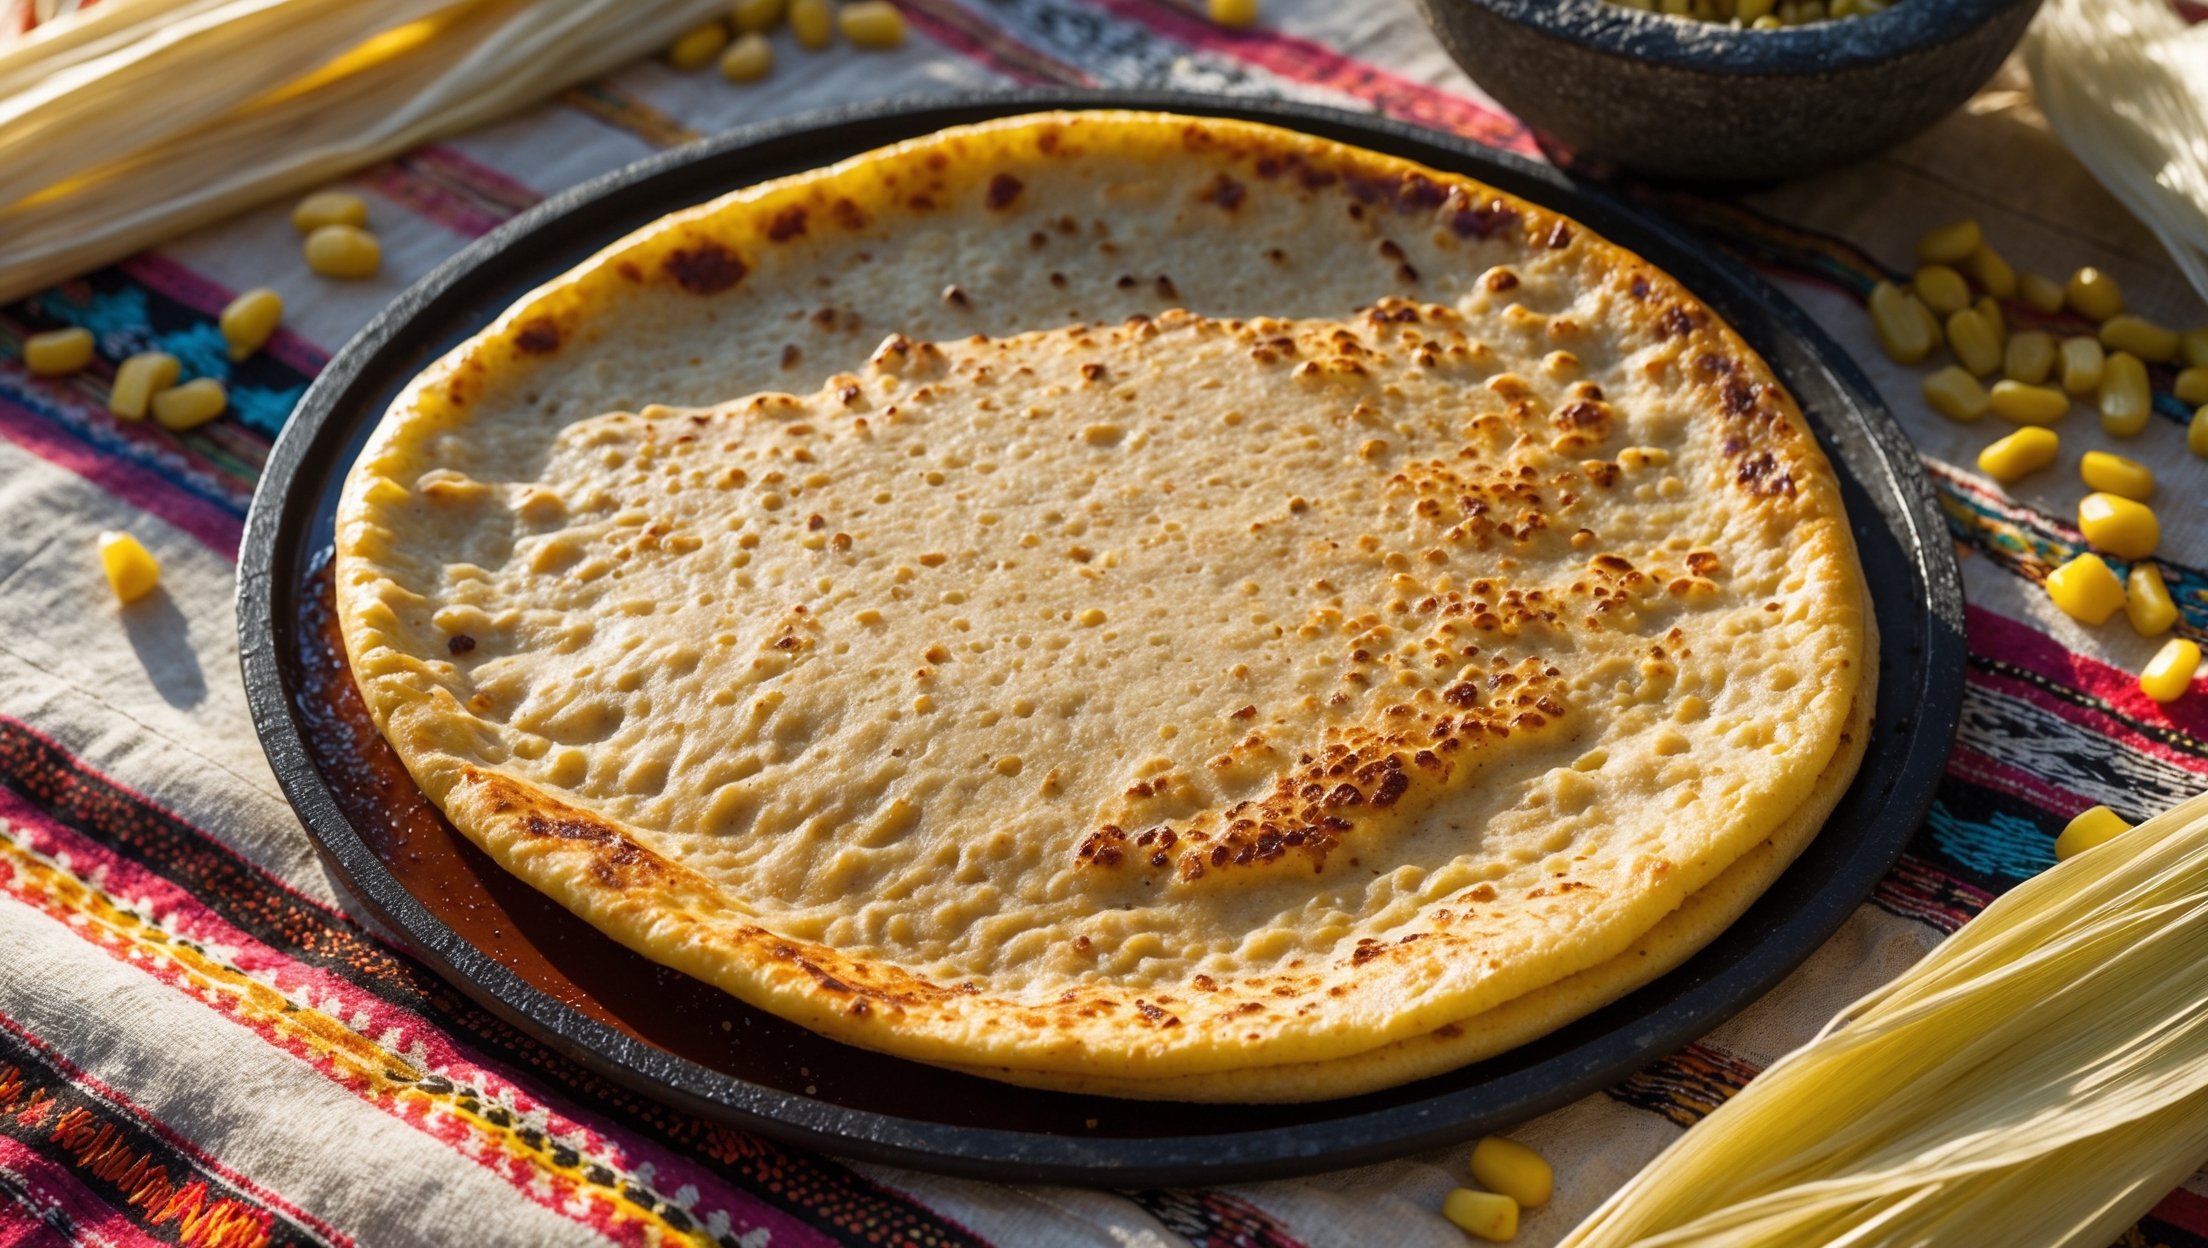
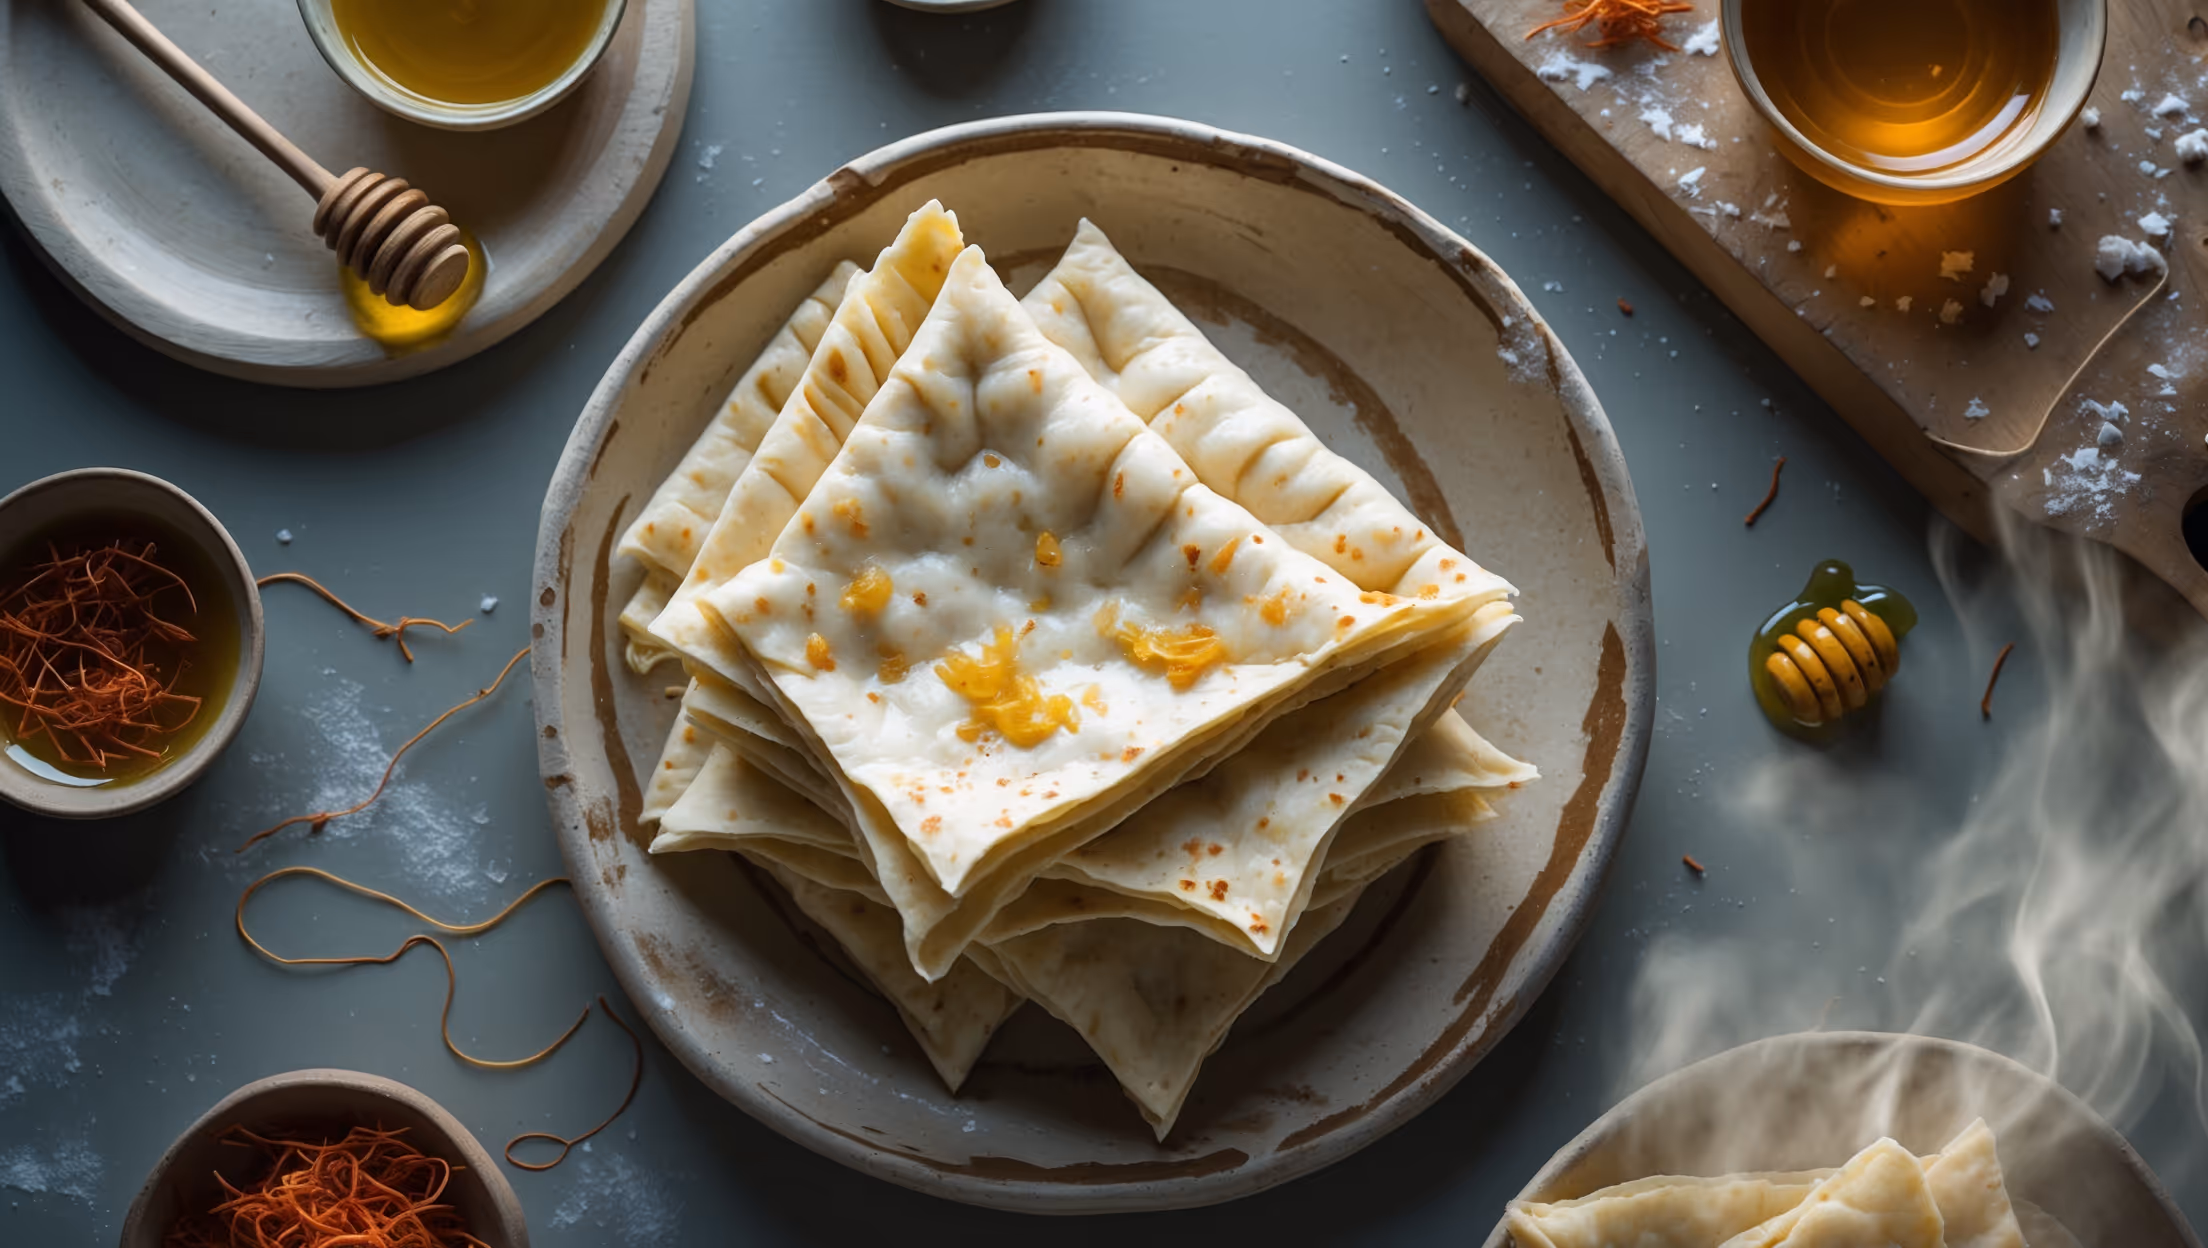
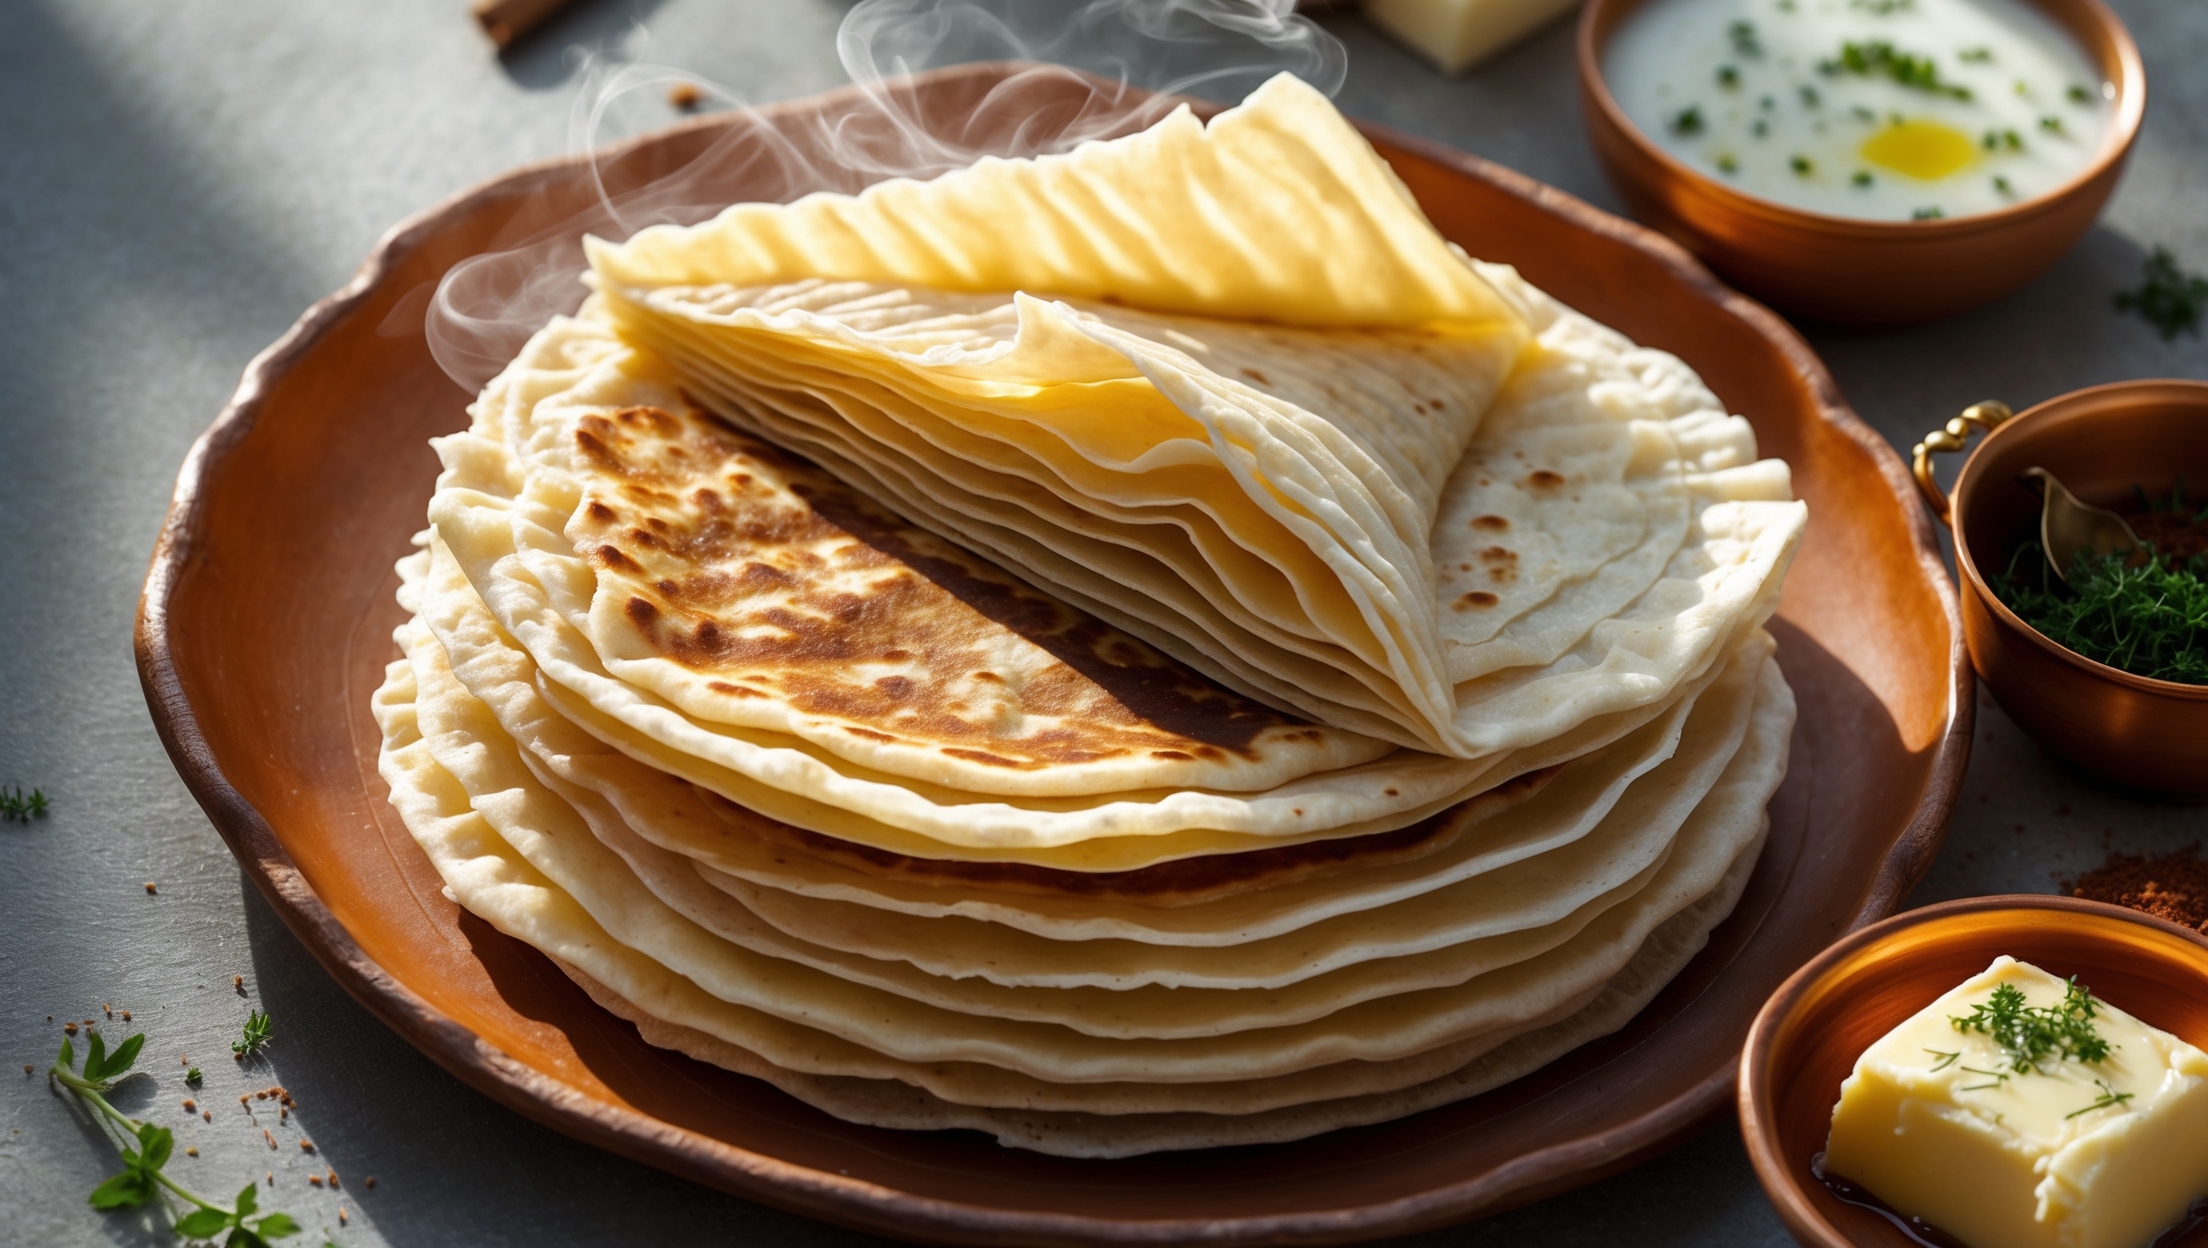
Learn how to cook Cultured Butter Paratha with 24-Layer Lamination by mastering the specific folding technique. After creating a soft dough and resting it, you'll layer cultured butter between folds, creating 24 distinct layers through multiple folding sequences. Cook on a hot cast iron skillet or tawa, applying ghee and gentle pressure to achieve that signature flaky texture.
Cultured butter contains beneficial bacteria that produce lactic acid, giving it a complex tangy flavour that regular butter lacks. In flatbreads, it creates more distinct layers with a richer taste profile. The higher fat content (usually 82-86%) also contributes to flakier, more tender results.
The secrets to perfect lamination are: maintaining the right dough temperature, using butter that's cool but pliable, allowing adequate resting time between folds, applying even rolling pressure, and cooking at the proper temperature. These factors prevent layers from merging while creating the distinctive honeycomb structure.
Yes, you can prepare laminated paratha dough up to 24 hours in advance. After completing the folding process, wrap each portion tightly in cling film and refrigerate. Allow the dough to come to room temperature for about 30 minutes before rolling and cooking for best results.
Flatbreads
Try following recommended recipes