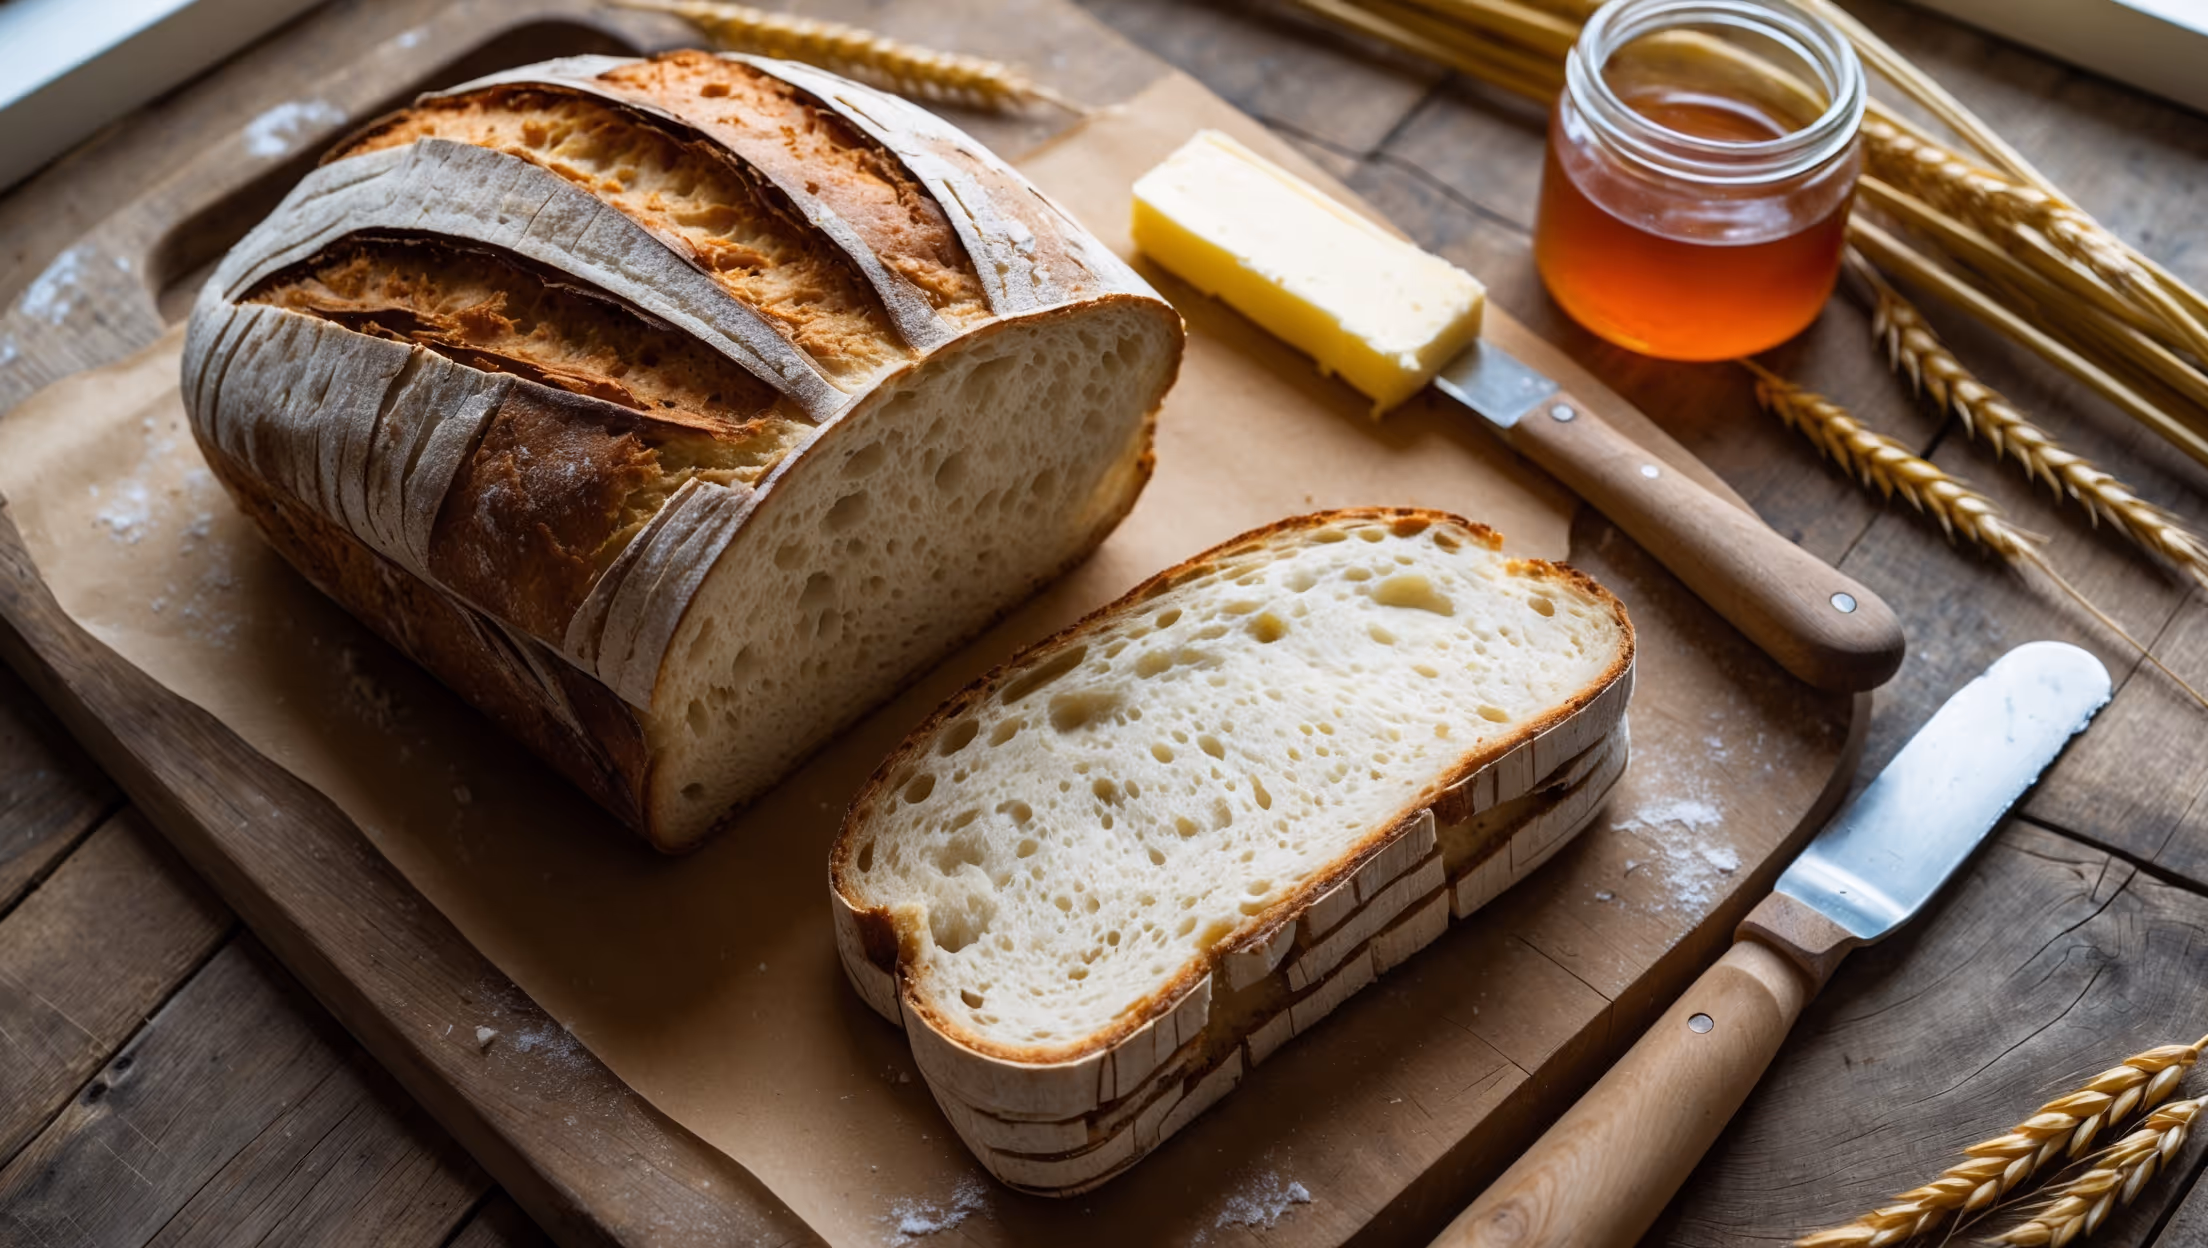
Sourdough Country Loaf Recipe

Ingredients
Equipment
Directions
FAQs
Find answers to your most pressing questions about this delicious recipe right here.
This rustic sourdough requires active sourdough starter (100% hydration), bread flour, whole wheat flour, water, salt, and rice flour for dusting. These simple ingredients transform through slow fermentation to create complex flavours and that characteristic open crumb structure.
Learn how to cook Sourdough Country Loaf by mastering the art of natural fermentation. The process involves creating an active starter, mixing a well-hydrated dough, performing stretch-and-folds to develop gluten, shaping with proper tension, cold-proofing overnight, and baking in a preheated Dutch oven to achieve that perfect crackling crust and open crumb.
Cold fermentation (12-16 hours in the refrigerator) slows down yeast activity while allowing beneficial bacteria to thrive, developing complex flavours and improving digestibility. This step also strengthens the dough structure, making it easier to handle and score, resulting in better oven spring.
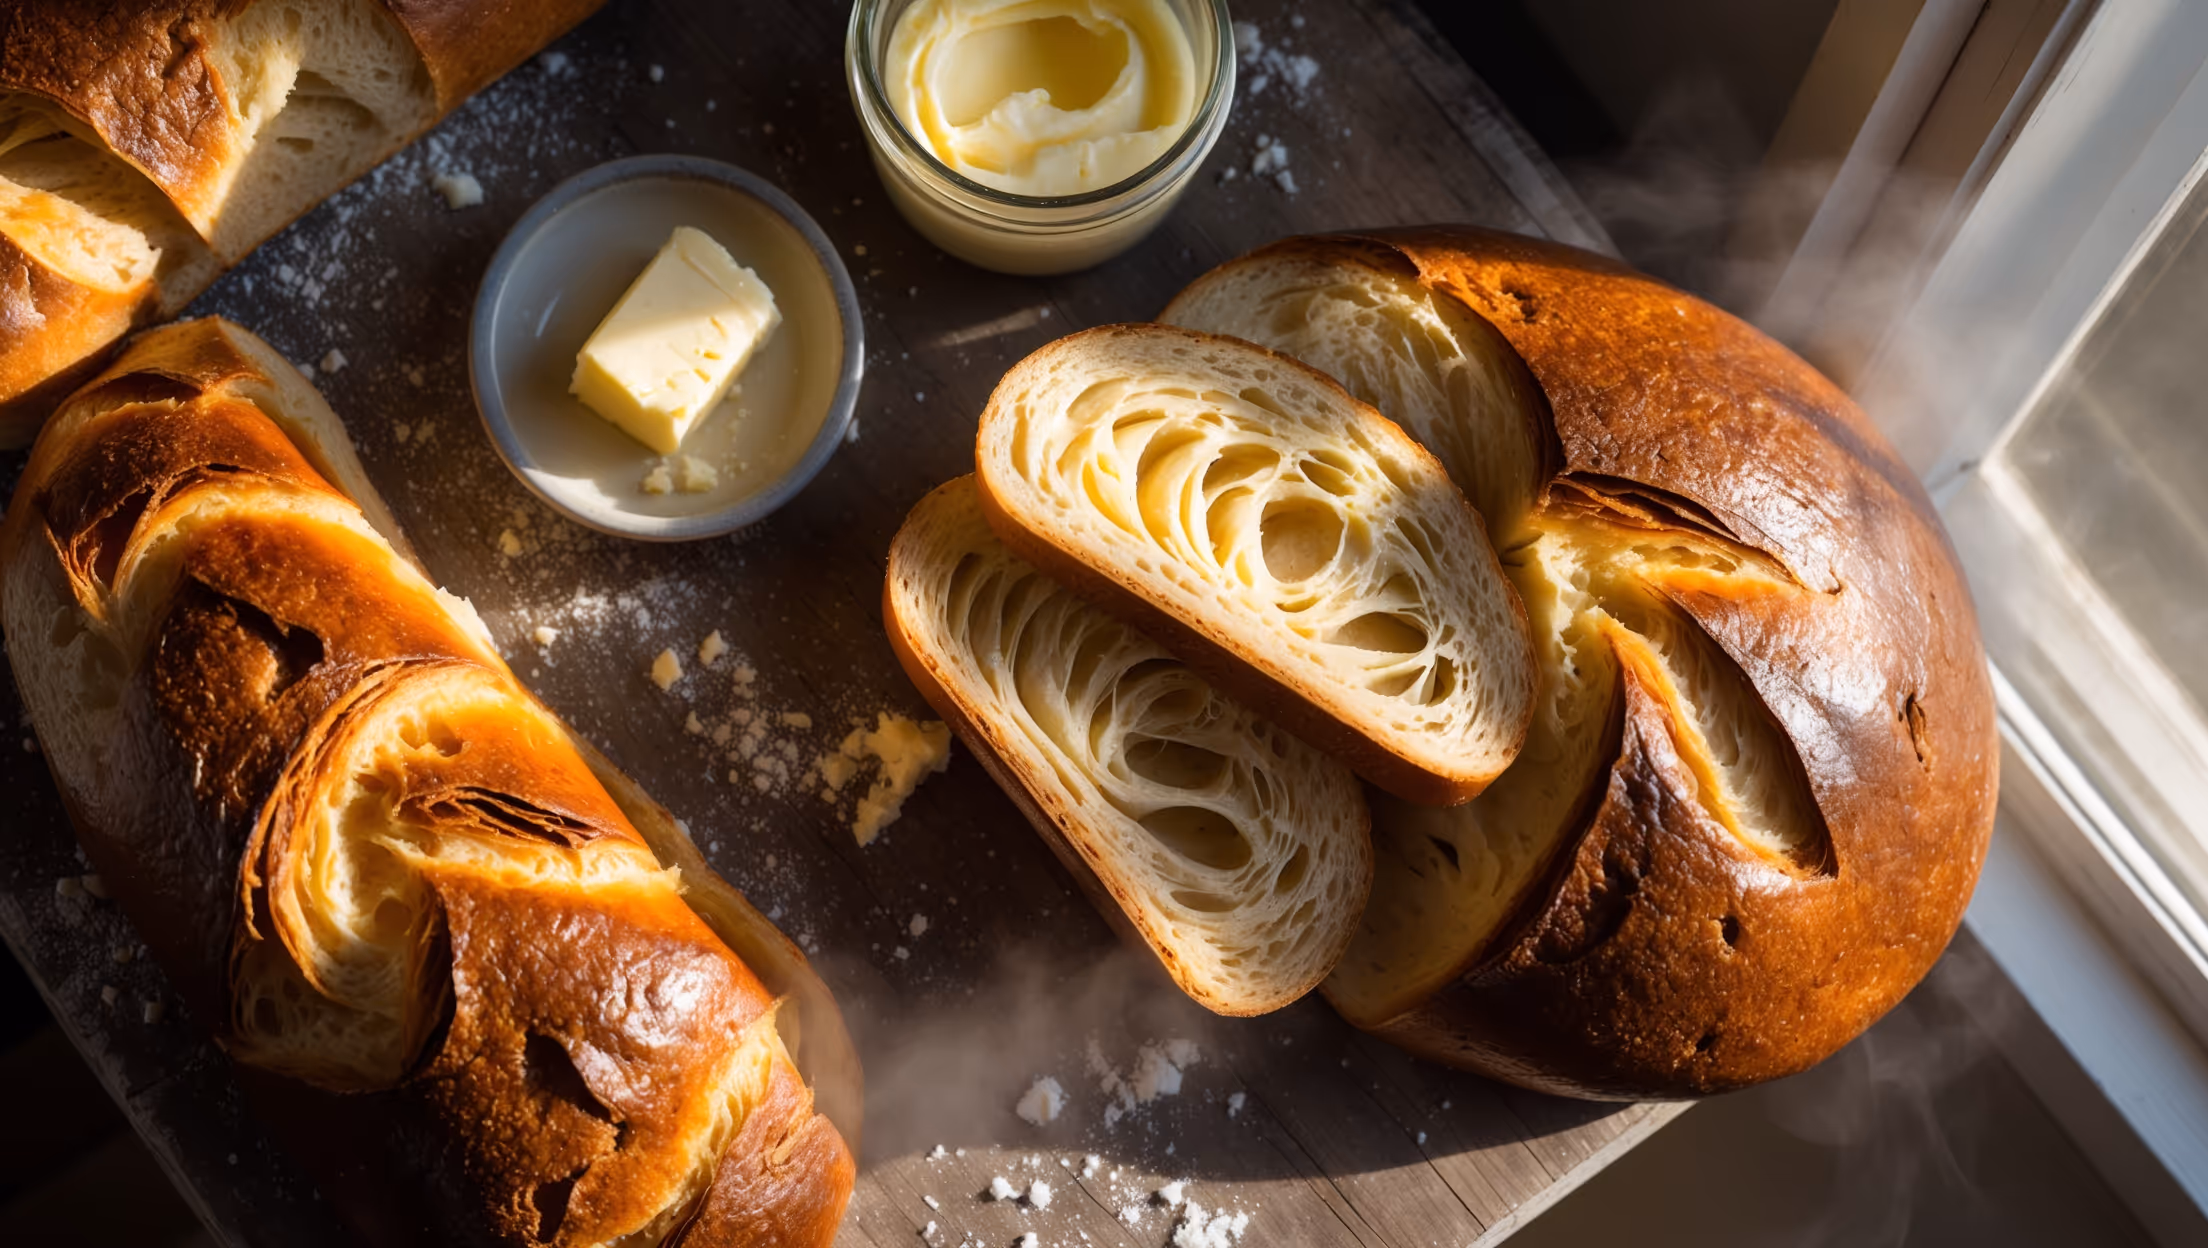
The signature open crumb structure comes from proper hydration (high water content), gentle handling to preserve gas bubbles, adequate gluten development through stretch-and-folds, proper fermentation, and creating tension during shaping. The hot, steamy environment of a Dutch oven also promotes dramatic oven spring.
Your starter is ready when it consistently doubles in size within 6-8 hours after feeding, appears bubbly and active with a pleasant sour aroma, and passes the float test (a small amount floats when dropped in water). It should have a predictable rise and fall pattern after regular feedings.
Sourdough
Try following recommended recipes