Sourdough Brioche Recipe
Ingredients
Equipment
Directions
FAQs
Find answers to your most pressing questions about this delicious recipe right here.
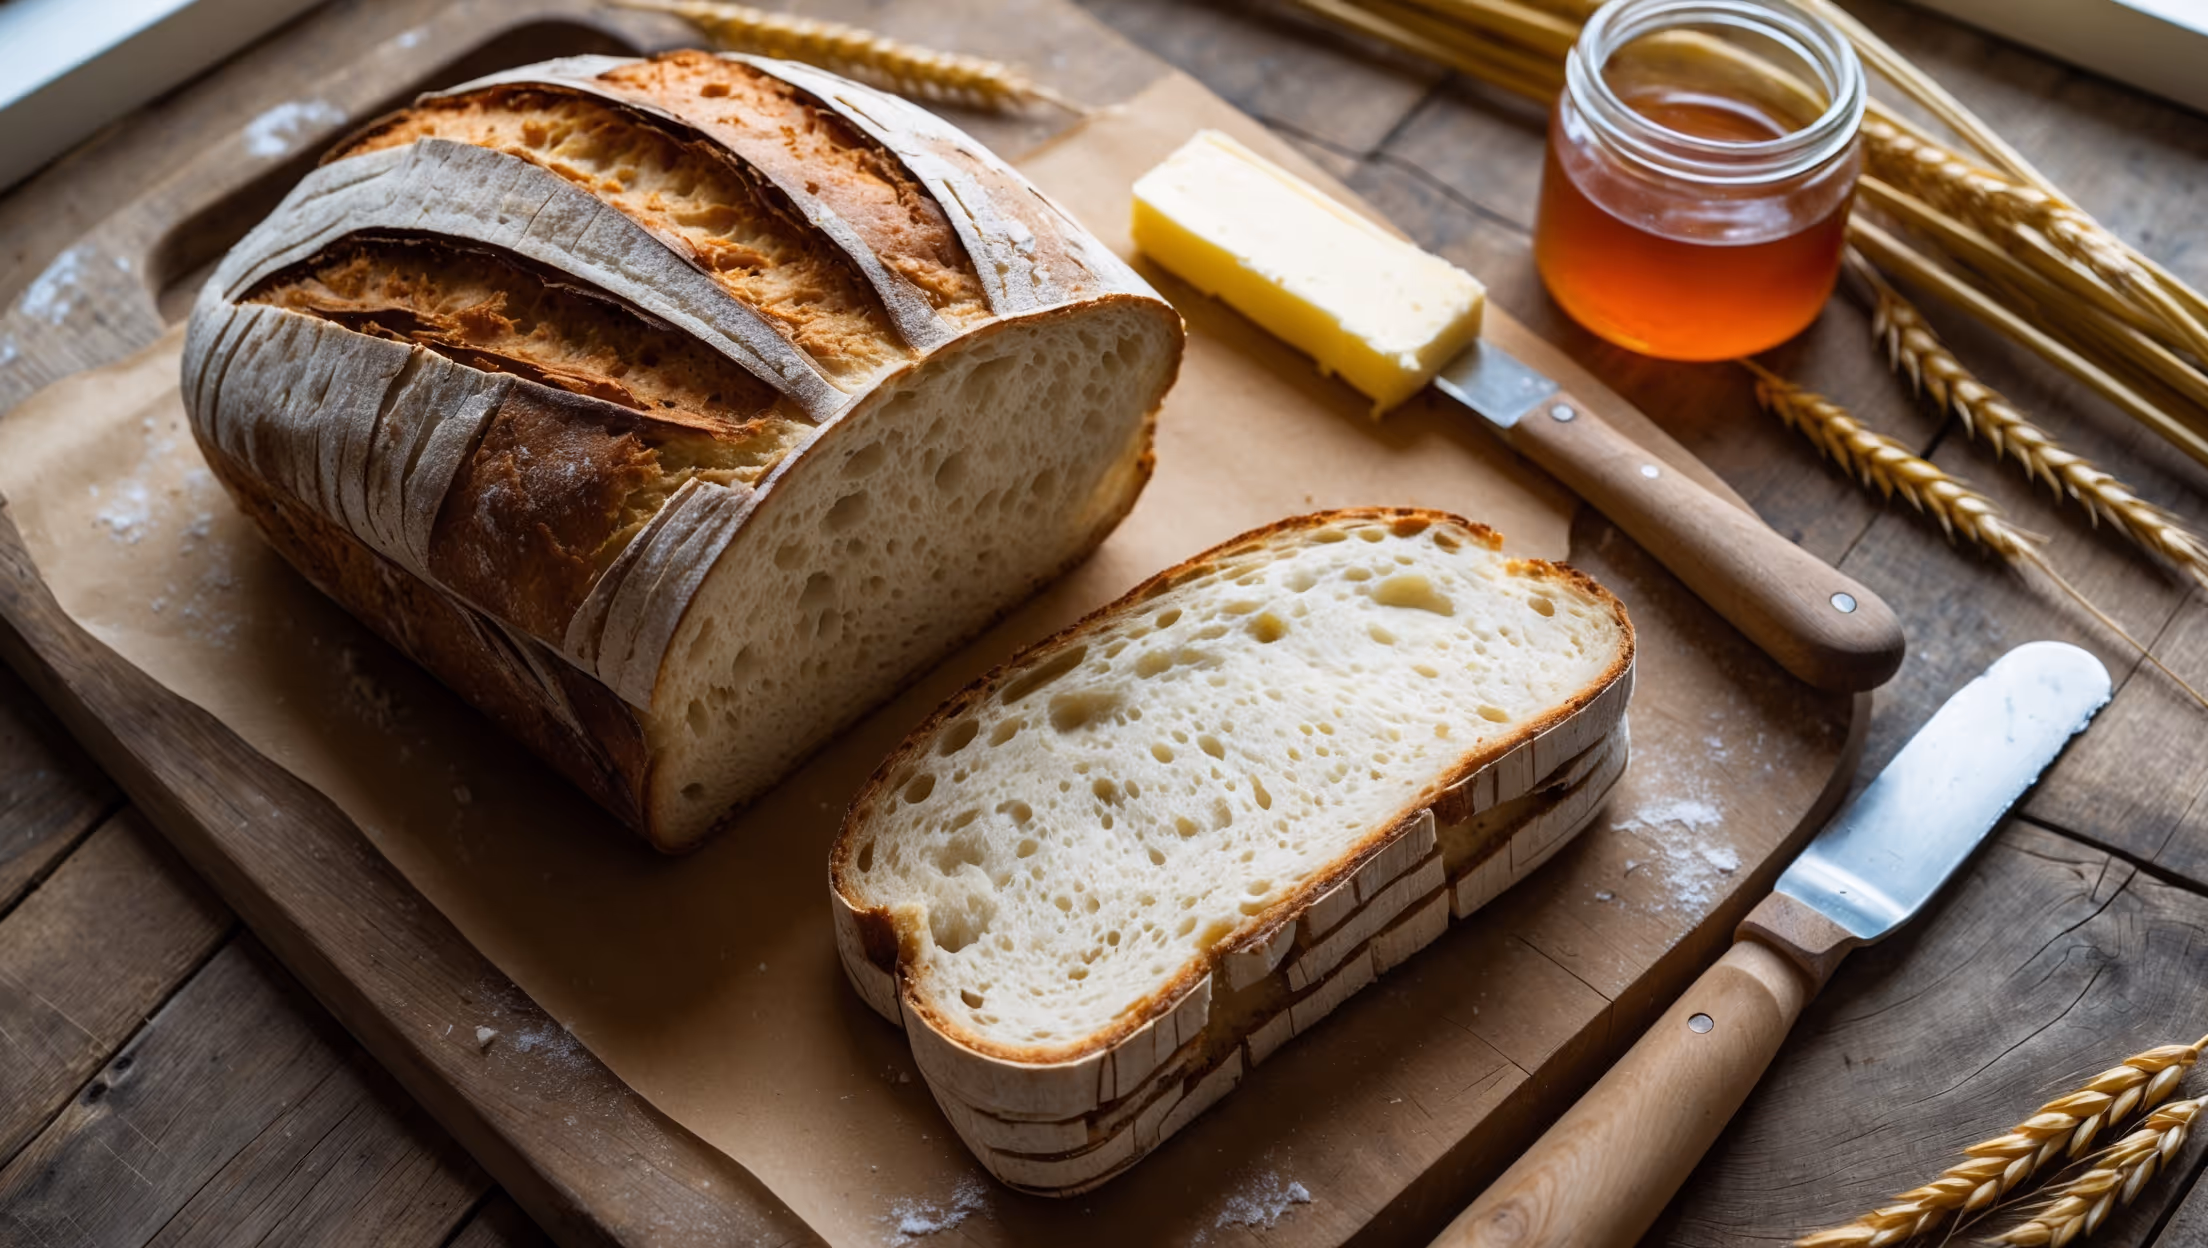
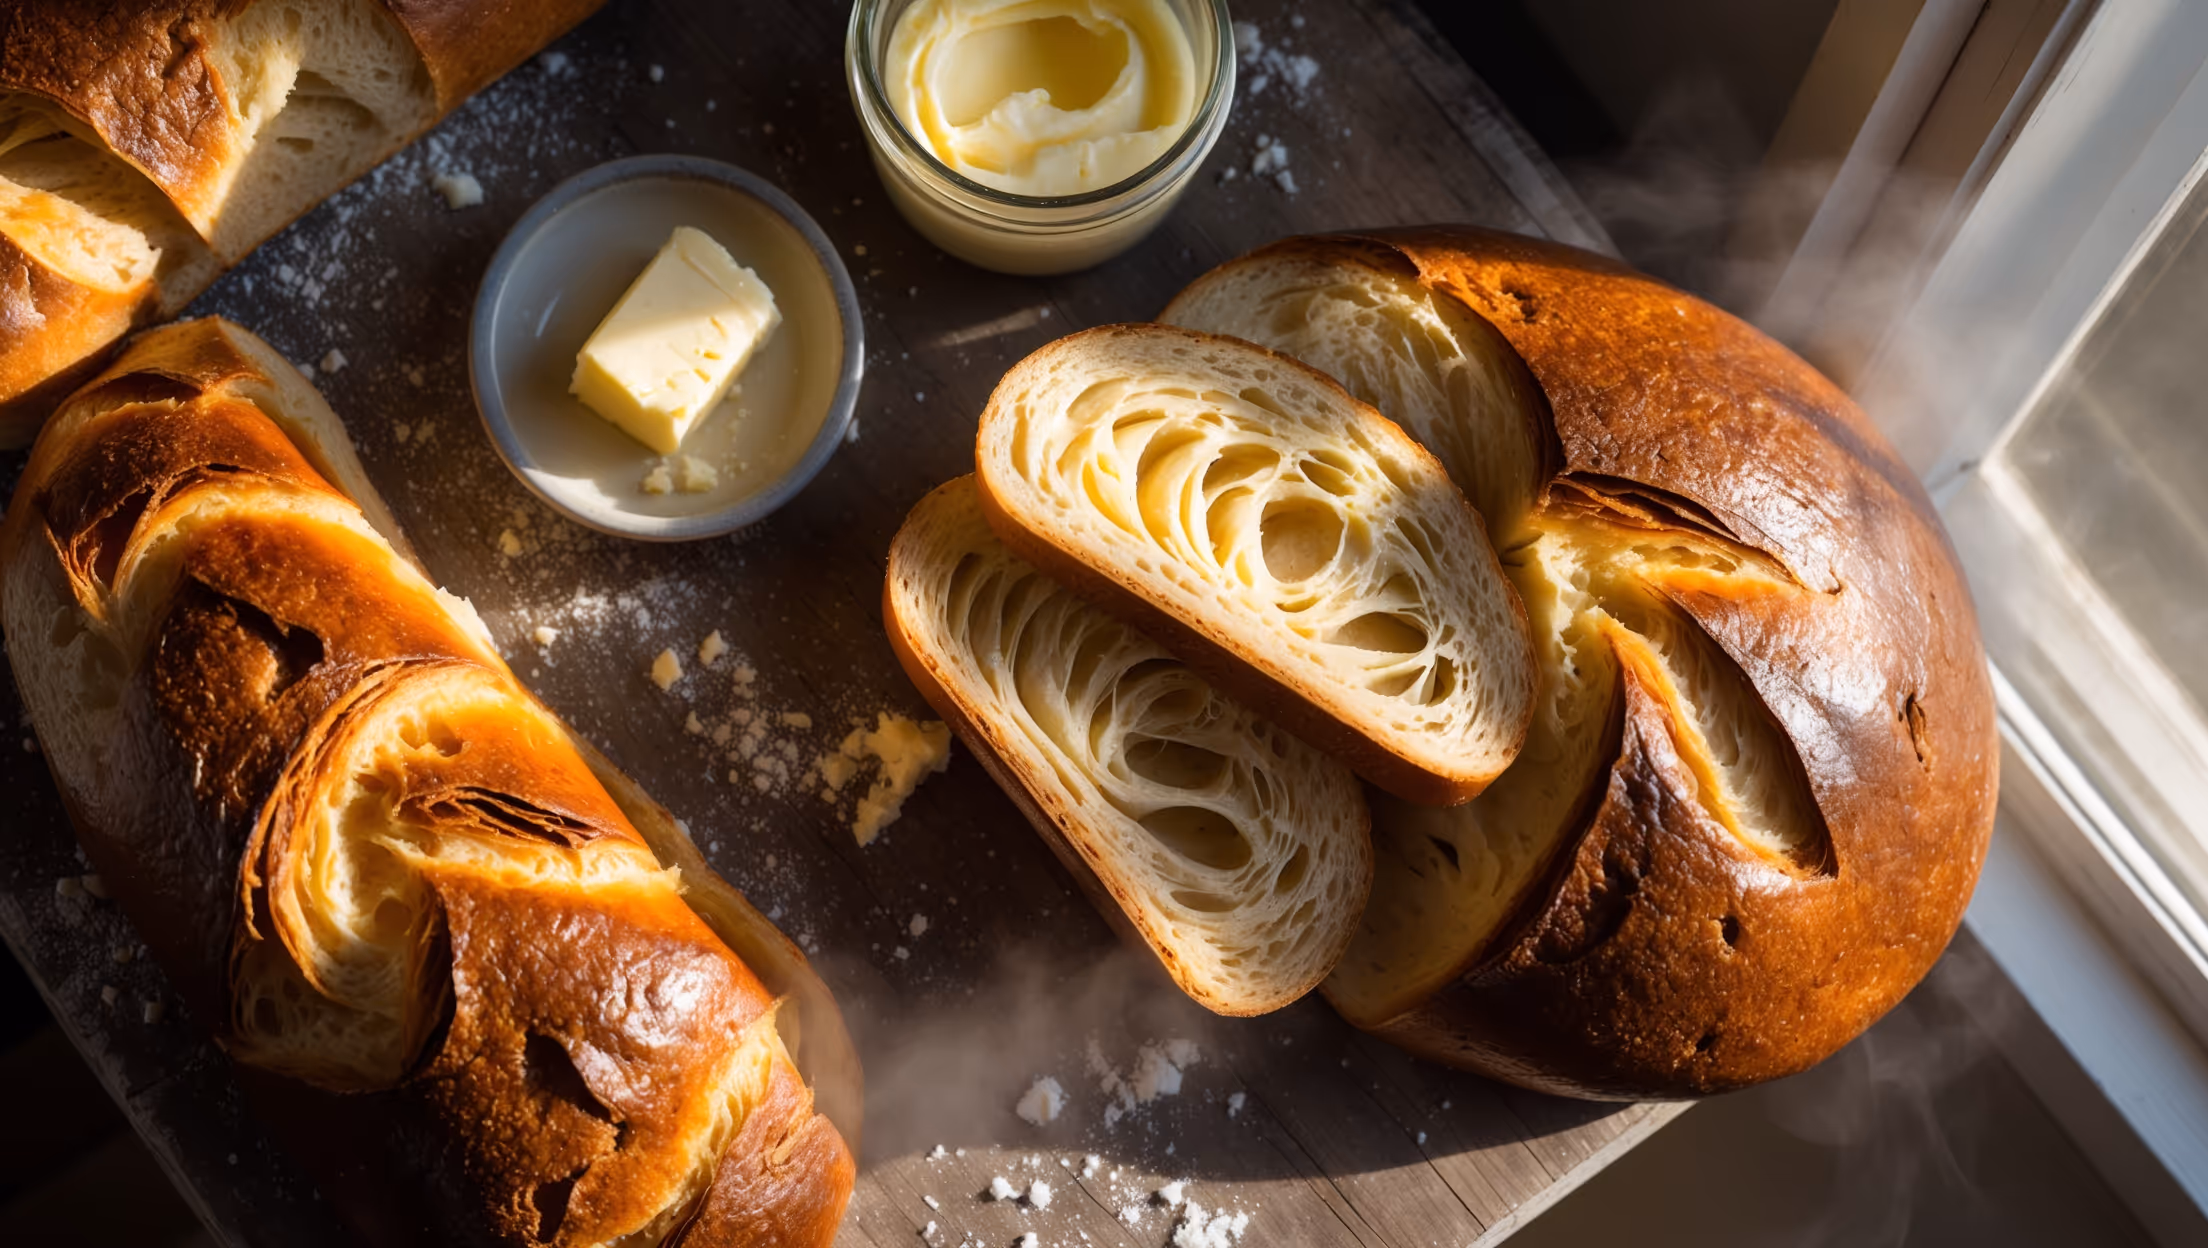
This luxurious bread requires an active sourdough starter, bread flour, sugar, salt, eggs, whole milk, and a generous amount of unsalted butter. The egg wash topping consists of a beaten egg mixed with water for that signature glossy finish.
Learn how to cook Sourdough Brioche Recipe by properly activating your starter before mixing it with flour, sugar, eggs and milk. The key technique is gradually incorporating softened butter, then allowing for both room temperature and cold fermentation. After shaping, the brioche needs a patient final proof before baking to golden perfection.
The overnight cold fermentation serves multiple purposes: it develops the sourdough's tangy flavour complexity, firms up the butter for easier handling, allows the gluten to relax, and creates a more cohesive final texture. This patient waiting period is essential for true brioche quality.
While possible, hand-kneading brioche is extremely challenging due to its high butter content. The dough becomes very sticky during butter incorporation. If attempting by hand, use the stretch-and-fold method and expect significantly more time and effort for proper gluten development.
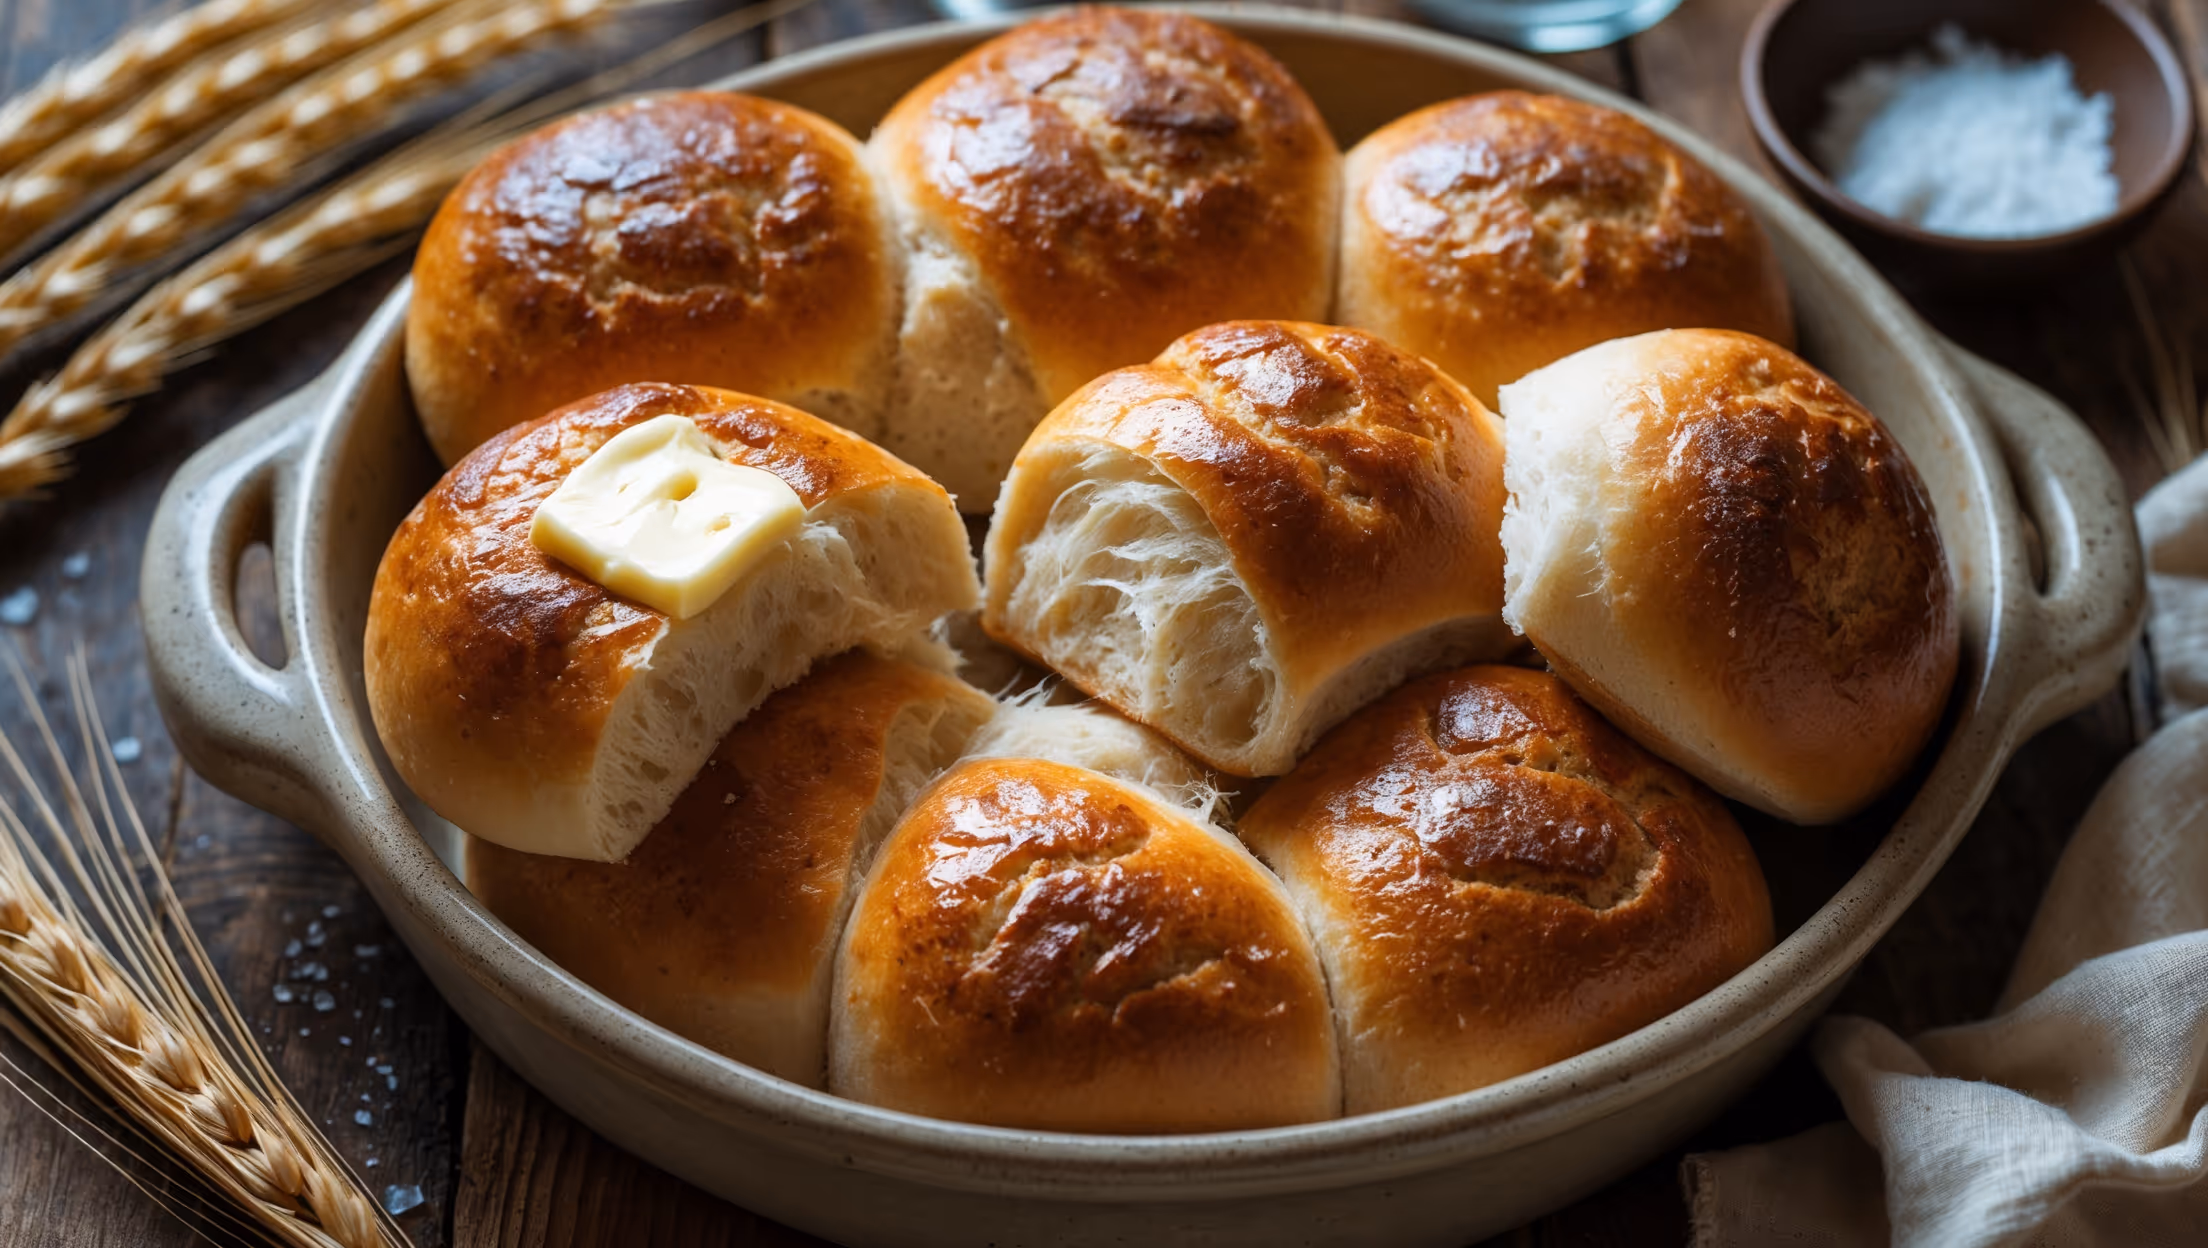
Properly proofed brioche will nearly double in size, feel light and puffy when gently touched, and slowly spring back when lightly pressed. Unlike regular bread, sourdough brioche proofing is slower - taking 3-5 hours. Watch for visual cues rather than strict timing.
Sourdough
Try following recommended recipes