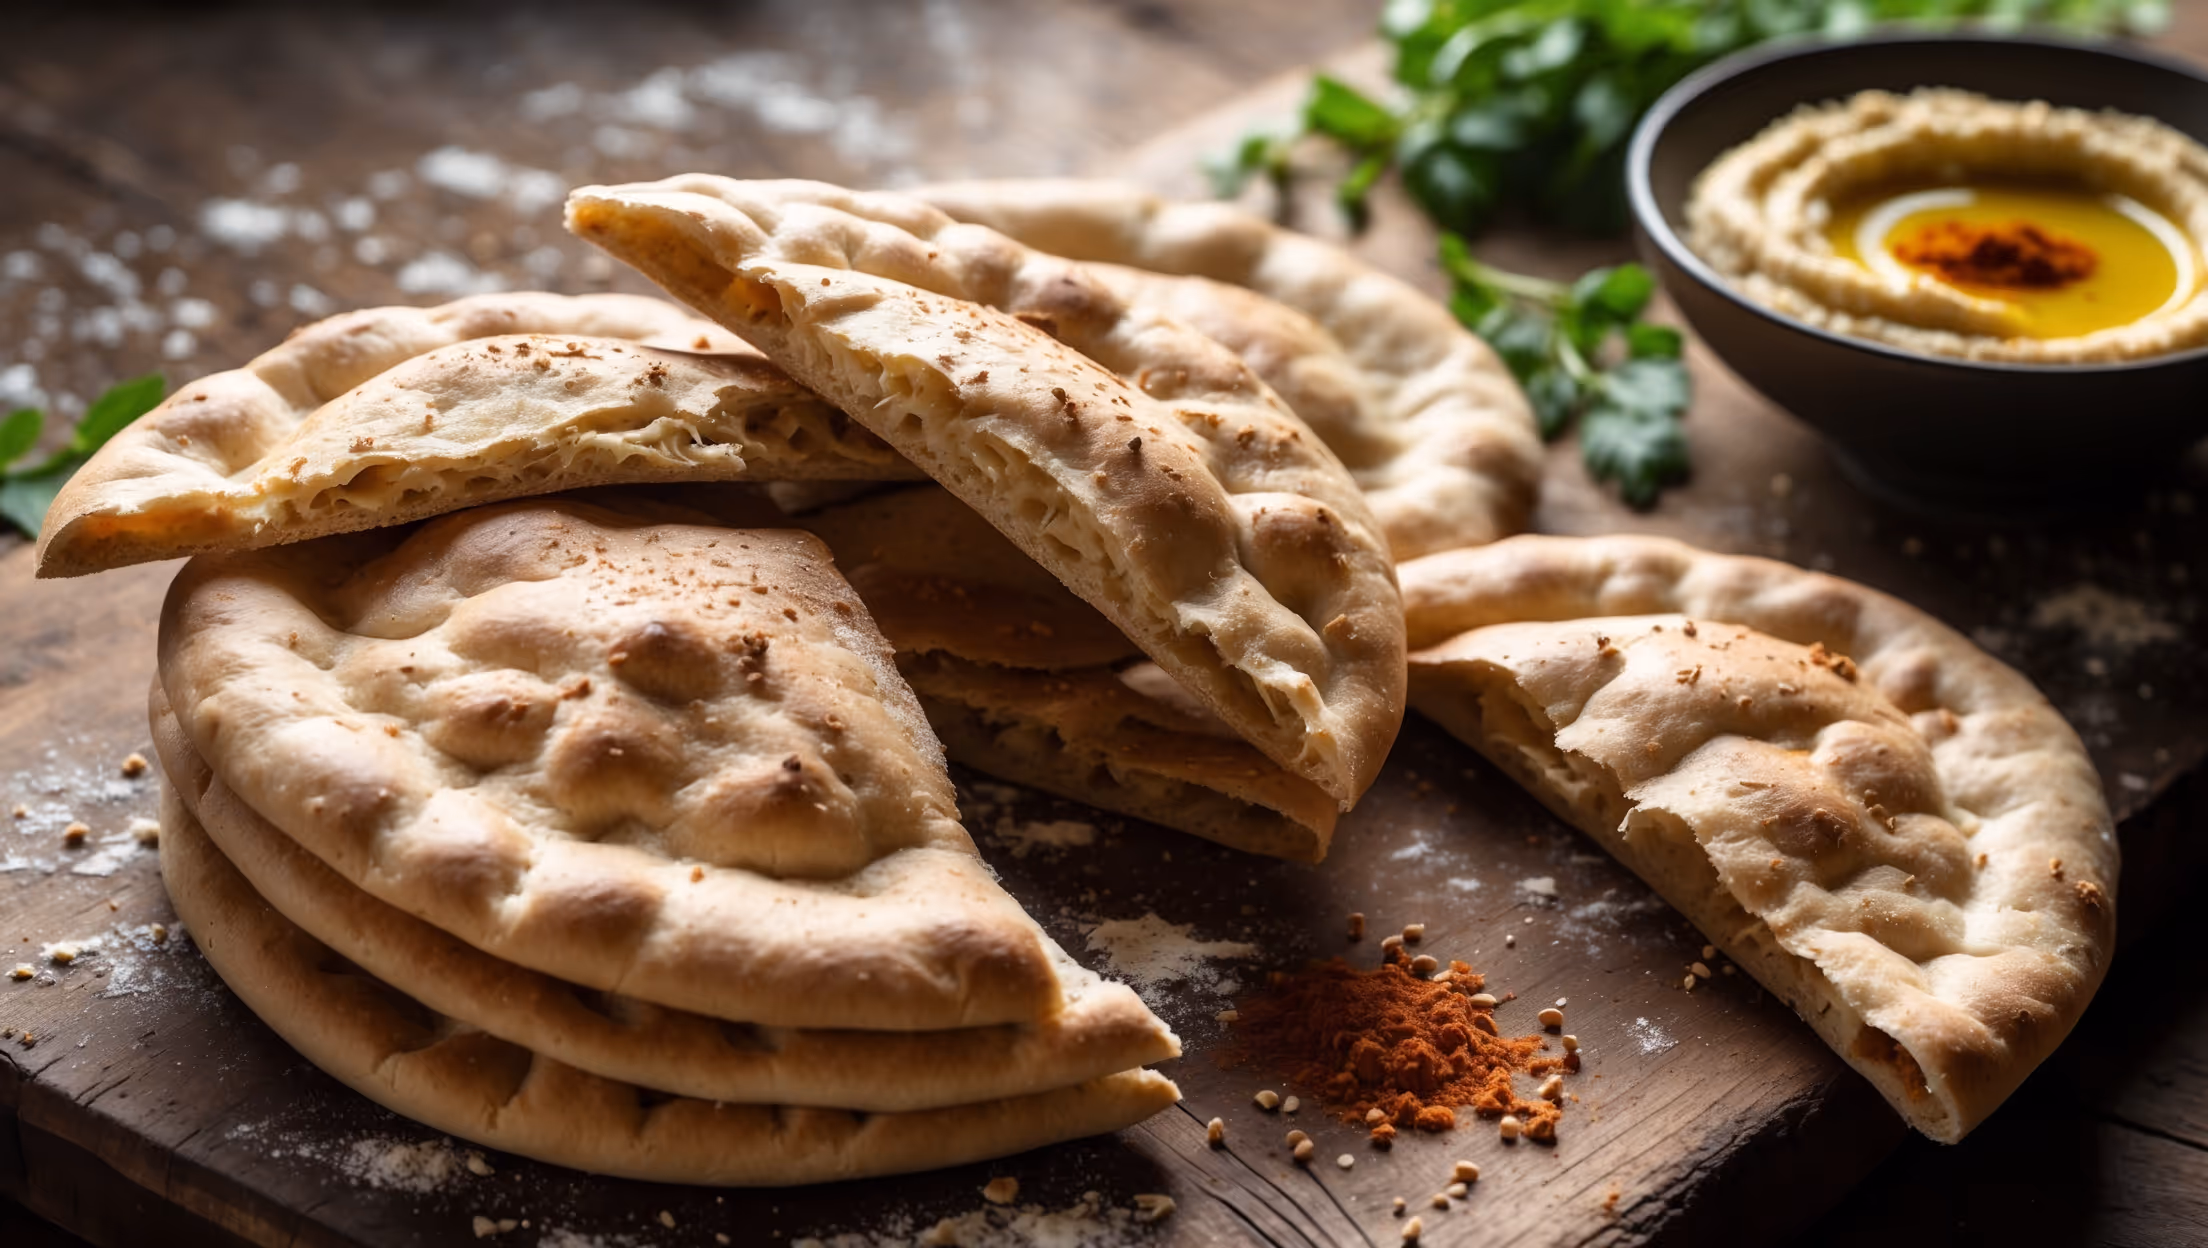
Sourdough Pita Bread Recipe
Ingredients
Equipment
Directions
FAQs
Find answers to your most pressing questions about this delicious recipe right here.
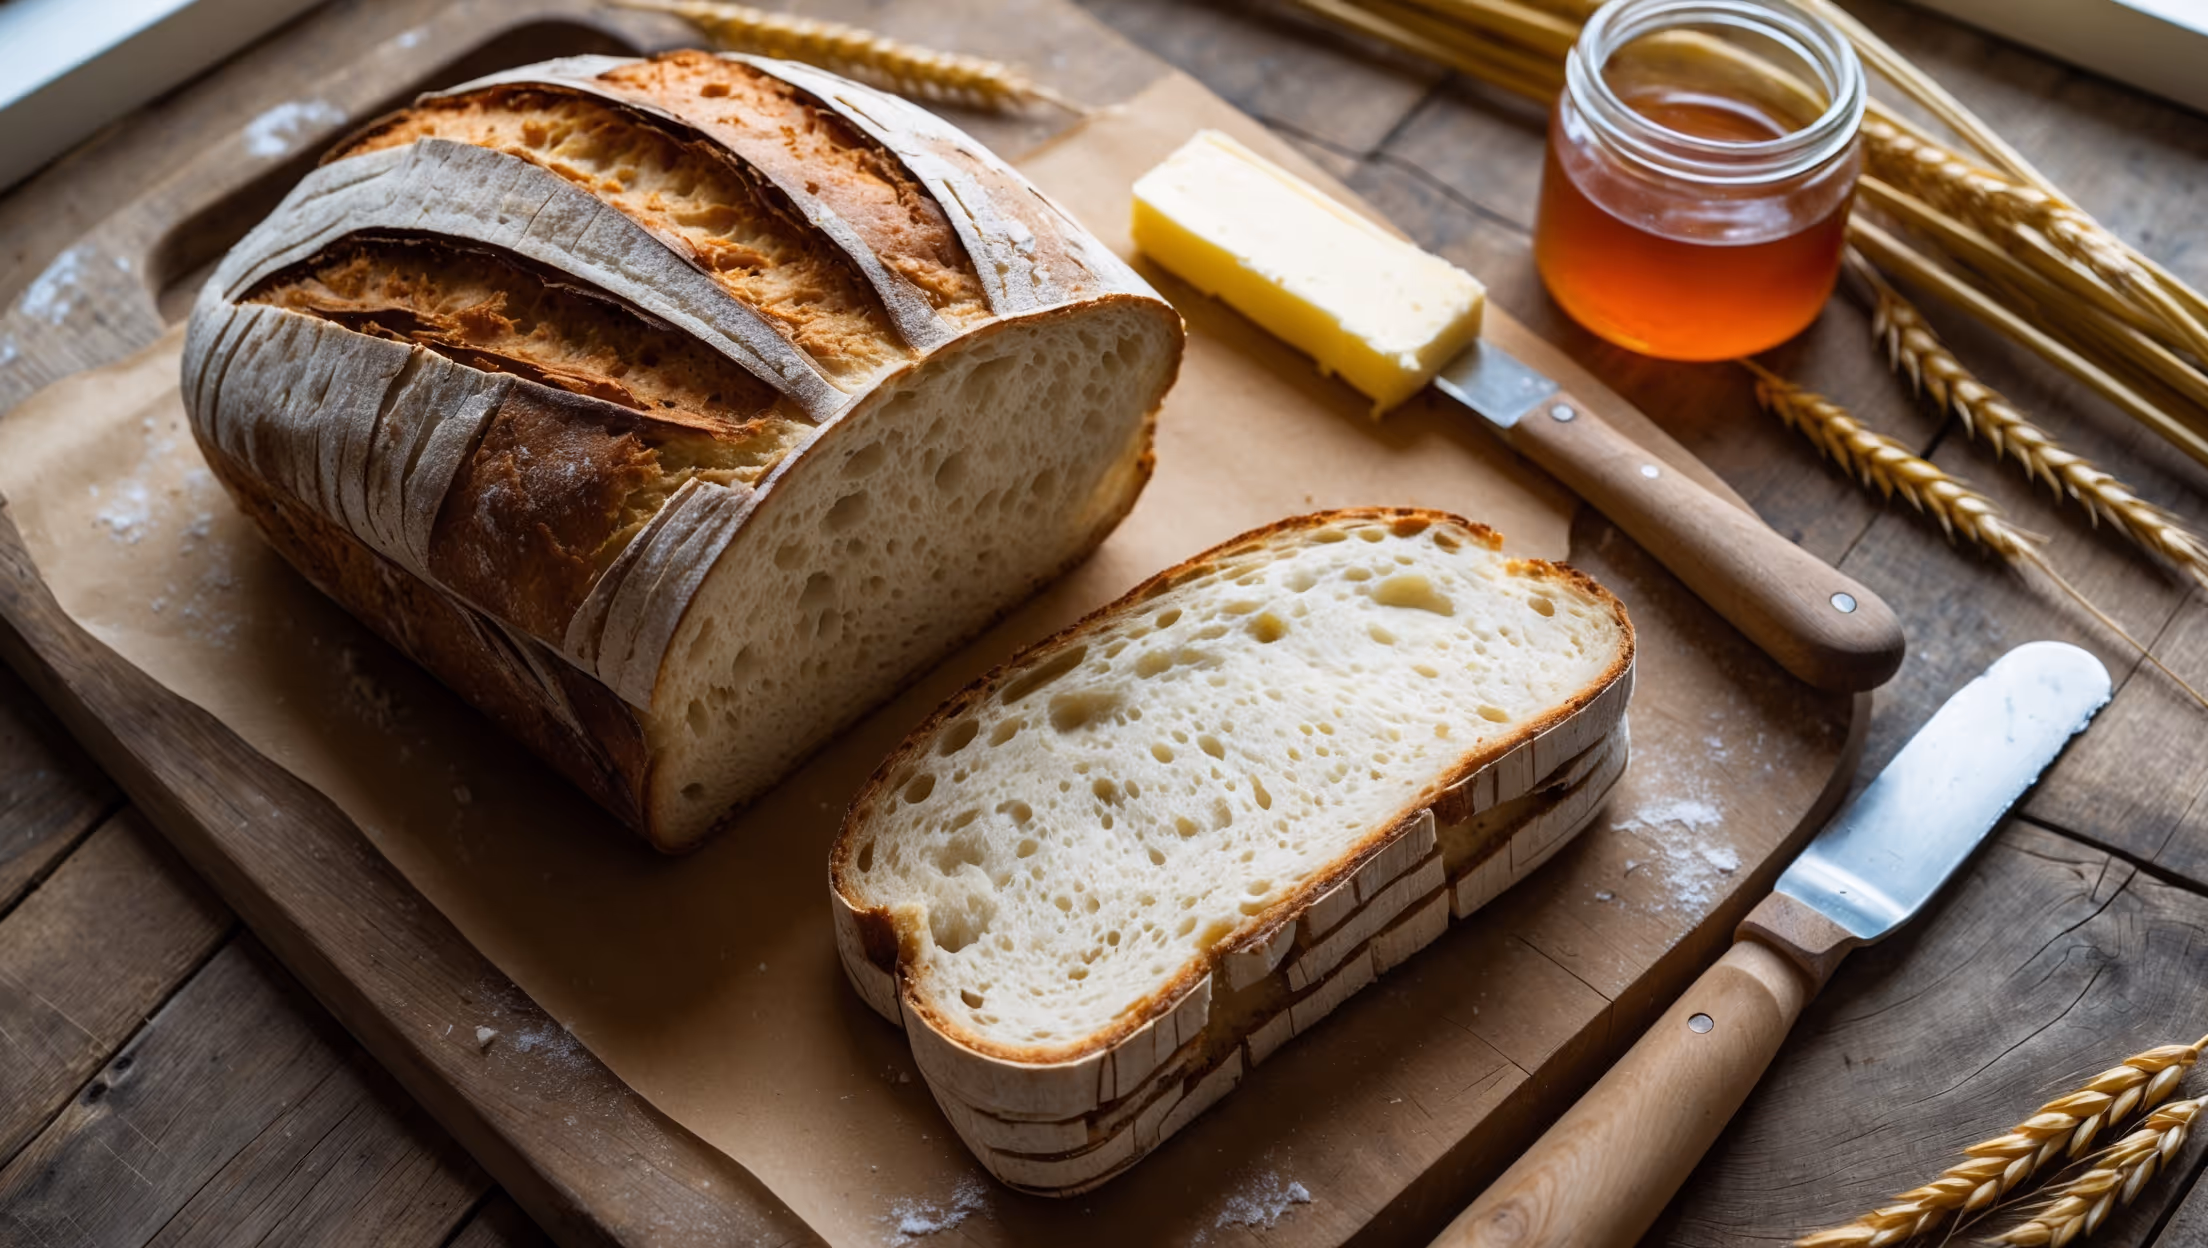
This sourdough pita bread requires active sourdough starter (100% hydration), bread flour, water, sea salt, olive oil, and honey (or sugar). The high-protein bread flour and active starter are key to creating those perfect pockets and tangy flavour.
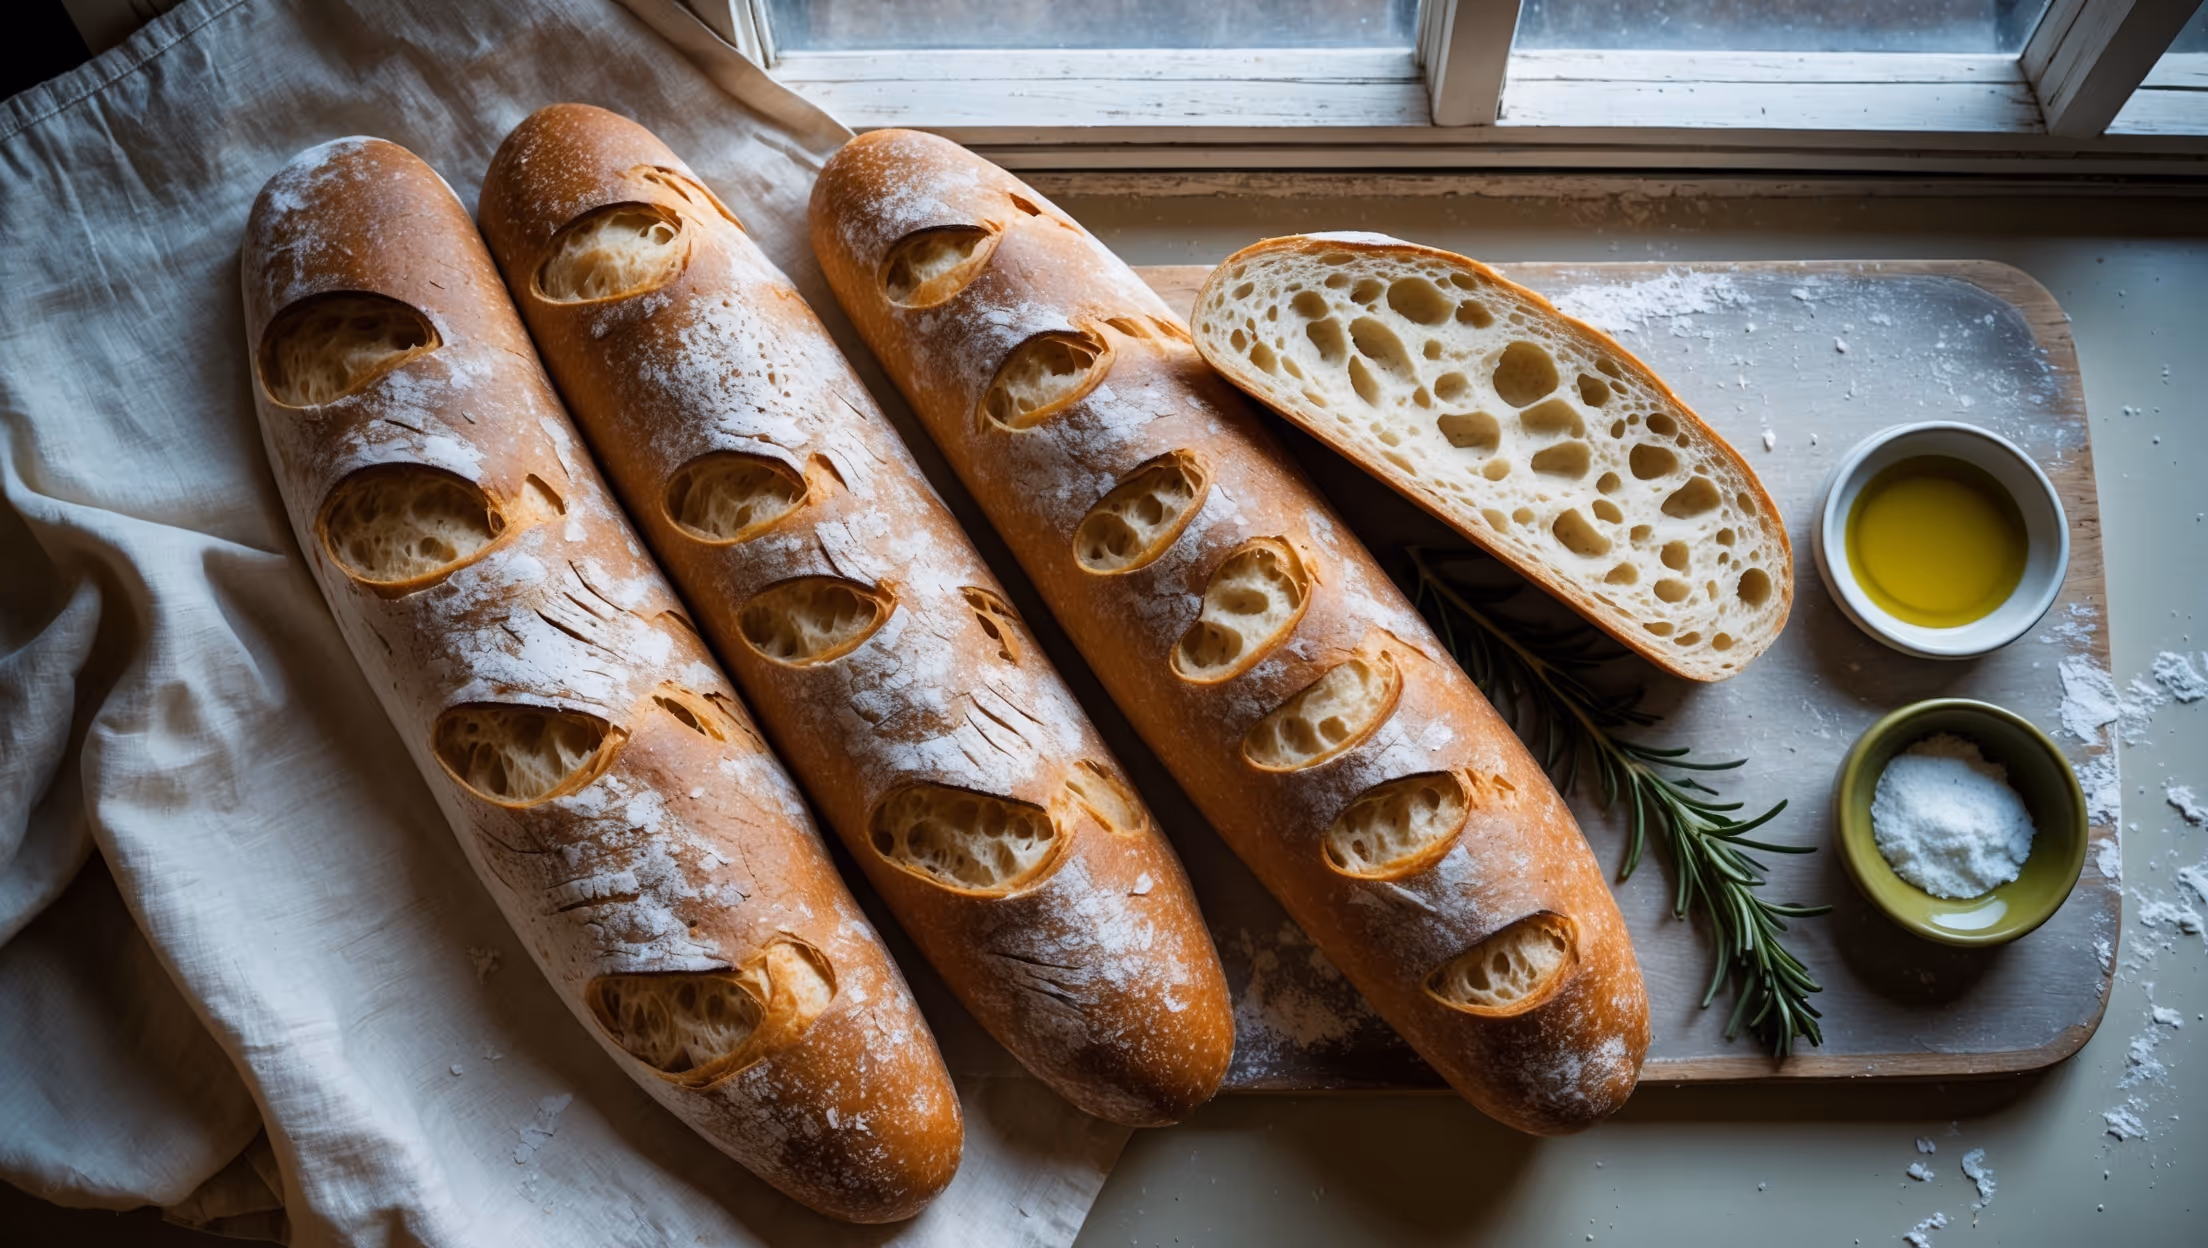
Learn how to cook Sourdough Pita Bread by preparing a fermented dough (8-16 hours), dividing it into balls, rolling into thin circles, and baking on a screaming hot cast iron skillet or baking stone at 250°C. The intense heat creates steam that puffs the dough, forming that characteristic pocket perfect for fillings.
Several factors affect puffing: insufficient dough fermentation, uneven thickness when rolling, not hot enough cooking surface, or overhandling the dough. Ensure your skillet or stone is thoroughly preheated, maintain even thickness when rolling, and handle the dough gently to retain gas bubbles.
Yes, traditional pita bread uses commercial yeast instead of sourdough starter. While you'll miss the distinctive tangy flavour and extended shelf life of sourdough, you can substitute with 7g of active dry yeast and reduce the fermentation time to 1-2 hours.
Immediately wrap freshly baked pitas in a clean kitchen towel to trap steam and moisture. Once cooled, store in an airtight container or sealed plastic bag. To refresh, lightly sprinkle with water and warm in a 180°C oven for a few minutes to restore softness.
Sourdough
Try following recommended recipes