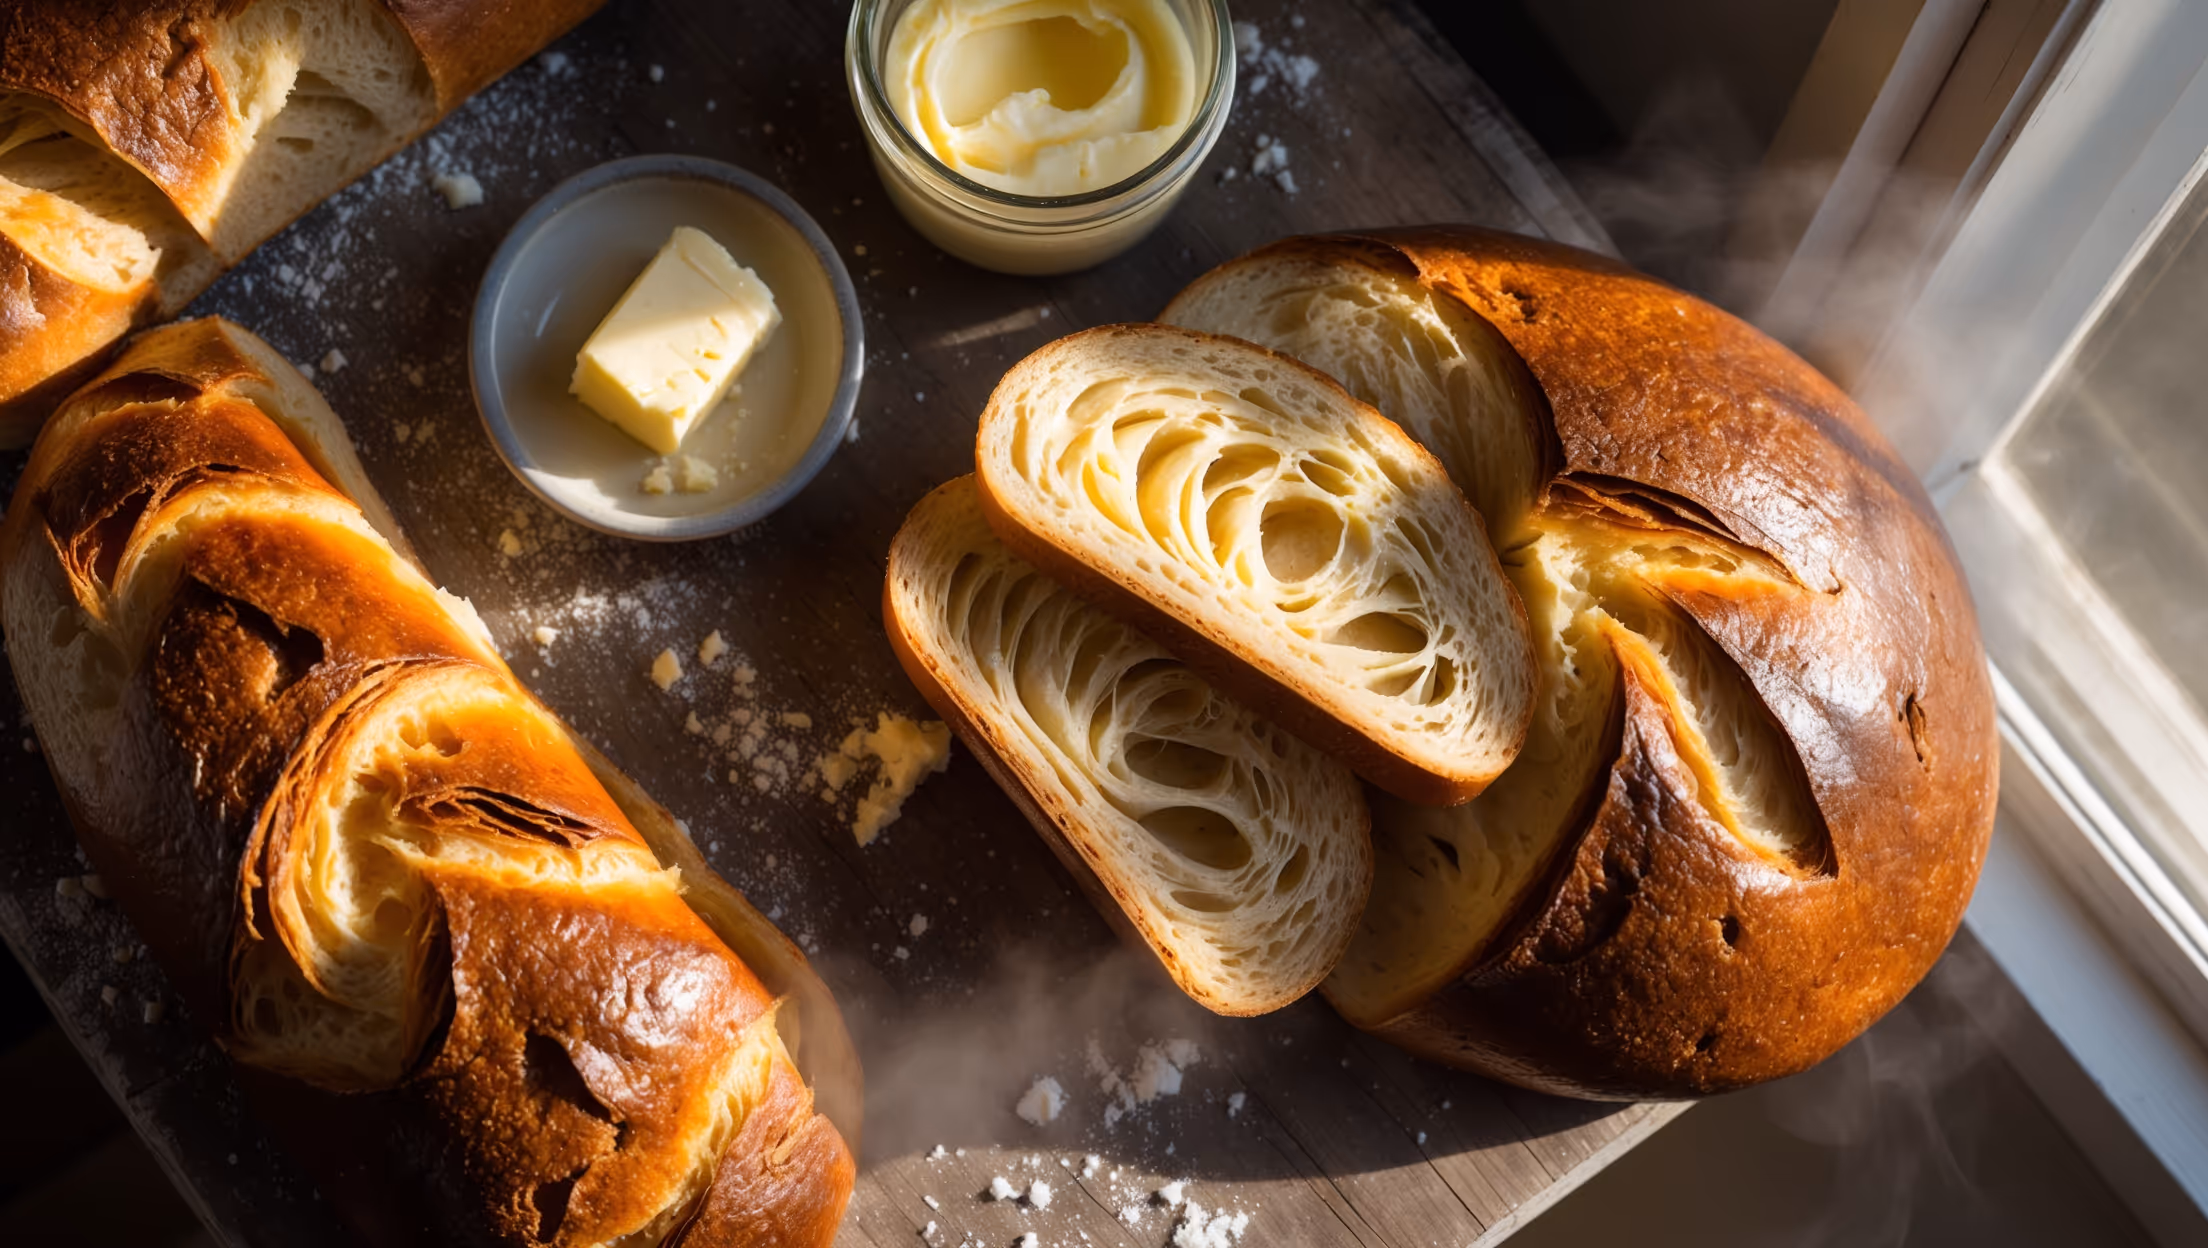
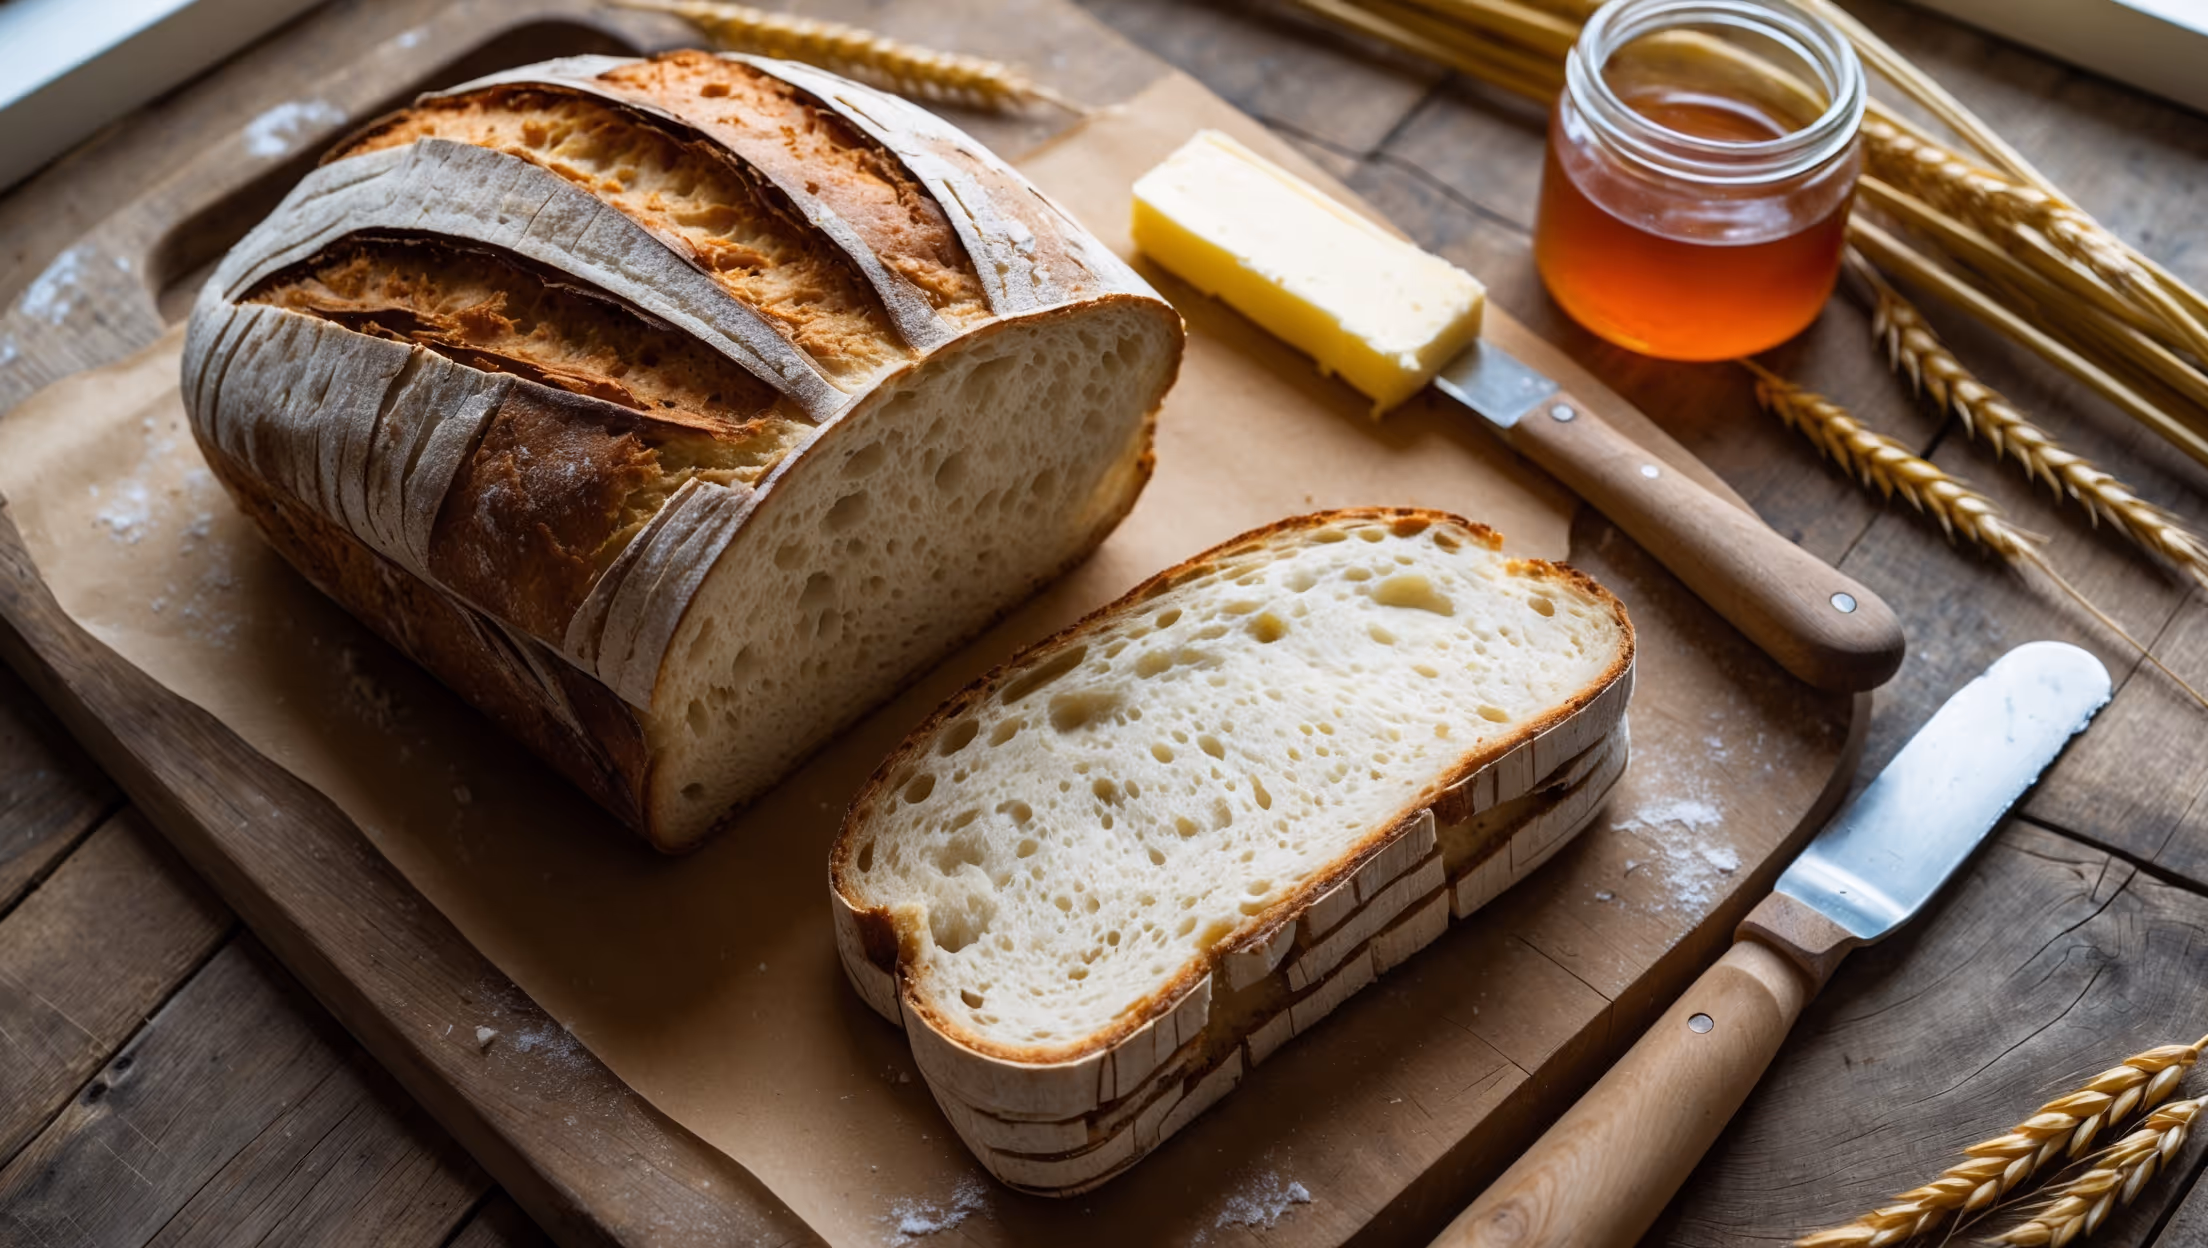
Sourdough Sandwich Bread Recipe
Ingredients
Equipment
Directions
FAQs
Find answers to your most pressing questions about this delicious recipe right here.
The main ingredients for sourdough sandwich bread include active sourdough starter, bread flour, all-purpose flour, whole milk, honey (or maple syrup), unsalted butter, and salt. This combination creates a soft, tender loaf with excellent structure for slicing.
Learn how to cook Sourdough Sandwich Bread by mixing active starter with milk and honey, adding flours for an autolyse period, then incorporating butter and salt. After kneading and bulk fermentation, shape the dough into a loaf, allow a final rise, and bake at 190°C (375°F) for 35-40 minutes until golden brown with an internal temperature of 93-96°C.
Under-rising is typically caused by inactive starter, insufficient fermentation time, or cool room temperatures. Ensure your starter is bubbly and active before use, give the dough enough time to rise (especially in cooler conditions), and consider using a warm spot in your kitchen to encourage proper fermentation.
Absolutely! While a stand mixer makes the process easier, you can knead the dough by hand using the slap and fold technique for 10-12 minutes until it becomes smooth and elastic. Many bakers prefer hand-kneading as it helps develop a better feel for the dough's development.
Once completely cooled, store your sourdough sandwich bread in a bread bin, cotton bag or wrapped in a clean tea towel for 2-3 days. For longer storage, slice the entire loaf and freeze in a sealed container for up to 3 months, removing slices as needed for toasting.
Sourdough
Try following recommended recipes