Mochi Donuts Recipe
Ingredients
Equipment
Directions
FAQs
Find answers to your most pressing questions about this delicious recipe right here.
Mochi donuts require glutinous rice flour (mochiko), plain flour, sugar, baking powder, salt, milk, eggs, butter, and vanilla. For frying, you'll need vegetable oil. The glaze uses icing sugar, milk, and optional food colouring and toppings like sprinkles or sesame seeds.
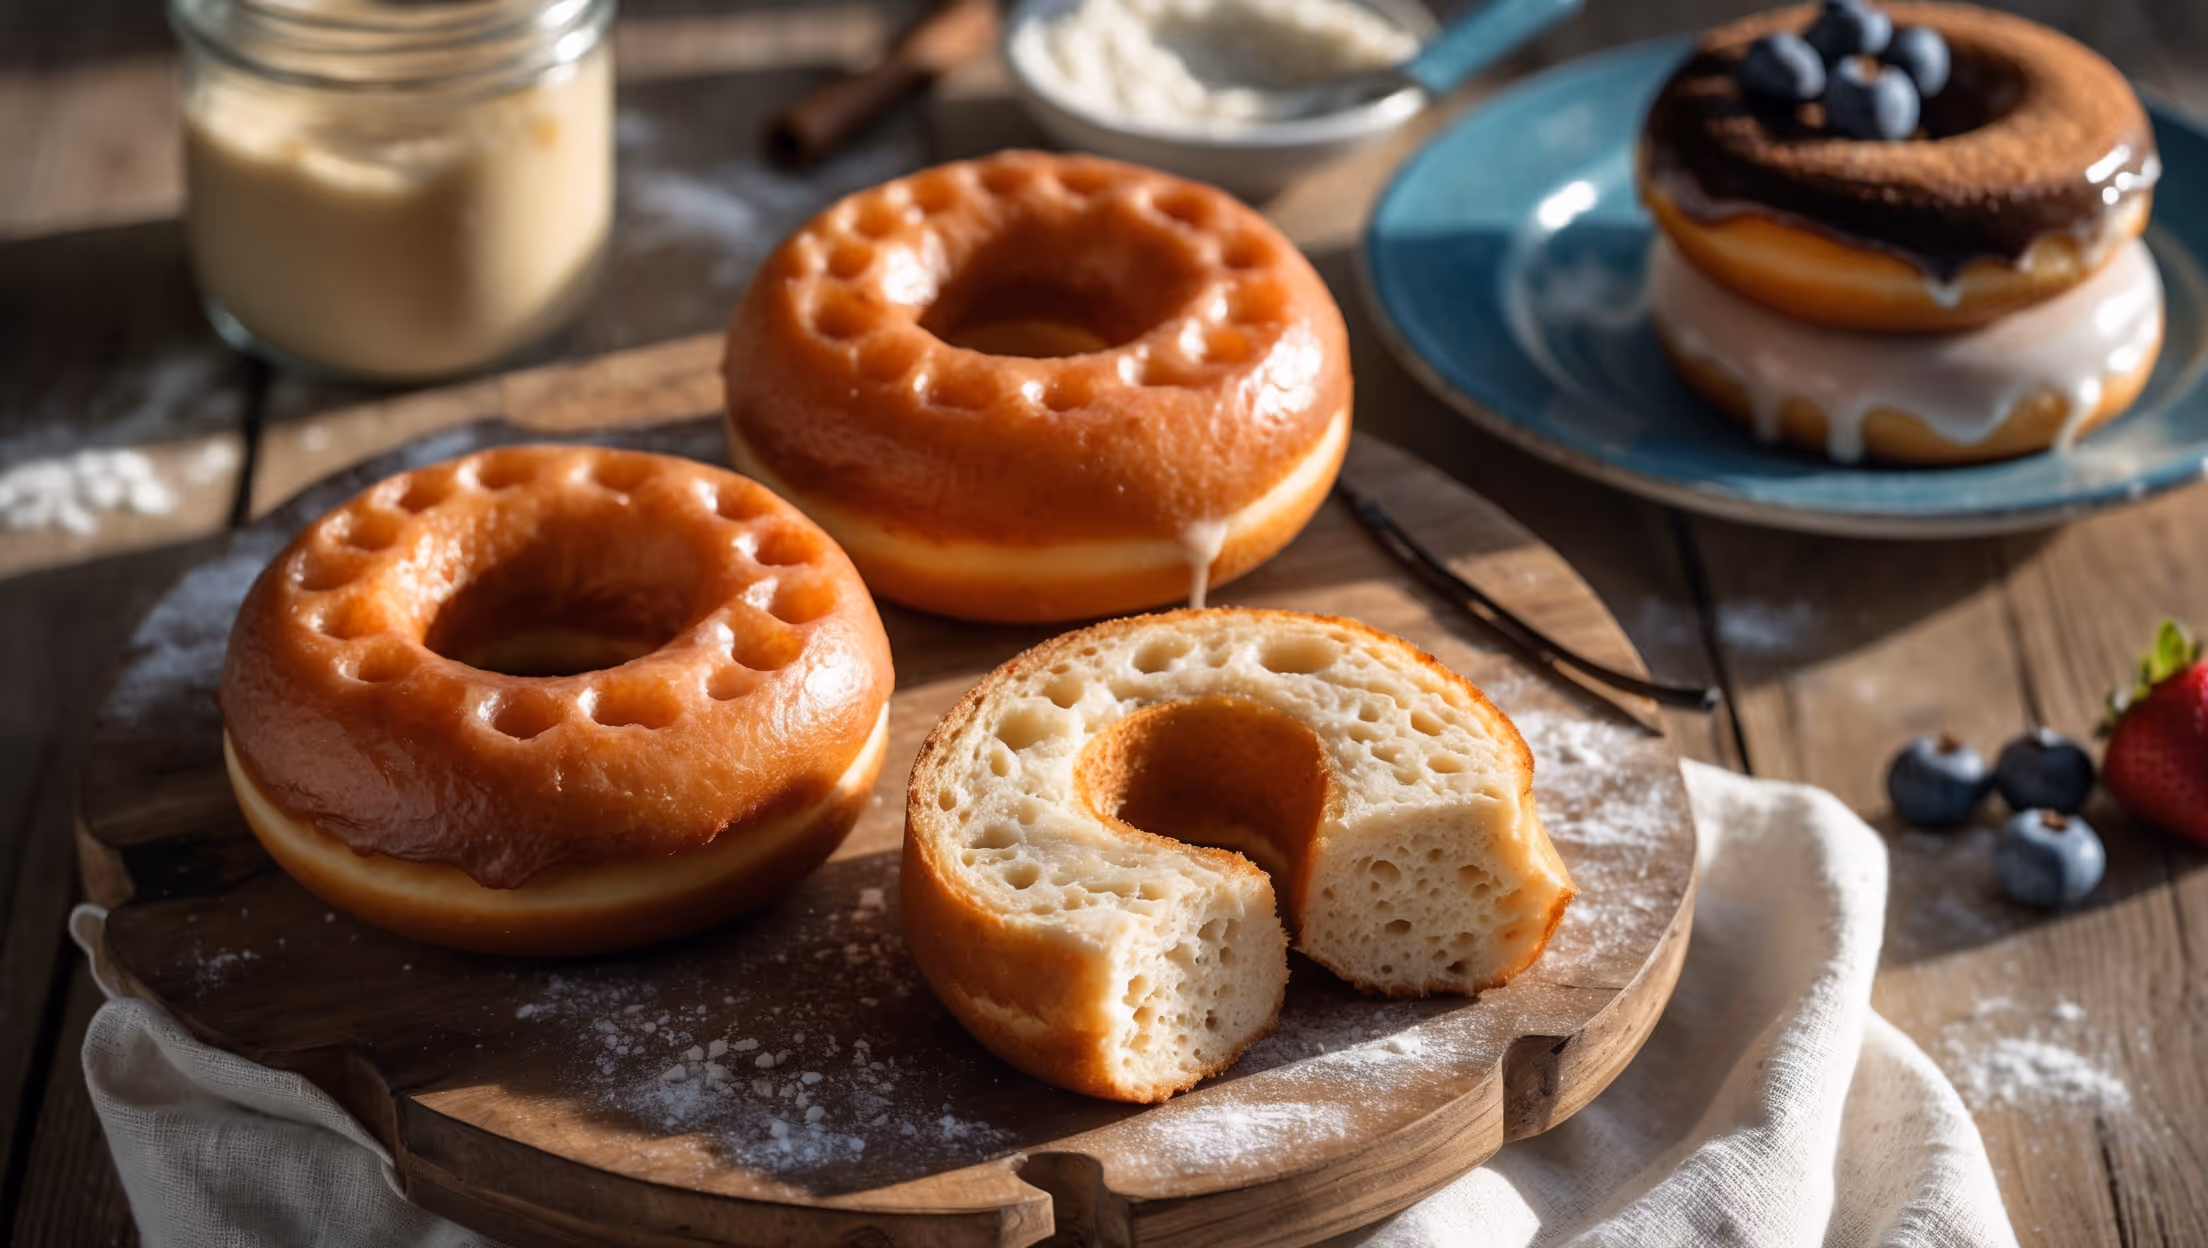
Learn how to cook Mochi Donuts Recipe by making a batter with glutinous rice flour and wet ingredients, piping it into connected bubble rings on parchment, then frying at 175-180°C until golden brown (about 2-3 minutes per side). The key is maintaining the correct oil temperature to achieve that perfect crispy exterior with a chewy, stretchy interior, then glazing while still warm.
Dense mochi donuts typically result from overmixing the batter (which develops too much gluten) or using the wrong flour ratio. Ensure you're using primarily glutinous rice flour, mix until just combined, and maintain proper oil temperature (175-180°C) when frying for that perfect chewy-yet-light texture.
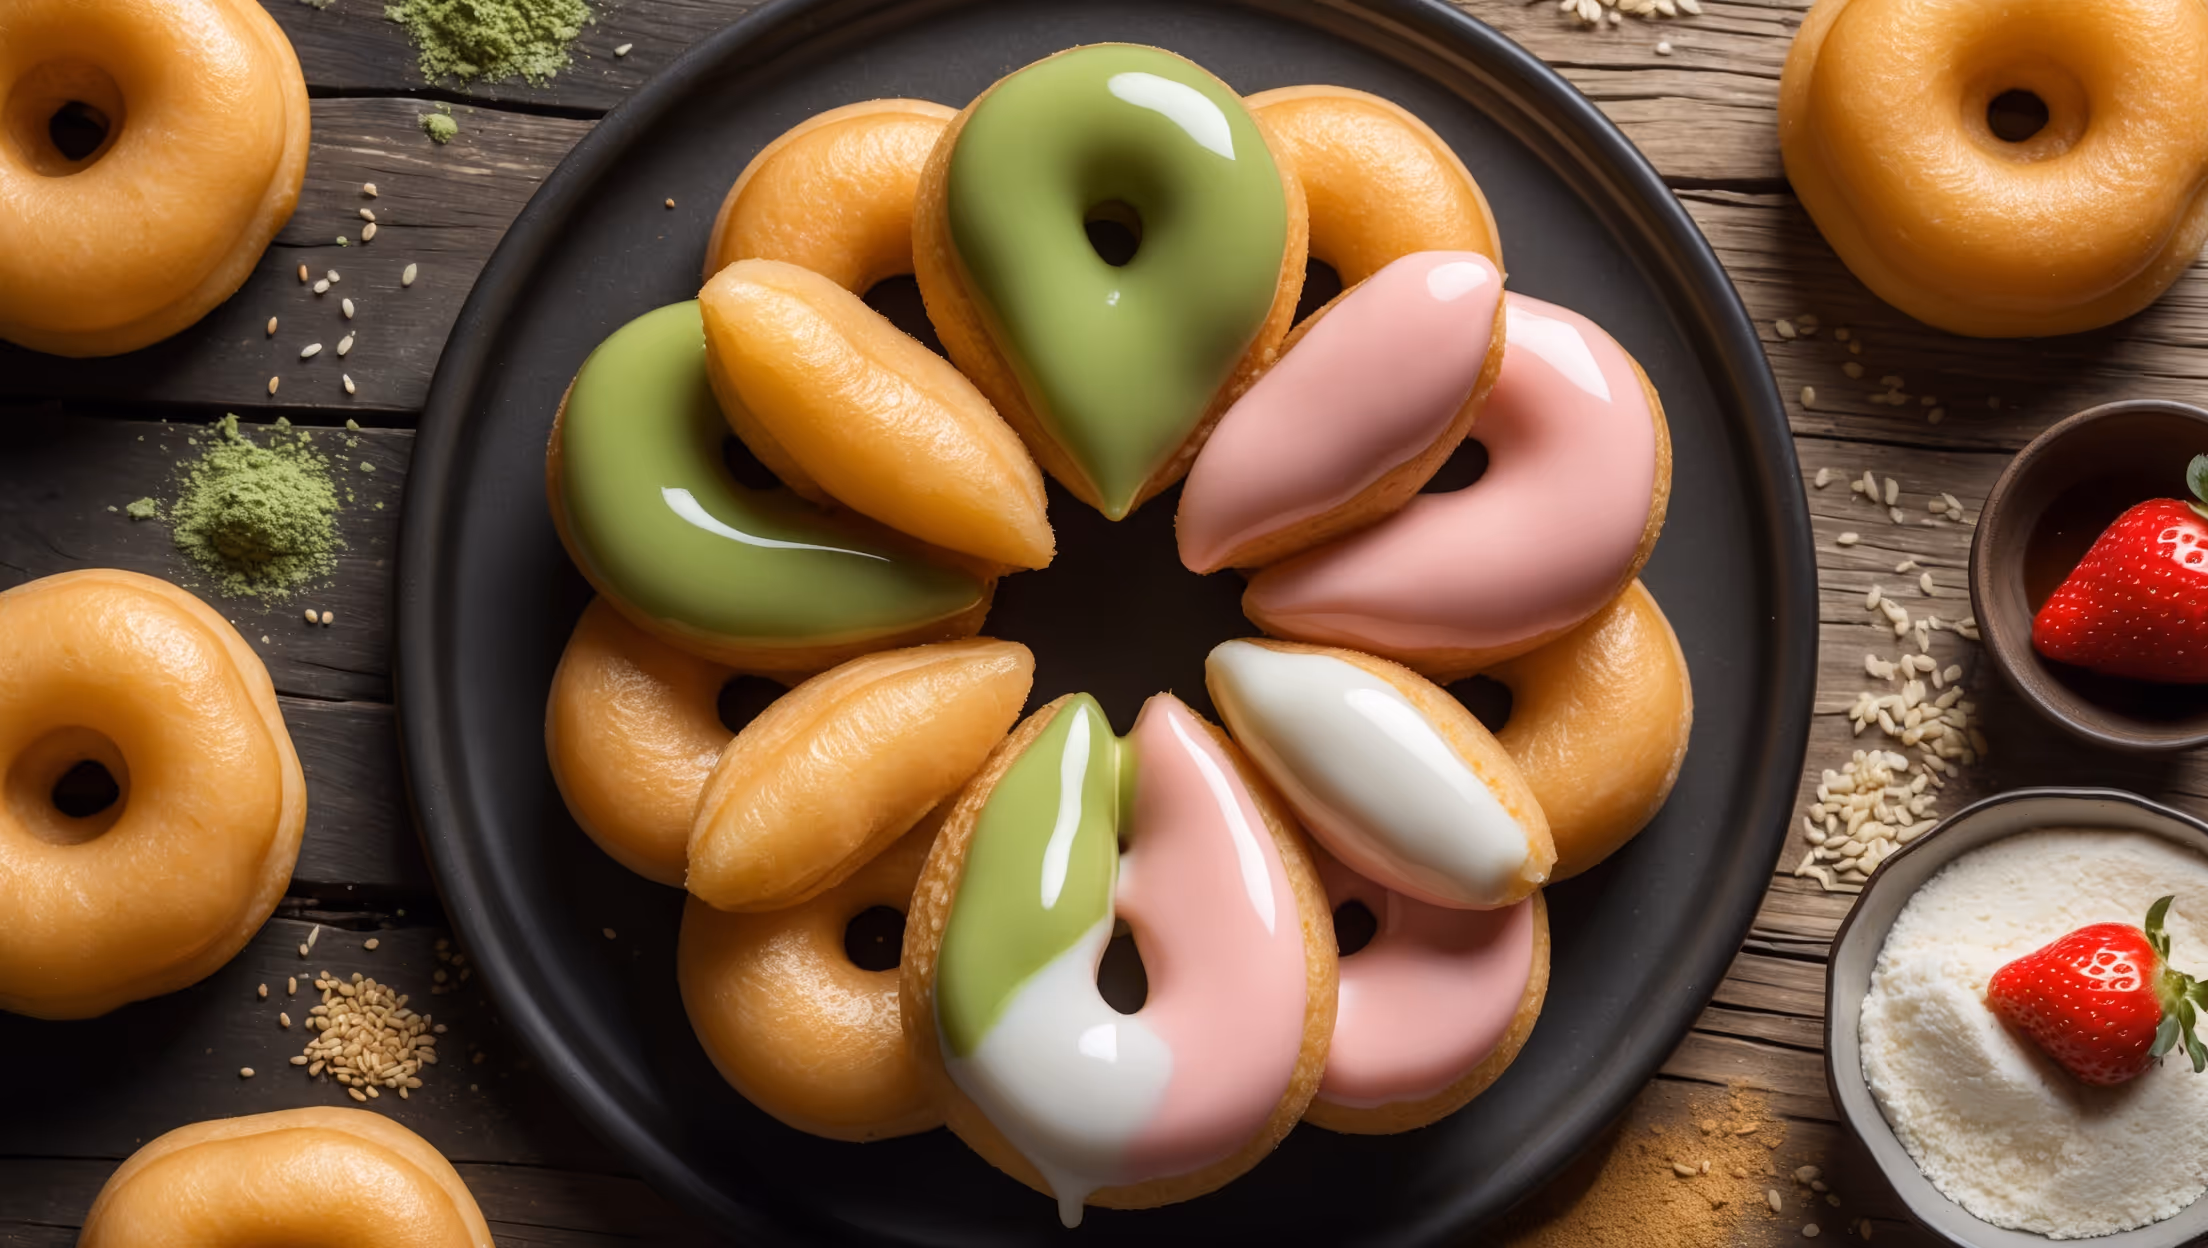
Traditional Japanese mochi donuts (pon de ring style) feature 8 connected balls arranged in a circle. This distinctive shape isn't merely decorative—it maximises the crispy exterior surface area while ensuring even cooking throughout, creating the perfect balance of textures that makes these treats so uniquely satisfying.
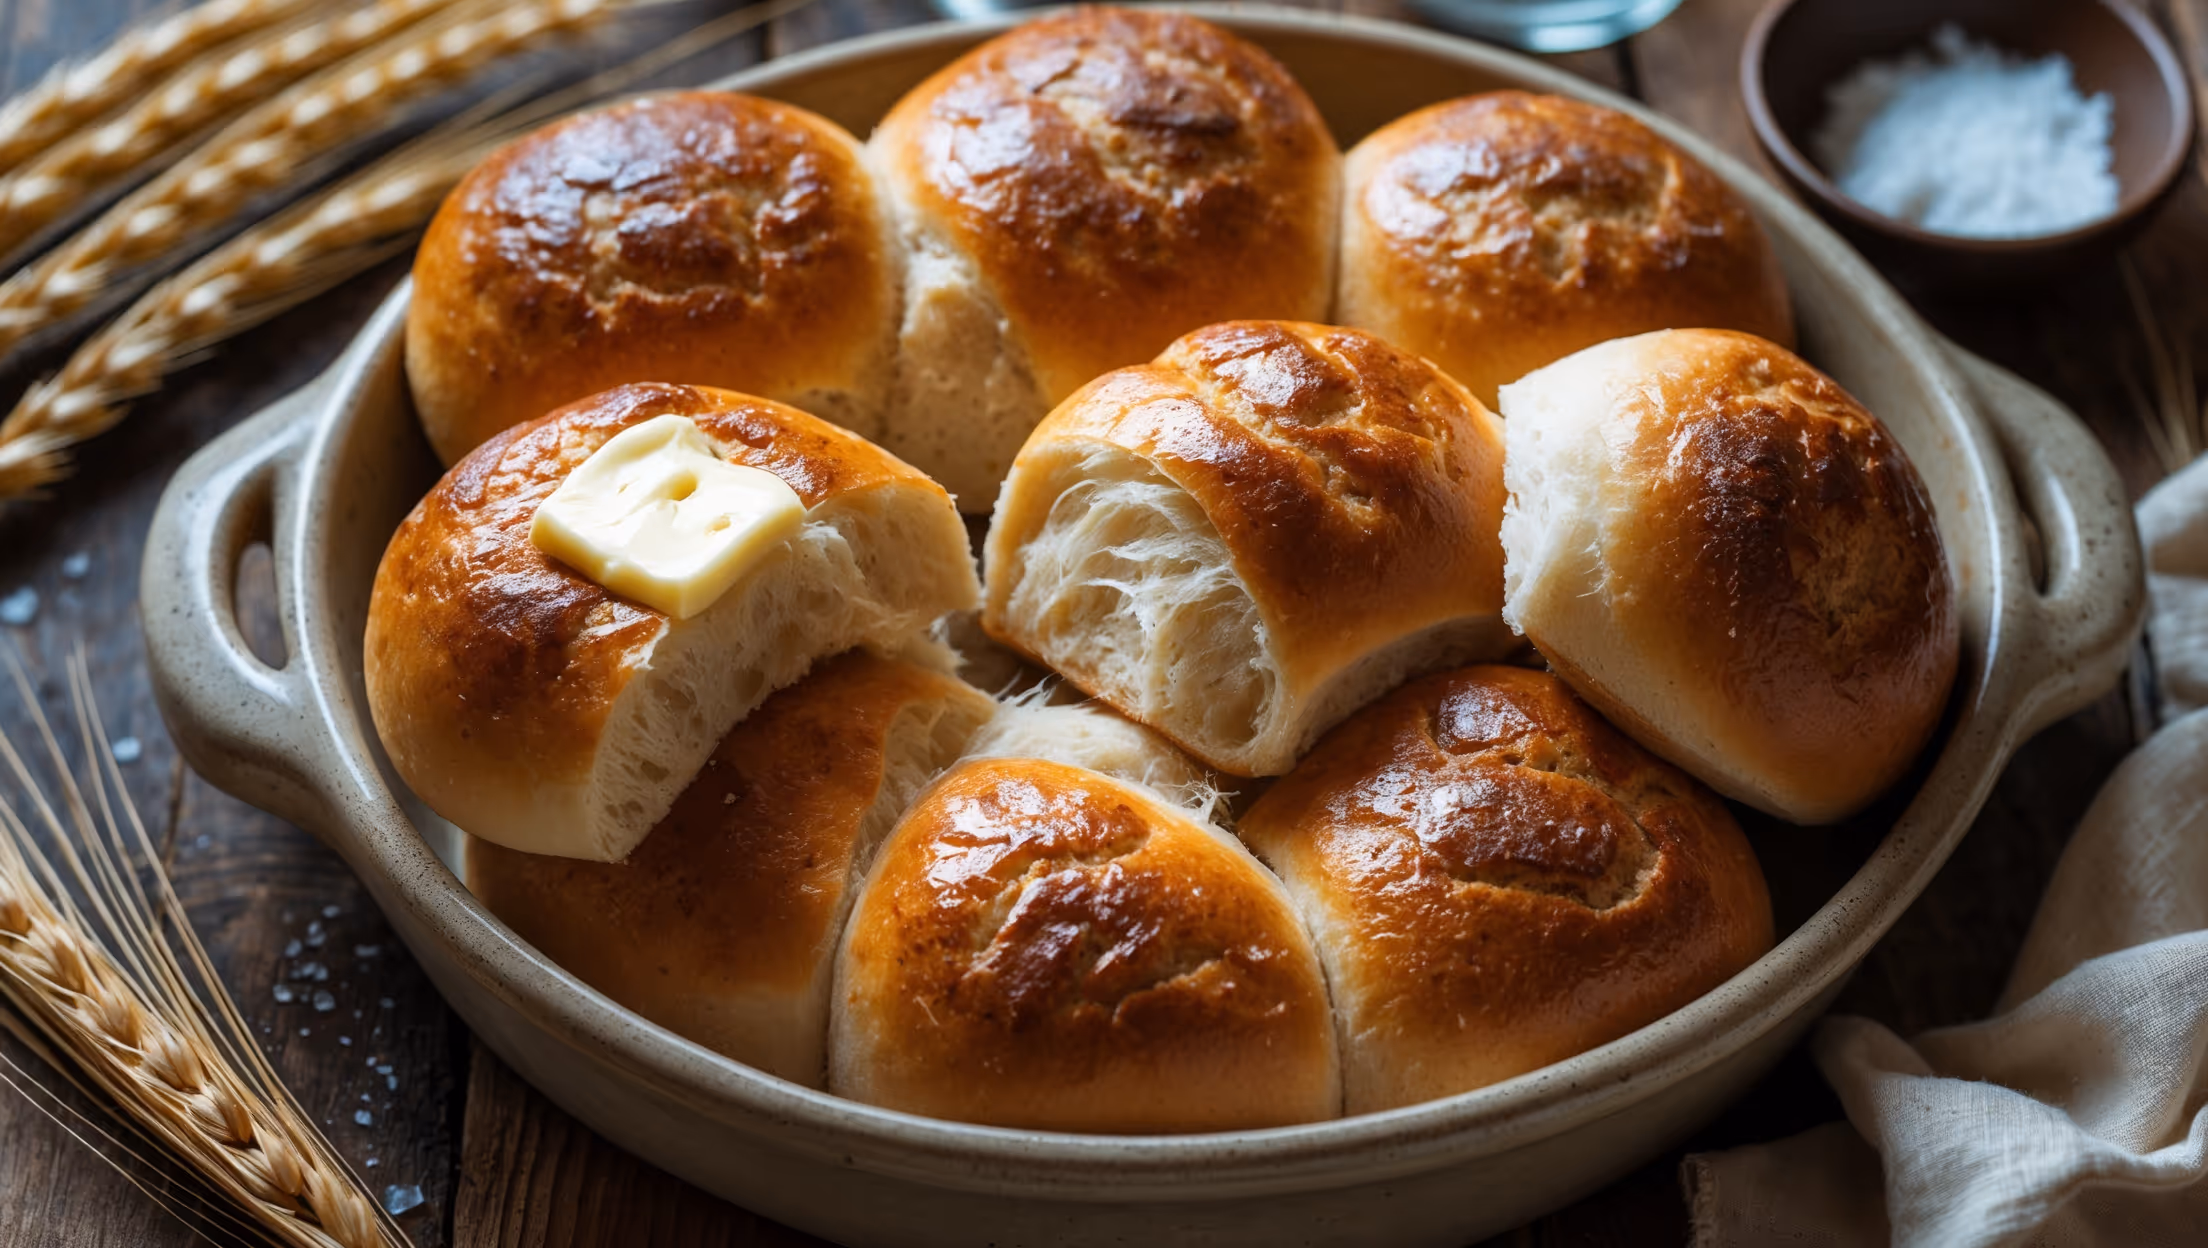
While mochi donuts can be baked at 180°C for 12-15 minutes, the texture will differ significantly from the traditional fried version. Baked versions won't develop the same crisp exterior contrasting with the chewy interior, though they're still delicious with a more cake-like consistency.
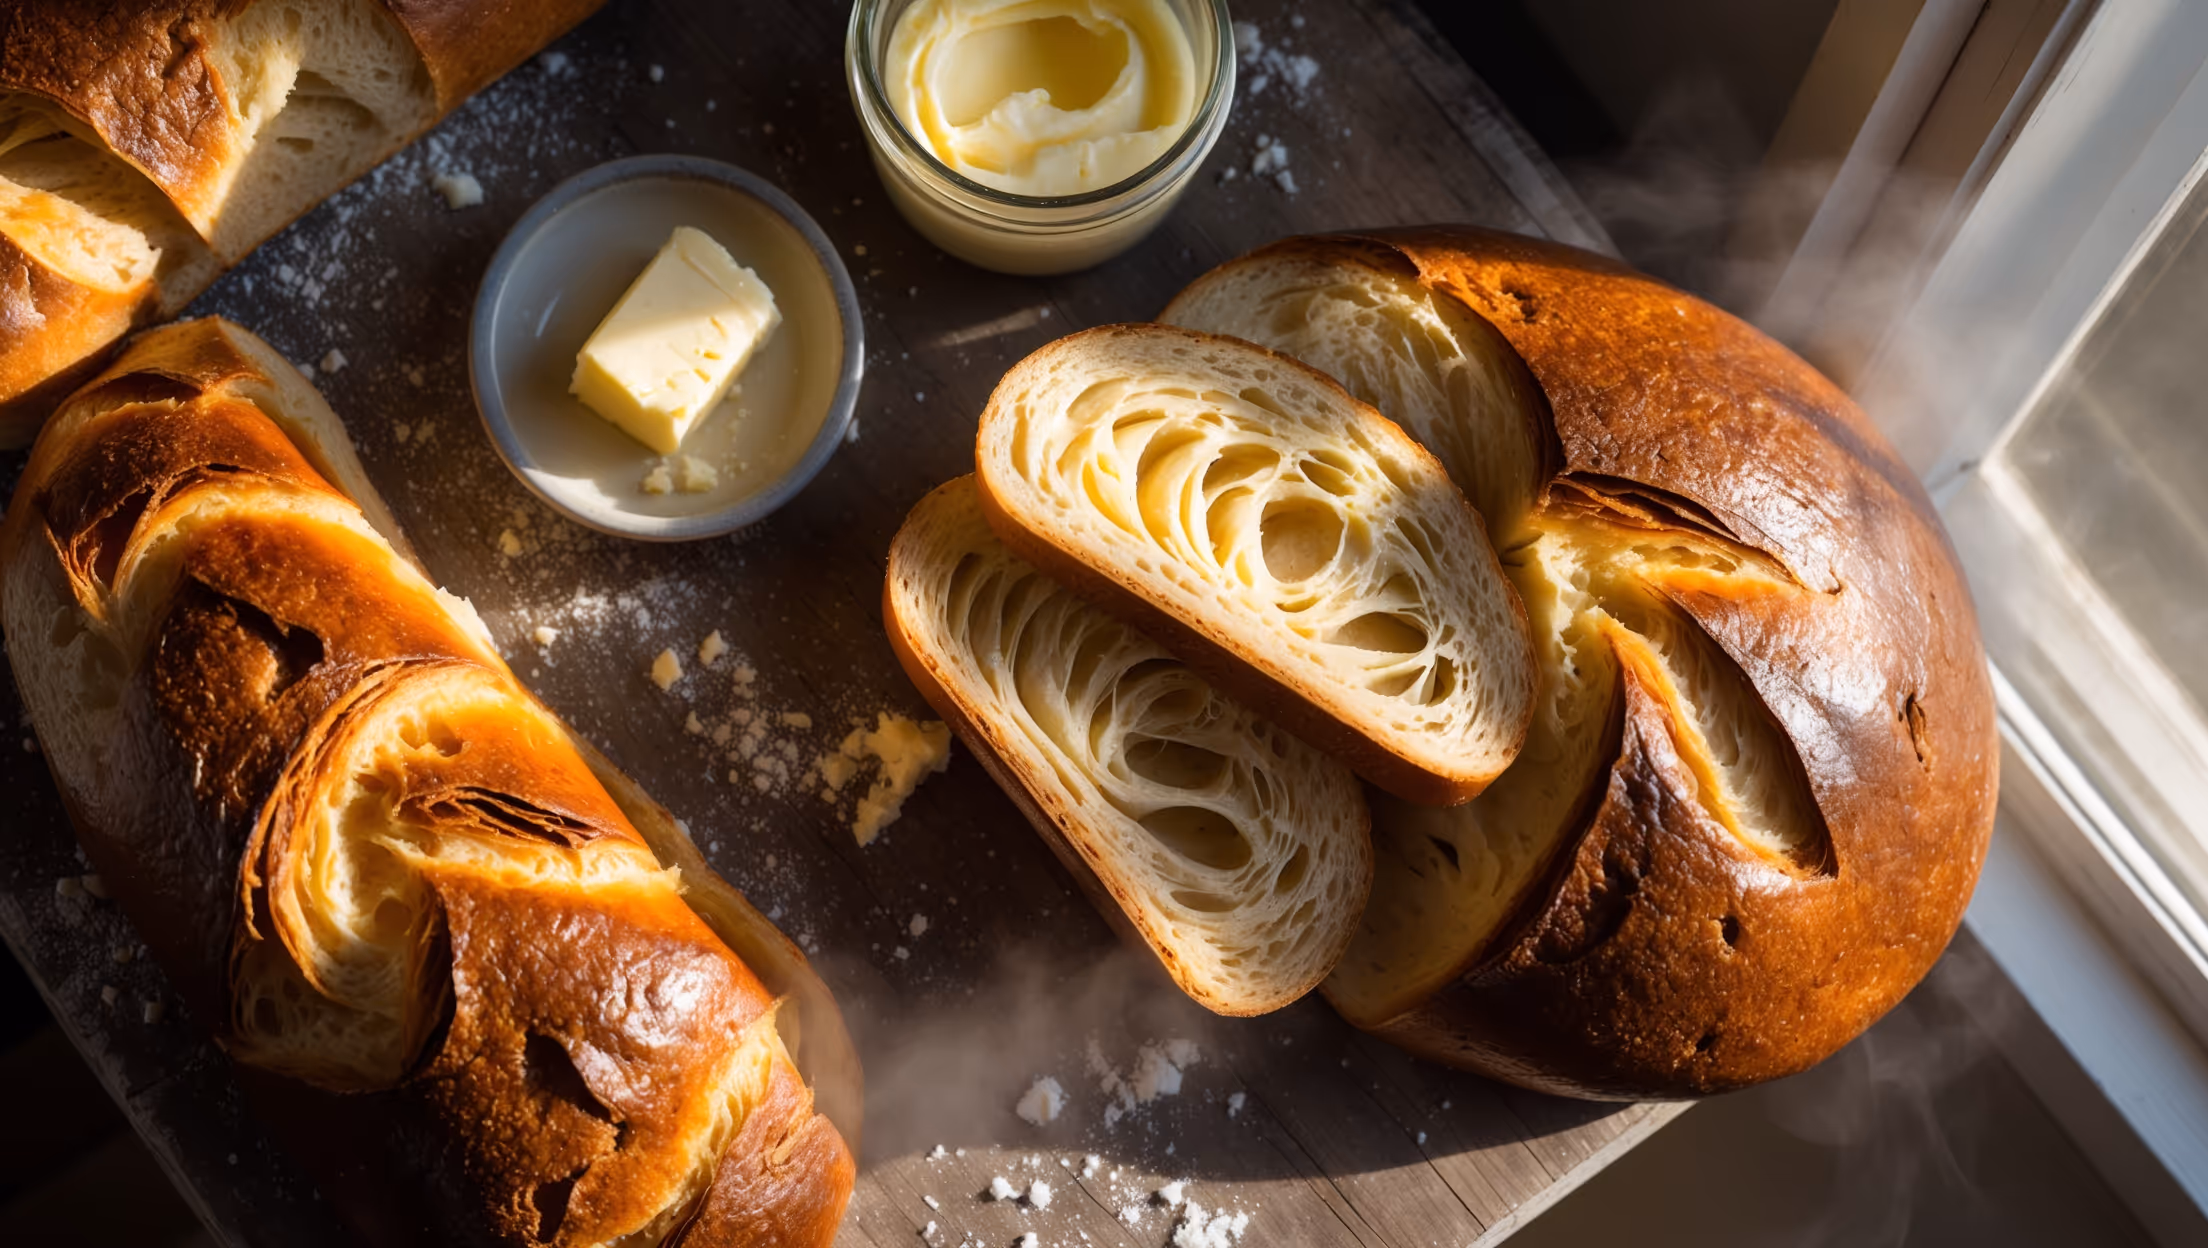
Sourdough
Try following recommended recipes