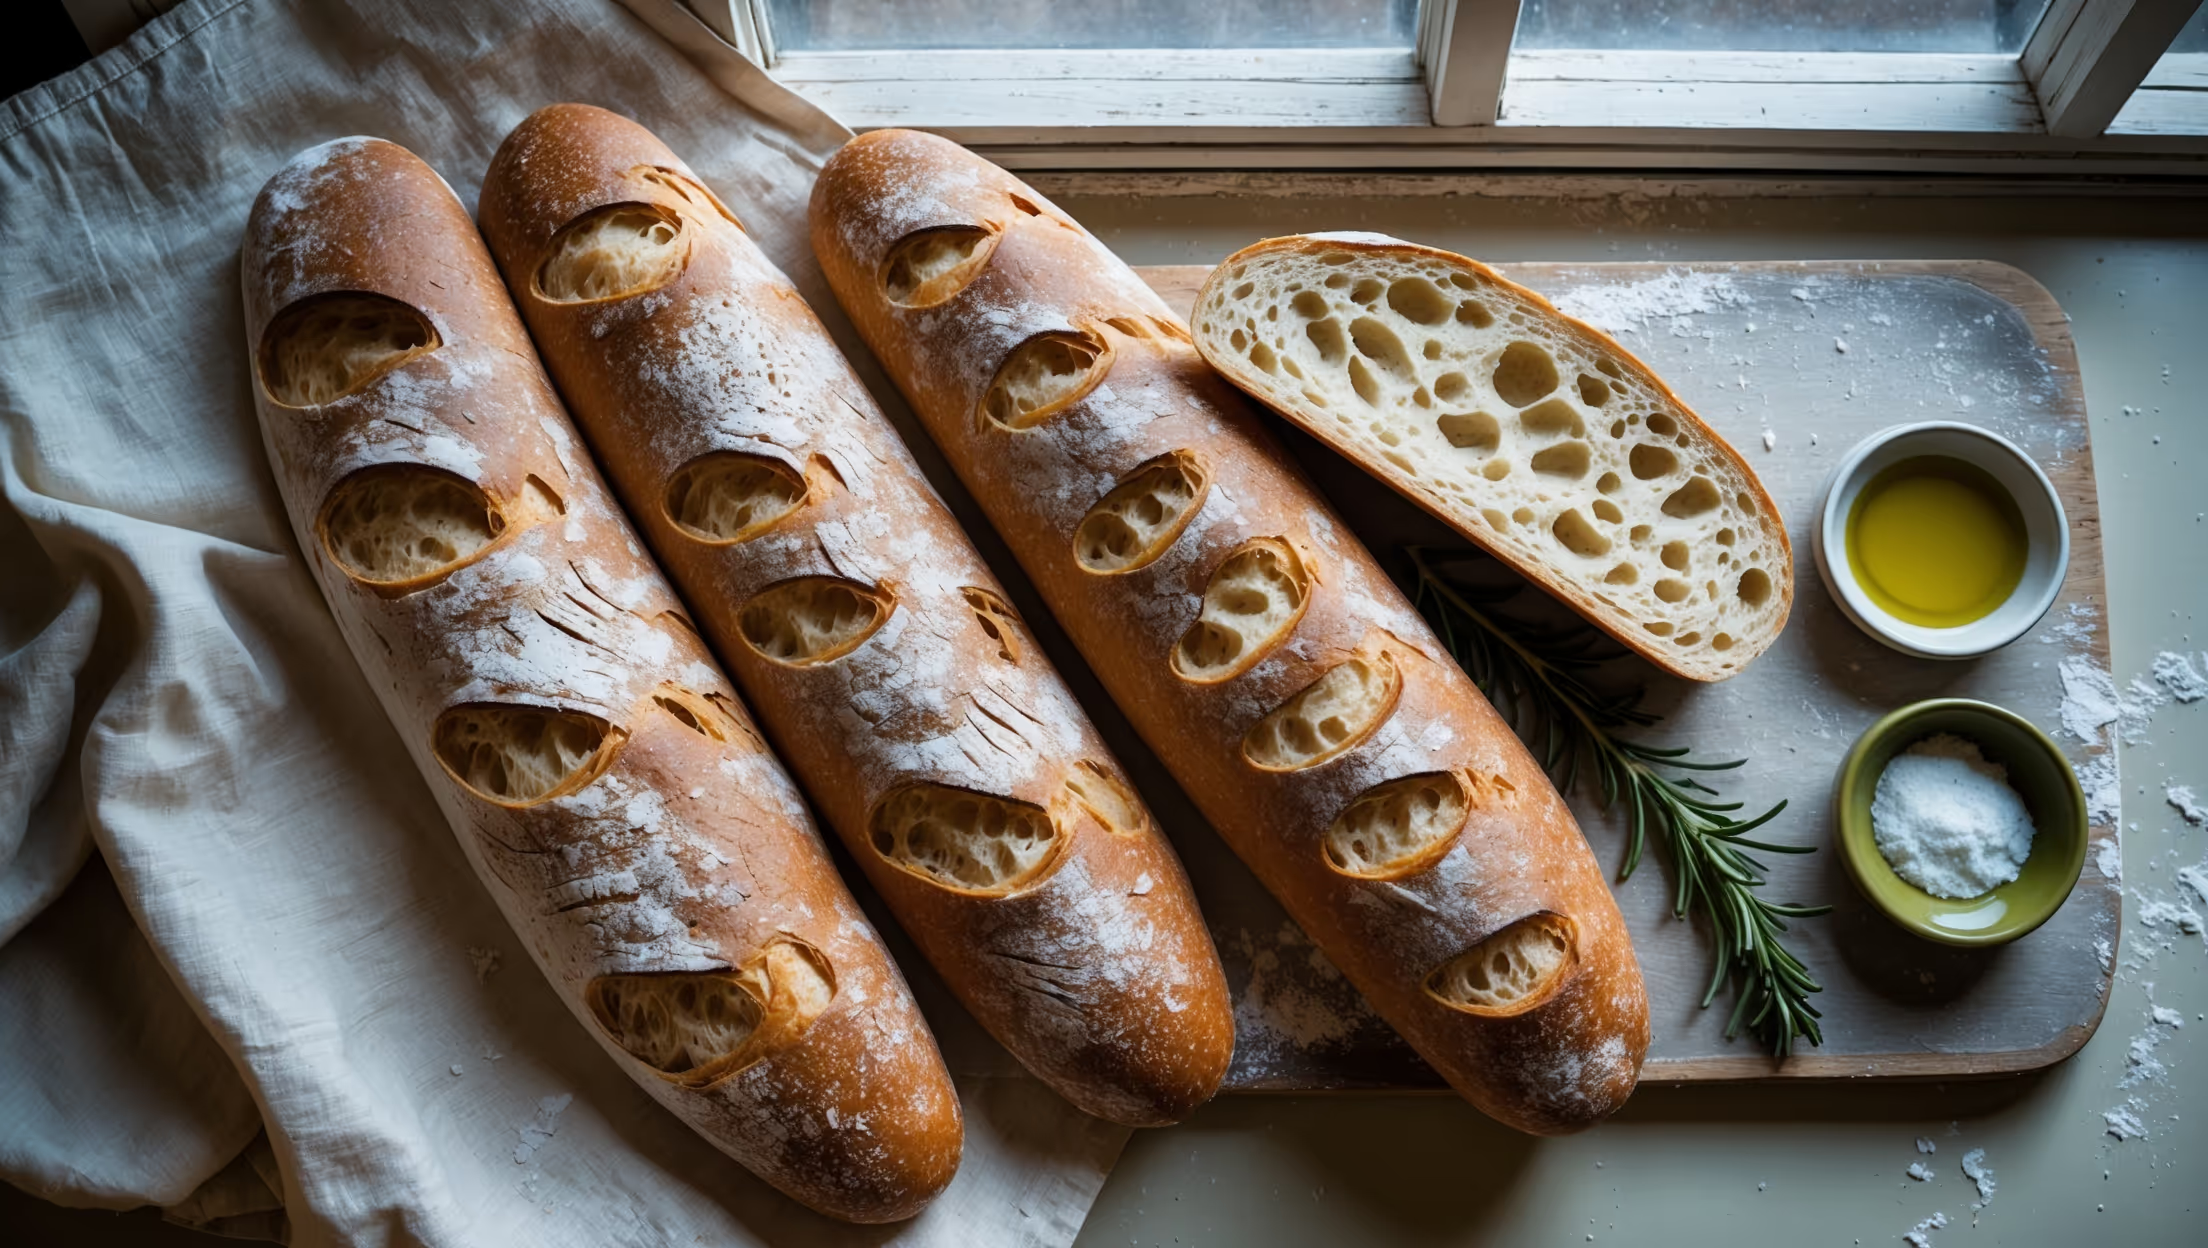
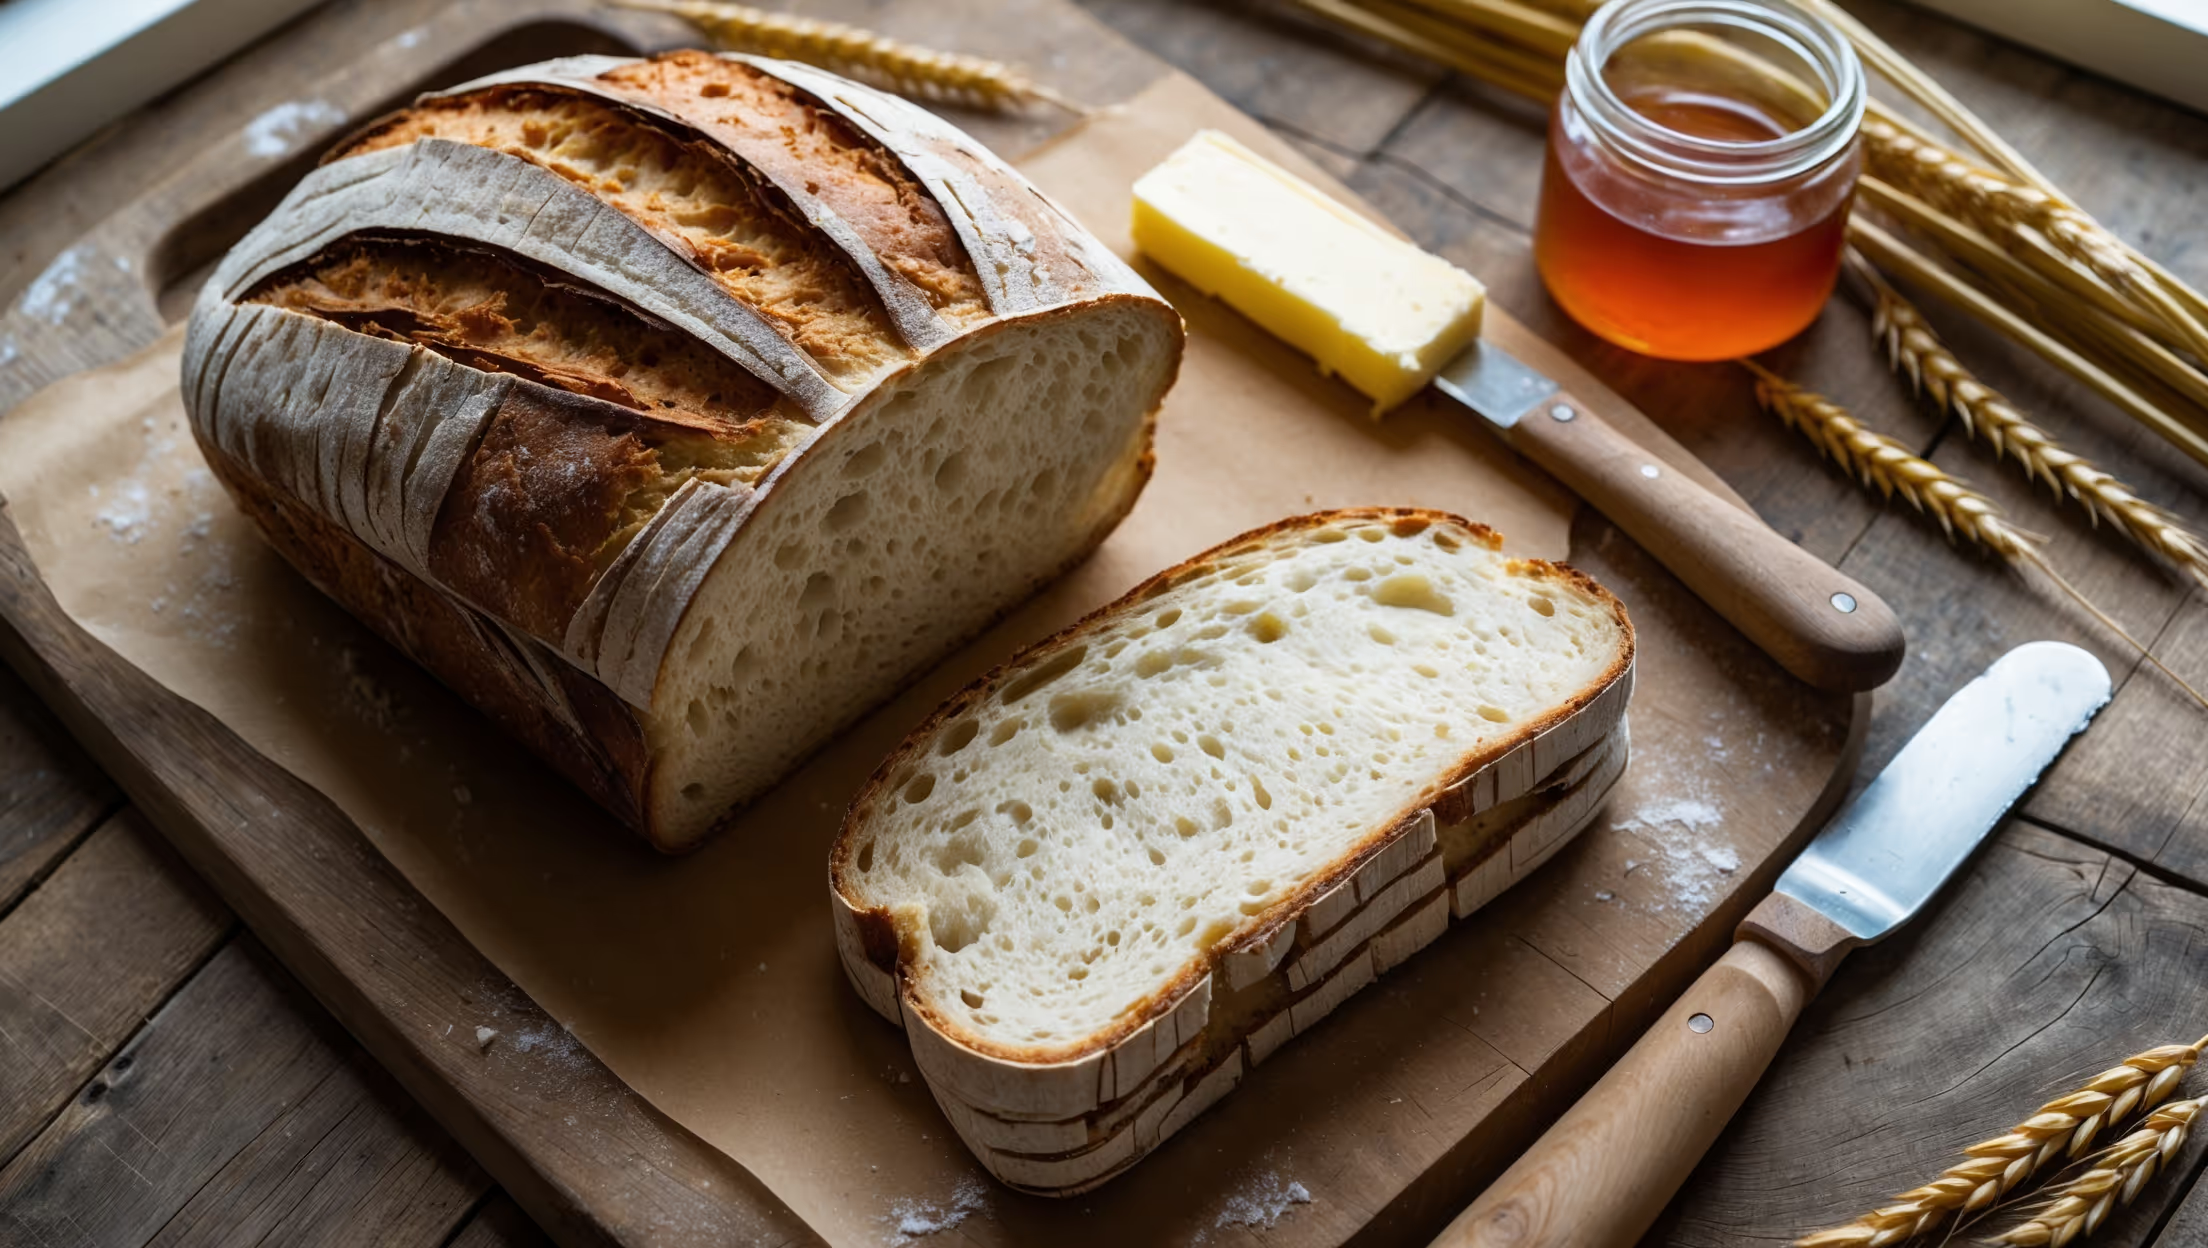
Directions
<ol class="no-list-style"><li class="MethodStepper"><h4 class="step-title">Step 1</h4>Begin by ensuring your sourdough starter is active and bubbly. It should have doubled in size after feeding and pass the float test (a small amount should float when dropped in water). This indicates it's strong enough to leaven your bread properly.</li><li class="MethodStepper"><h4 class="step-title">Step 2</h4>In the bowl of your stand mixer, combine the bread flour and whole wheat flour. In a separate container, mix together the water and active starter until the starter has dissolved. Pour this liquid mixture into the flours and mix with a spatula just until no dry flour remains. Cover and let rest for 30 minutes – this autolyse stage allows the flour to fully hydrate and begins gluten development.</li><li class="MethodStepper"><h4 class="step-title">Step 3</h4>Add the salt and olive oil to the dough. Using the dough hook attachment, mix on low speed for 1 minute to incorporate, then increase to medium speed and mix for 5-7 minutes. The dough will be very wet and sticky – this high hydration is crucial for achieving ciabatta's open crumb structure.</li><li class="MethodStepper"><h4 class="step-title">Step 4</h4>Transfer the dough to a well-oiled container with room for it to double. Cover and let ferment at room temperature (21-24°C) for 4-5 hours, performing gentle stretch and folds every hour for the first 3 hours. To do this, wet your hands, reach under the dough, gently stretch it upward without tearing, then fold it over itself. Rotate the container 90° and repeat three more times.</li><li class="MethodStepper"><h4 class="step-title">Step 5</h4>When the dough has nearly doubled and shows visible air bubbles throughout, generously dust your work surface with rice flour or semolina (which won't absorb into the wet dough as easily as regular flour). Carefully turn out the dough, trying not to deflate it. Using a dough scraper, divide it into two equal pieces.</li><li class="MethodStepper"><h4 class="step-title">Step 6</h4>With floured hands, gently shape each piece into a rough rectangle by lifting and pulling the dough outward, using your fingertips to maintain as much air as possible. Avoid pressing down. The shape should be approximately 20cm long and 10cm wide. Transfer each loaf to pieces of parchment paper, dust the tops with more flour, and let rest for 1 hour.</li><li class="MethodStepper"><h4 class="step-title">Step 7</h4>While the dough is resting, place your baking stone or steel in the oven and preheat to 240°C (465°F) for at least 45 minutes. Position a shallow pan on the bottom rack for creating steam.</li><li class="MethodStepper"><h4 class="step-title">Step 8</h4>When ready to bake, slide the loaves on their parchment onto the hot stone. Quickly pour a cup of hot water into the steam pan and spray the oven walls with water to create steam (this helps develop a crisp, shiny crust). Close the oven door immediately to trap the steam.</li><li class="MethodStepper"><h4 class="step-title">Step 9</h4>Bake for 25-30 minutes, reducing the temperature to 220°C (425°F) after 15 minutes. The loaves should be deeply golden and sound hollow when tapped on the bottom. The internal temperature should read at least 93°C (200°F) when tested with a thermometer.</li><li class="MethodStepper"><h4 class="step-title">Step 10</h4>Transfer the baked ciabatta to a wire rack and allow to cool completely before slicing – at least 1 hour. This cooling period is crucial as it allows the crumb structure to set and the flavor to fully develop. Cutting too soon will result in a gummy texture and lost flavor complexity.</li></ol>