Directions
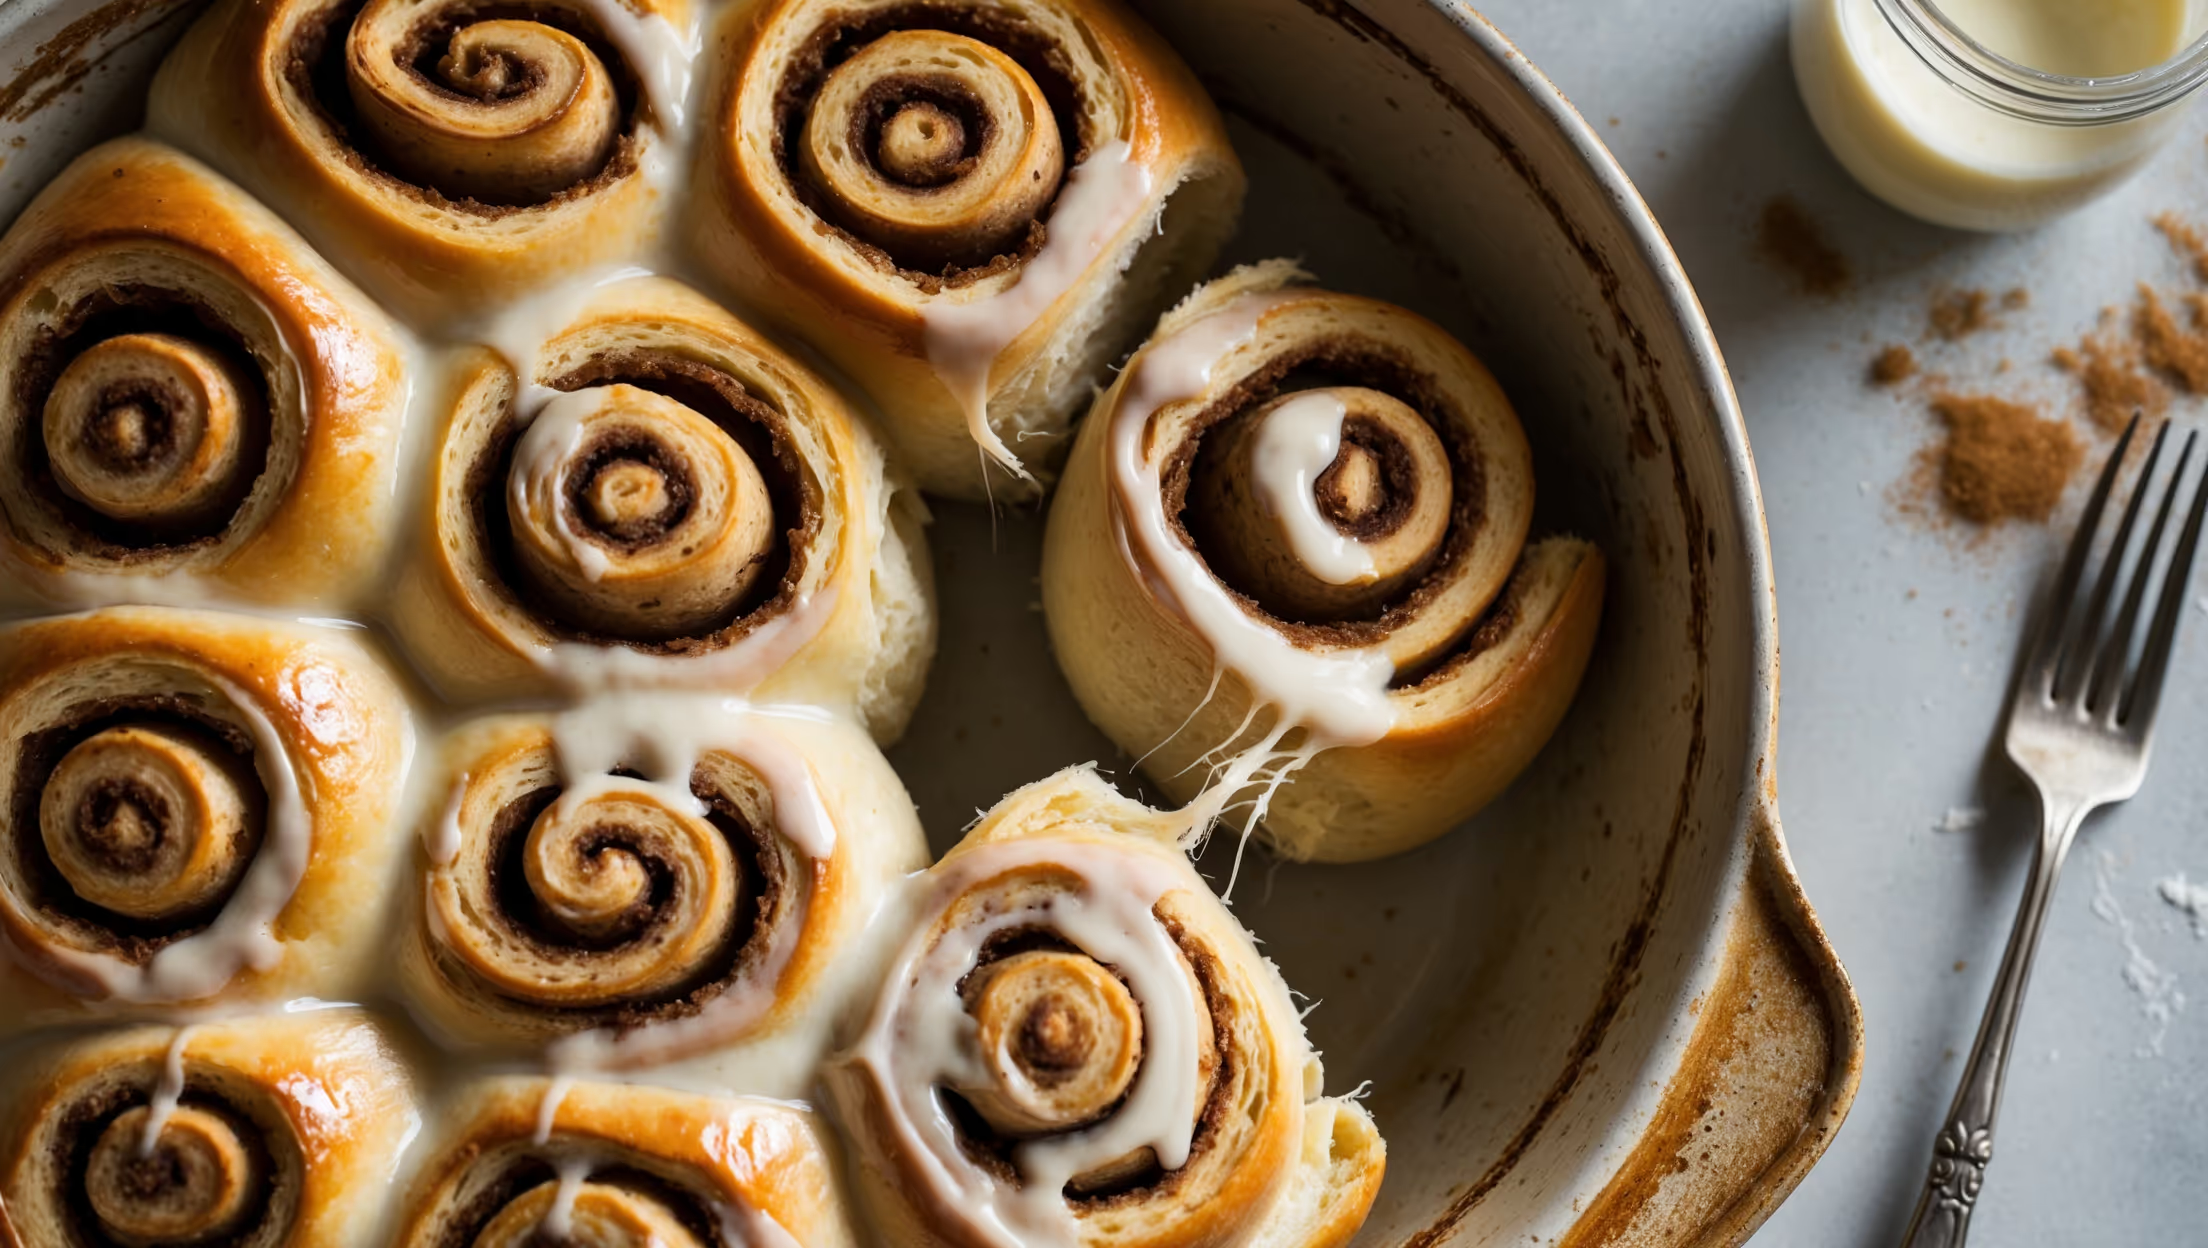
<ol class="no-list-style"><li class="MethodStepper"><h4 class="step-title">Step 1</h4>Begin the evening before you want to serve the rolls. In the bowl of a stand mixer, combine the active sourdough starter, lukewarm milk, melted butter, sugar, and egg. Mix on low speed until well combined. The lukewarm liquid will help activate the natural yeasts in your sourdough starter.</li><li class="MethodStepper"><h4 class="step-title">Step 2</h4>Add the bread flour and salt to the wet ingredients. Using the dough hook attachment, mix on low speed for 2 minutes until the ingredients are combined, then increase to medium speed and knead for 5-7 minutes. The dough should be soft and slightly tacky but not sticky. If it's too wet, add flour a tablespoon at a time; if too dry, add milk a teaspoon at a time. The gluten development is crucial here – well-developed gluten will give your rolls their perfect texture.</li><li class="MethodStepper"><h4 class="step-title">Step 3</h4>Place the dough in a lightly oiled bowl, cover with plastic wrap or a damp kitchen towel, and allow to ferment at room temperature (around 21°C/70°F) for 2-3 hours. The dough won't double in size like conventional yeasted dough – you're looking for about a 50% increase in volume and a slightly domed surface with some visible bubbles.</li><li class="MethodStepper"><h4 class="step-title">Step 4</h4>While the dough is fermenting, prepare the cinnamon filling. In a medium bowl, mix the softened butter, brown sugar, cinnamon, and vanilla extract until smooth and spreadable. Set aside at room temperature to maintain spreadability.</li><li class="MethodStepper"><h4 class="step-title">Step 5</h4>After the initial fermentation, transfer the dough to the refrigerator and chill overnight (8-12 hours). This slow, cold fermentation develops the complex flavors that make sourdough so special while also making the dough easier to handle.</li><li class="MethodStepper"><h4 class="step-title">Step 6</h4>The next morning, remove the dough from the refrigerator. On a lightly floured surface, roll the dough into a rectangle approximately 30x45cm (12x18 inches). Use steady, even pressure and rotate the dough occasionally to prevent sticking. The cold dough will be easier to roll out than room temperature dough.</li><li class="MethodStepper"><h4 class="step-title">Step 7</h4>Spread the cinnamon-sugar filling evenly over the dough, leaving a 1cm border along one long edge. This clean edge will help seal the roll. The filling should be soft enough to spread easily but not so warm that it melts.</li><li class="MethodStepper"><h4 class="step-title">Step 8</h4>Starting from the long edge opposite your clean border, tightly roll the dough into a log. A tight roll prevents gaps in your spirals. Pinch the clean edge to seal the roll closed. Using a sharp knife or unflavored dental floss, cut the log into 12 equal pieces, each about 3.5cm (1.5 inches) wide.</li><li class="MethodStepper"><h4 class="step-title">Step 9</h4>Arrange the rolls in a greased 23x33cm (9x13 inch) baking dish, leaving a small gap between each roll to allow for expansion. Cover with a damp kitchen towel and let rise at room temperature for 1-2 hours, or until noticeably puffy. The timing will depend on the activity of your starter and the ambient temperature.</li><li class="MethodStepper"><h4 class="step-title">Step 10</h4>Preheat your oven to 180°C (350°F). Bake the rolls for 22-25 minutes, until golden brown on top. The internal temperature should reach 88-93°C (190-200°F) when tested with a kitchen thermometer.</li><li class="MethodStepper"><h4 class="step-title">Step 11</h4>While the rolls are baking, prepare the cream cheese glaze. Beat the cream cheese and butter until smooth and creamy. Gradually add the powdered sugar, then mix in the milk, vanilla extract, and salt until well combined. The glaze should be thick but pourable – adjust with more milk or powdered sugar if needed.</li><li class="MethodStepper"><h4 class="step-title">Step 12</h4>When the rolls come out of the oven, let them cool for 5-10 minutes, then spread half the glaze over the still-warm rolls, allowing it to melt slightly into the crevices. This first layer seals in moisture. After another 10-15 minutes of cooling, add the remaining glaze. The warm-but-not-hot rolls create the perfect consistency for the glaze – melting just enough while still maintaining its creamy texture.</li><li class="MethodStepper"><h4 class="step-title">Step 13</h4>Serve the rolls warm. If you have leftovers, store them covered at room temperature for up to 2 days, or refrigerate for 4-5 days. Warm briefly in the microwave or oven before serving. These rolls also freeze beautifully – thaw overnight in the refrigerator and warm before serving.</li></ol>