Directions
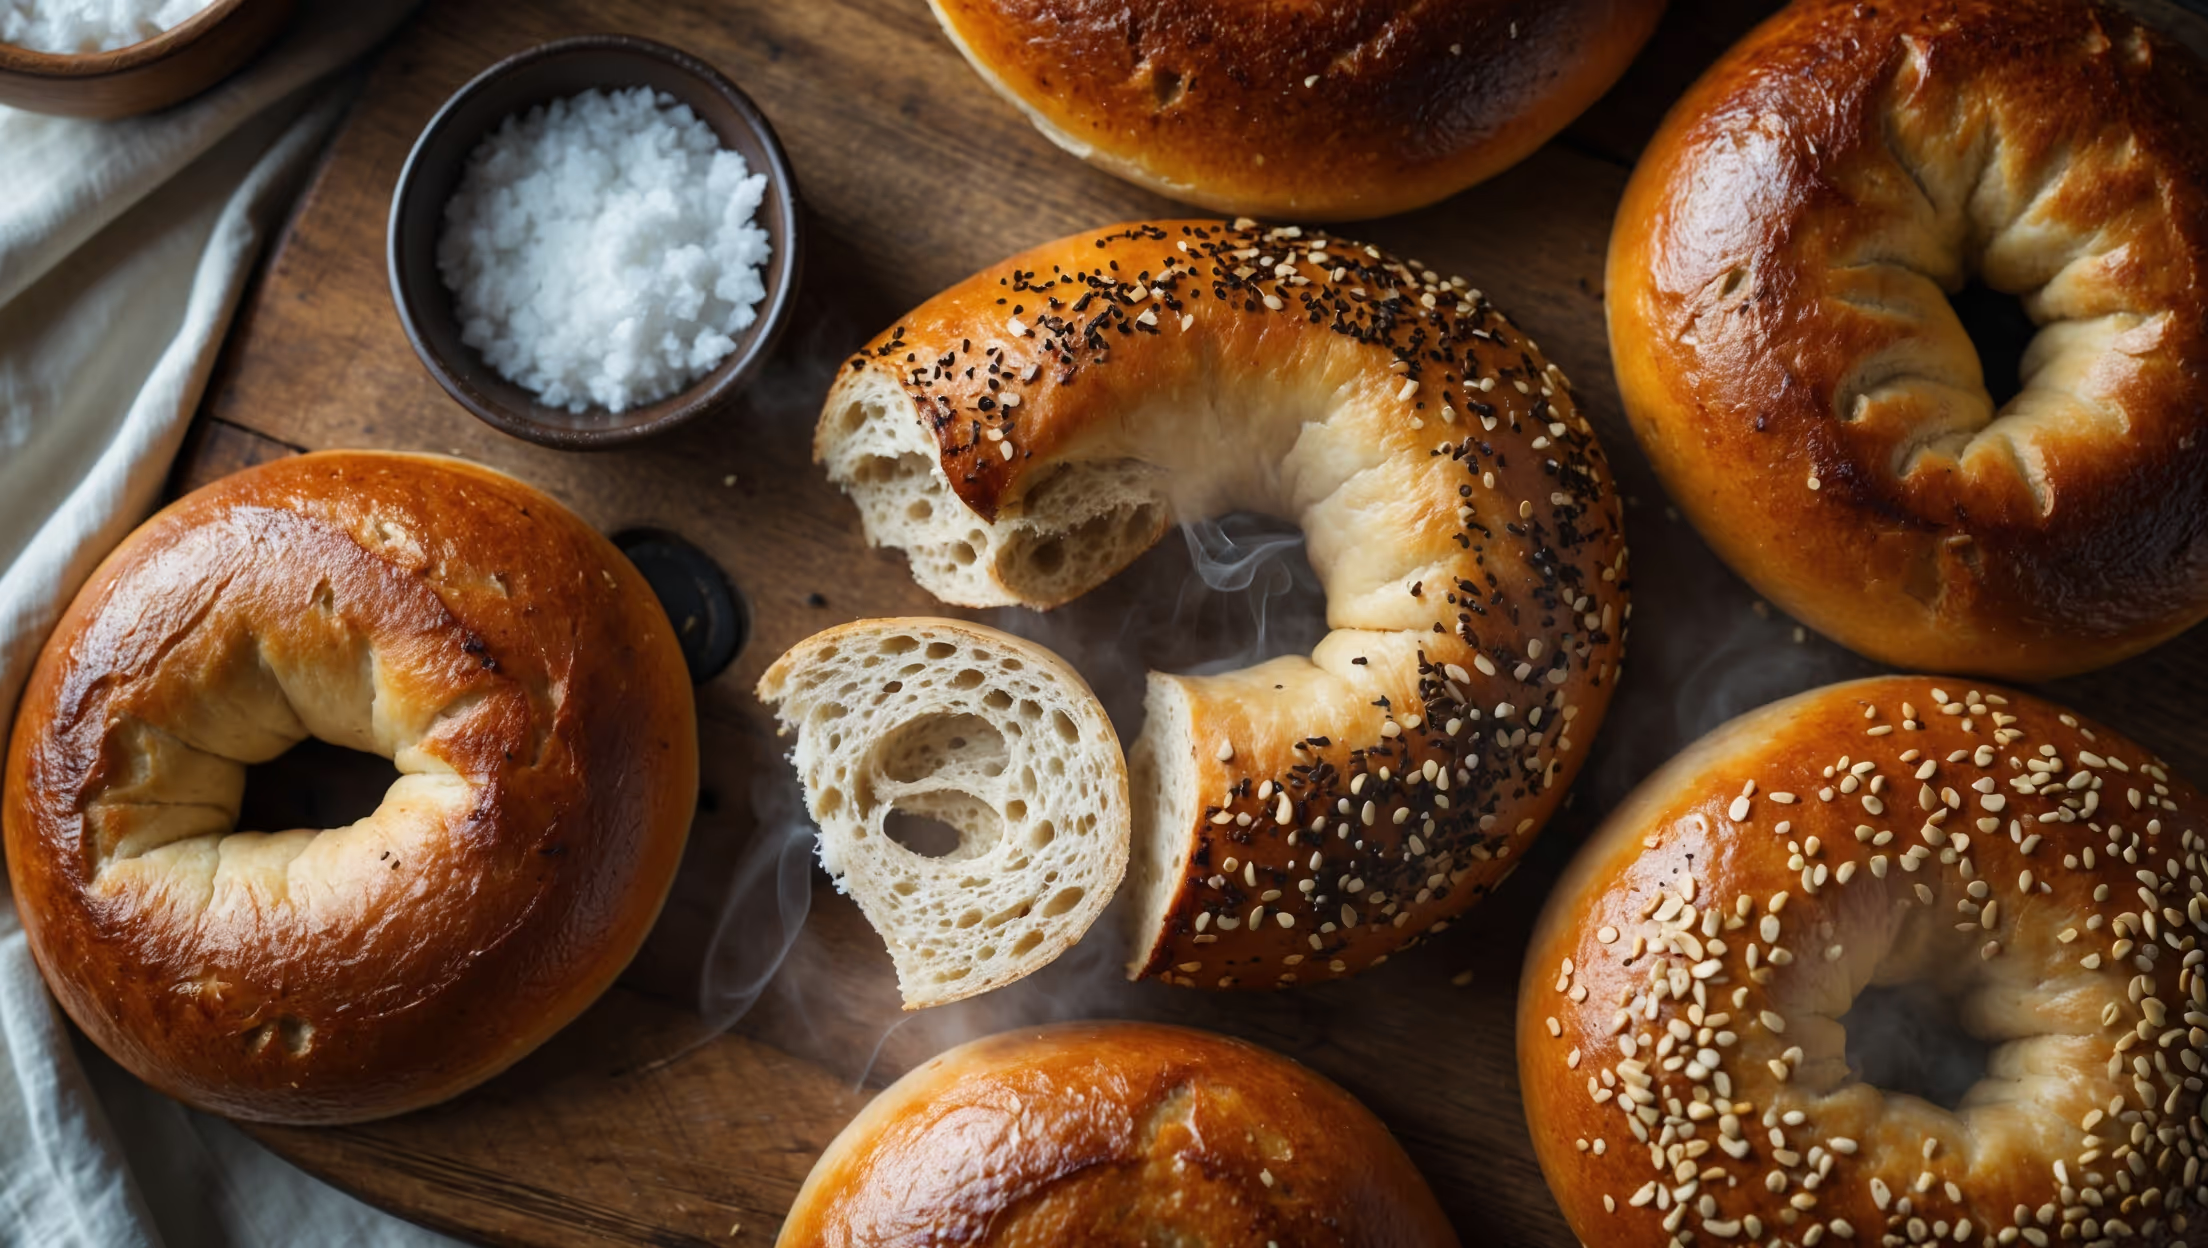
<ol class="no-list-style"><li class="MethodStepper"><h4 class="step-title">Step 1</h4>In a large bowl, combine your active sourdough starter with lukewarm water and mix until the starter is fully dissolved. The starter should be bubbly and active for best results – this ensures your bagels will have good rise and that distinctive sourdough flavor.</li><li class="MethodStepper"><h4 class="step-title">Step 2</h4>Add the honey and mix well. Then incorporate the bread flour and salt. Mix until a shaggy dough forms, then turn onto a clean work surface. Knead for about 10-12 minutes until smooth and elastic. The dough should be quite firm – bagel dough is lower hydration than typical sourdough bread, which contributes to its characteristic chewy texture.</li><li class="MethodStepper"><h4 class="step-title">Step 3</h4>Perform a window pane test by stretching a small piece of dough – it should stretch thin enough to see light through without tearing. This indicates proper gluten development, essential for the bagel's structure. Place the dough in a lightly oiled bowl, cover with a damp cloth or plastic wrap, and let rest at room temperature for 4-6 hours until noticeably risen (it won't quite double in size due to the lower hydration).</li><li class="MethodStepper"><h4 class="step-title">Step 4</h4>Divide the dough into 8 equal pieces (about 115-120g each). Roll each piece into a tight ball by cupping your hand over the dough and rotating it against your work surface. Let the balls rest, covered, for 15 minutes to relax the gluten.</li><li class="MethodStepper"><h4 class="step-title">Step 5</h4>Shape each ball into a bagel. The traditional method is to poke your thumb through the center and gently stretch the hole to about 2.5cm in diameter (it will shrink during proofing). Alternatively, roll each piece into a 20cm rope and wrap it around your hand, overlapping the ends by about 2cm. Roll the overlapped section on your work surface to seal.</li><li class="MethodStepper"><h4 class="step-title">Step 6</h4>Place the shaped bagels on a baking sheet lined with parchment paper and lightly dusted with flour. Cover with a damp cloth and let them rest at room temperature for 1 hour. Then transfer to the refrigerator for an overnight cold fermentation (8-12 hours). This slow fermentation develops the complex sourdough flavor and improves the texture.</li><li class="MethodStepper"><h4 class="step-title">Step 7</h4>The next morning, remove the bagels from the refrigerator while you preheat your oven to 220°C. Bring a large pot of water to a gentle boil and add the barley malt syrup or honey. This gives the bagels their characteristic shiny crust and subtle sweetness.</li><li class="MethodStepper"><h4 class="step-title">Step 8</h4>Test if the bagels are ready by placing one in a bowl of cold water – it should float within 10 seconds. If it floats, they're ready for boiling. If not, let them proof a bit longer at room temperature.</li><li class="MethodStepper"><h4 class="step-title">Step 9</h4>Gently lower 2-3 bagels at a time into the simmering water (not vigorous boiling). Boil for 30 seconds on each side for a thinner crust, or up to 2 minutes per side for a chewier, thicker crust. Use a slotted spoon to flip and remove them, returning them to the parchment-lined baking sheet.</li><li class="MethodStepper"><h4 class="step-title">Step 10</h4>While the bagels are still wet from boiling, sprinkle your choice of toppings if desired. The moisture helps the toppings adhere without needing an egg wash.</li><li class="MethodStepper"><h4 class="step-title">Step 11</h4>Bake for 20-25 minutes, or until the bagels are deep golden brown. For even browning, rotate the baking sheet halfway through baking. The bagels should sound hollow when tapped on the bottom.</li><li class="MethodStepper"><h4 class="step-title">Step 12</h4>Transfer to a cooling rack and allow to cool for at least 30 minutes before slicing. This resting period allows the crumb structure to set properly. Enjoy fresh, or store in an airtight container for up to 2 days, or freeze for longer storage. For the best texture after storage, slice and toast before serving.</li></ol>