Directions
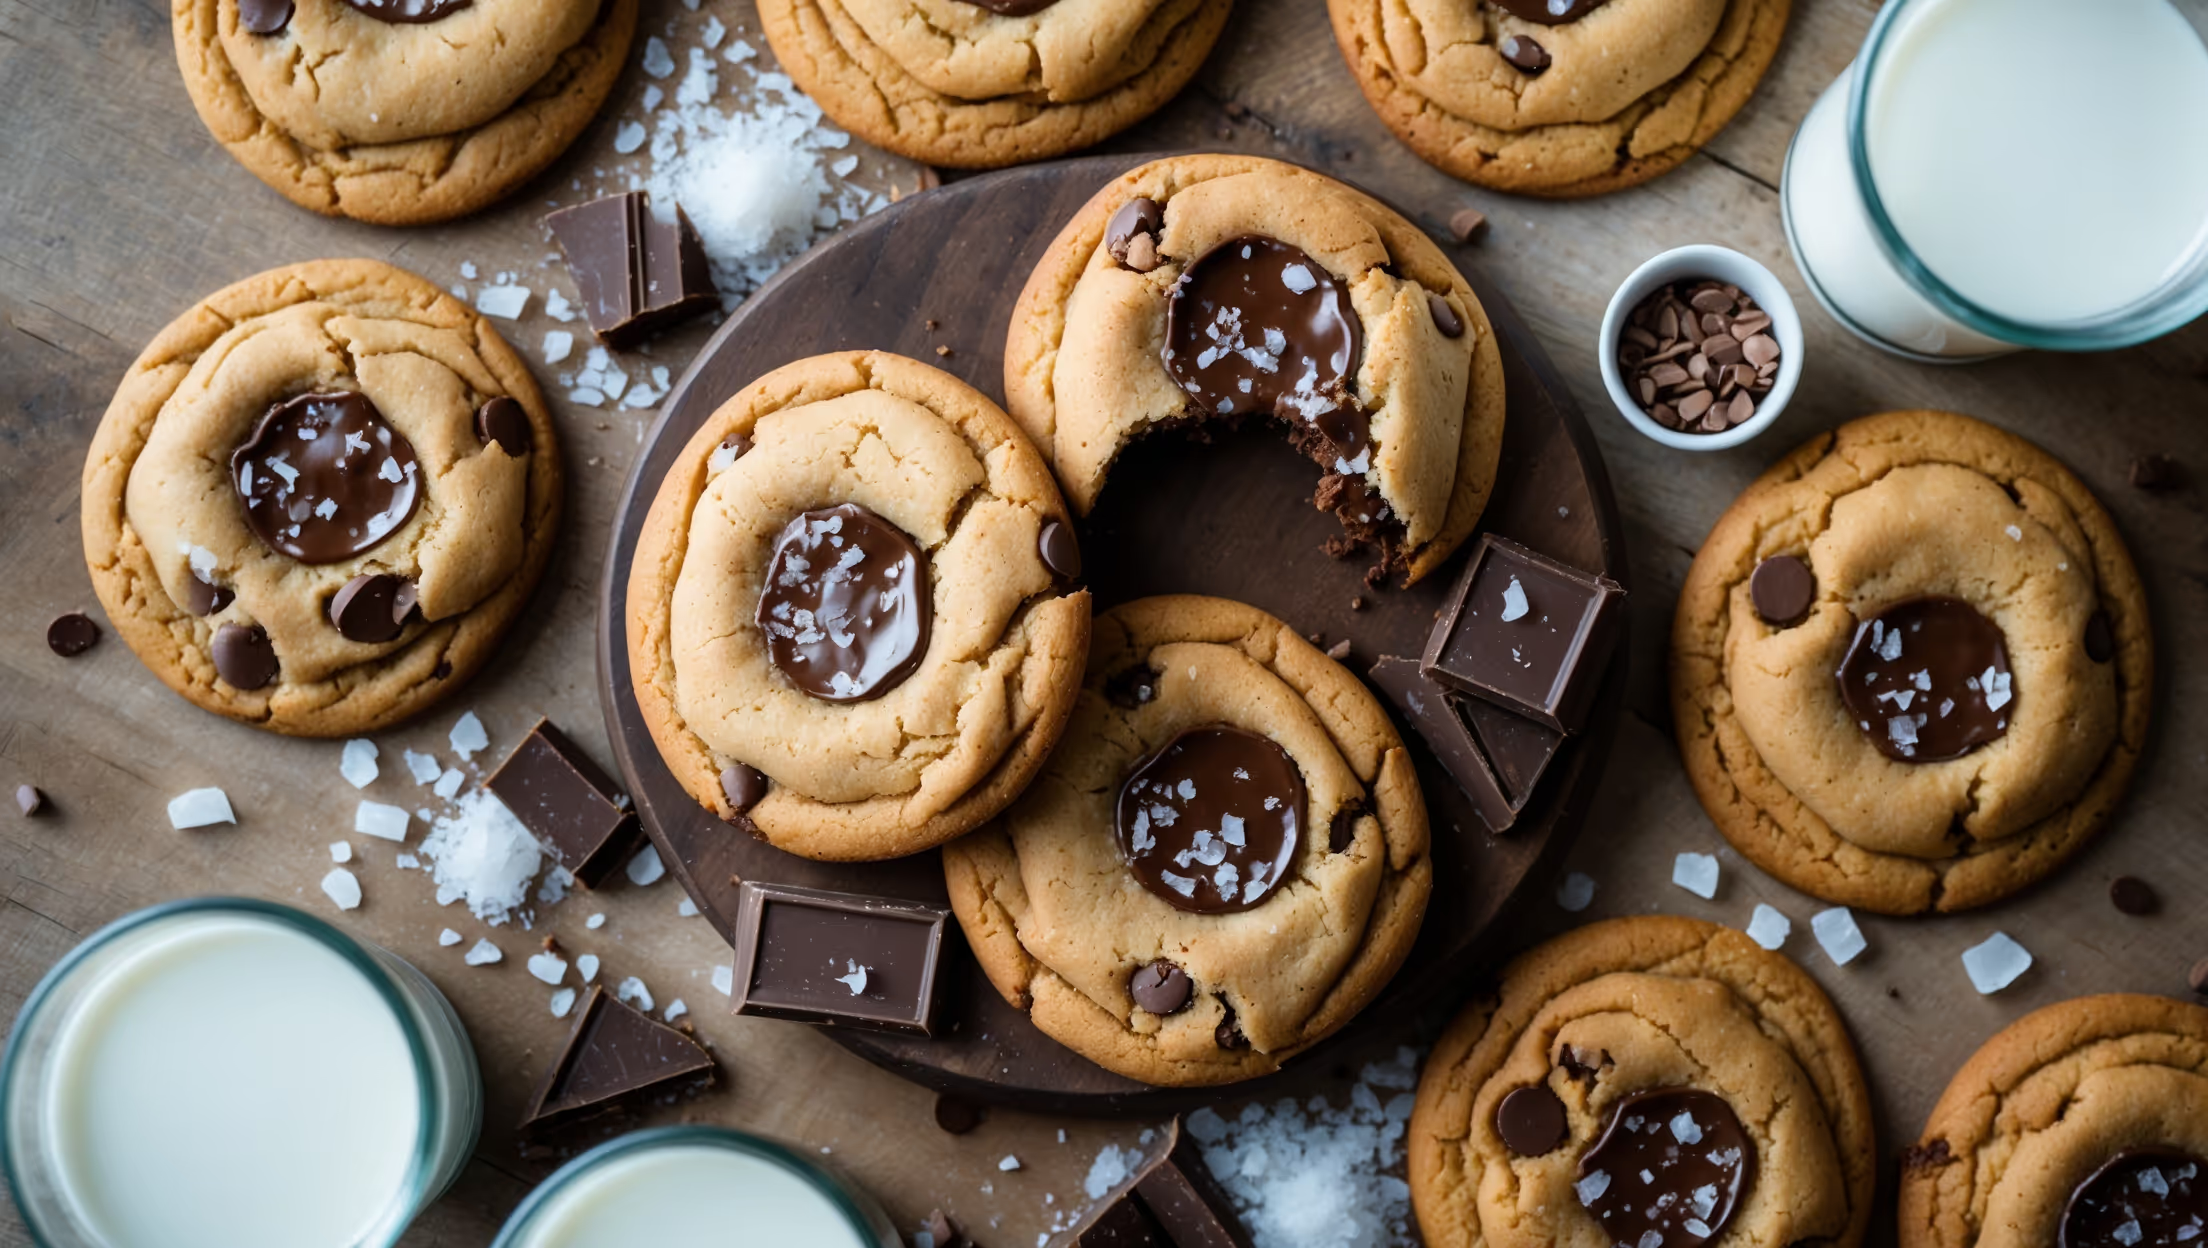
<ol class="no-list-style"><li class="MethodStepper"><h4 class="step-title">Step 1</h4>In a medium bowl, whisk together the flour, baking soda, and salt. This ensures even distribution of the leavening agent throughout your cookies. Set this mixture aside while you prepare the wet ingredients.</li><li class="MethodStepper"><h4 class="step-title">Step 2</h4>In the bowl of a stand mixer fitted with the paddle attachment (or using a hand mixer), cream the butter for about 1 minute until smooth. The butter should be cool but pliable - if you press it with your finger, it should make an indent but not sink in completely. This temperature is crucial for creating the perfect cookie texture.</li><li class="MethodStepper"><h4 class="step-title">Step 3</h4>Add both brown and granulated sugars to the butter and beat on medium speed for 2 full minutes until light and fluffy. Don't rush this step - the creaming process incorporates air into the mixture which helps create soft, tender cookies. You'll notice the mixture change from dense and yellow to lighter and fluffier.</li><li class="MethodStepper"><h4 class="step-title">Step 4</h4>Add the egg, egg yolk, and vanilla extract. Beat on medium-high speed until fully incorporated and the mixture looks silky and smooth, about 1 minute. The extra egg yolk provides additional fat which contributes to the soft texture of these cookies.</li><li class="MethodStepper"><h4 class="step-title">Step 5</h4>Reduce the mixer speed to low and gradually add the dry ingredients. Mix just until combined - you should still see a few streaks of flour. Over-mixing at this stage develops gluten, which can make cookies tough rather than tender.</li><li class="MethodStepper"><h4 class="step-title">Step 6</h4>Using a spatula, fold in the chocolate chips by hand until evenly distributed throughout the dough. This gentle folding prevents overworking the dough while ensuring chocolate in every bite.</li><li class="MethodStepper"><h4 class="step-title">Step 7</h4>Cover the cookie dough tightly with plastic wrap and chill in the refrigerator for at least 2 hours, preferably 3-4 hours. This resting period allows the flour to fully hydrate and the butter to solidify, preventing excessive spreading during baking. For best flavor development, you can chill the dough up to 3 days.</li><li class="MethodStepper"><h4 class="step-title">Step 8</h4>When ready to bake, preheat your oven to 160°C (325°F) - note this lower temperature is intentional for soft cookies. Line baking sheets with parchment paper or silicone mats. Allow the dough to sit at room temperature for 10 minutes to soften slightly if it's very firm from chilling.</li><li class="MethodStepper"><h4 class="step-title">Step 9</h4>Using a 5cm (2-inch) cookie scoop, form dough balls and place them on the prepared baking sheets, leaving about 8cm (3 inches) between cookies as they will spread. For extra bakery-style appearance, press a few additional chocolate chips on top of each dough ball.</li><li class="MethodStepper"><h4 class="step-title">Step 10</h4>Bake for 12-13 minutes, until the edges are just set and lightly golden but the centers appear slightly underdone and soft. The cookies will look puffy and almost raw in the middle - this is perfect! They will continue cooking on the hot baking sheet after removal from the oven.</li><li class="MethodStepper"><h4 class="step-title">Step 11</h4>If desired, sprinkle each cookie lightly with flaky sea salt immediately after removing from the oven. The contrast between sweet cookie and salt enhances the chocolate flavor dramatically.</li><li class="MethodStepper"><h4 class="step-title">Step 12</h4>Allow the cookies to cool on the baking sheets for 10 minutes - this is when the magic happens as they set up with those perfect soft centers. Then transfer to a wire rack to cool completely. For maximum softness, store in an airtight container with a slice of bread (the cookies will absorb moisture from the bread, keeping them soft for days).</li></ol>