Sea Salt Chocolate Chip Cookies Recipe

Crisp-edged, gooey-centered cookies studded with melty chocolate chunks and finished with flakes of sea salt that elevate the classic chocolate chip cookie with sophisticated sweet-salty balance.
Difficulty:
Beginner
Prep Time:
20 mins
Cook Time:
12 mins
Serves:
18 cookies
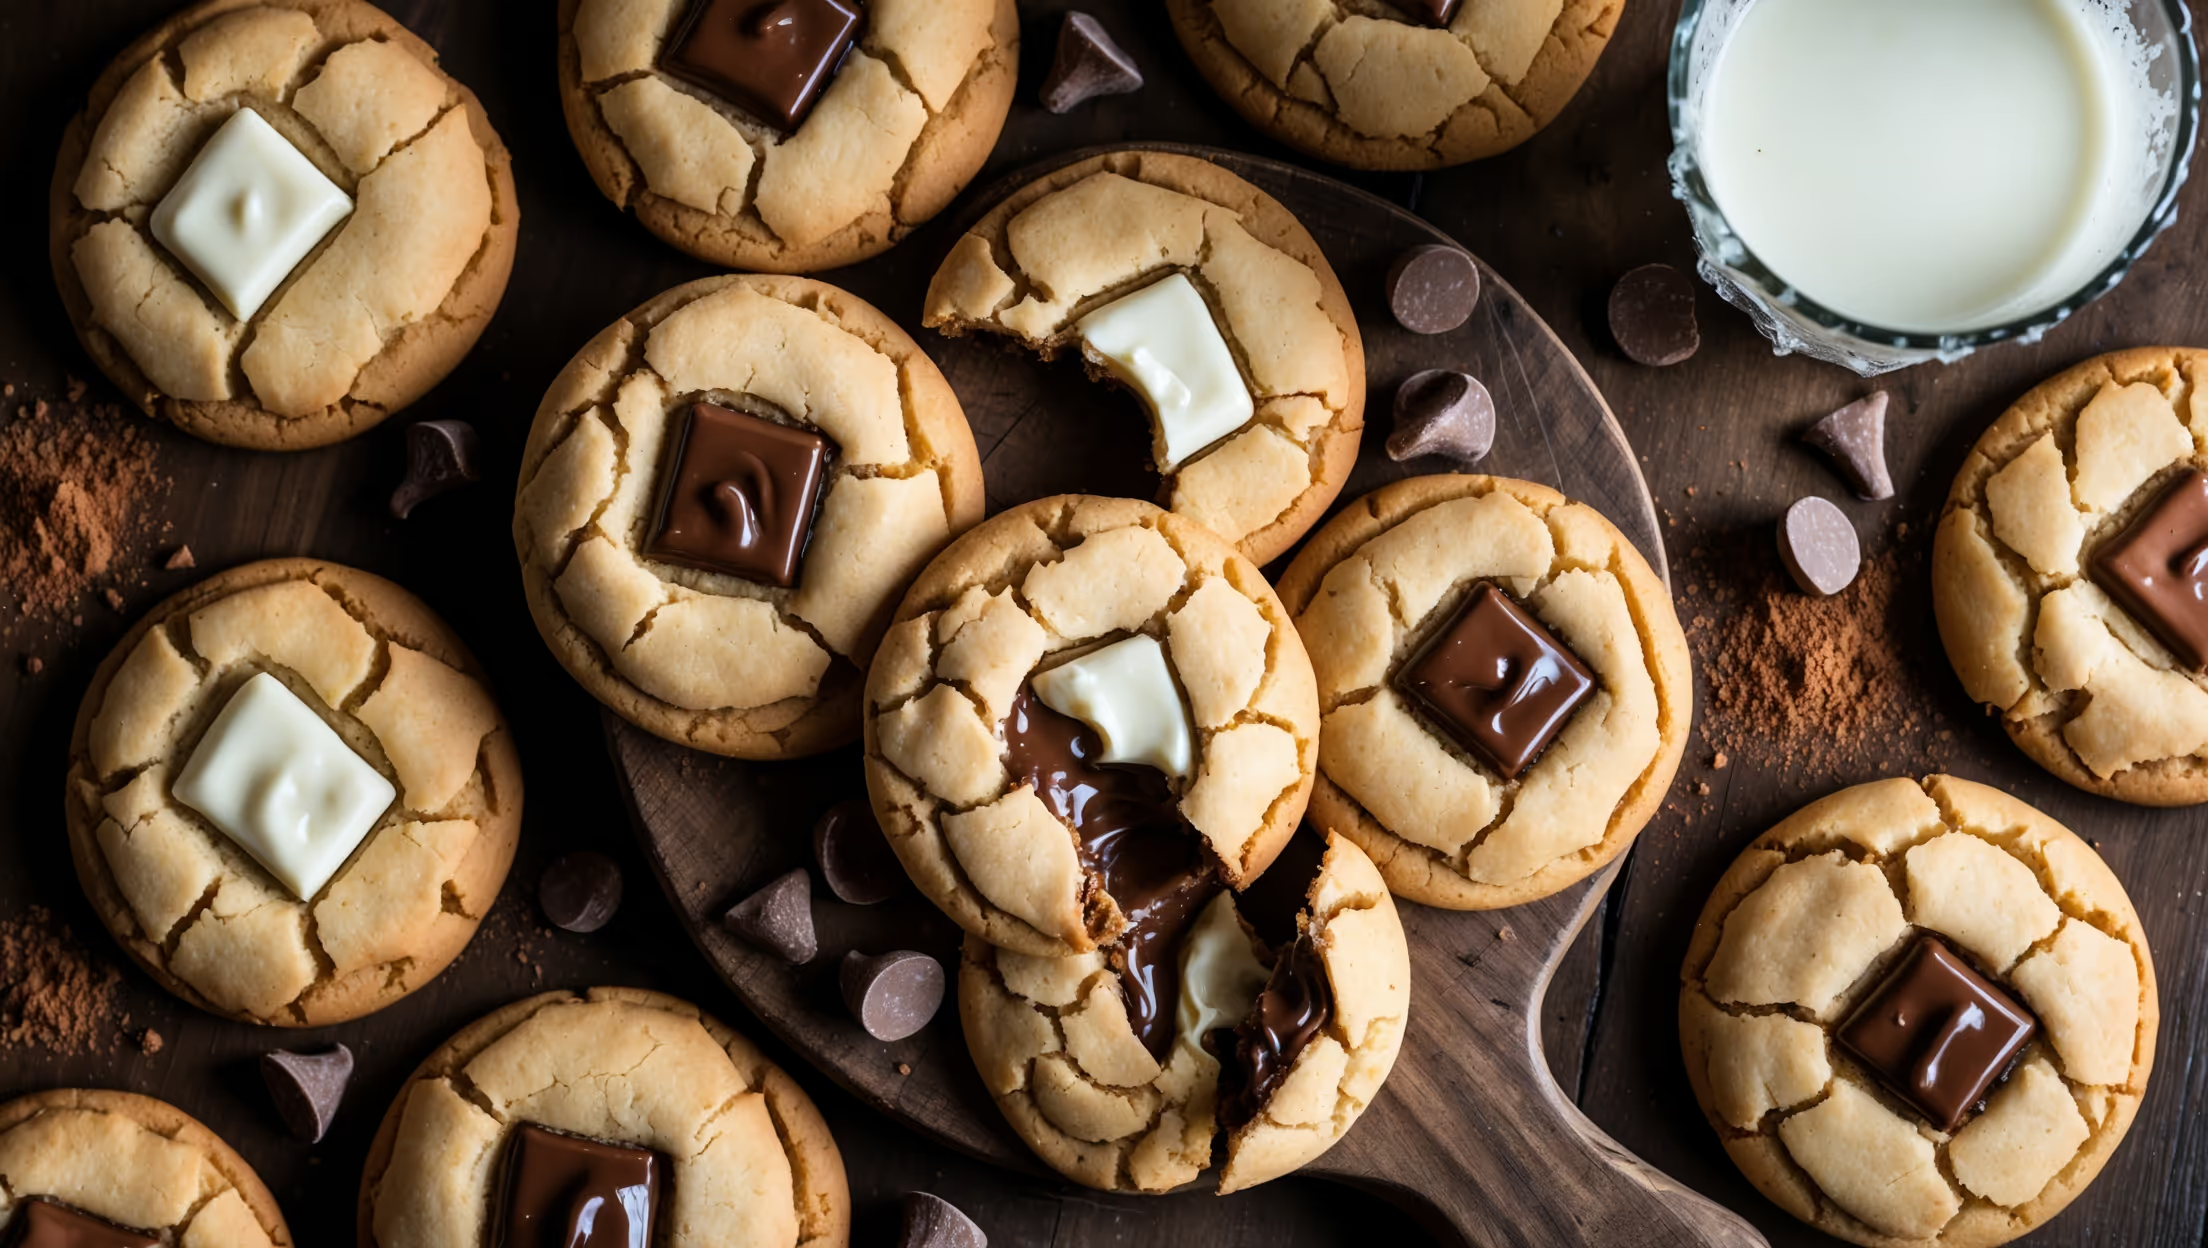
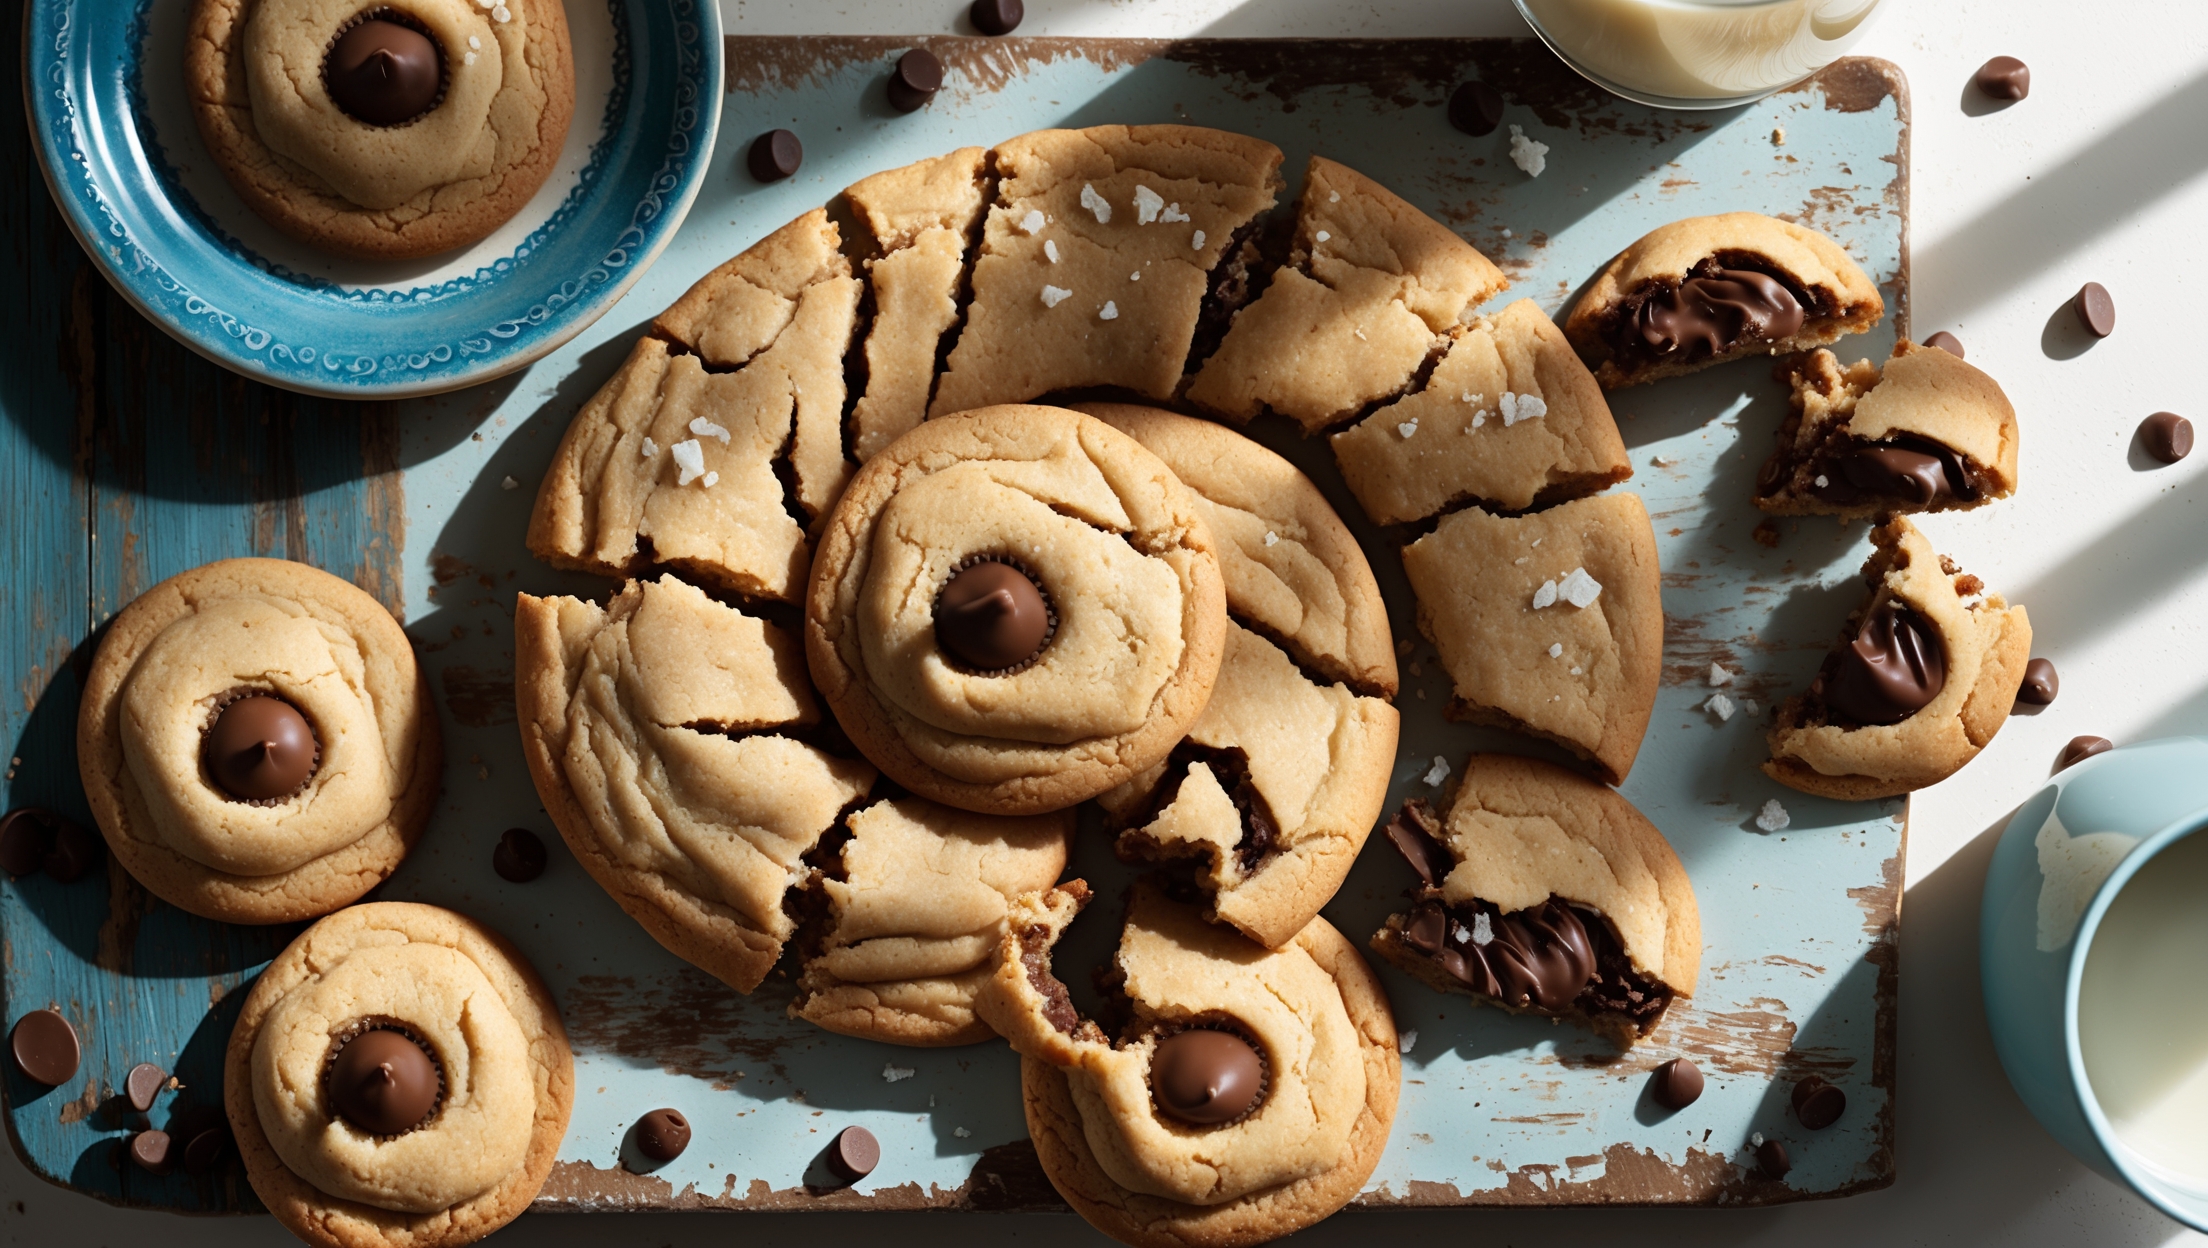
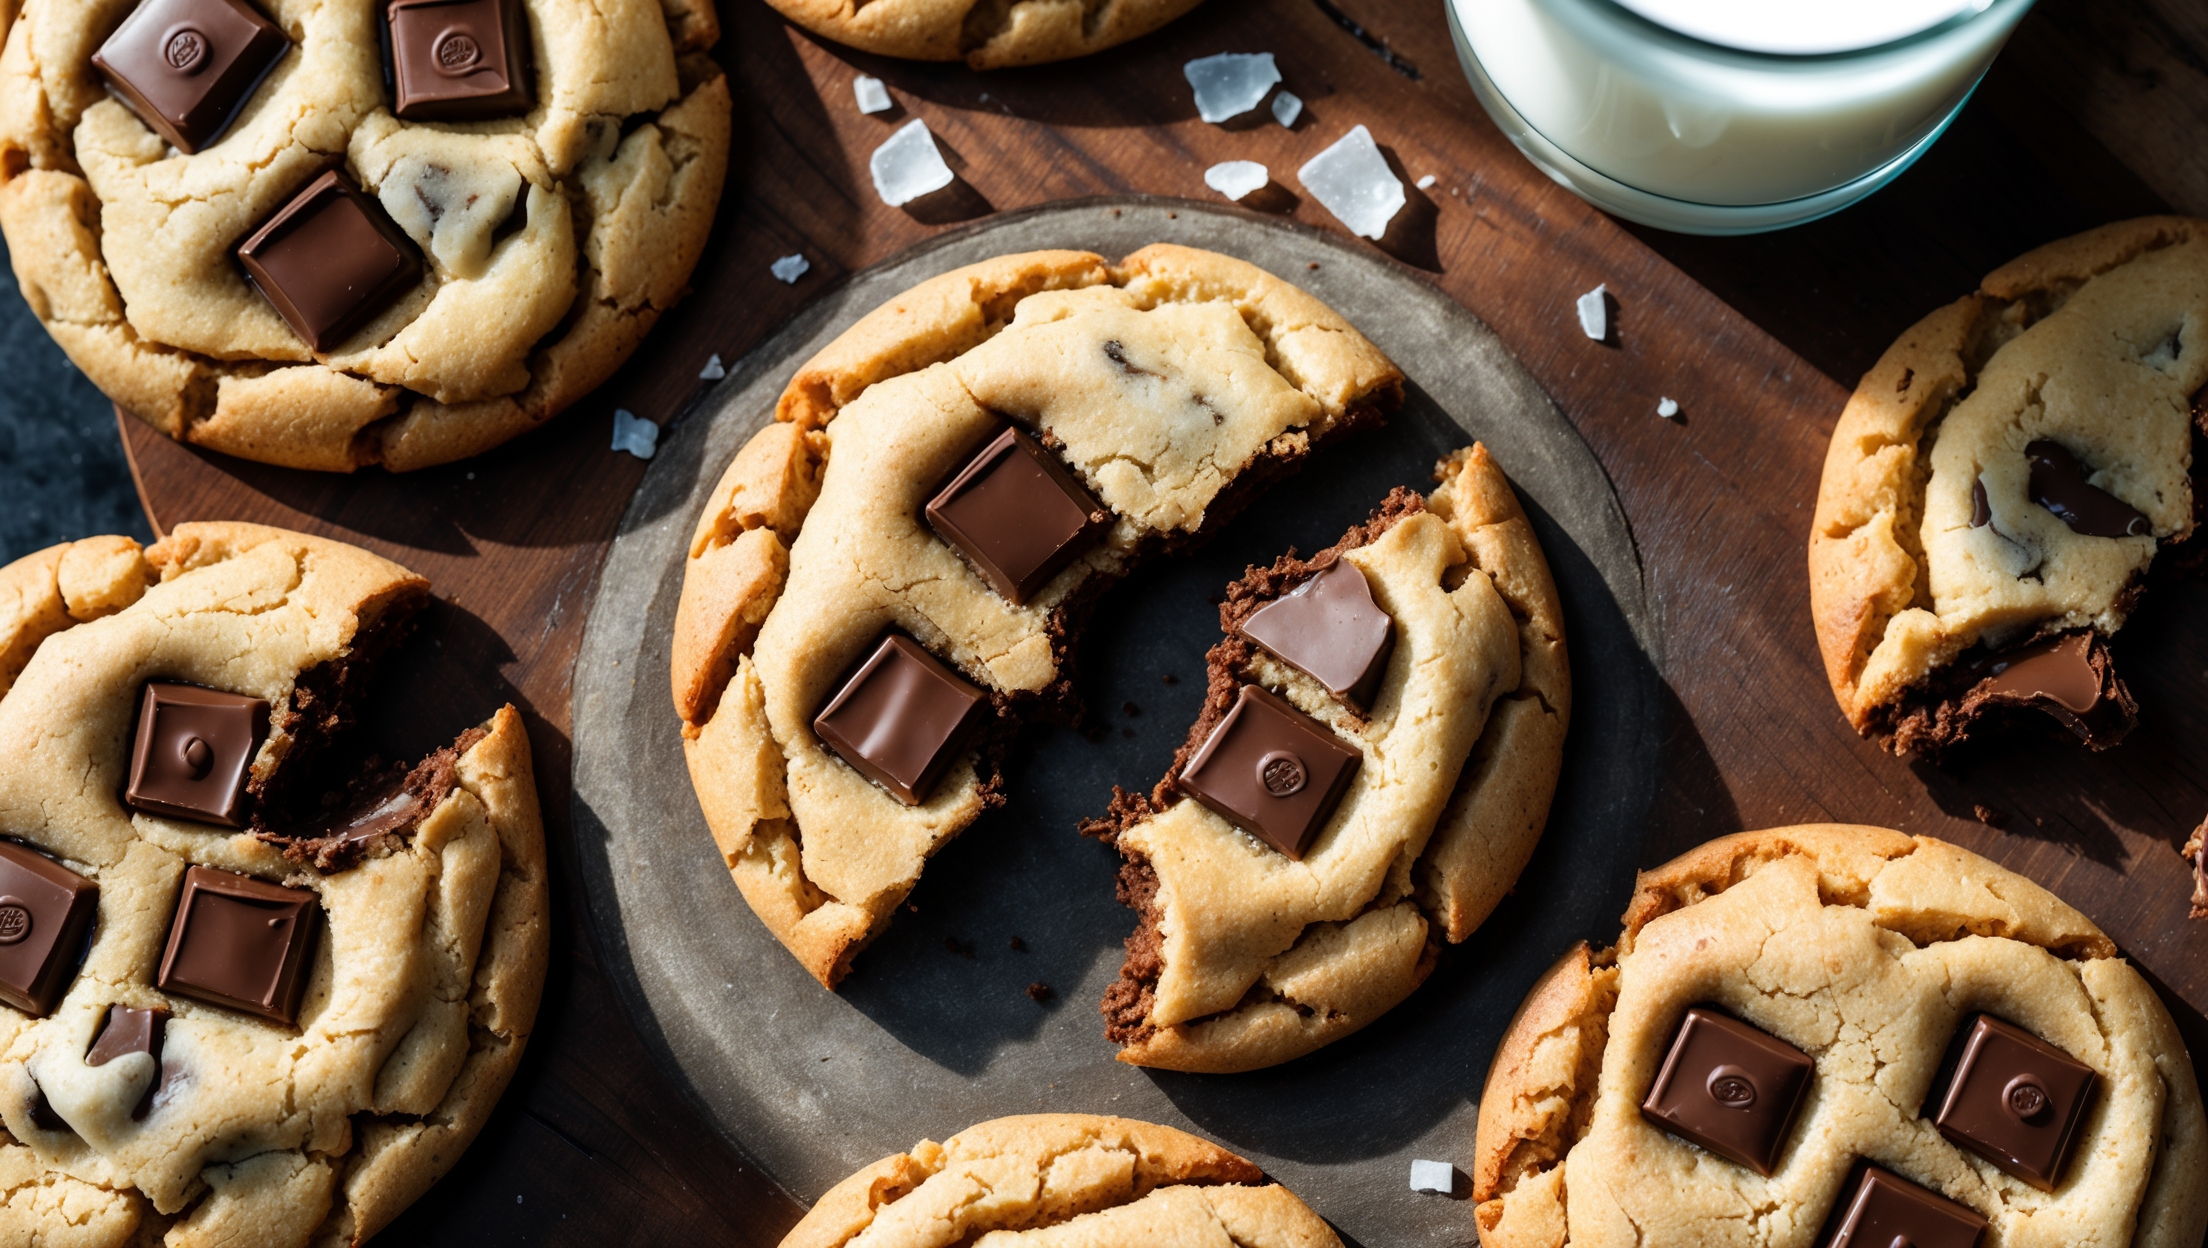
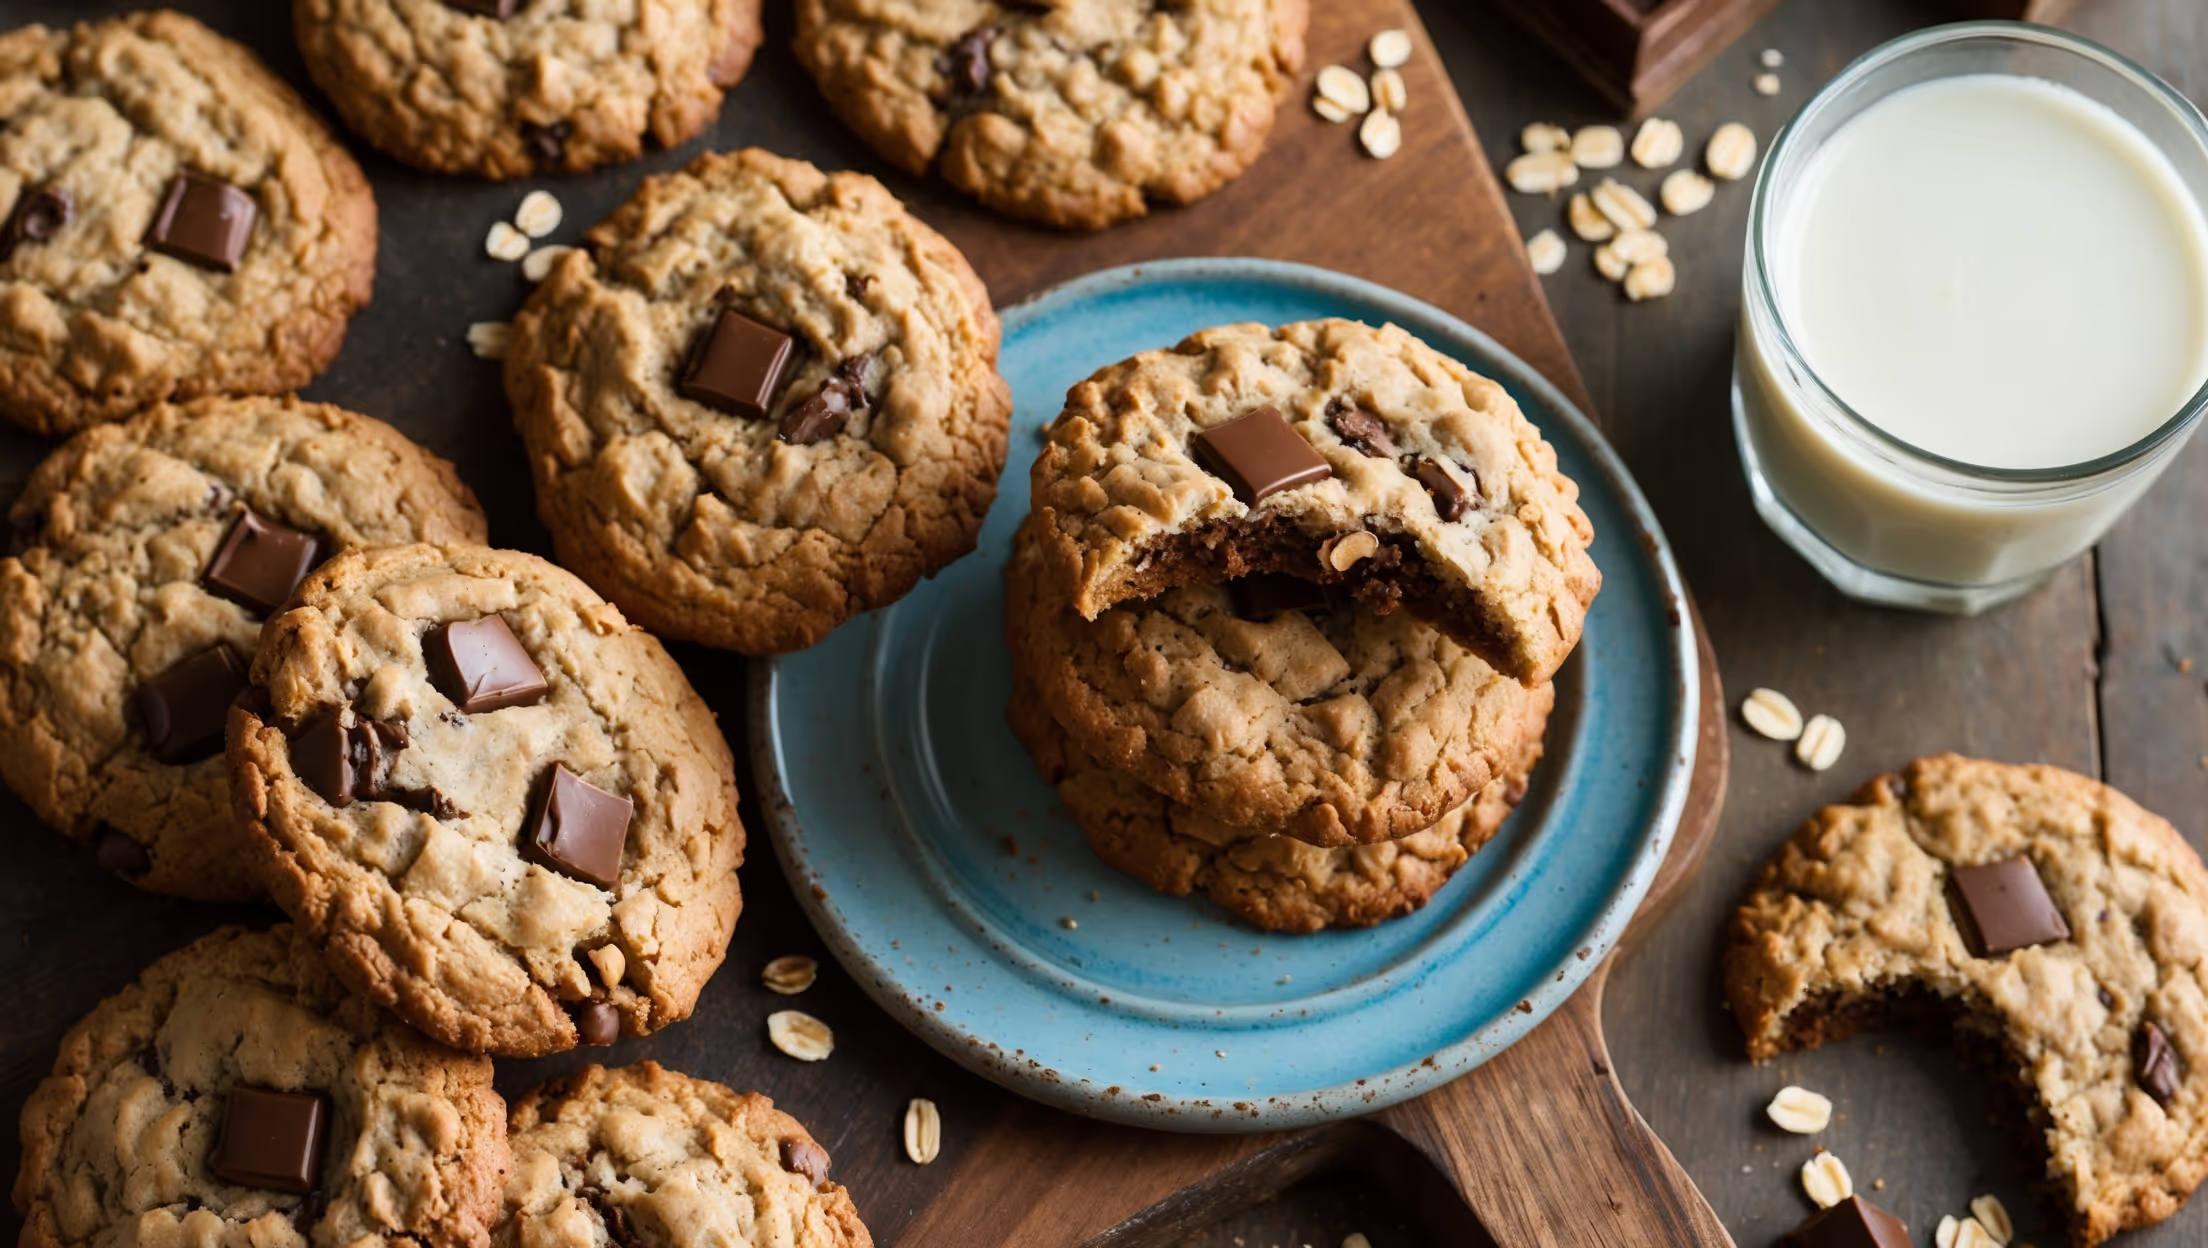
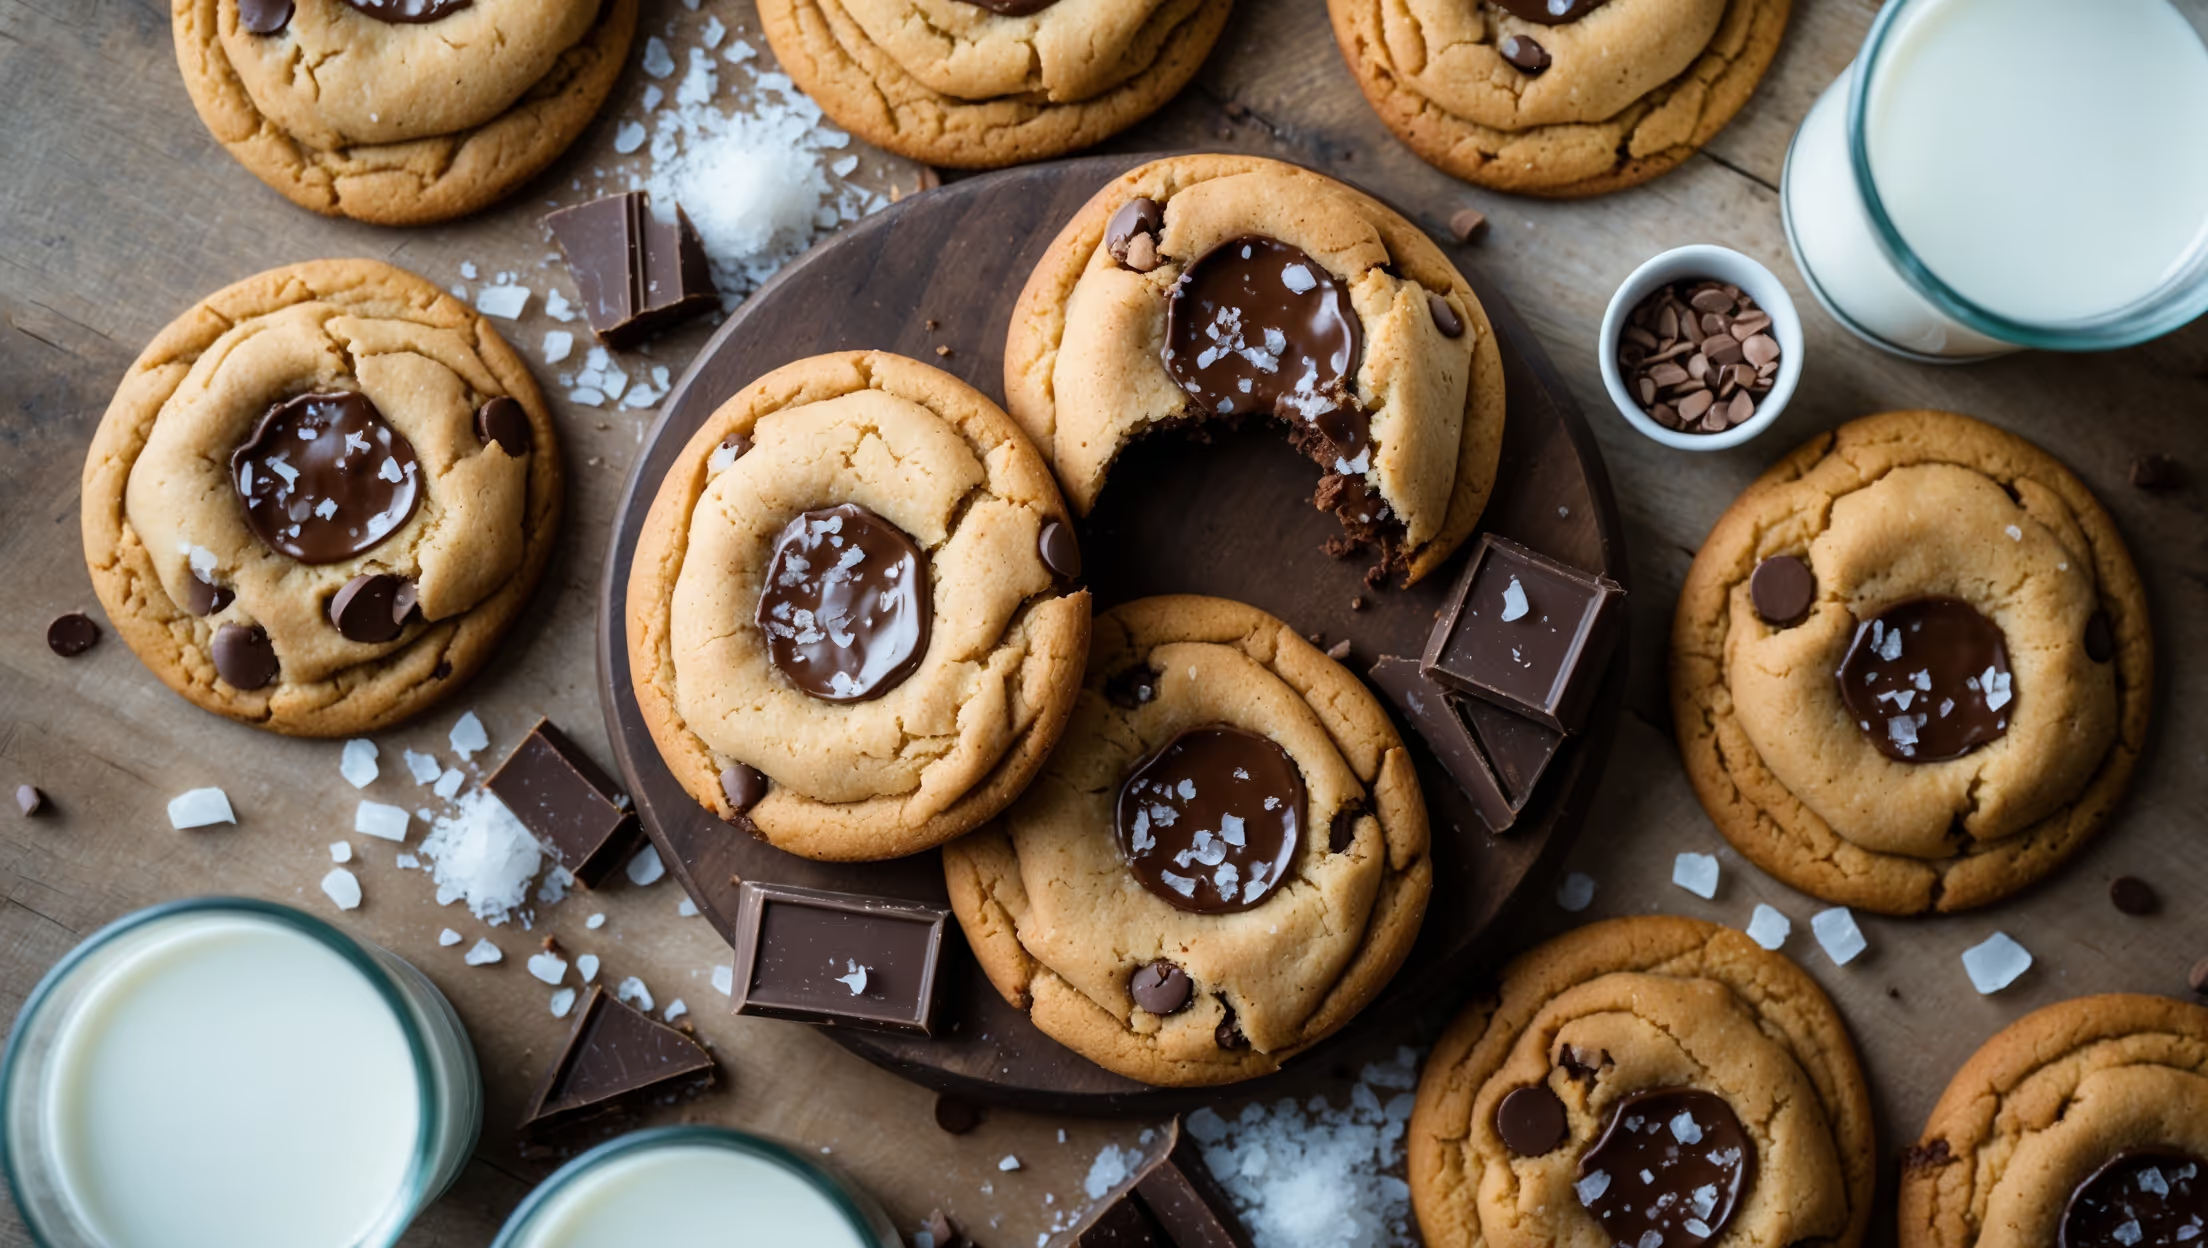
An overhead shot of perfectly golden-brown sea salt chocolate chip cookies arranged on a rustic wooden board, some whole and some broken to reveal the gooey chocolate centers. The cookies are photographed in soft natural light that highlights their textural contrast—crisp, crackly edges and soft, melty middles. Scattered chocolate chunks and visible flakes of sea salt glisten on the surface, creating an appealing visual sparkle. Several glasses of milk sit partially in frame, along with a small bowl of flaky sea salt and scattered chocolate pieces, emphasizing the key flavor components. The warm bronze tones of the cookies contrast beautifully with the cool white milk and crystalline salt, creating a composition that's simultaneously homey and elegant.

Ingredients

<ul class="ingredients-main-list"><li class="ingredients-single-item">200g unsalted butter</li><li class="ingredients-single-item">200g light brown sugar</li><li class="ingredients-single-item">100g granulated sugar</li><li class="ingredients-single-item">2 large eggs, room temperature</li><li class="ingredients-single-item">2 tsp vanilla extract</li><li class="ingredients-single-item">280g all-purpose flour</li><li class="ingredients-single-item">1 tsp baking soda</li><li class="ingredients-single-item">½ tsp baking powder</li><li class="ingredients-single-item">¾ tsp fine sea salt</li><li class="ingredients-single-item">250g dark chocolate (70% cocoa), roughly chopped</li><li class="ingredients-single-item">2 tbsp flaky sea salt (such as Maldon), for topping</li></ul>

Equipment

<ul class="equipment-main-list"><li class="equipment-single-item">Baking sheets</li><li class="equipment-single-item">Parchment paper</li><li class="equipment-single-item">Stand mixer or electric hand mixer</li></ul>
BAKE SMARTER

Kitchen Converter

Quickly switch between common baking units without leaving the recipe.

Convert
Result—

Volume uses US cups, tablespoons, and teaspoons. Converting weight to volume depends on the ingredient.

Directions

<ol class="no-list-style"><li class="MethodStepper"><h4 class="step-title">Step 1</h4>In a medium saucepan, melt the butter over medium heat. Continue cooking, swirling occasionally, until the butter turns golden brown and smells nutty, about 5-7 minutes. The milk solids will separate and brown at the bottom of the pan – this is where the flavor magic happens! Pour into a large heatproof bowl and let cool for 10 minutes. Browning the butter adds a toffee-like depth that elevates these cookies beyond the ordinary.</li><li class="MethodStepper"><h4 class="step-title">Step 2</h4>Add both sugars to the browned butter and beat with an electric mixer until well combined, about 2 minutes. The mixture won't become as fluffy as with room-temperature butter, and that's perfectly fine – it's what gives these cookies their chewy texture.</li><li class="MethodStepper"><h4 class="step-title">Step 3</h4>Beat in the eggs one at a time, ensuring each is fully incorporated before adding the next. Add the vanilla extract and mix well. The mixture should look glossy and smooth.</li><li class="MethodStepper"><h4 class="step-title">Step 4</h4>In a separate bowl, whisk together the flour, baking soda, baking powder, and fine sea salt. Add this dry mixture to the wet ingredients and mix on low speed just until combined – overmixing will develop too much gluten, resulting in tough cookies. The dough should be coming together but still look somewhat rough.</li><li class="MethodStepper"><h4 class="step-title">Step 5</h4>Fold in the chopped chocolate using a spatula until evenly distributed. Using chopped chocolate rather than chips creates melty chocolate pockets throughout the cookies and varied texture.</li><li class="MethodStepper"><h4 class="step-title">Step 6</h4>Cover the bowl with plastic wrap and refrigerate for at least 2 hours, preferably overnight. This resting period allows the flour to fully hydrate and the flavors to develop, resulting in more complex-tasting cookies with better texture. Don't skip this step – it's crucial for the perfect cookie!</li><li class="MethodStepper"><h4 class="step-title">Step 7</h4>When ready to bake, preheat your oven to 180°C and line baking sheets with parchment paper. Remove the dough from the refrigerator and let it sit for 10 minutes to slightly soften.</li><li class="MethodStepper"><h4 class="step-title">Step 8</h4>Scoop the dough into balls, about 2 tablespoons each (roughly 50g per cookie). Place them on the prepared baking sheets, leaving about 7cm between each cookie as they will spread during baking.</li><li class="MethodStepper"><h4 class="step-title">Step 9</h4>Sprinkle each dough ball with a few flakes of sea salt – be generous but not overwhelming. The salt crystals will maintain their structure during baking, providing delightful flavor bursts against the sweet cookie.</li><li class="MethodStepper"><h4 class="step-title">Step 10</h4>Bake for 10-12 minutes, until the edges are set and golden but the centers still look slightly underbaked. This creates that perfect contrast between crisp edges and soft centers. The cookies will continue cooking slightly on the hot baking sheet.</li><li class="MethodStepper"><h4 class="step-title">Step 11</h4>Allow the cookies to cool on the baking sheets for 5 minutes before transferring to a wire rack to cool completely. If you want to enhance the appearance, you can press a few additional chocolate chunks into the tops while they're still warm.</li><li class="MethodStepper"><h4 class="step-title">Step 12</h4>These cookies are best enjoyed slightly warm when the chocolate is still melty, but they'll keep in an airtight container for up to 5 days. You can also freeze the baked cookies for up to 3 months, or freeze the dough balls to bake fresh cookies whenever the craving strikes!</li></ol>
Nutrition Facts (per serving)

🍽️ Serving Size: 1 cookie
🔥 Calories: 265 calories
🥑 Fat: 15 g
🧈 Saturated Fat: 9 g
🍞 Carbohydrates: 31 g
🍭 Sugar: 20 g
🍗 Protein: 3 g
🫀 Cholesterol: 42 mg
🧂 Sodium: 210 mg

Chef’s Notes

A few helpful details for making this recipe.

Why is browning the butter important in chocolate chip cookies?

Browning butter creates a nutty, toffee-like flavour that adds incredible depth to chocolate chip cookies. The process evaporates water from the butter and caramelises the milk solids, resulting in more complex flavour, richer aroma, and a slightly chewier texture in the finished cookies.

Is chilling cookie dough really necessary or can I skip this step?

Chilling cookie dough is crucial for superior texture and flavour. It allows flour to fully hydrate, solidifies the butter (preventing over-spreading), and develops more complex flavours. For chocolate chip cookies, a 2-hour minimum chill (ideally overnight) creates that perfect crisp-edge, chewy-centre texture.

What's the difference between using chocolate chunks versus chocolate chips in cookies?

Chocolate chunks create varied texture and melty pockets throughout cookies, while uniform chips maintain their shape during baking. Chunks from chopped chocolate bars also typically contain higher cocoa content and less stabilisers than commercial chips, resulting in superior melt and richer chocolate flavour.

Want to try something else in ...

More recipes you might like

Keep exploring with more recipes from What's Baking.