Temperature-Controlled Chocolate Tempering Chip Cookies Recipe
Ingredients
Equipment
Directions
FAQs
Find answers to your most pressing questions about this delicious recipe right here.
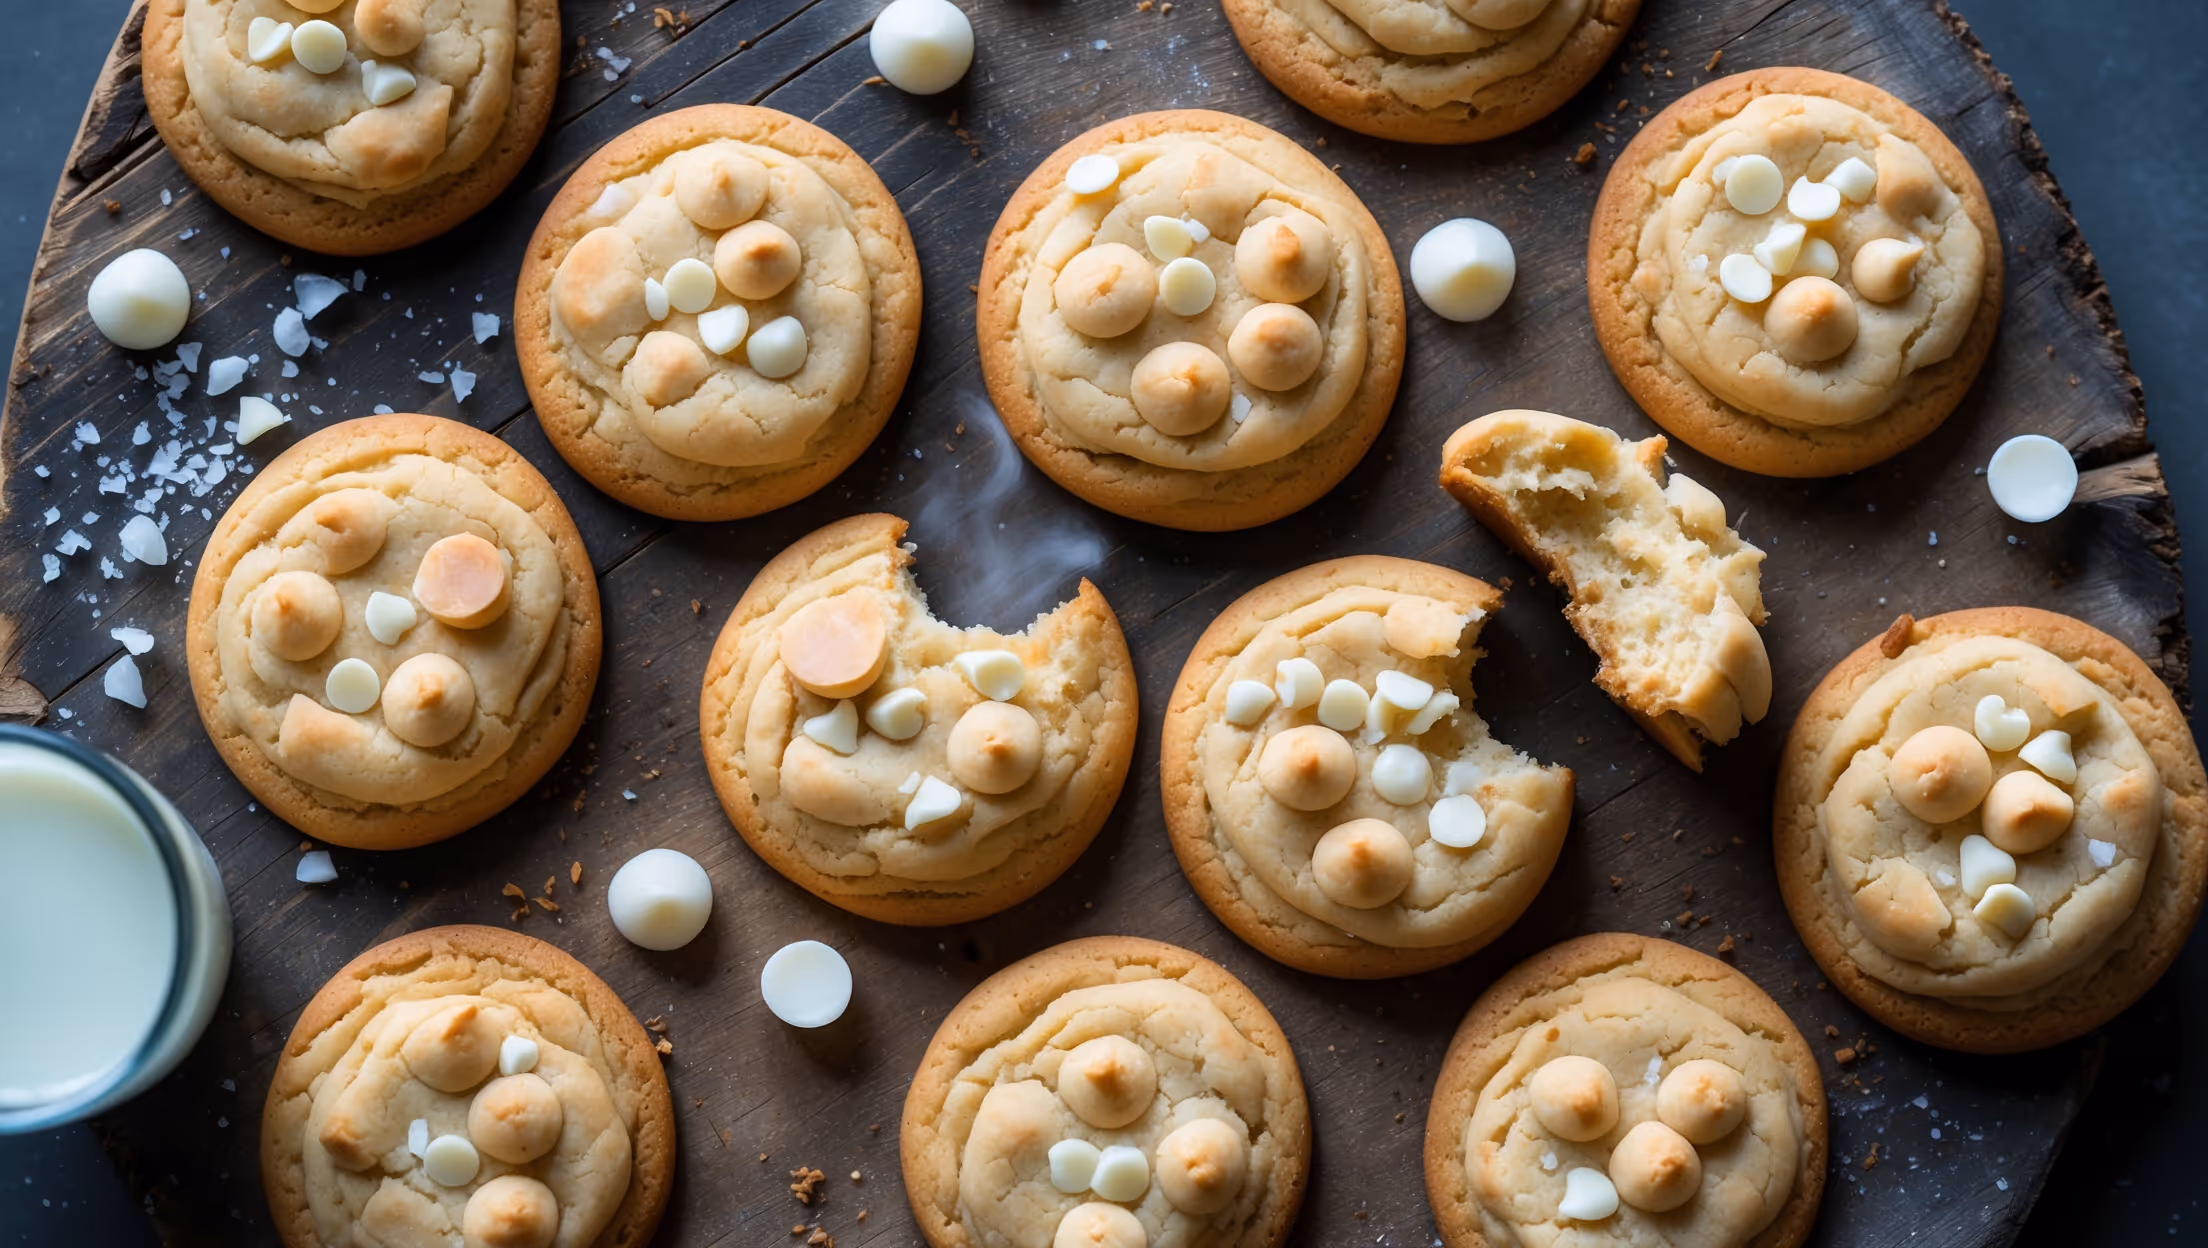
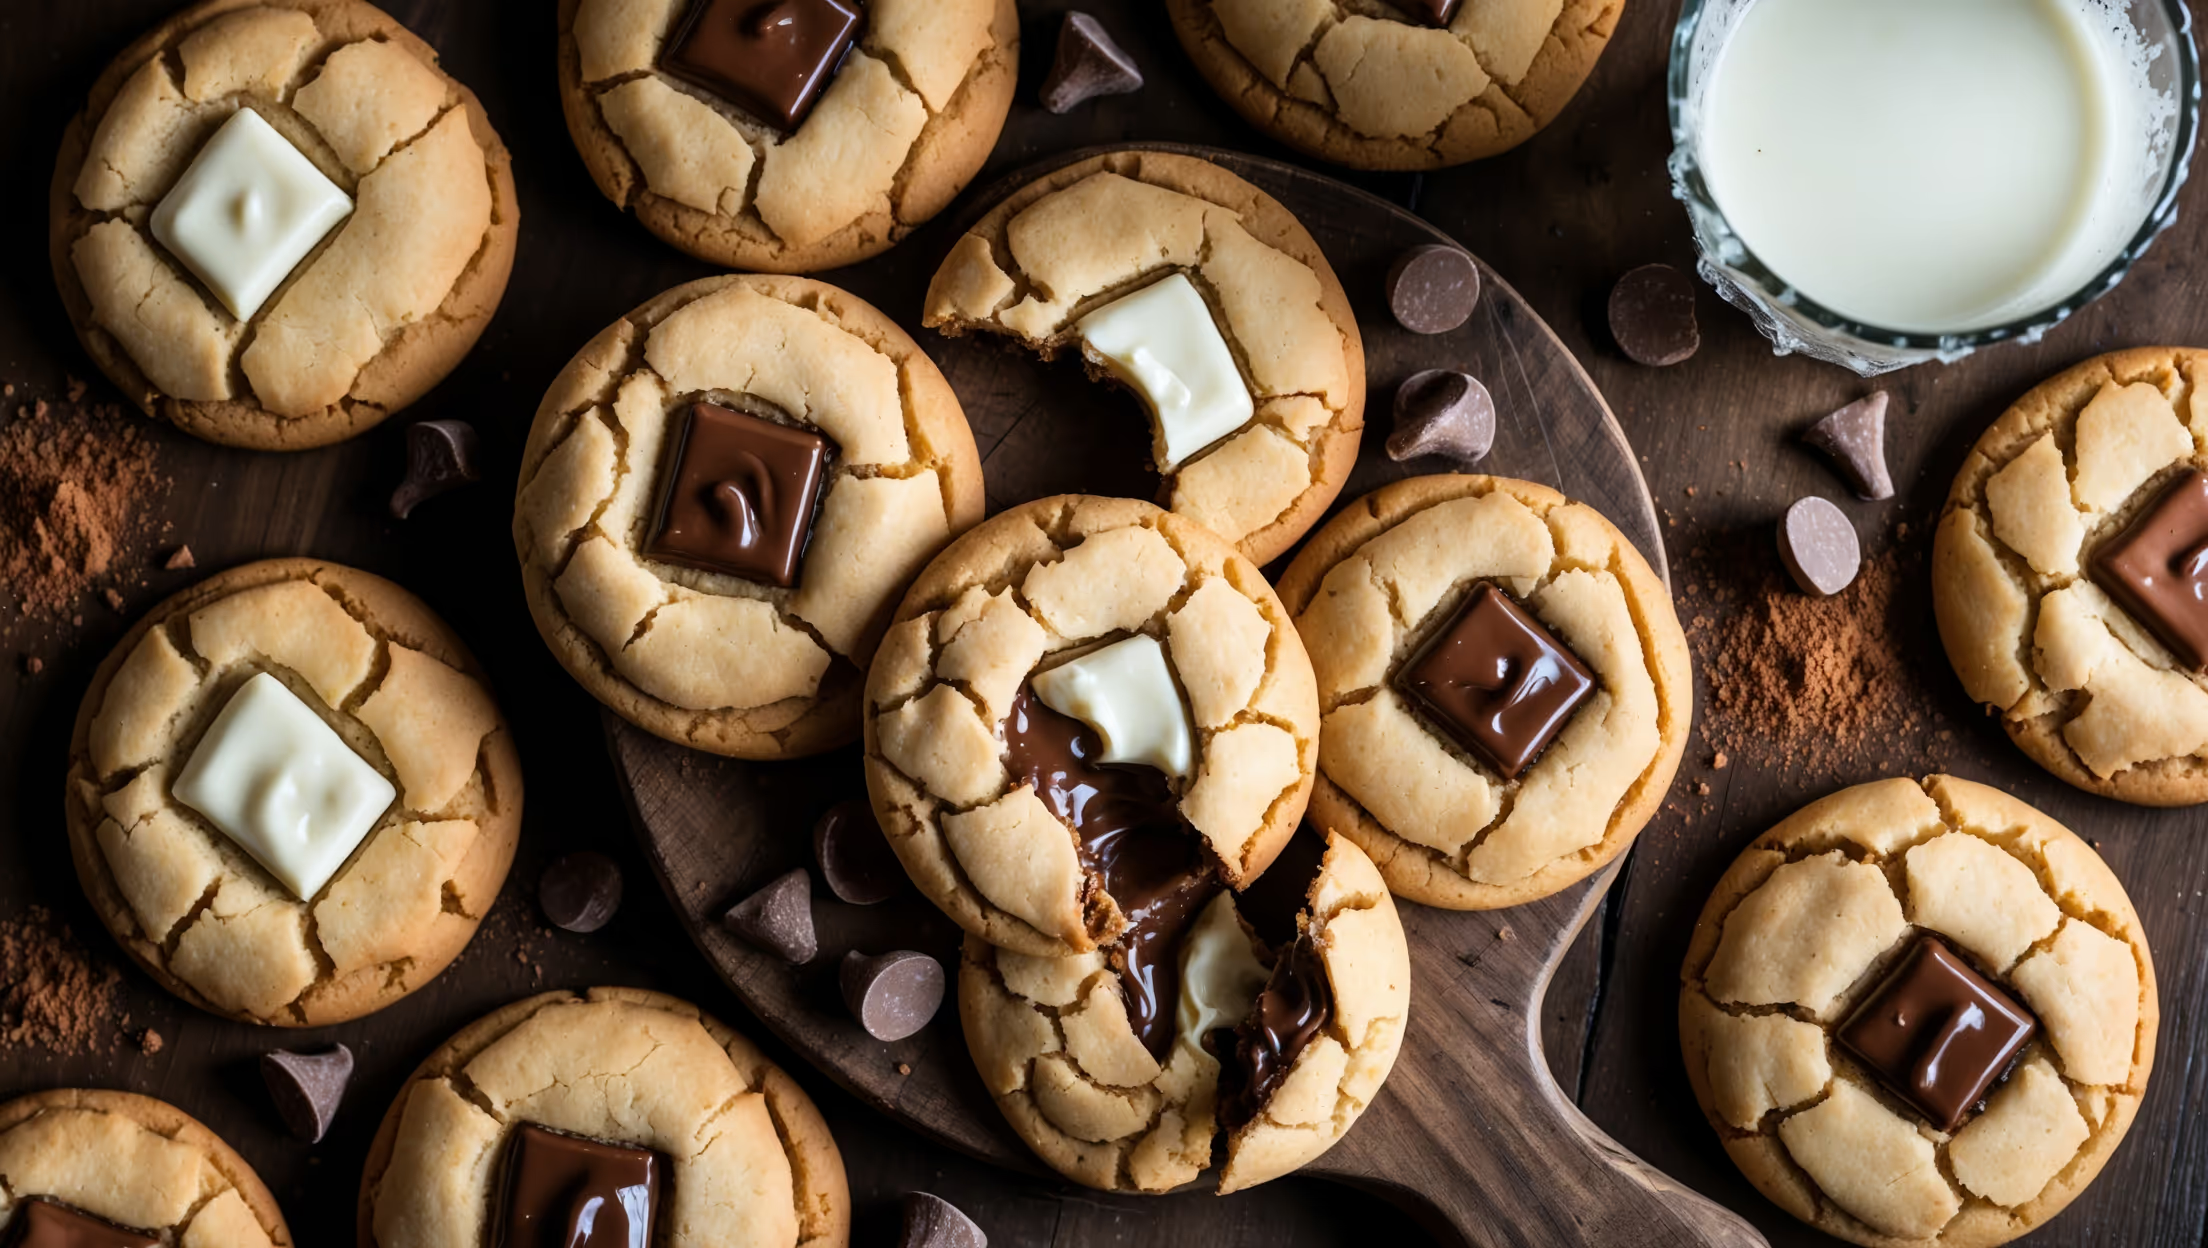
The recipe requires unsalted butter, granulated sugar, brown sugar, eggs, vanilla, all-purpose flour, baking soda, salt, high-quality dark chocolate (70% cocoa solids), and flaky sea salt for garnish. A digital thermometer is essential for accurate chocolate tempering.
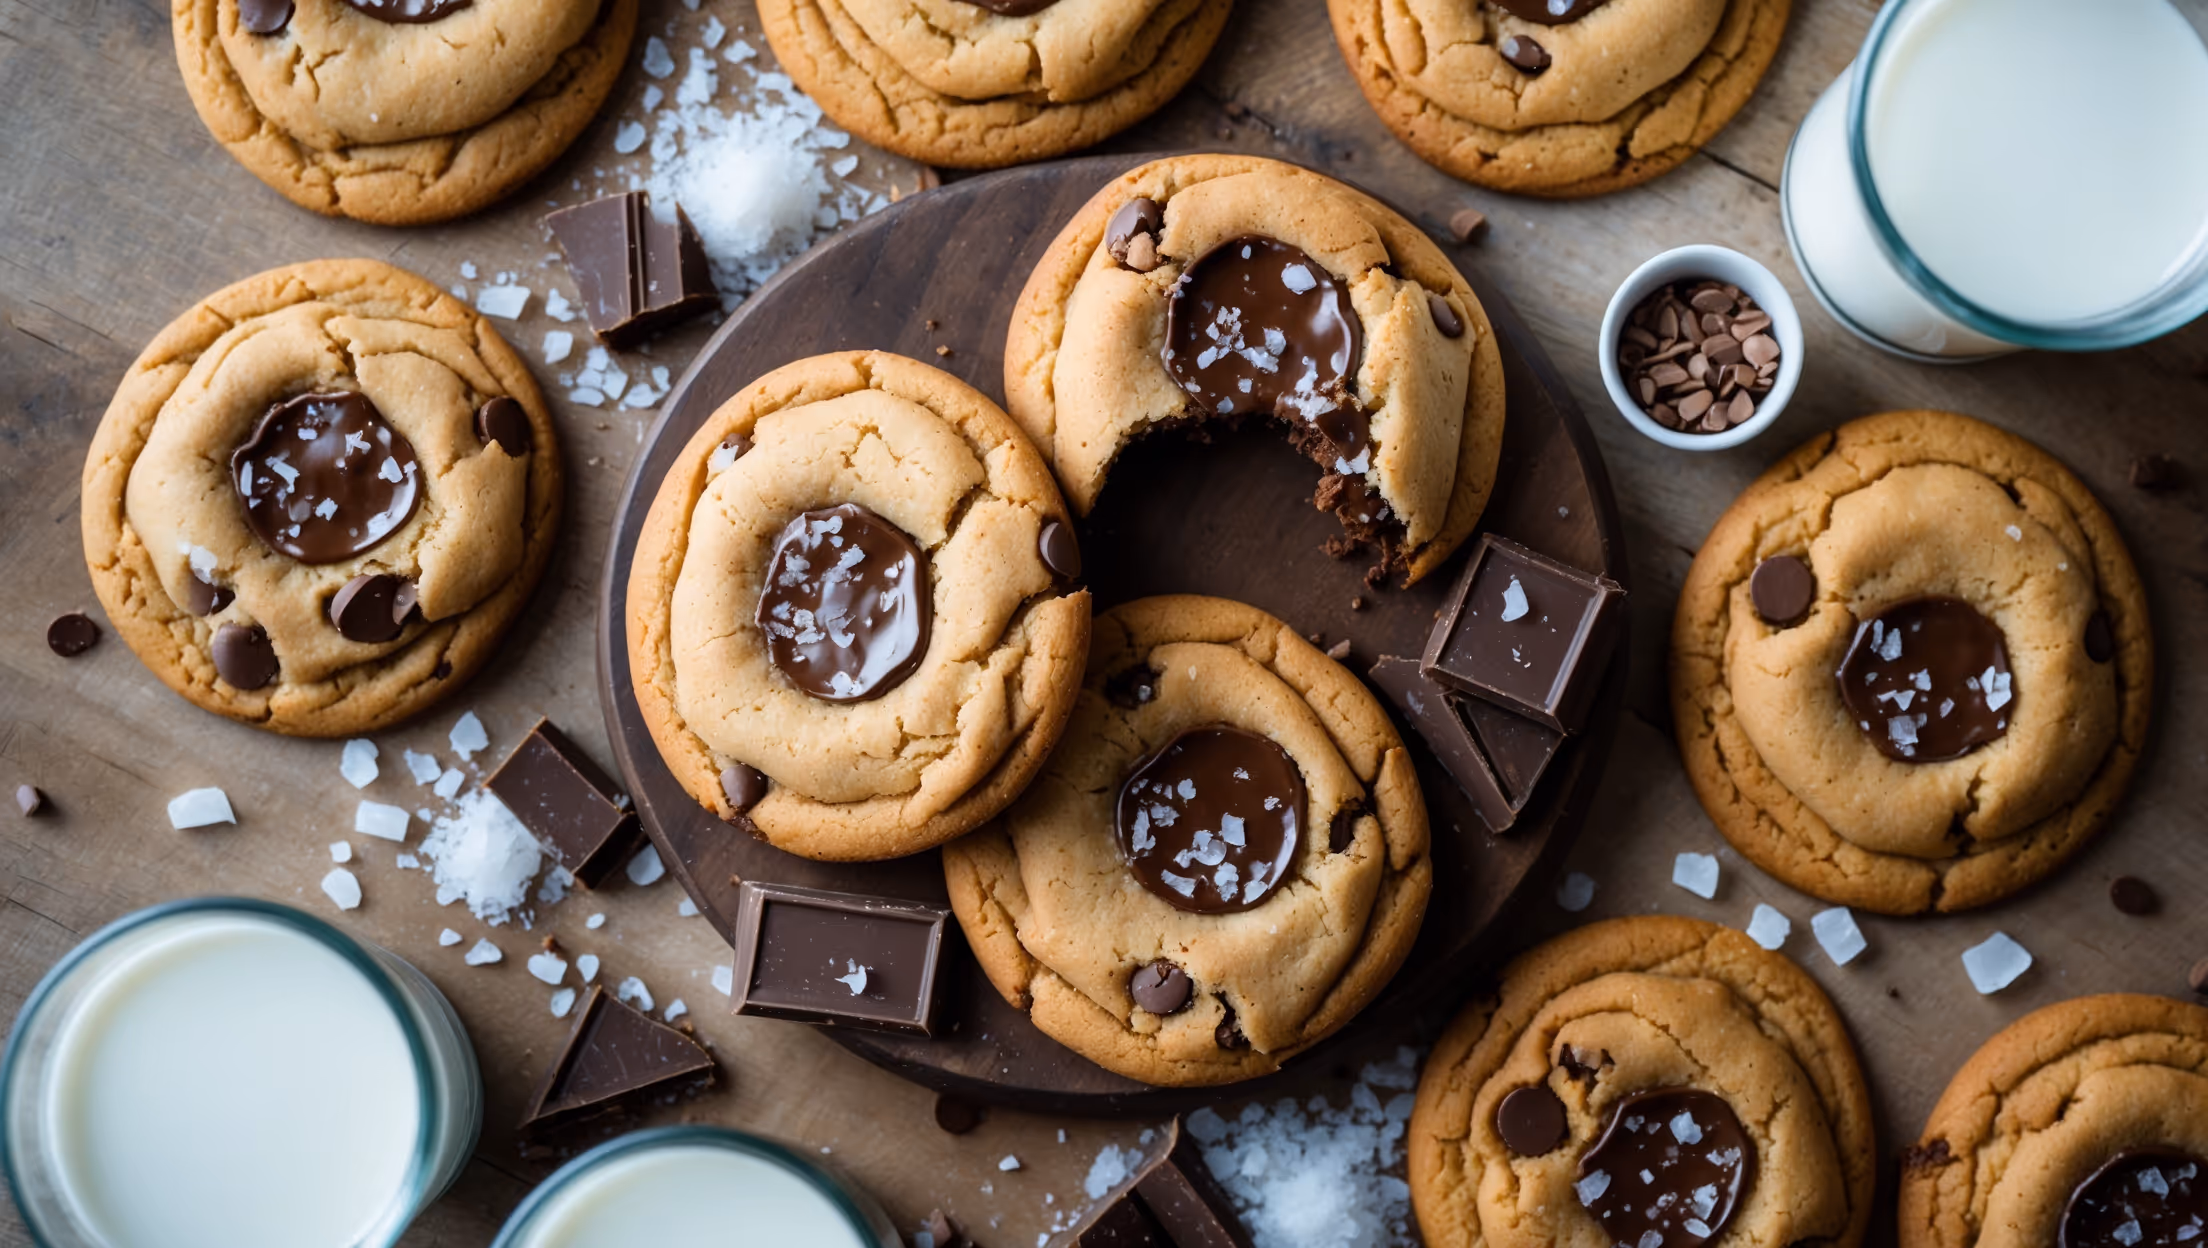
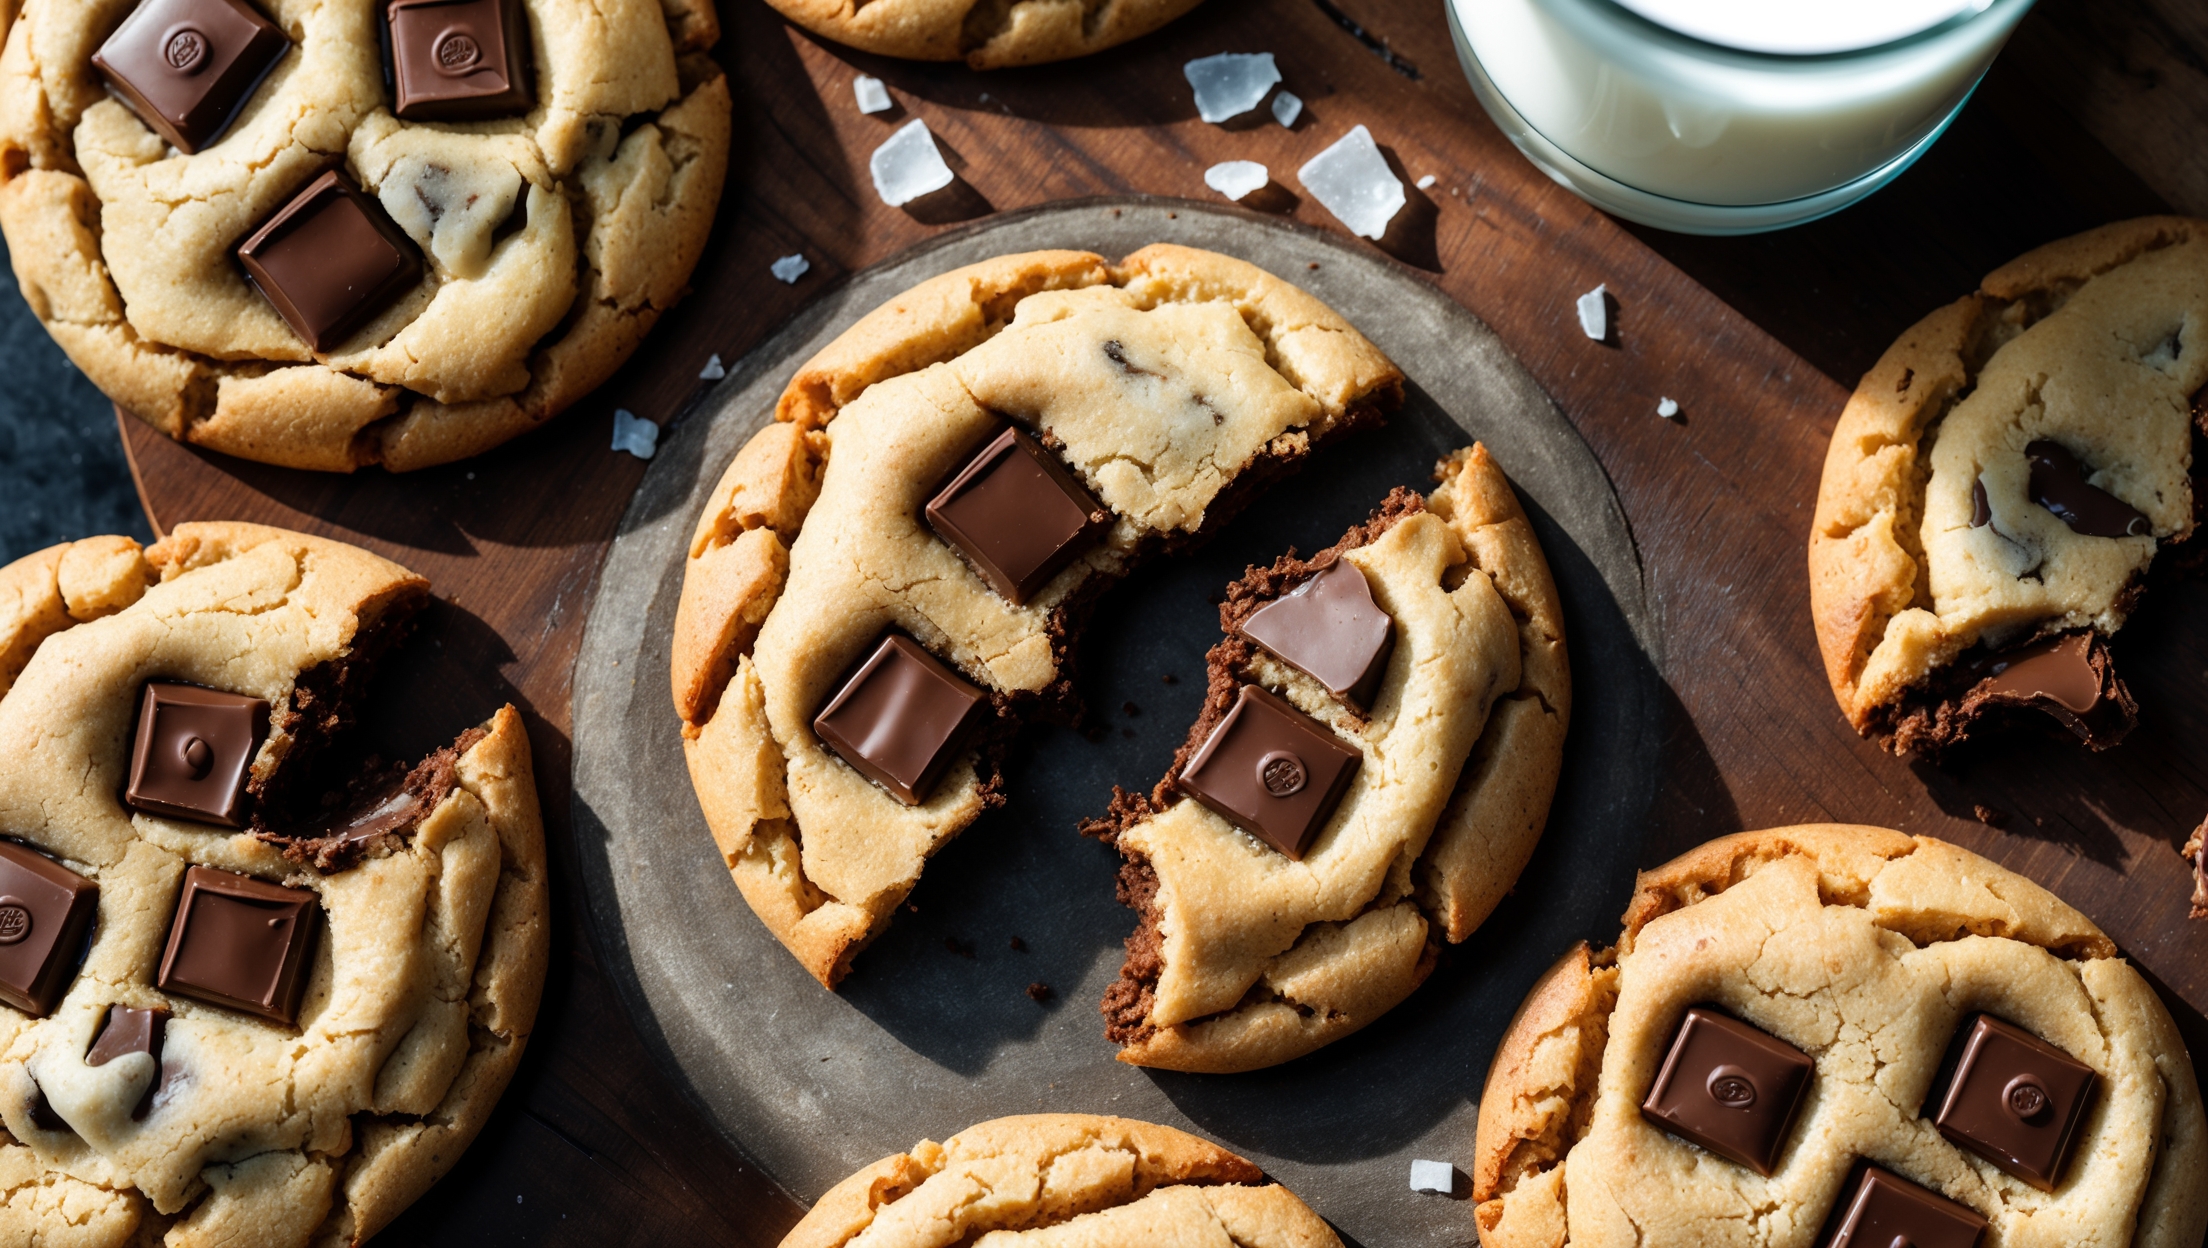
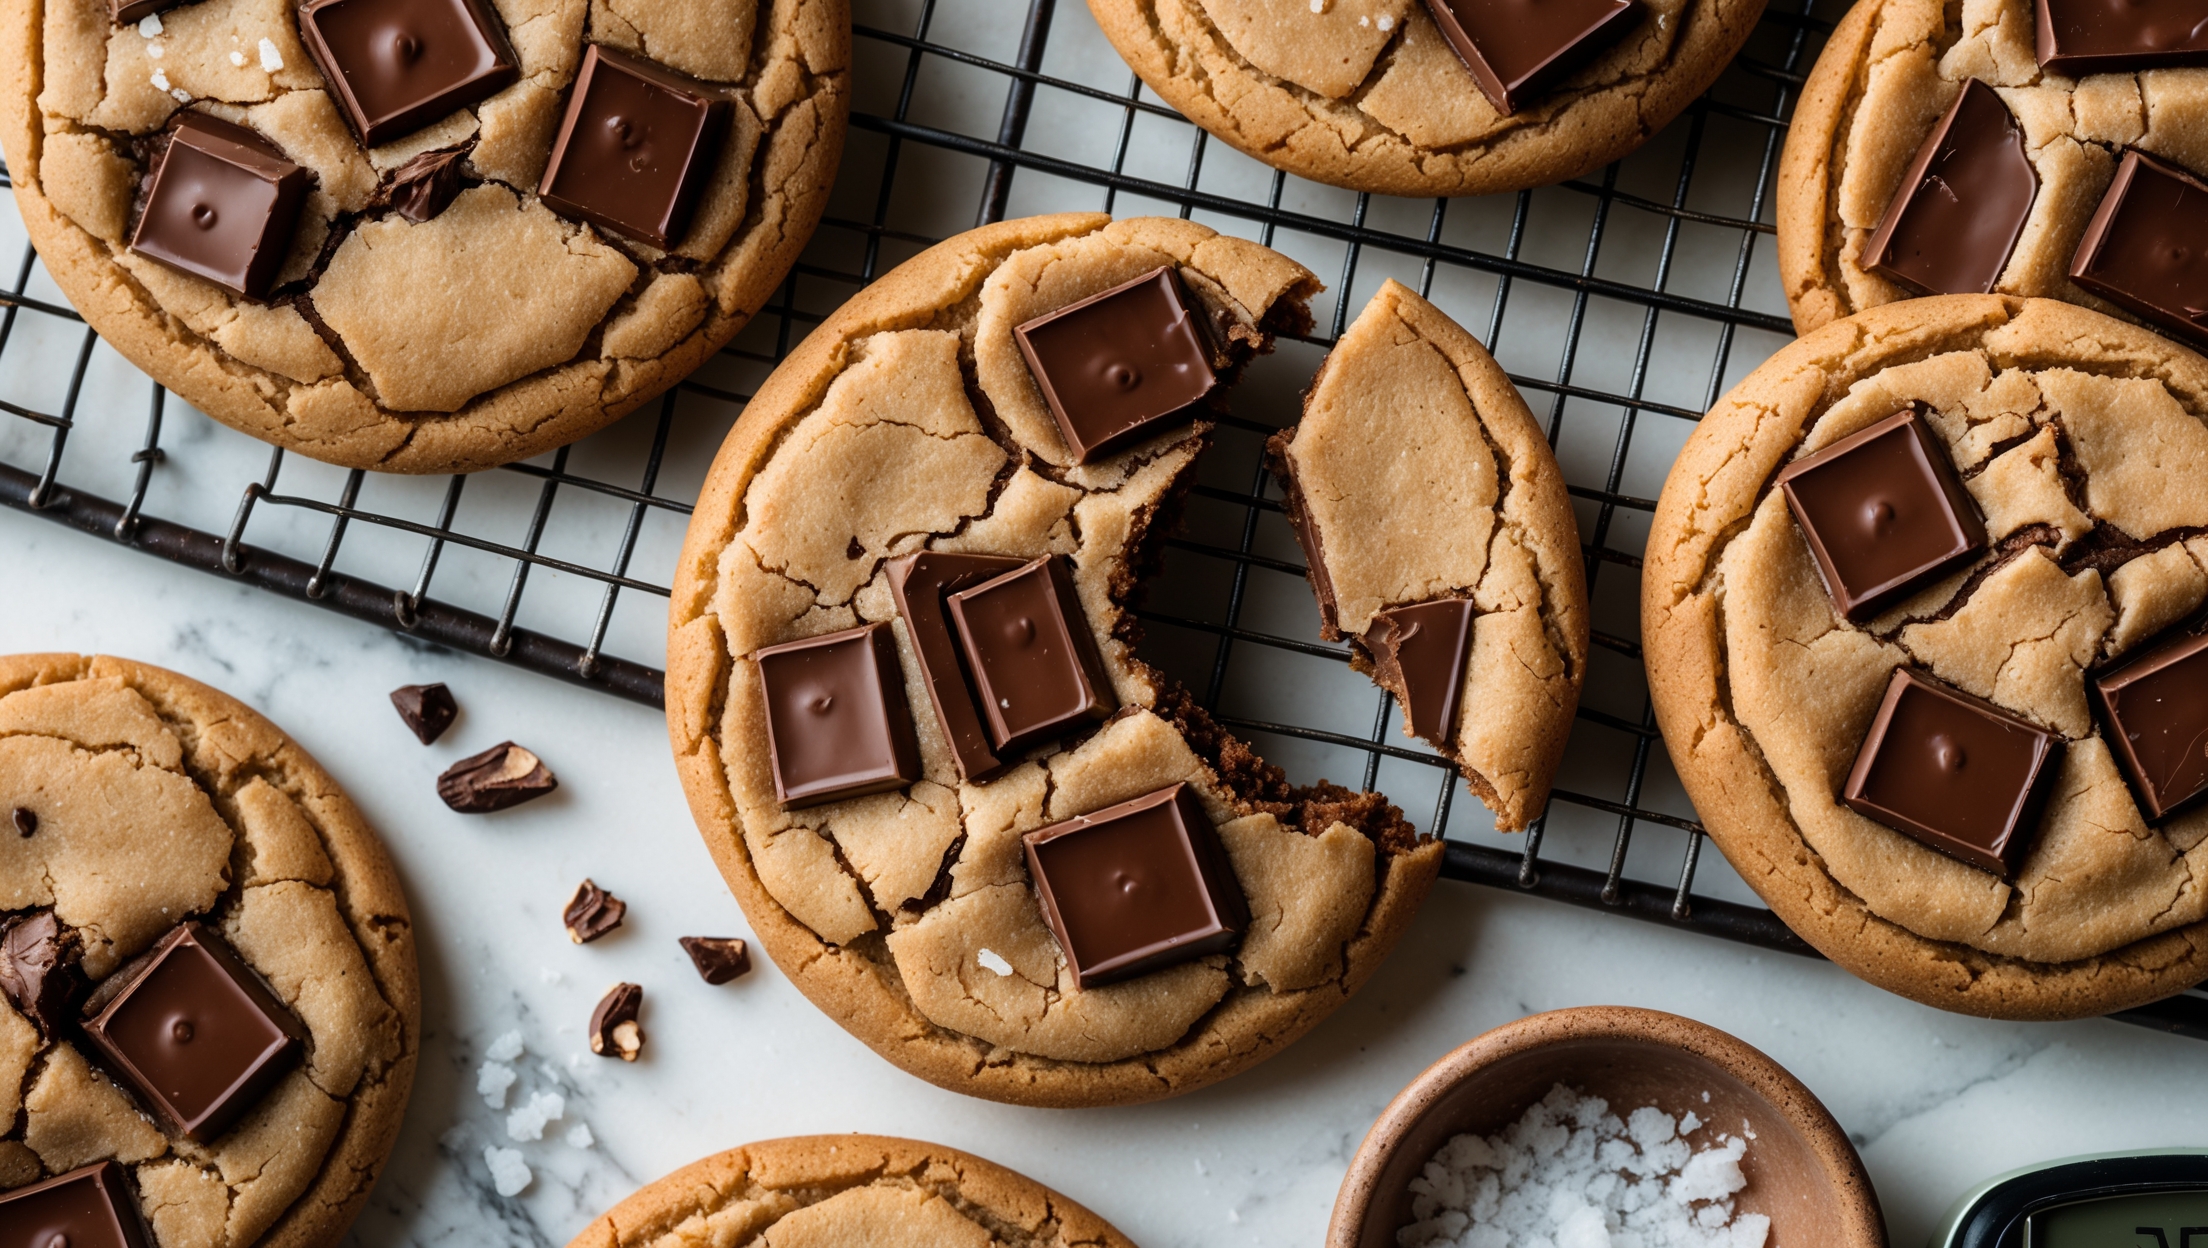
Learn how to cook Temperature-Controlled Chocolate Tempering Chip Cookies by first tempering chocolate to achieve that professional snap and gloss, then incorporating it into a classic cookie dough. The process involves precise temperature control, proper dough chilling, and careful baking for crisp edges with chewy centres.
Tempering chocolate creates properly aligned cocoa butter crystals, giving the chocolate a satisfying snap, glossy appearance, and stable texture that won't melt at room temperature. It prevents the chalky bloom that can appear on improperly melted chocolate and enhances the overall flavour complexity.
For dark chocolate, first heat to 45-50°C to melt all crystals, then cool to 27-28°C by adding seed chocolate, and finally reheat to 31-32°C to create stable beta crystals. This precise temperature control creates the characteristic snap and gloss of professionally tempered chocolate.
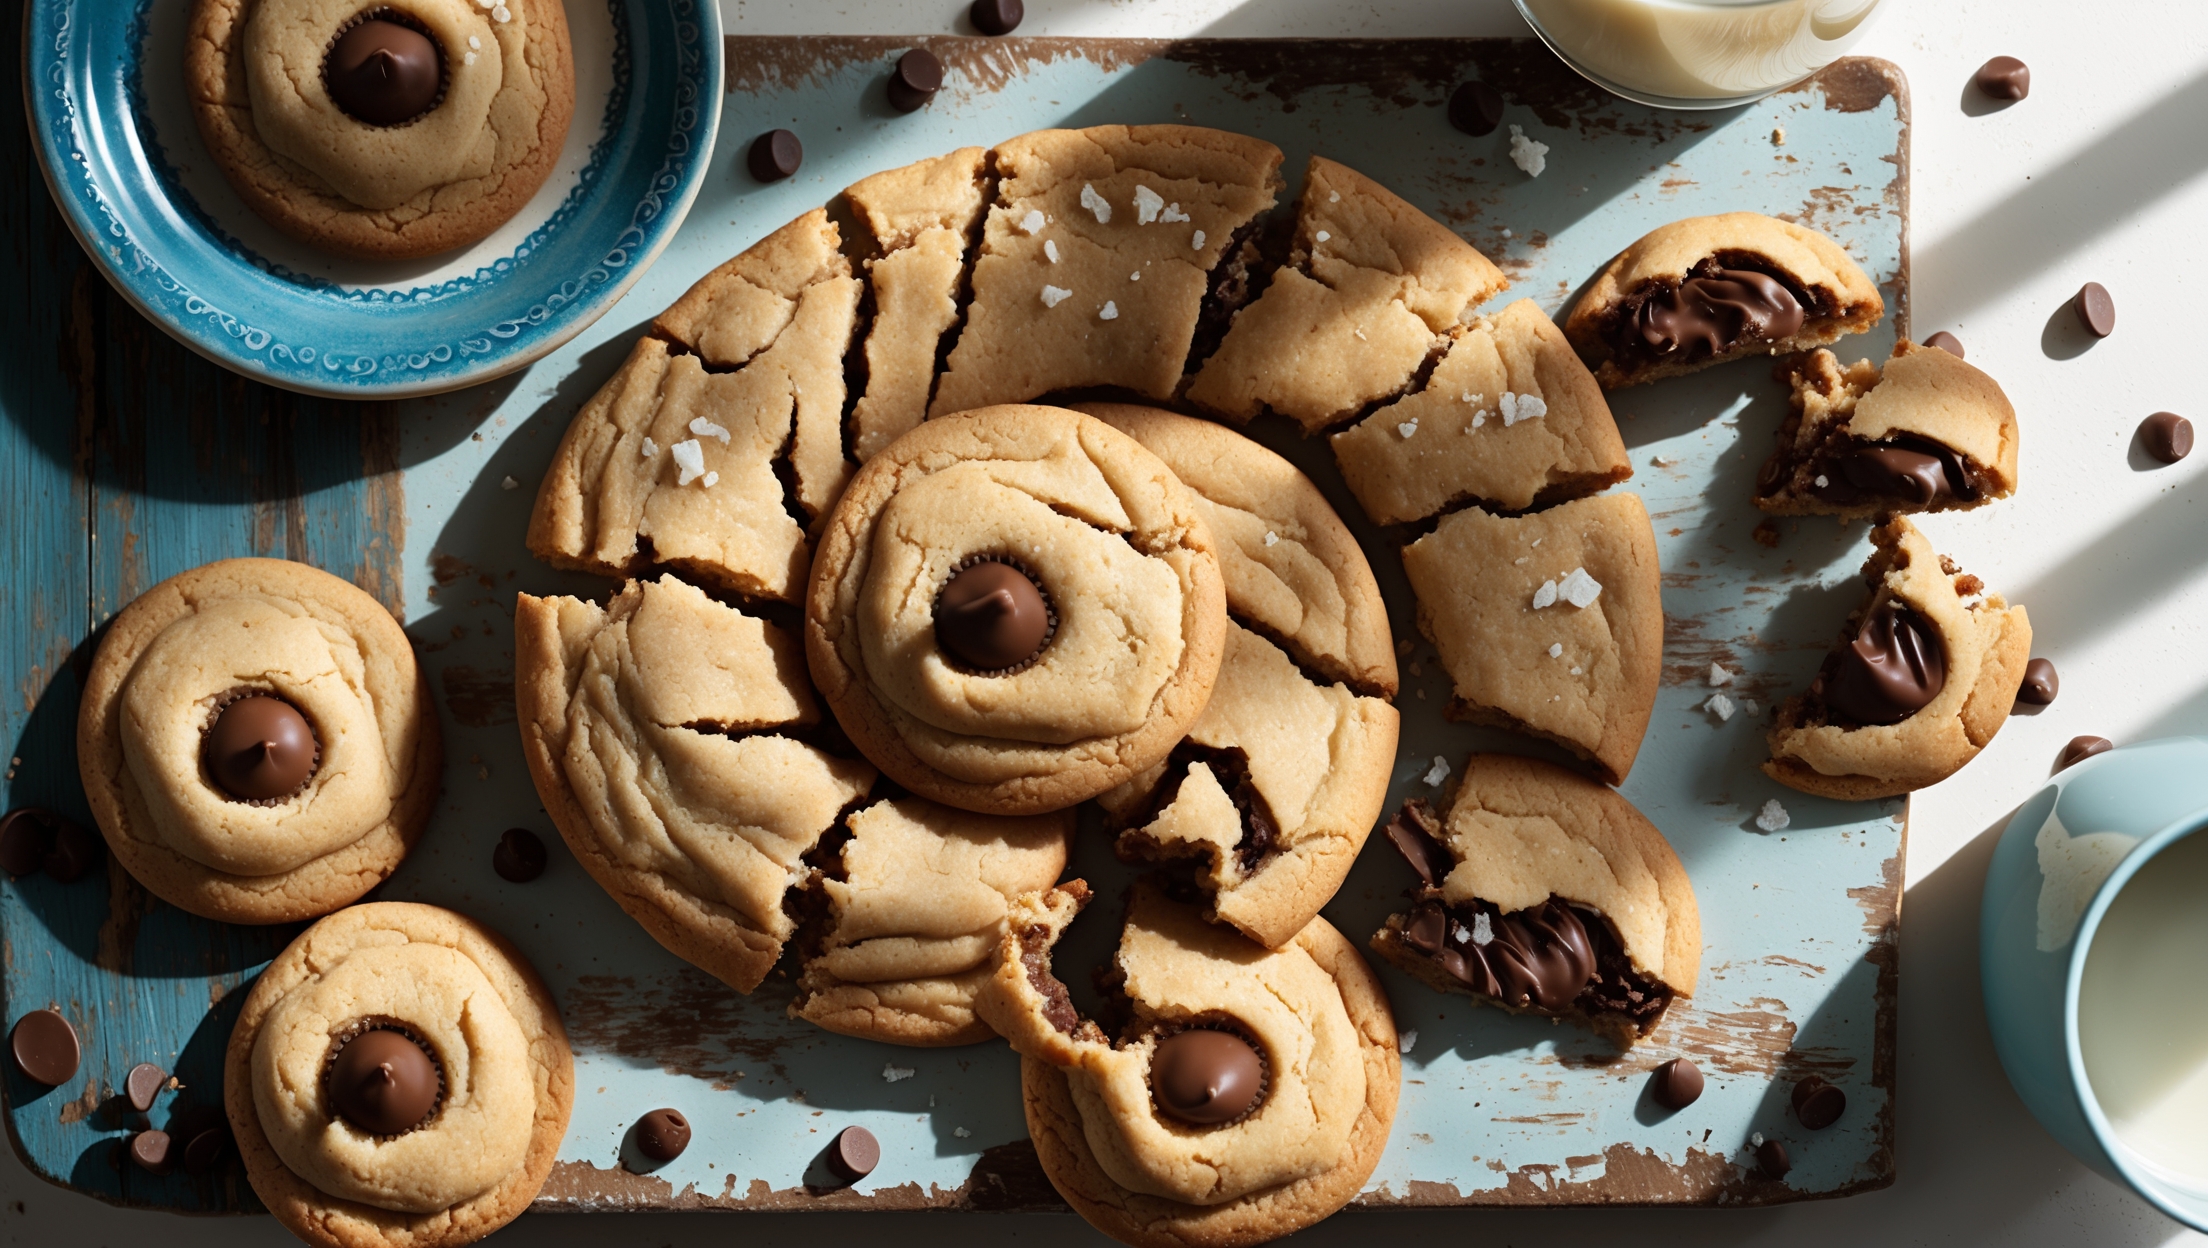
While you can bake after chilling for at least 1 hour, resting cookie dough for 24 hours yields superior results. This extended rest allows the flour to fully hydrate, flavours to develop more complexity, and creates a thicker cookie with better texture contrast between crisp edges and chewy centres.
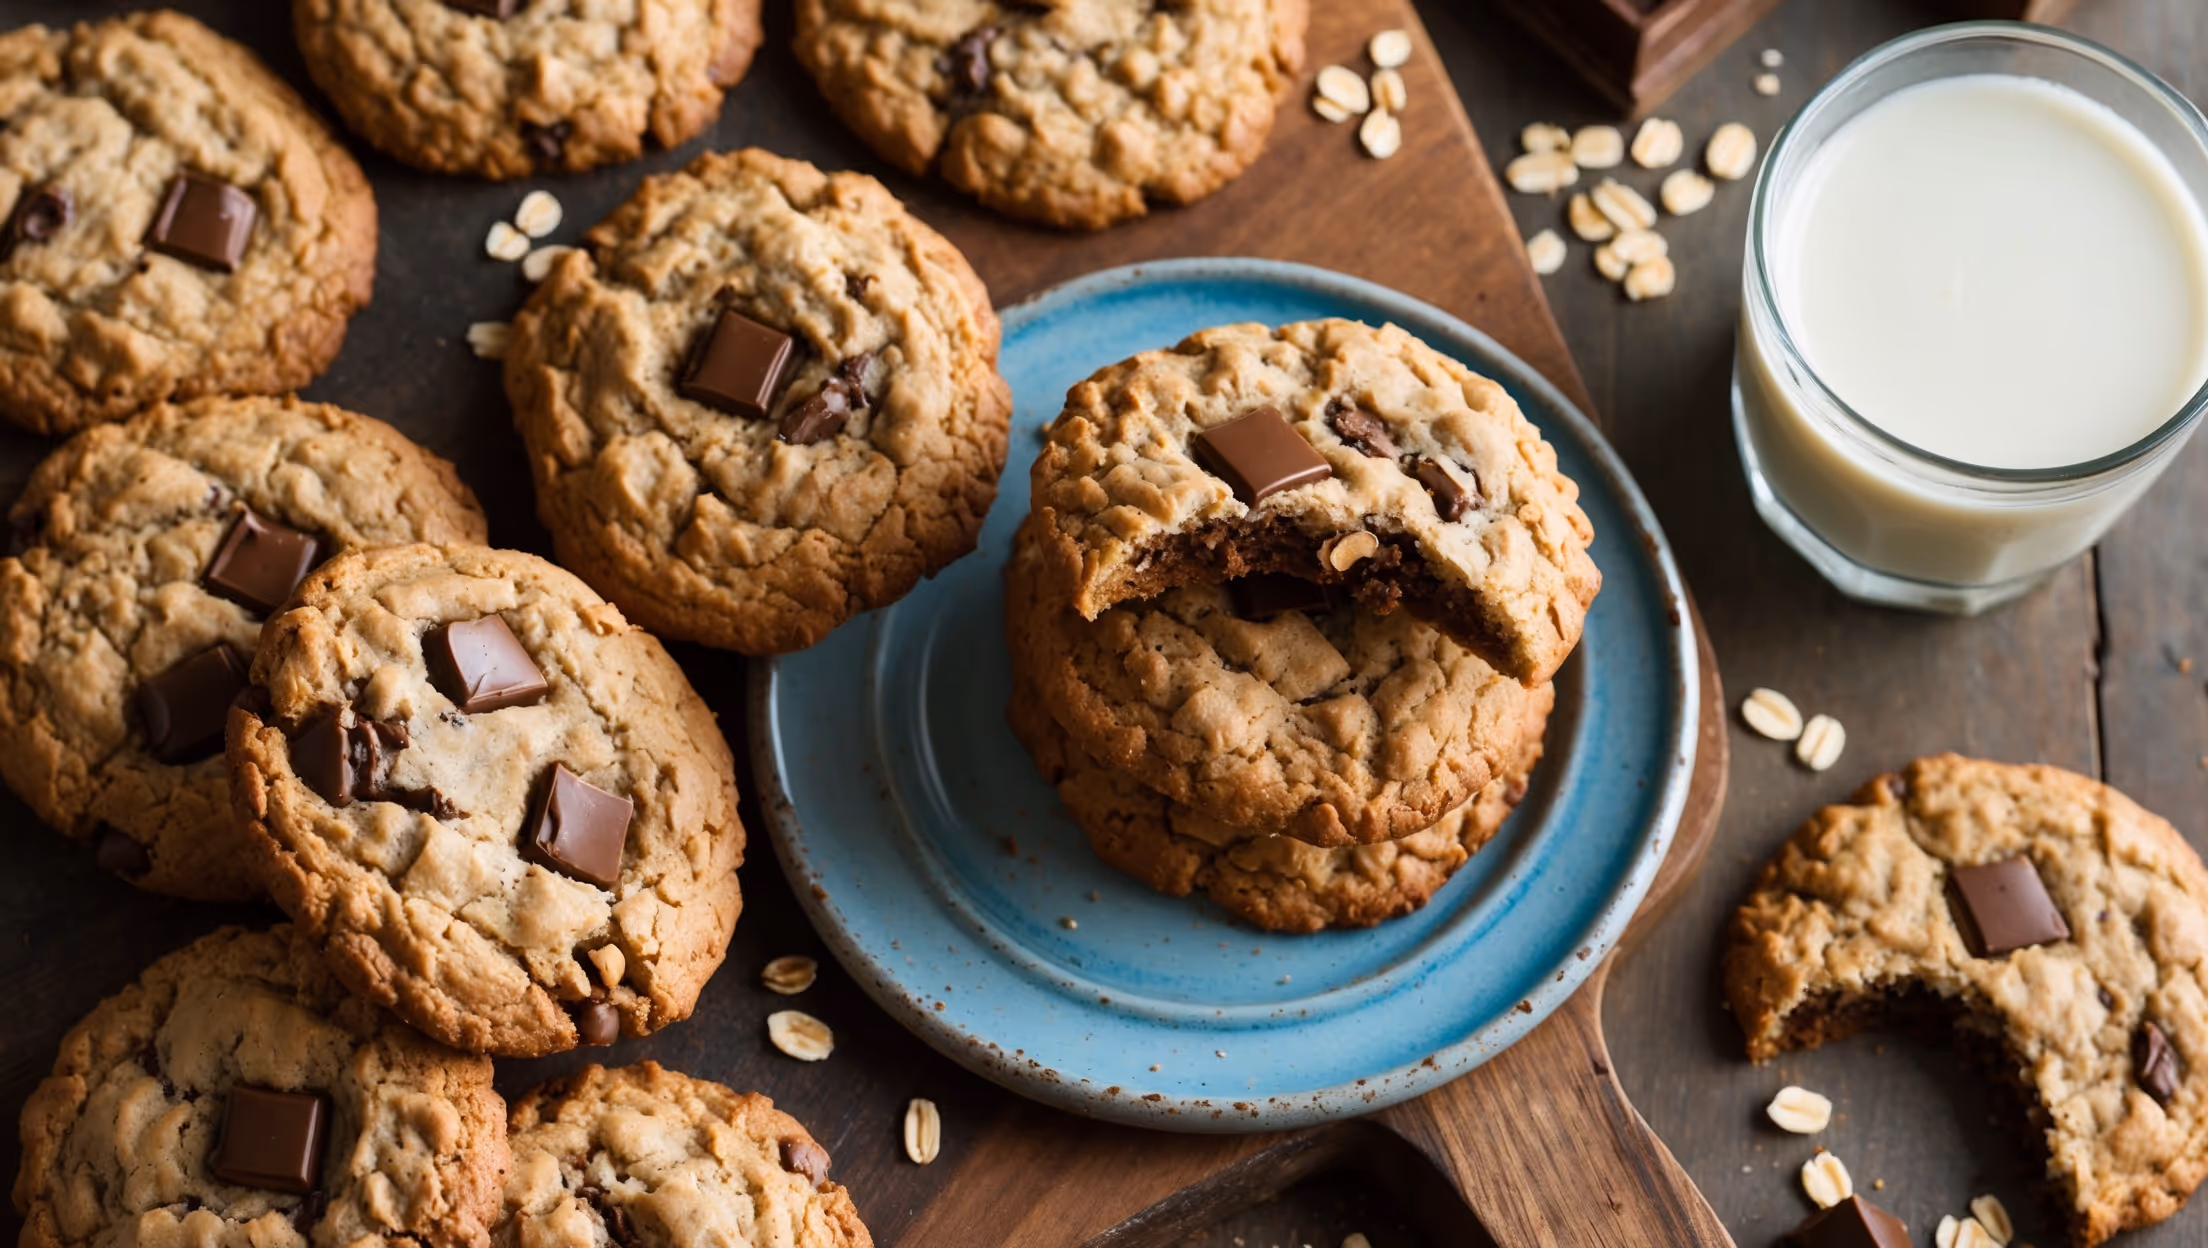
Chocolate Chip Cookies
Try following recommended recipes