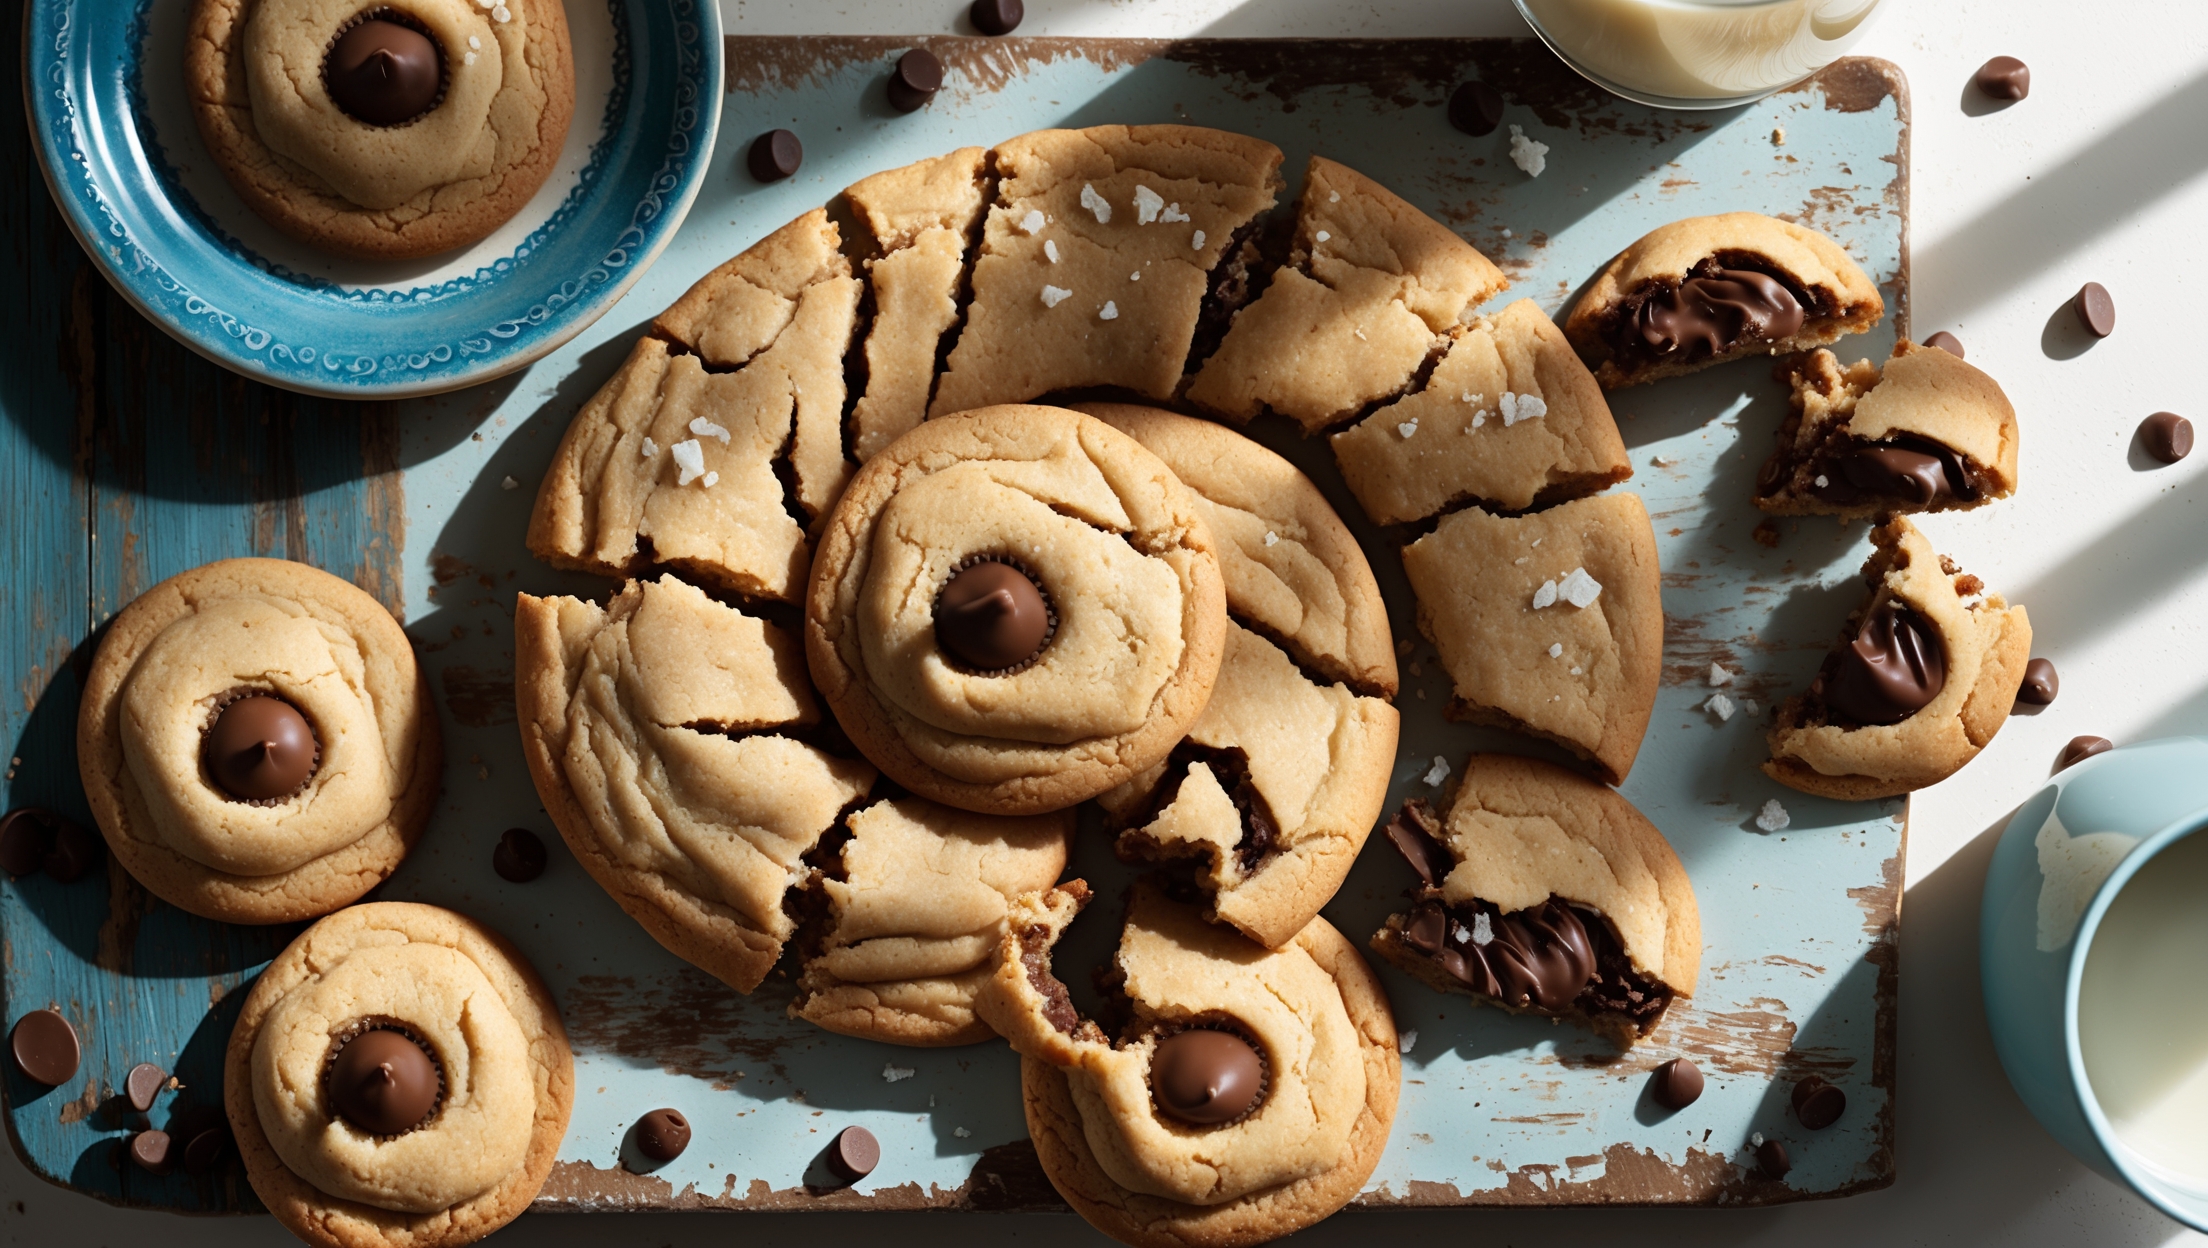
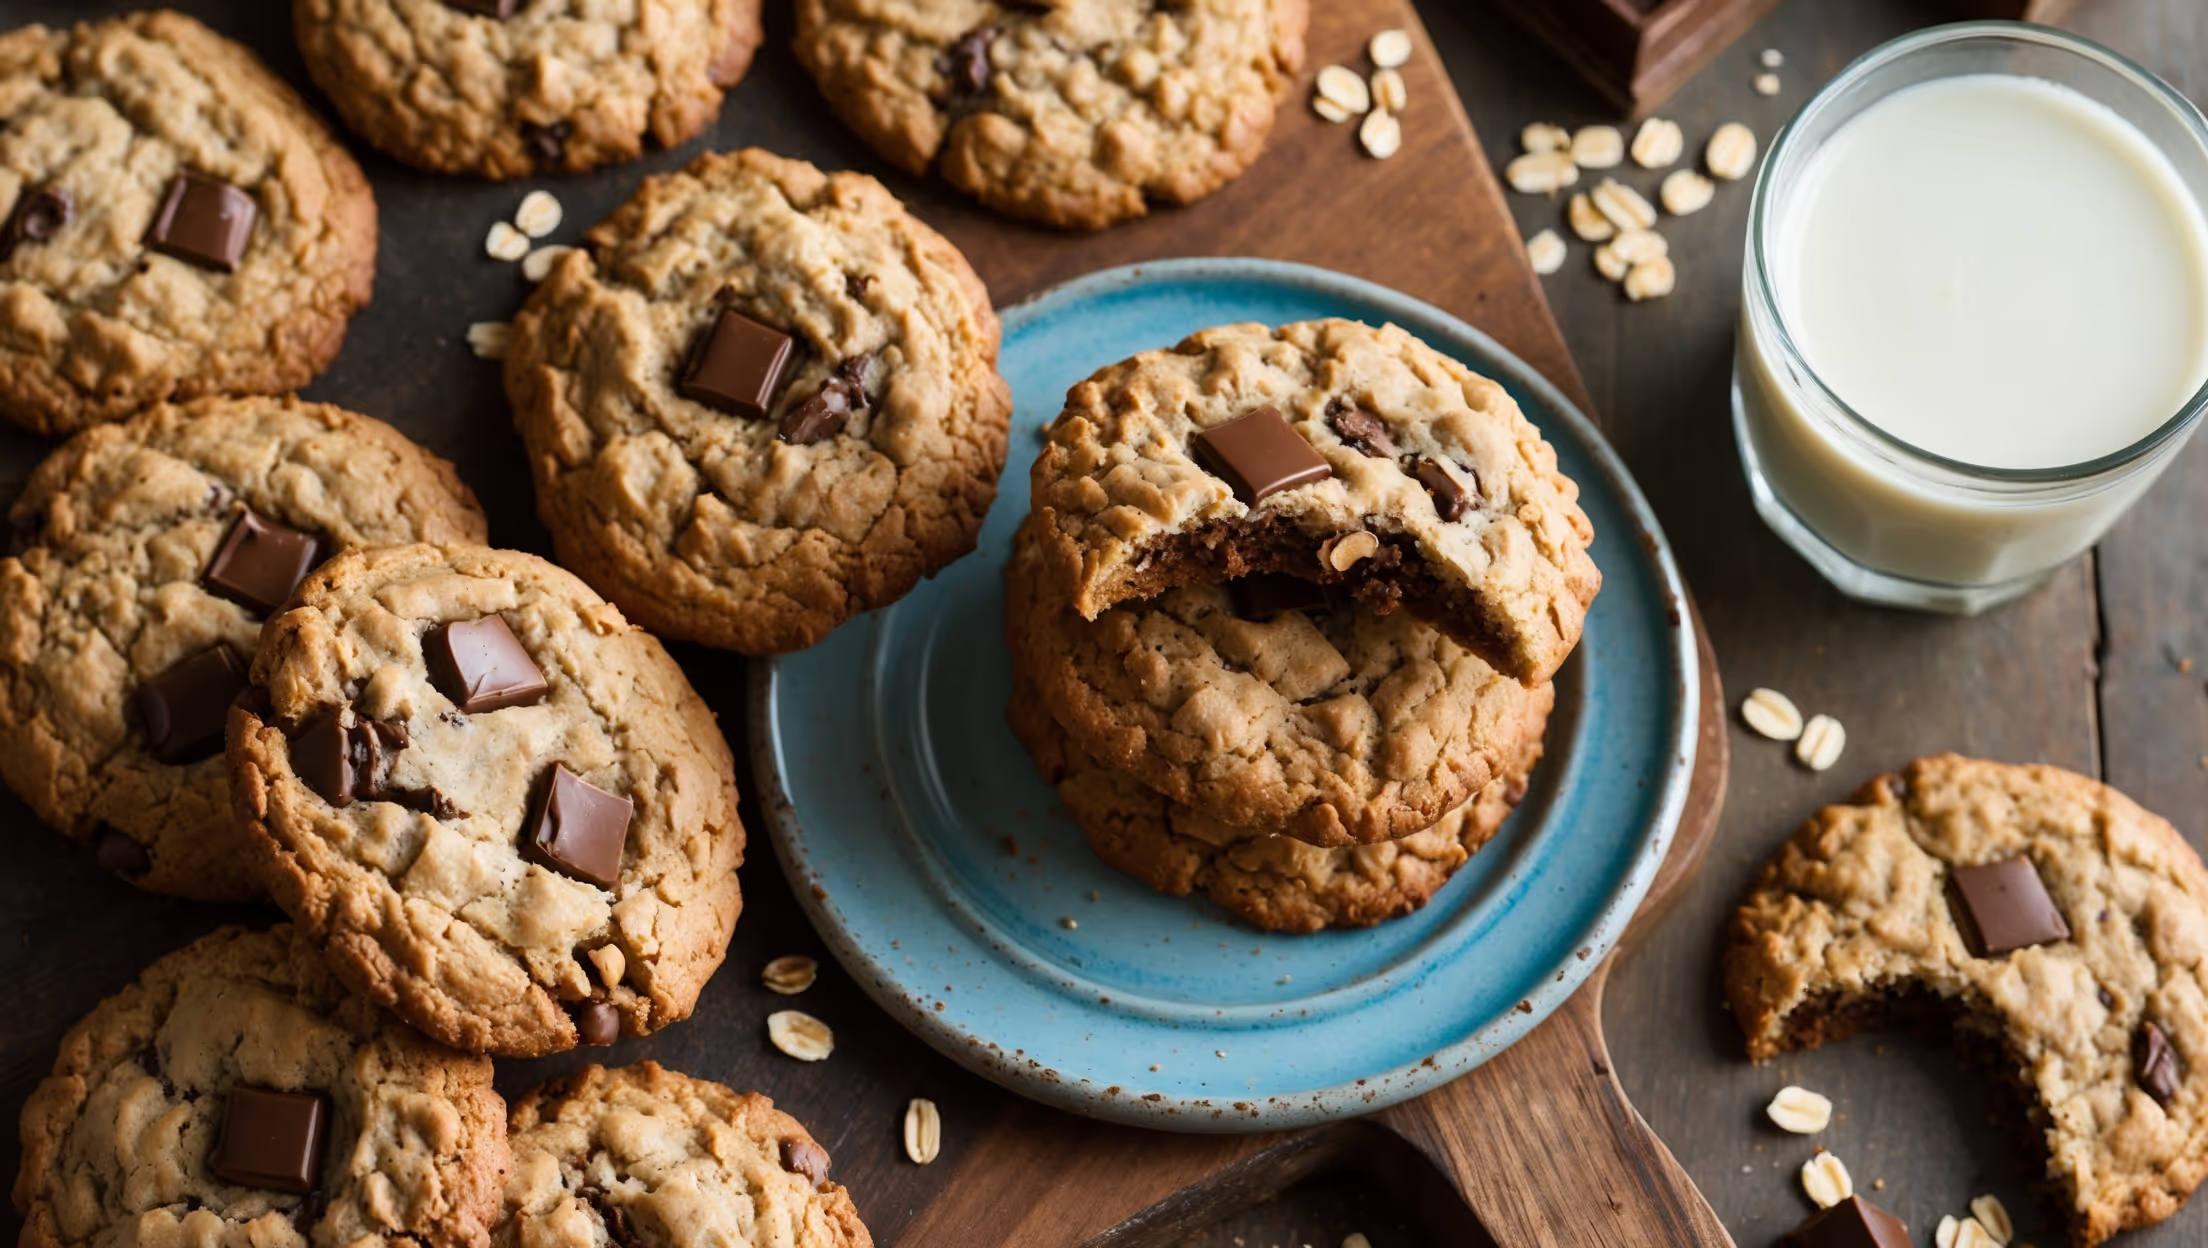
Directions
<ol class="no-list-style"><li class="MethodStepper"><h4 class="step-title">Step 1</h4>In a medium saucepan, melt the butter over medium heat. Continue cooking, swirling occasionally, until the butter turns amber and smells nutty, about 5-7 minutes. The milk solids will brown and settle at the bottom – this browning creates depth of flavor that elevates these cookies. Transfer to a heatproof bowl and let cool for 10 minutes.</li><li class="MethodStepper"><h4 class="step-title">Step 2</h4>In a large mixing bowl or stand mixer, combine the cooled brown butter with both sugars. Beat for 2 minutes until well incorporated – the mixture won't become as light and fluffy as with solid butter, but that's expected. The melted butter will create denser, chewier cookies with caramelized notes.</li><li class="MethodStepper"><h4 class="step-title">Step 3</h4>Add the eggs one at a time, beating well after each addition. The eggs provide structure and moisture – proper incorporation ensures even cookie texture. Mix in the vanilla extract until combined.</li><li class="MethodStepper"><h4 class="step-title">Step 4</h4>In a separate bowl, whisk together the flour, baking soda, and salt. Slowly add the dry ingredients to the wet ingredients, mixing on low speed just until no flour streaks remain. Overmixing develops gluten, resulting in tough cookies rather than tender ones.</li><li class="MethodStepper"><h4 class="step-title">Step 5</h4>Fold in the chopped chocolate chunks by hand using a spatula. Using chopped chocolate instead of chips creates melty pockets and chocolate layers throughout each cookie. Reserve a handful to press on top of the cookies before baking.</li><li class="MethodStepper"><h4 class="step-title">Step 6</h4>Cover the dough and refrigerate for at least 2 hours, preferably overnight. This resting period allows the flour to hydrate fully and the flavors to develop. Cold dough also spreads less during baking, creating thicker cookies with better texture.</li><li class="MethodStepper"><h4 class="step-title">Step 7</h4>When ready to bake, preheat your oven to 175°C (350°F) and line baking sheets with parchment paper. Remove the dough from the refrigerator and let sit for 10 minutes to slightly soften.</li><li class="MethodStepper"><h4 class="step-title">Step 8</h4>Using an ice cream scoop or cookie scoop (about 60g portions), form balls of dough and place them on the prepared baking sheets, leaving 5cm between each cookie. Press the reserved chocolate chunks into the tops of the dough balls. This ensures visible chocolate on the surface of your baked cookies.</li><li class="MethodStepper"><h4 class="step-title">Step 9</h4>Bake for 11-13 minutes, until the edges are set and golden but the centers still look slightly underbaked. The cookies will continue cooking on the hot baking sheet. For perfect cookies, look for golden edges with a slightly pale center – they may seem underdone but will set up perfectly as they cool.</li><li class="MethodStepper"><h4 class="step-title">Step 10</h4>Immediately sprinkle with flaky sea salt if using – the contrast between sweet cookie and salt enhances both flavors. Allow the cookies to cool on the baking sheets for 5 minutes before transferring to wire racks to cool completely. The cookies will firm up as they cool but maintain a chewy center.</li><li class="MethodStepper"><h4 class="step-title">Step 11</h4>Store cookies in an airtight container at room temperature for up to 5 days. To refresh them, warm in a 150°C (300°F) oven for 3-4 minutes before serving. For longer storage, freeze the baked cookies for up to 3 months or freeze portioned dough balls to bake fresh cookies anytime.</li></ol>