Milk Chocolate Chip Cookies Recipe

Perfectly balanced milk chocolate chip cookies with crisp edges, chewy centers, and pockets of melted chocolate that create an irresistible classic treat everyone will reach for.
Difficulty:
Beginner
Prep Time:
20 mins
Cook Time:
12 mins
Serves:
24 cookies
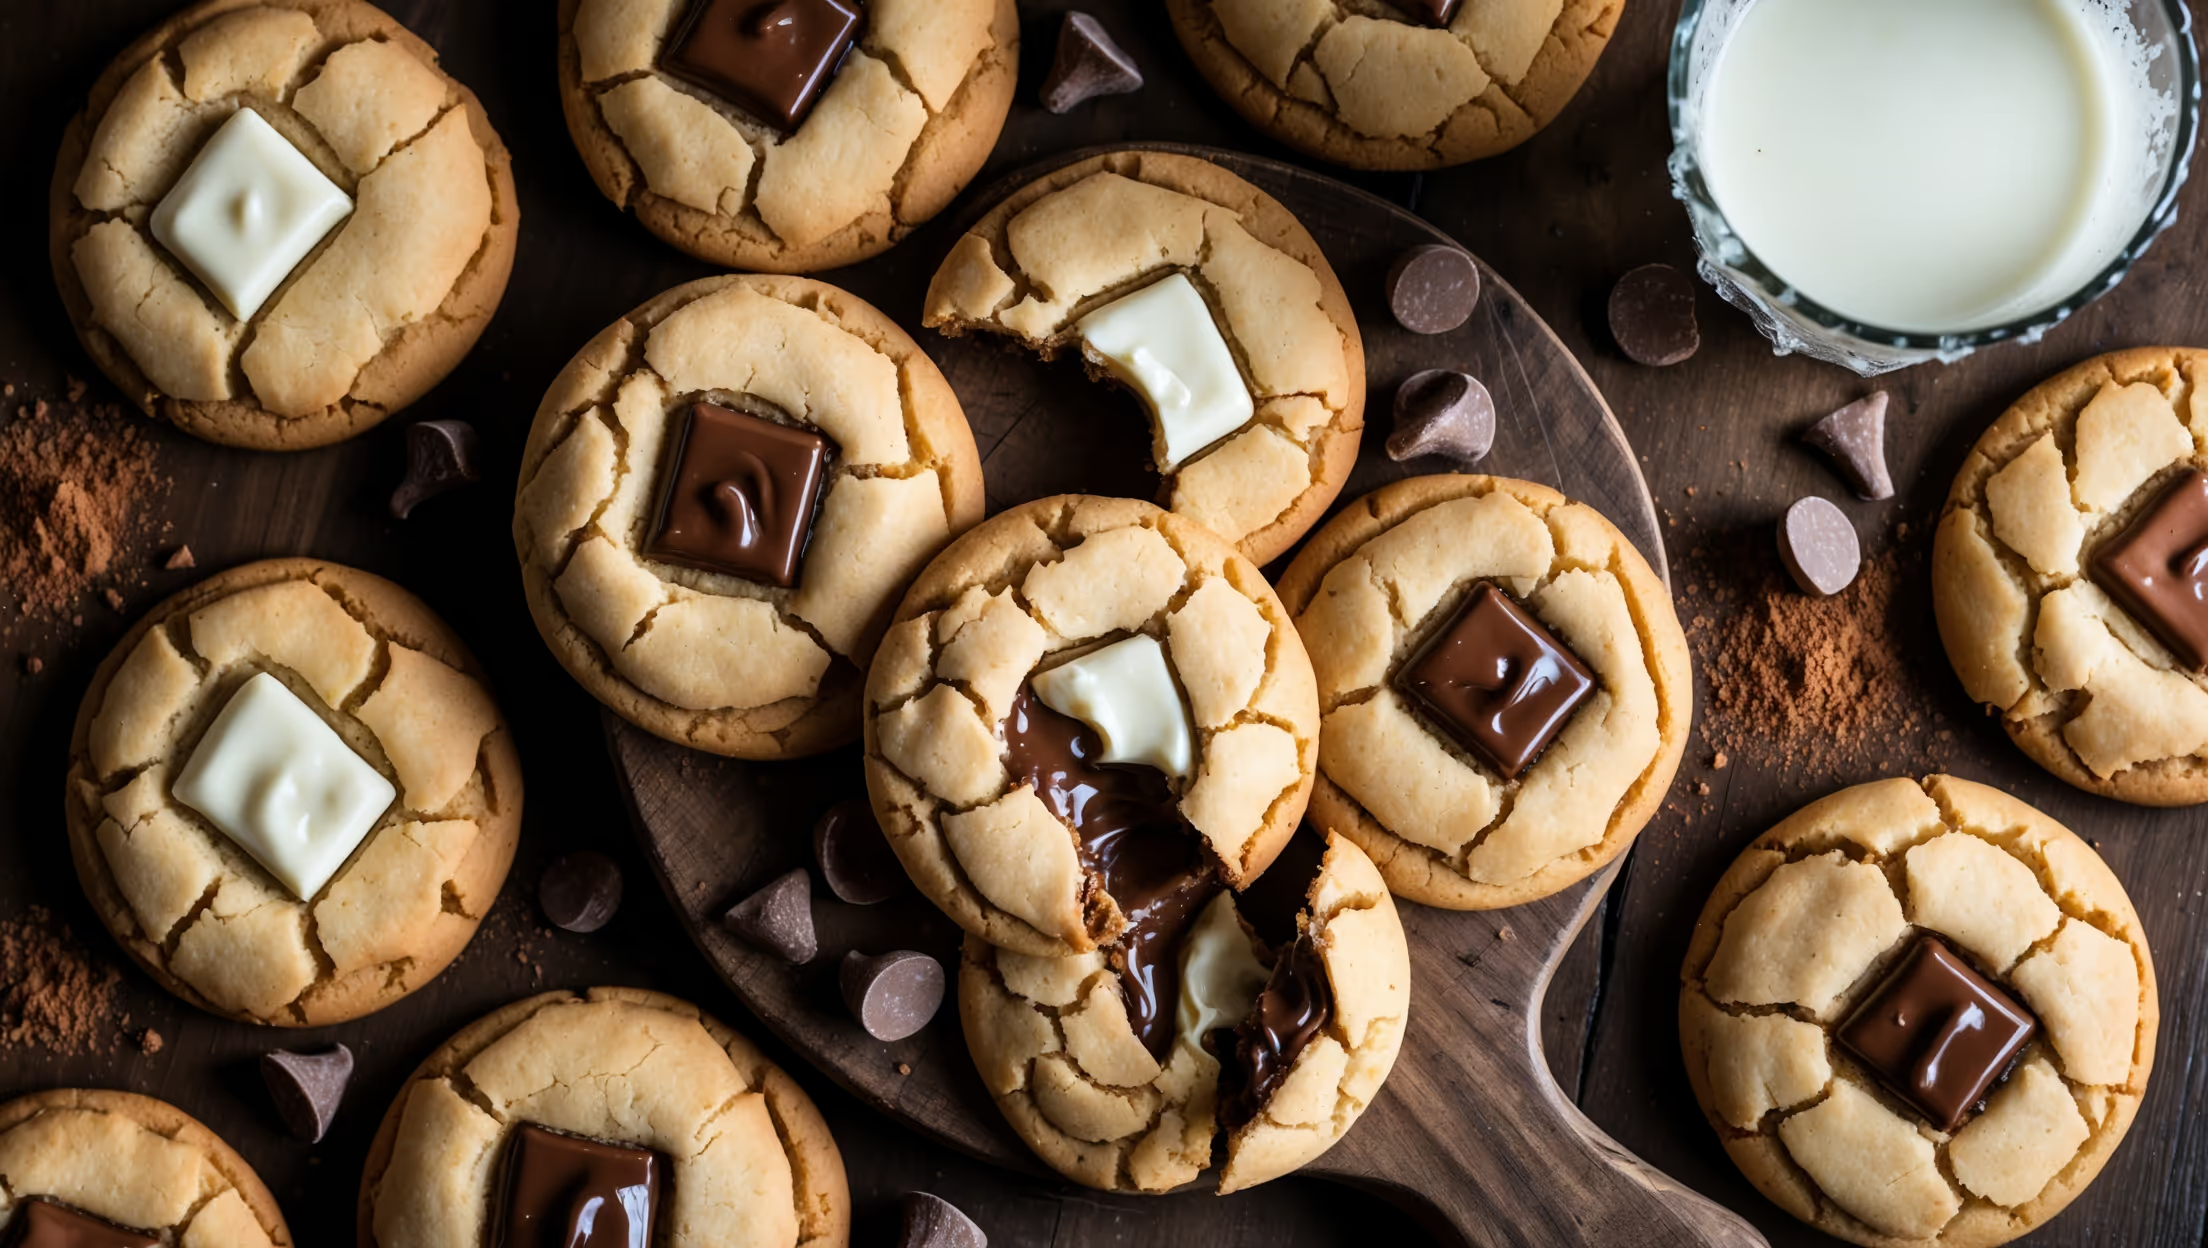
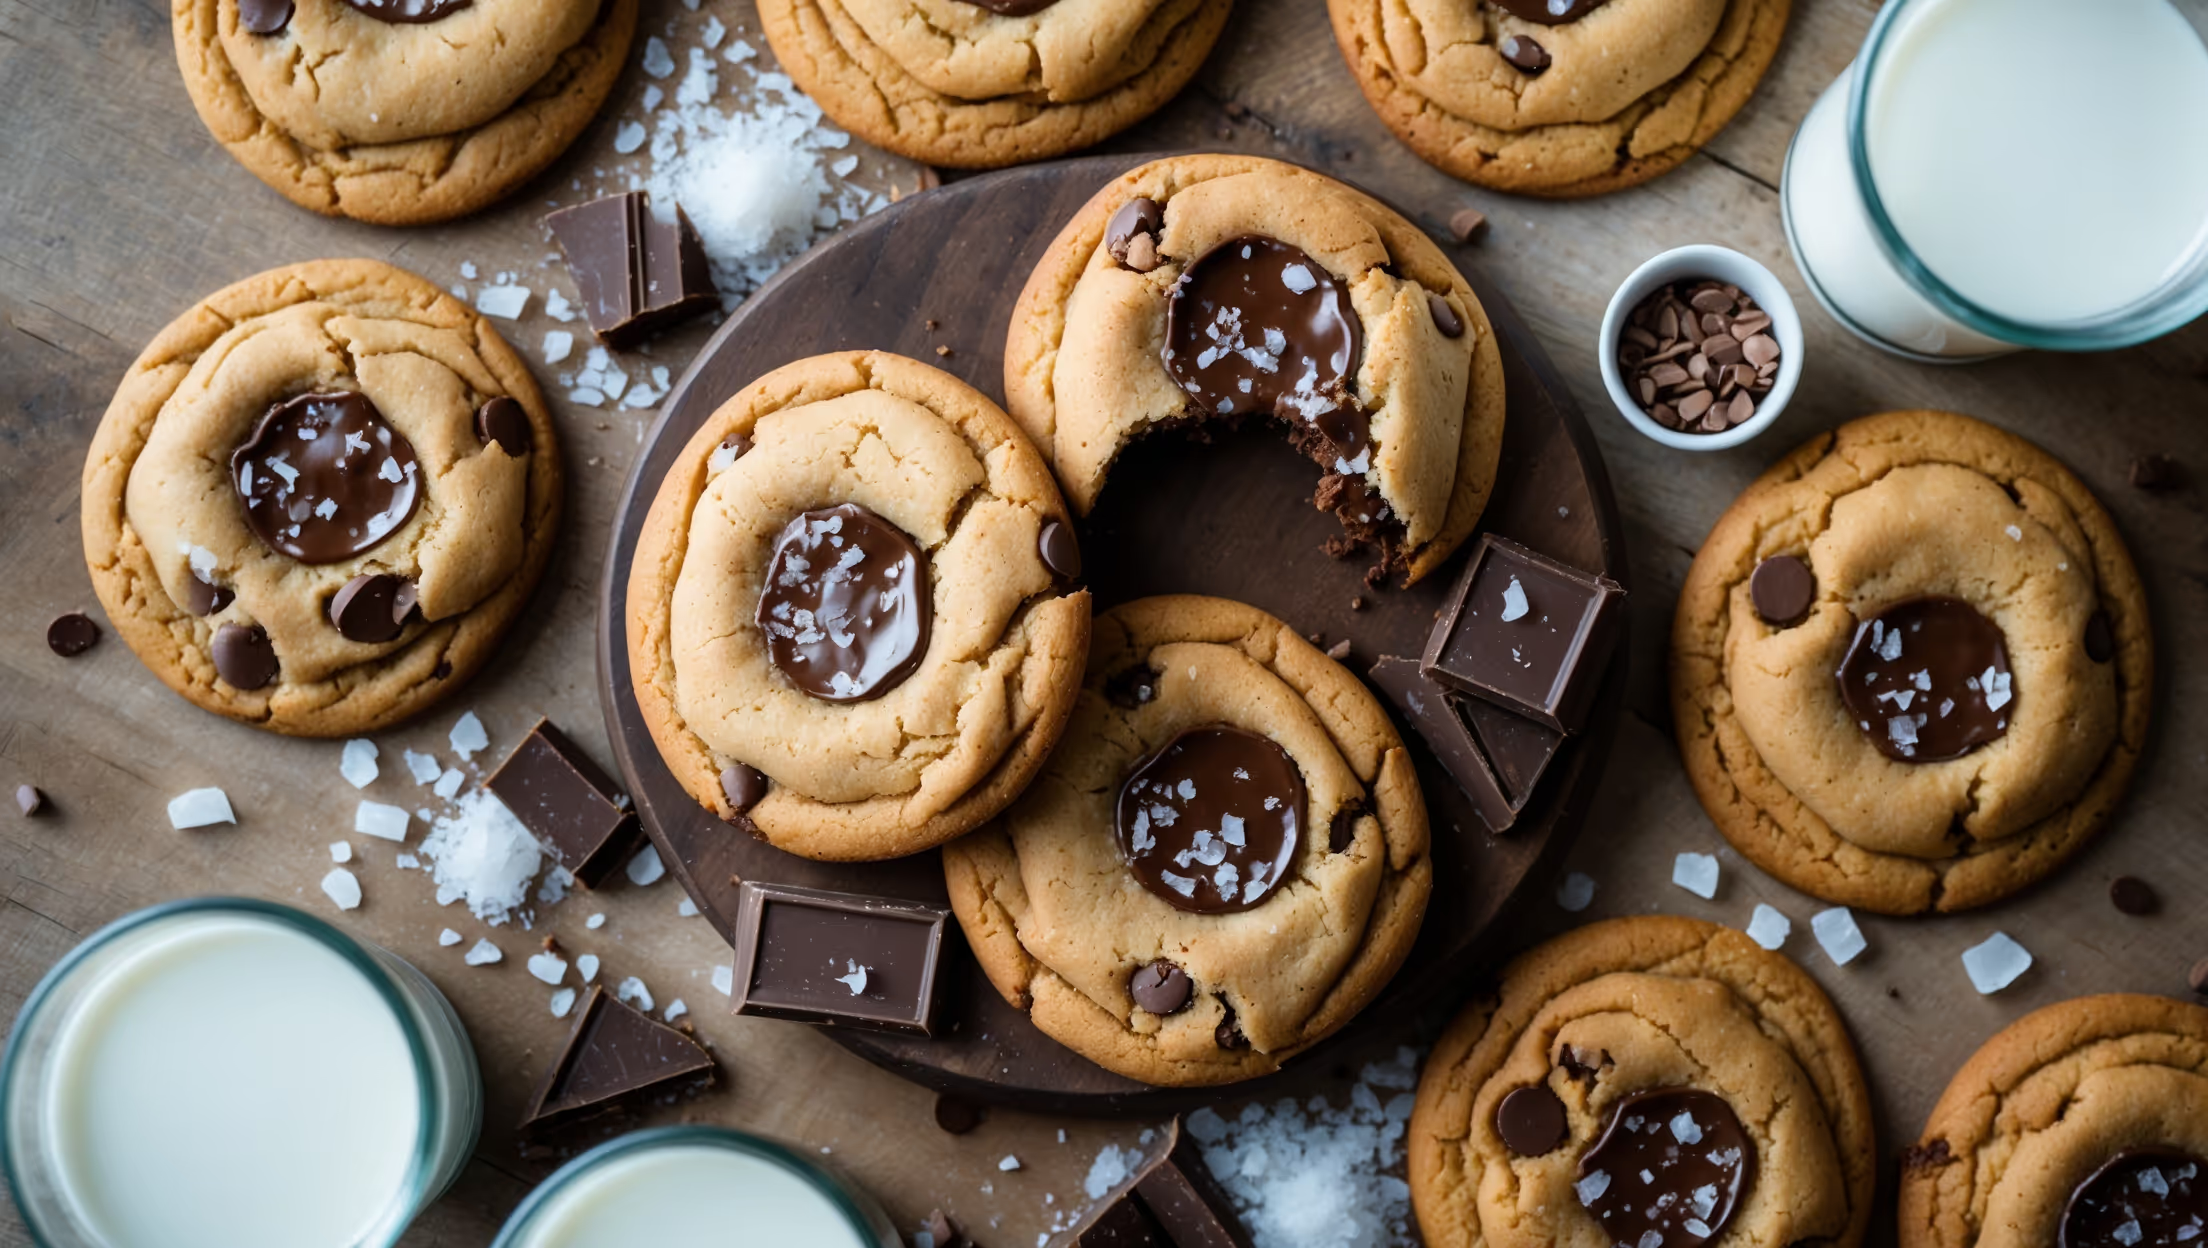
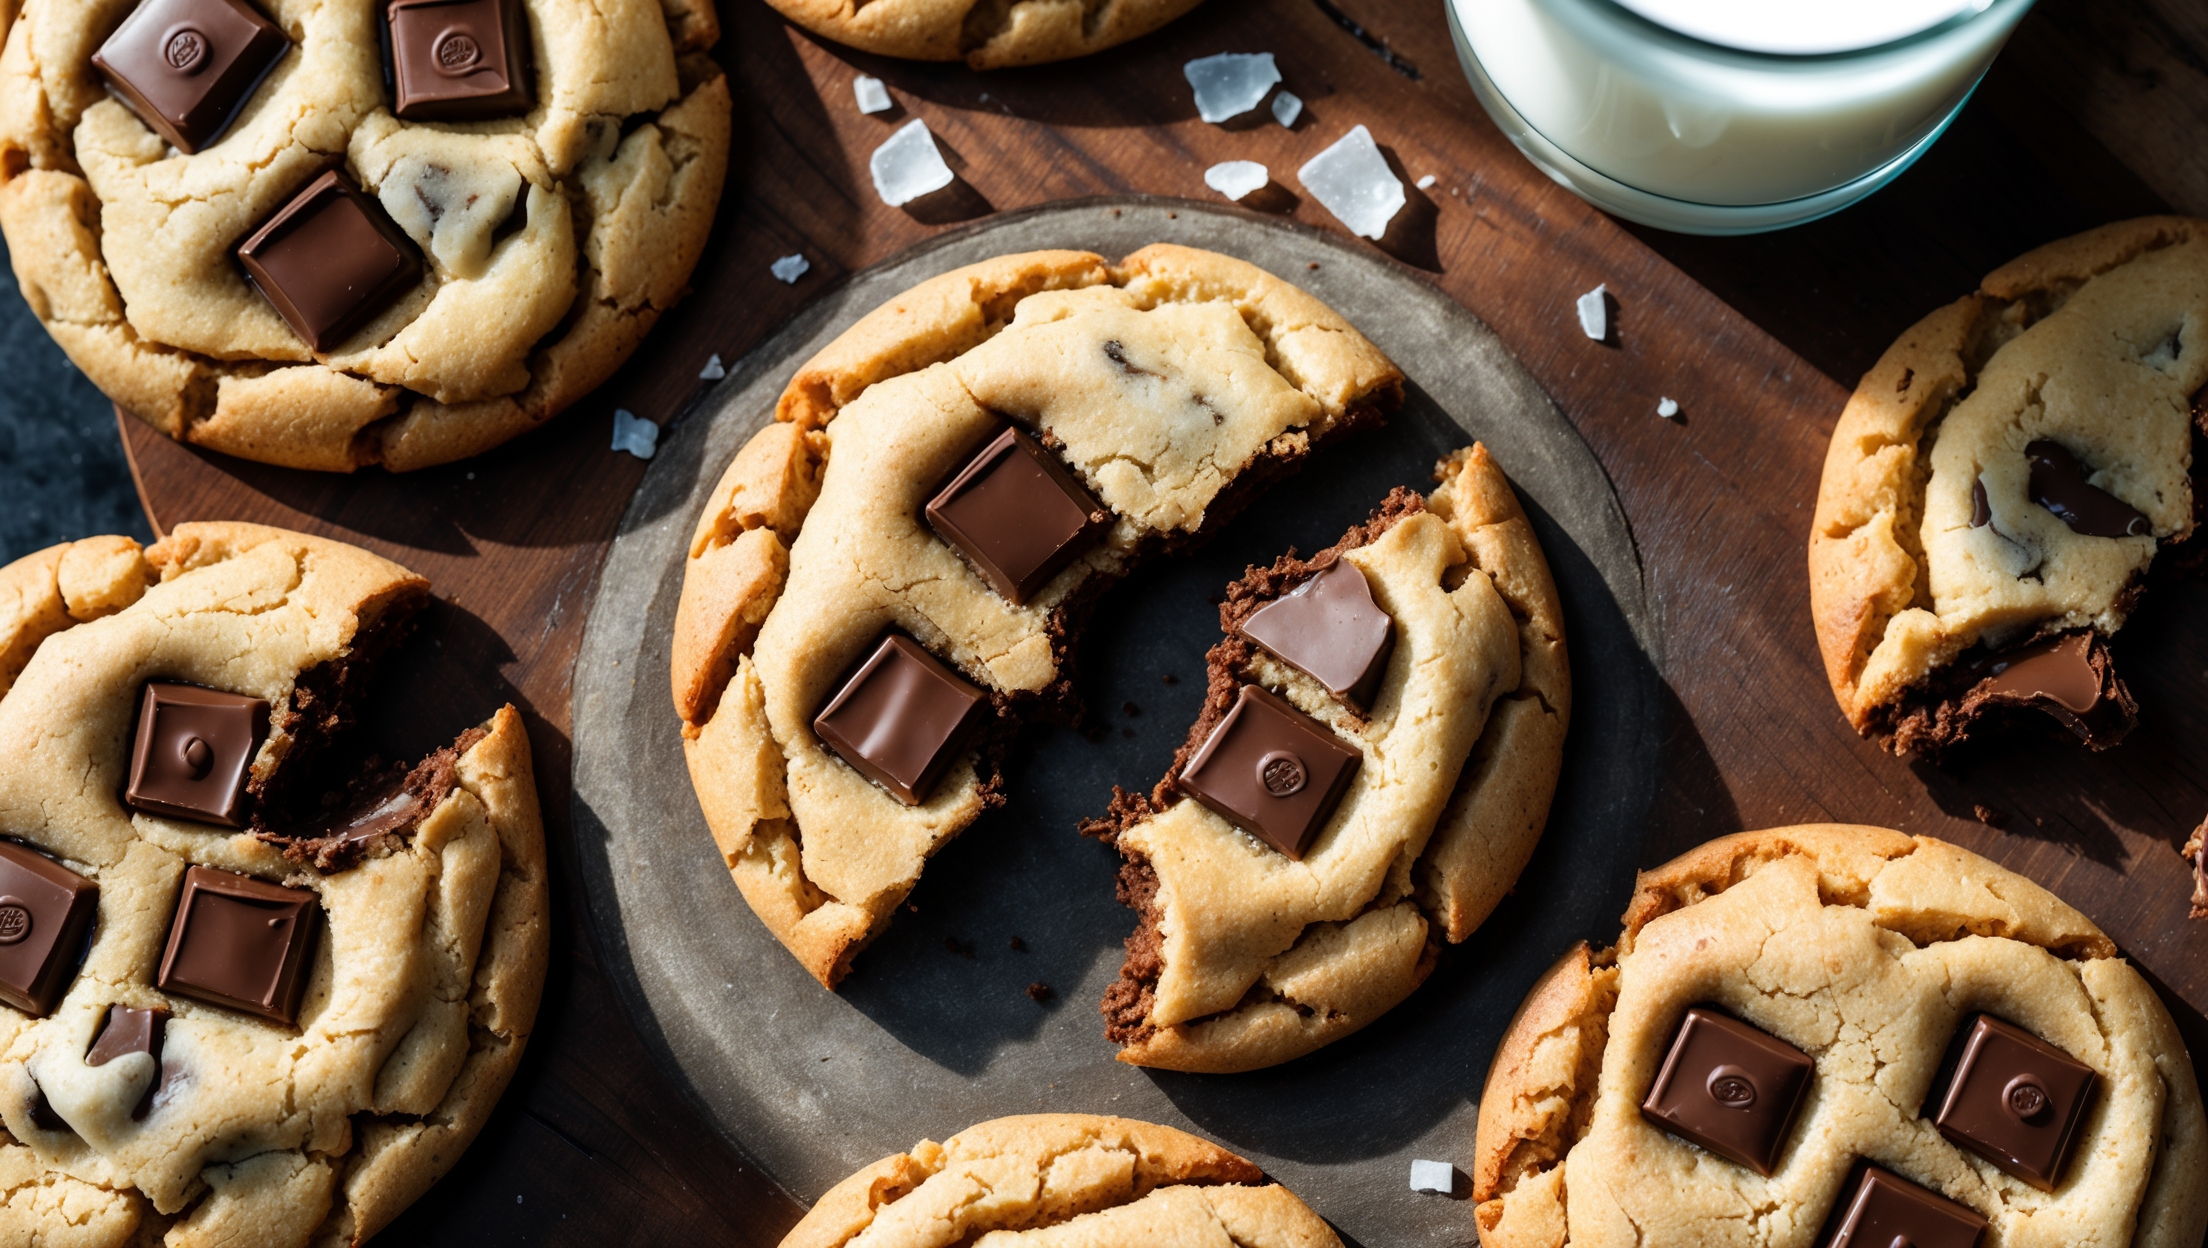
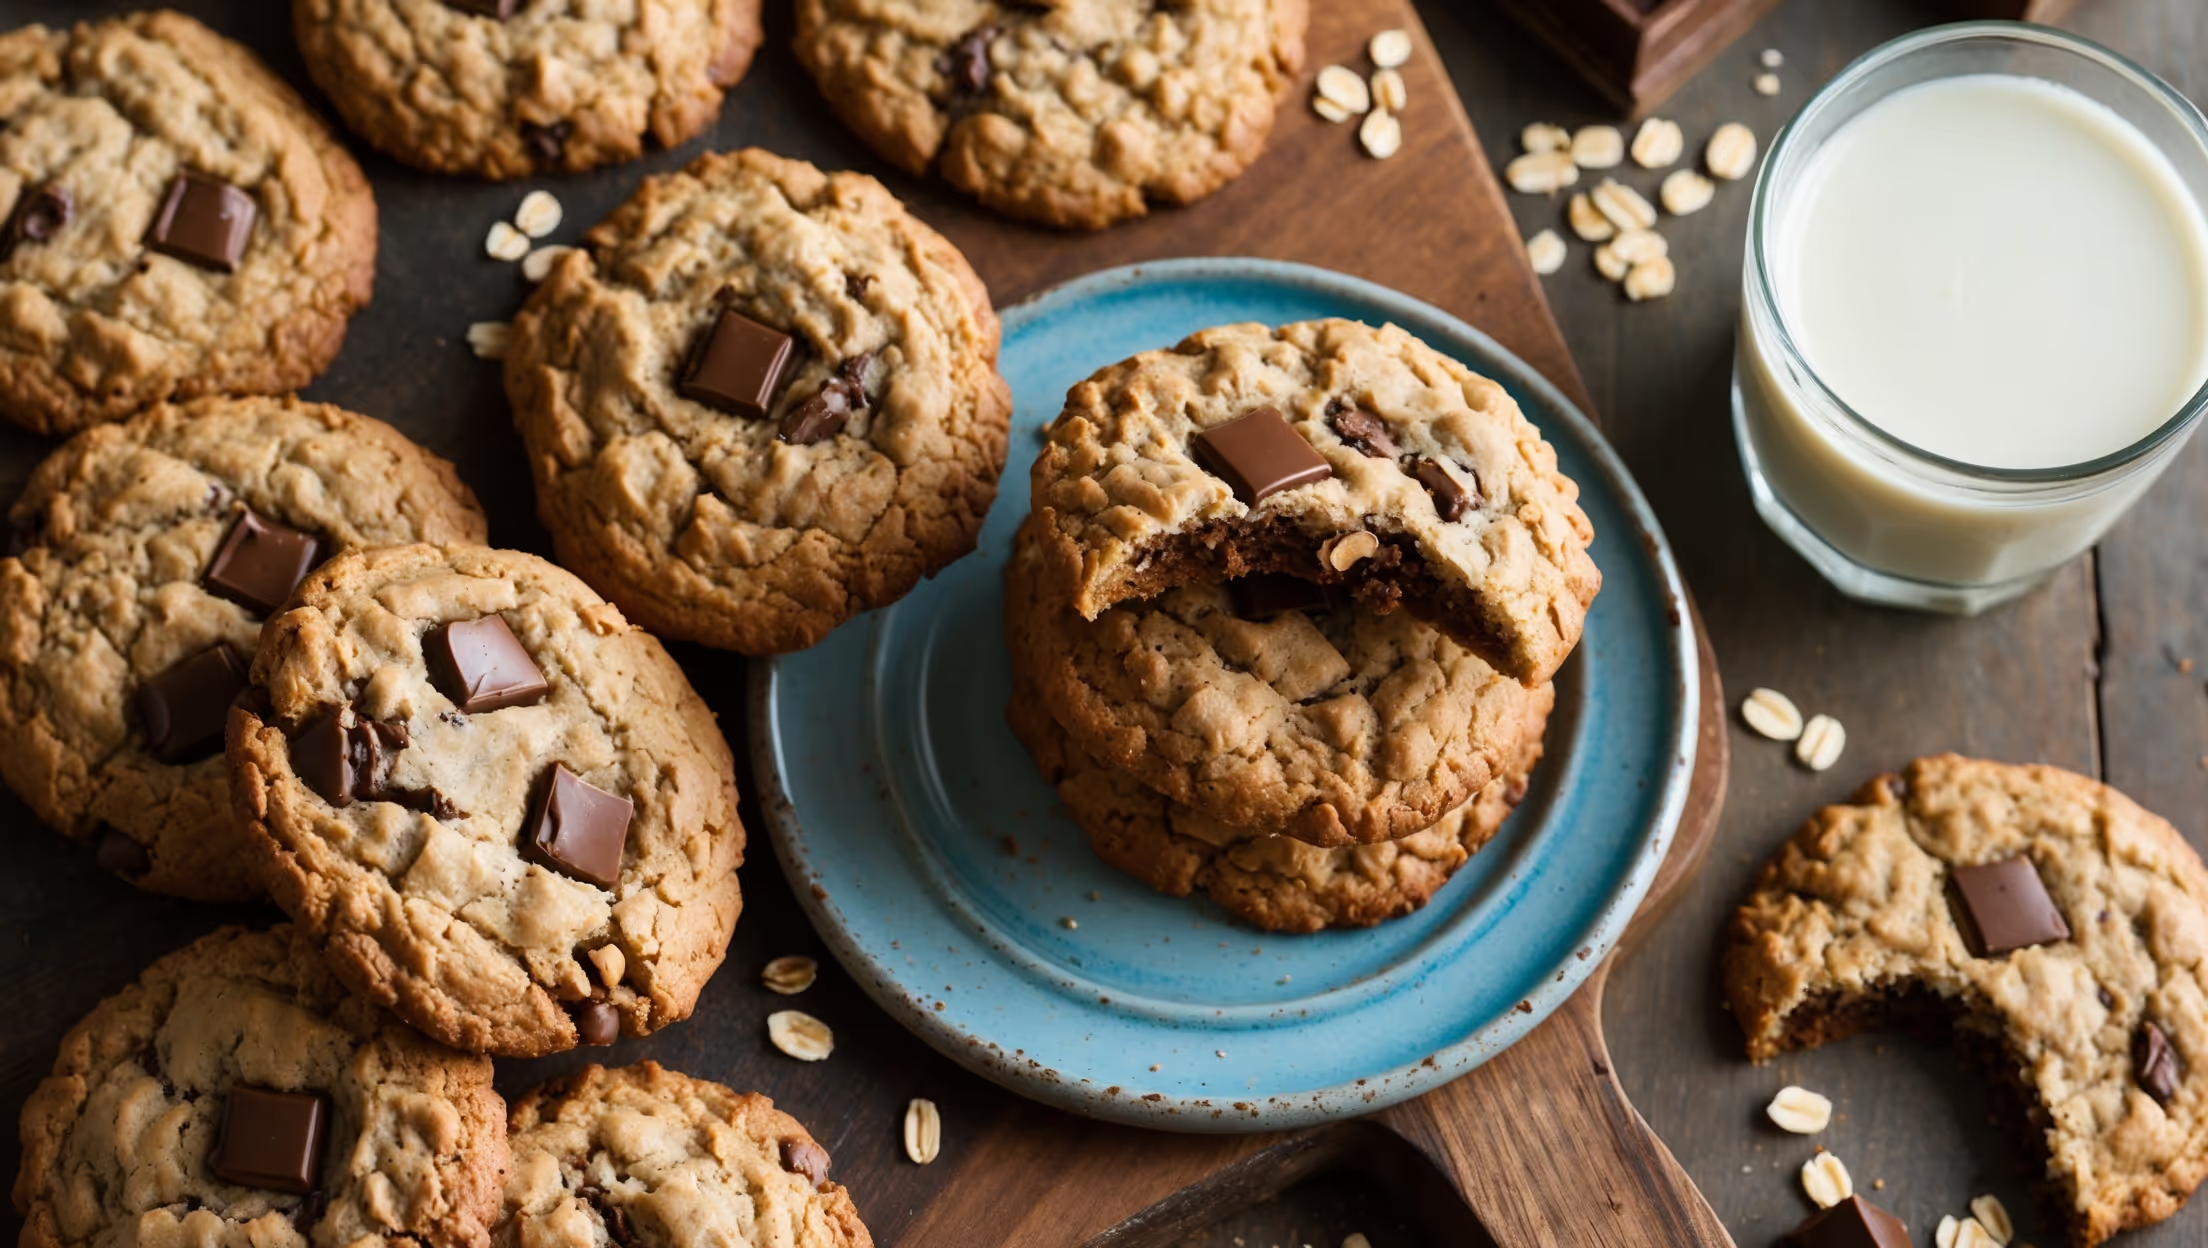
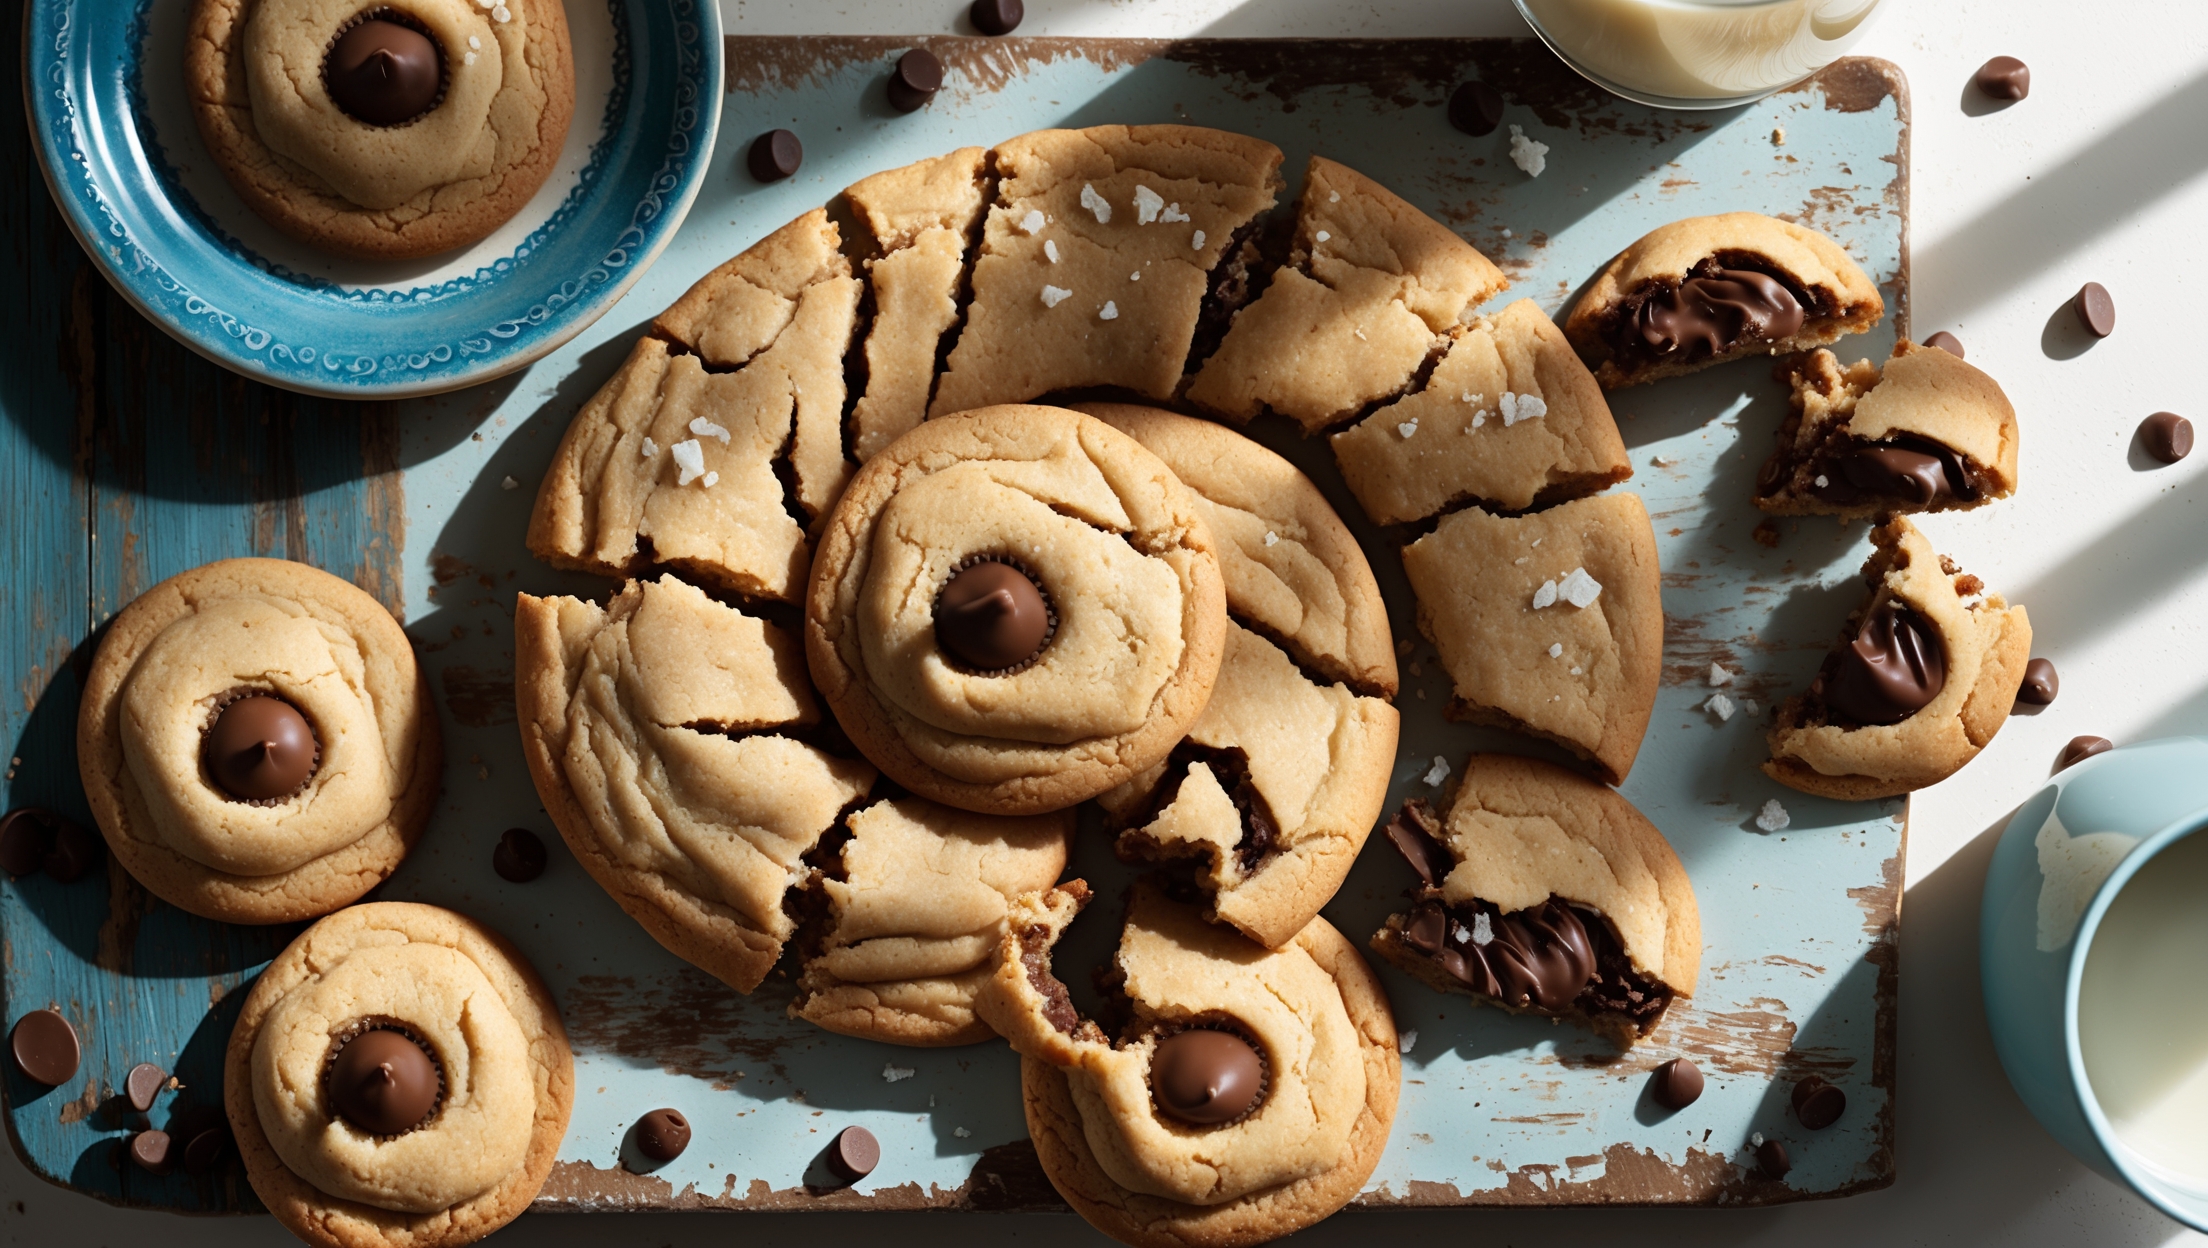
An overhead shot of milk chocolate chip cookies arranged in a rustic spiral pattern on a distressed wooden board, with a few cookies broken in half to reveal their chewy centers and melted chocolate pockets. Soft natural light streams in from a nearby window, highlighting the golden-brown edges and creating subtle shadows that emphasize the cookies' textured tops. A vintage blue ceramic plate holds a small stack of cookies in the corner, while scattered chocolate chips and a glass of milk create context around the arrangement. The warm caramel tones of the cookies contrast beautifully with the rich brown chocolate chunks, and a light dusting of sea salt crystals catches the light on select cookies.

Ingredients

<ul class="ingredients-main-list"> <li class="ingredients-single-item">225g unsalted butter</li> <li class="ingredients-single-item">200g light brown sugar</li> <li class="ingredients-single-item">100g granulated sugar</li> <li class="ingredients-single-item">2 large eggs, room temperature</li> <li class="ingredients-single-item">1 tablespoon vanilla extract</li> <li class="ingredients-single-item">300g all-purpose flour</li> <li class="ingredients-single-item">1 teaspoon baking soda</li> <li class="ingredients-single-item">1/2 teaspoon fine sea salt</li> <li class="ingredients-single-item">300g milk chocolate, roughly chopped (or milk chocolate chips)</li> <li class="ingredients-single-item">Flaky sea salt for sprinkling (optional)</li> </ul>

Equipment

<ul class="equipment-main-list"> <li class="equipment-single-item">Baking sheets</li> <li class="equipment-single-item">Parchment paper</li> <li class="equipment-single-item">Electric mixer (hand or stand)</li> <li class="equipment-single-item">Cookie scoop (optional)</li> </ul>
BAKE SMARTER

Kitchen Converter

Quickly switch between common baking units without leaving the recipe.

Convert
Result—

Volume uses US cups, tablespoons, and teaspoons. Converting weight to volume depends on the ingredient.

Directions

<ol class="no-list-style"> <li class="MethodStepper"> <h4 class="step-title">Step 1</h4> Optional but recommended: Brown the butter for extra flavor. Place butter in a light-colored saucepan over medium heat. Allow it to melt completely, then continue cooking, stirring frequently. The butter will foam, then the milk solids will turn golden brown and develop a nutty aroma (about 5-7 minutes). Immediately transfer to a heat-proof bowl and let cool for 10-15 minutes. This creates complex toffee notes that elevate your cookies. If skipping this step, simply use softened butter. </li> <li class="MethodStepper"> <h4 class="step-title">Step 2</h4> Preheat your oven to 180°C and line two baking sheets with parchment paper. </li> <li class="MethodStepper"> <h4 class="step-title">Step 3</h4> In a large bowl, combine the cooled brown butter (or softened butter) with both sugars. Beat with an electric mixer for 3-4 minutes until light and fluffy. This creaming process incorporates air into the dough, creating a better texture and helping the cookies spread correctly. </li> <li class="MethodStepper"> <h4 class="step-title">Step 4</h4> Add the eggs one at a time, beating well after each addition until completely incorporated. Mix in the vanilla extract until the mixture is smooth and glossy. </li> <li class="MethodStepper"> <h4 class="step-title">Step 5</h4> In a separate bowl, whisk together the flour, baking soda, and fine sea salt. Gradually add this dry mixture to the wet ingredients, mixing on low speed just until no dry streaks remain. Over-mixing at this stage will develop too much gluten, resulting in tough cookies. </li> <li class="MethodStepper"> <h4 class="step-title">Step 6</h4> Fold in the chopped milk chocolate (or chips) using a rubber spatula until evenly distributed throughout the dough. If your chocolate is in large blocks, roughly chopping it creates beautiful melted puddles in the baked cookies. </li> <li class="MethodStepper"> <h4 class="step-title">Step 7</h4> For best results, chill the dough for at least 30 minutes (up to 24 hours). This allows the flour to hydrate fully and the flavors to develop, resulting in cookies with better texture and taste. If you're short on time, you can bake immediately, but the cookies may spread more. </li> <li class="MethodStepper"> <h4 class="step-title">Step 8</h4> Using a cookie scoop or tablespoon, form dough balls about 2 tablespoons in size and place them on the prepared baking sheets, leaving about 5cm between each cookie to allow for spreading. For professional-looking cookies, roll the dough into smooth balls between your palms. </li> <li class="MethodStepper"> <h4 class="step-title">Step 9</h4> If desired, sprinkle a tiny pinch of flaky sea salt on top of each dough ball to enhance the chocolate flavor and create a sweet-salty contrast. </li> <li class="MethodStepper"> <h4 class="step-title">Step 10</h4> Bake for 10-12 minutes, until the edges are set and golden brown but the centers still look slightly underdone. The cookies will continue baking on the hot sheet after removal from the oven, so it's better to underbake slightly than overbake. </li> <li class="MethodStepper"> <h4 class="step-title">Step 11</h4> Allow the cookies to cool on the baking sheet for 5 minutes (they'll be too soft to move immediately), then transfer to a wire rack to cool completely. For the perfect chewy texture, enjoy one while still slightly warm! </li> </ol>
Nutrition Facts (per serving)

🍽️ Serving Size: 1 slice
🔥 Calories: 185 calories
🥑 Fat: 5 g
🧈 Saturated Fat: 1 g
🍞 Carbohydrates: 32 g
🍭 Sugar: 2 g
🍗 Protein: 4 g
🫀 Cholesterol: 35 mg
🧂 Sodium: 390 mg

Chef’s Notes

A few helpful details for making this recipe.

Why should I brown the butter for chocolate chip cookies?

Browning butter creates complex toffee and nutty flavours that significantly enhance your cookies. The process removes water content from the butter while caramelising the milk solids, resulting in deeper, more sophisticated flavour notes that elevate ordinary chocolate chip cookies to bakery-quality treats.

How does chilling cookie dough improve the final result?

Chilling cookie dough for at least 30 minutes allows the flour to fully hydrate, flavours to develop, and fats to solidify. This results in cookies with better structure, less spreading during baking, enhanced caramelisation, more pronounced flavour, and the perfect balance of crisp edges and chewy centres.

What's the secret to cookies with chewy centres and crispy edges?

The perfect texture balance comes from a higher ratio of brown sugar (which retains moisture), slightly underbaking the cookies until edges are golden but centres look underdone, proper creaming of butter and sugar, and allowing cookies to finish setting on the hot baking sheet after removal from the oven.

Want to try something else in ...

More recipes you might like

Keep exploring with more recipes from What's Baking.