Triple Chocolate Chip Cookies Recipe

Indulgently rich triple chocolate chip cookies with crisp edges and a soft, gooey center loaded with milk, dark, and white chocolate chunks for the ultimate chocolate lover's dream.
Difficulty:
Beginner
Prep Time:
15 mins
Cook Time:
12 mins
Serves:
24 cookies
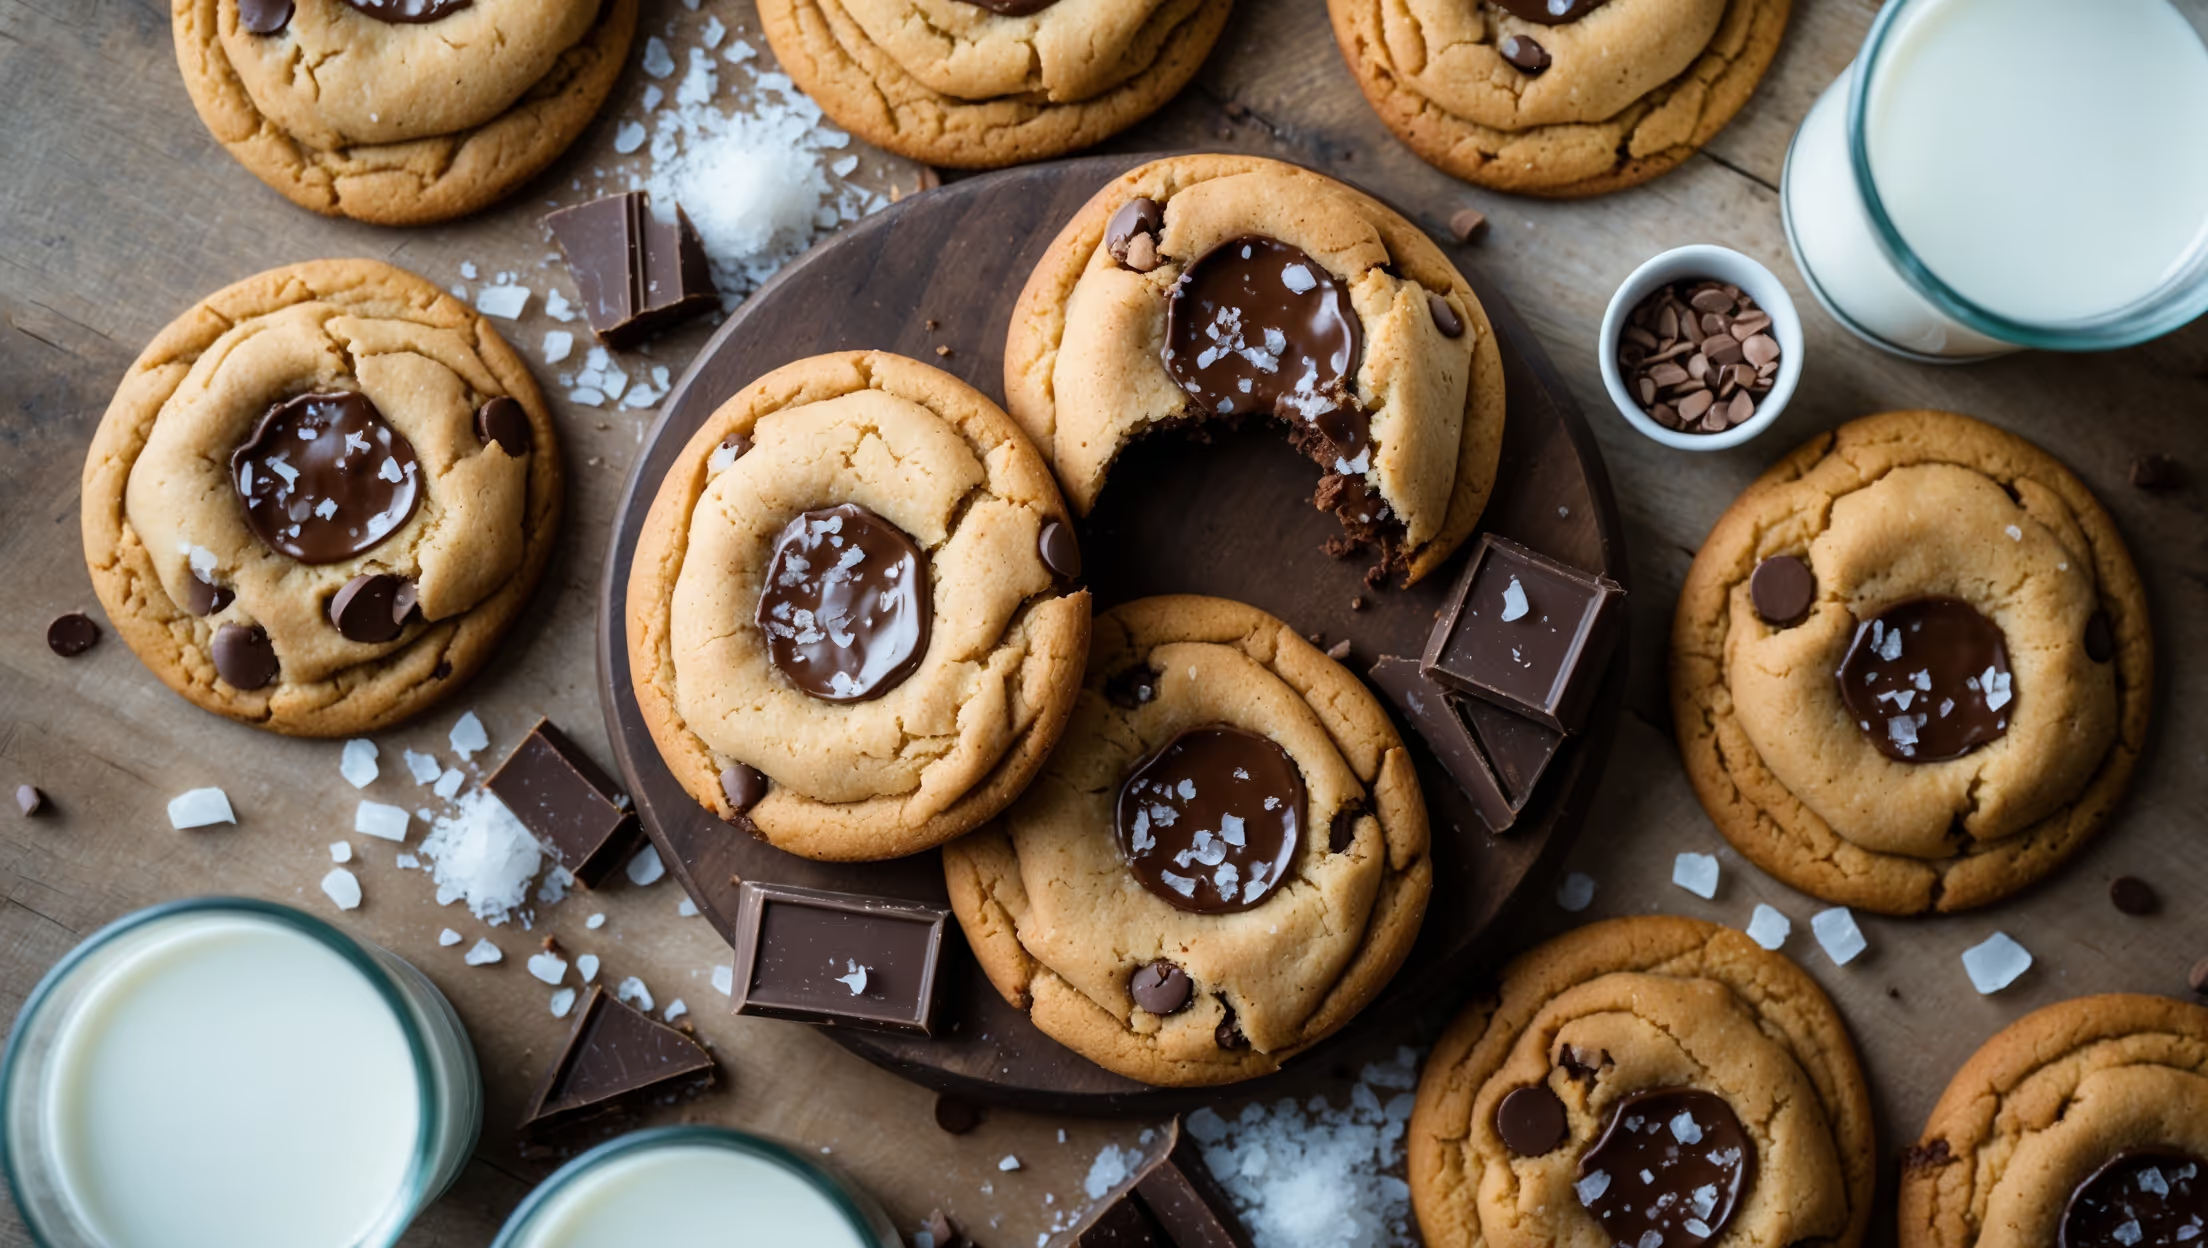
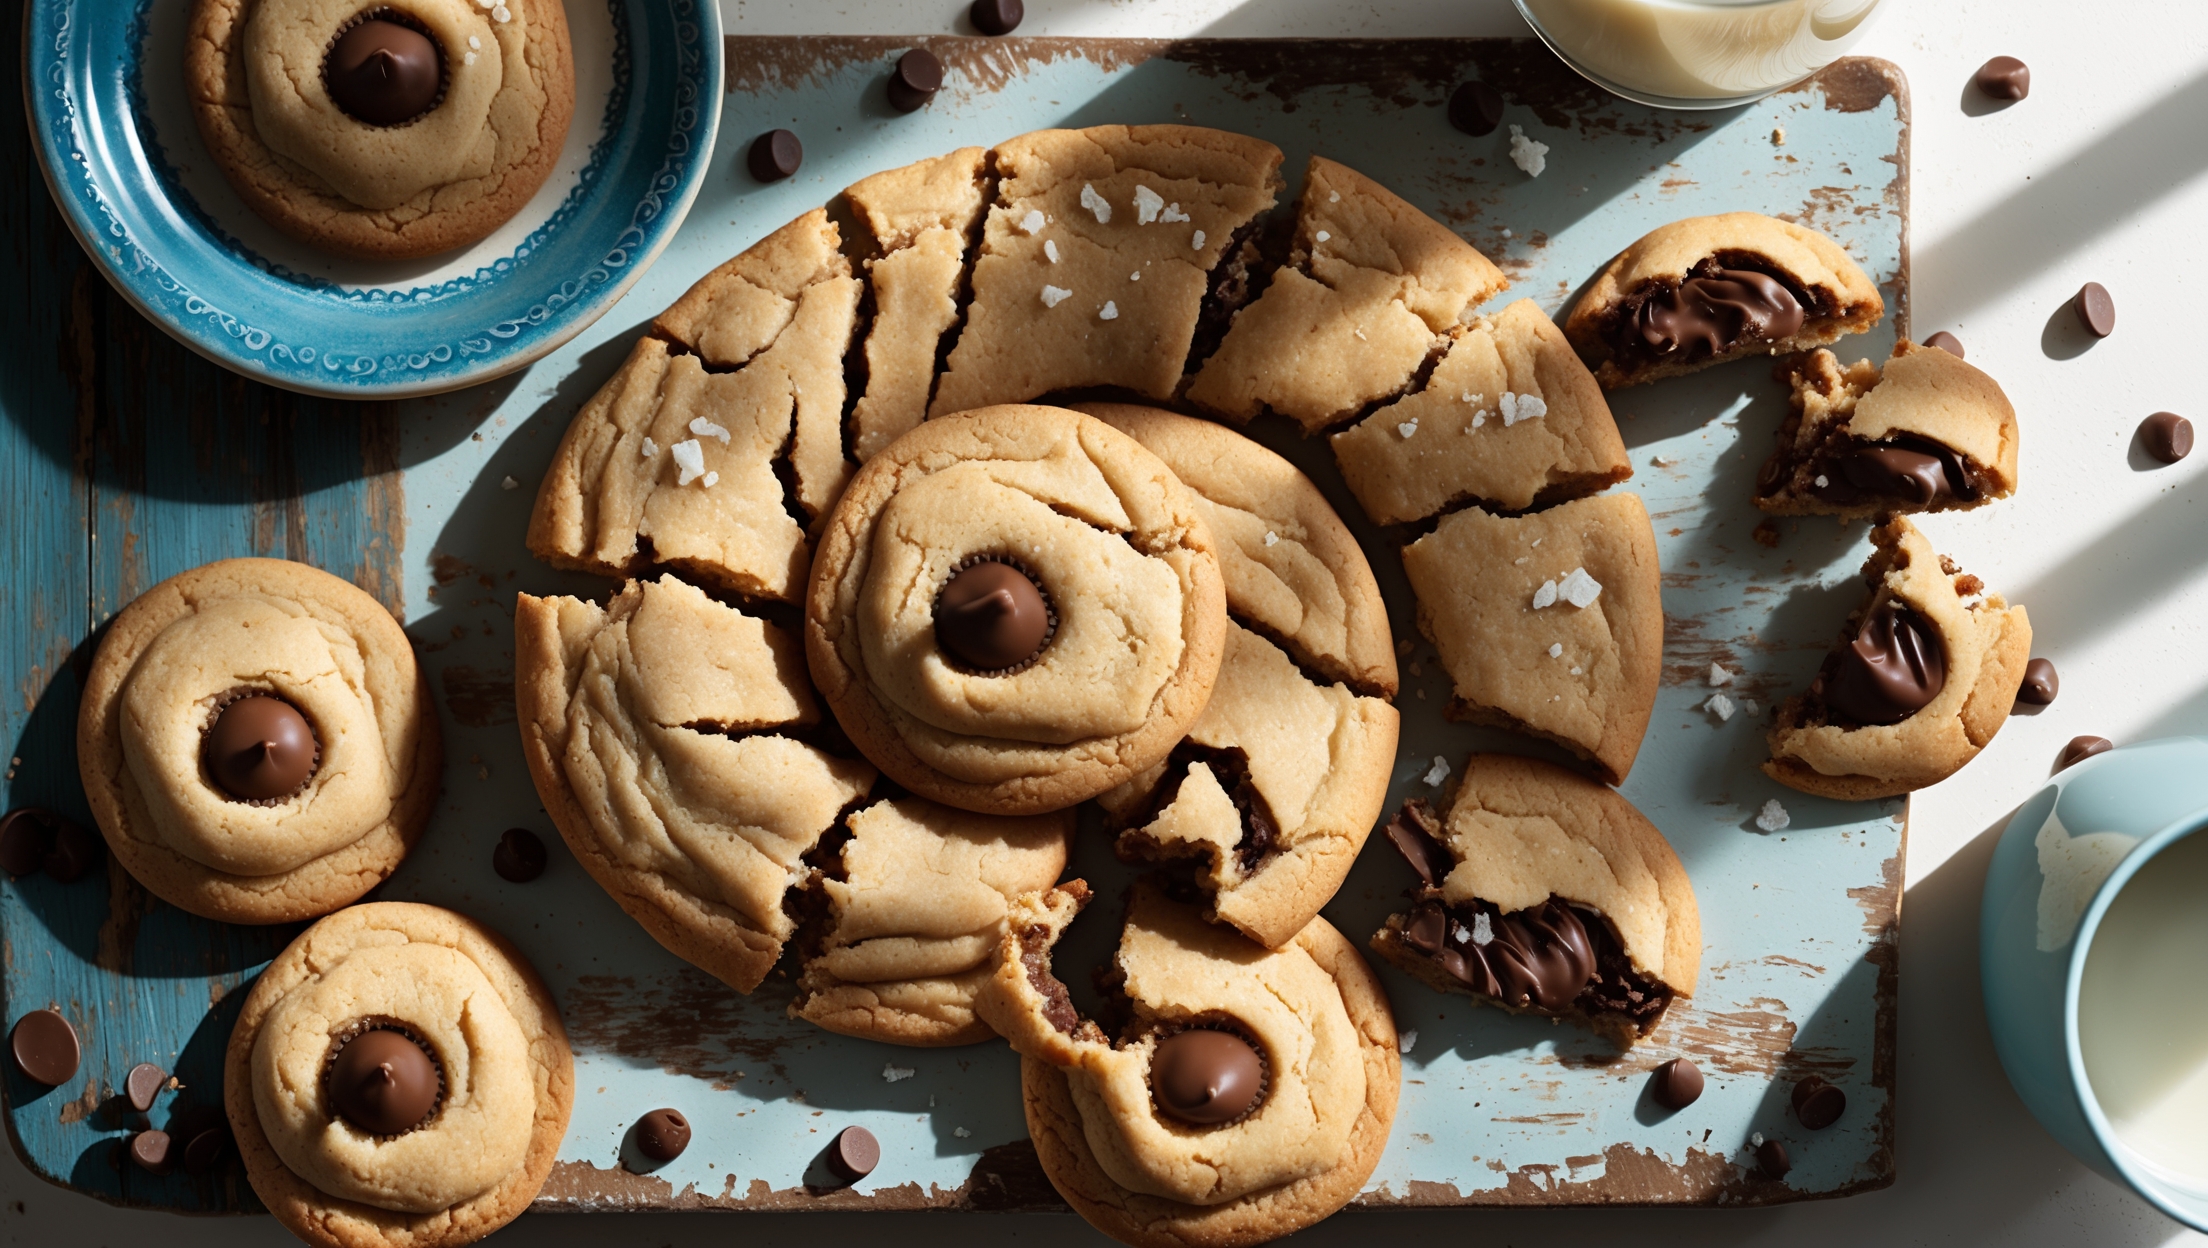
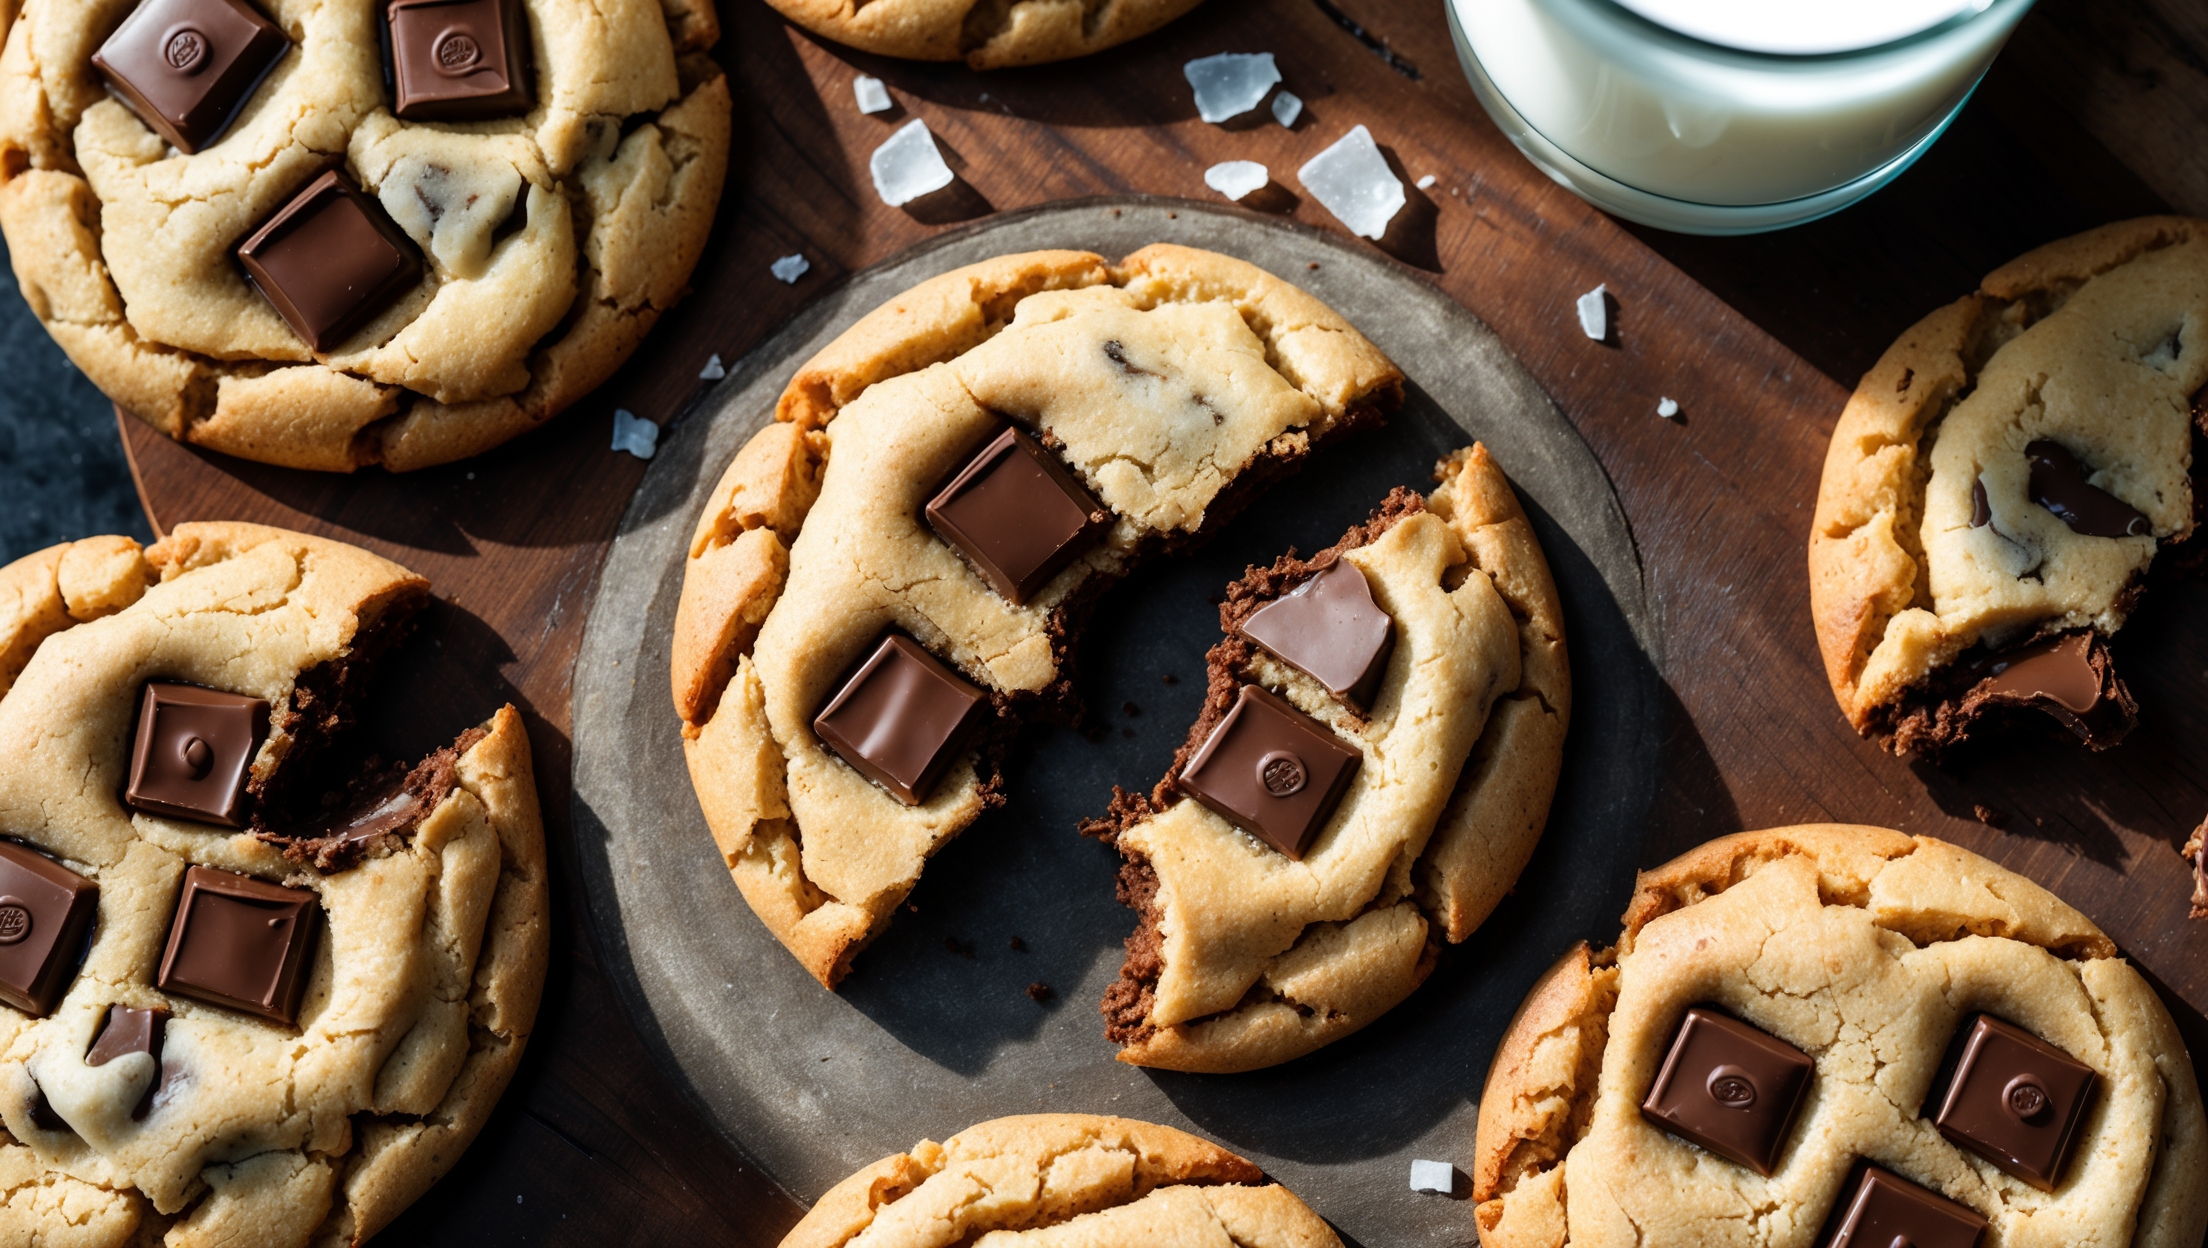
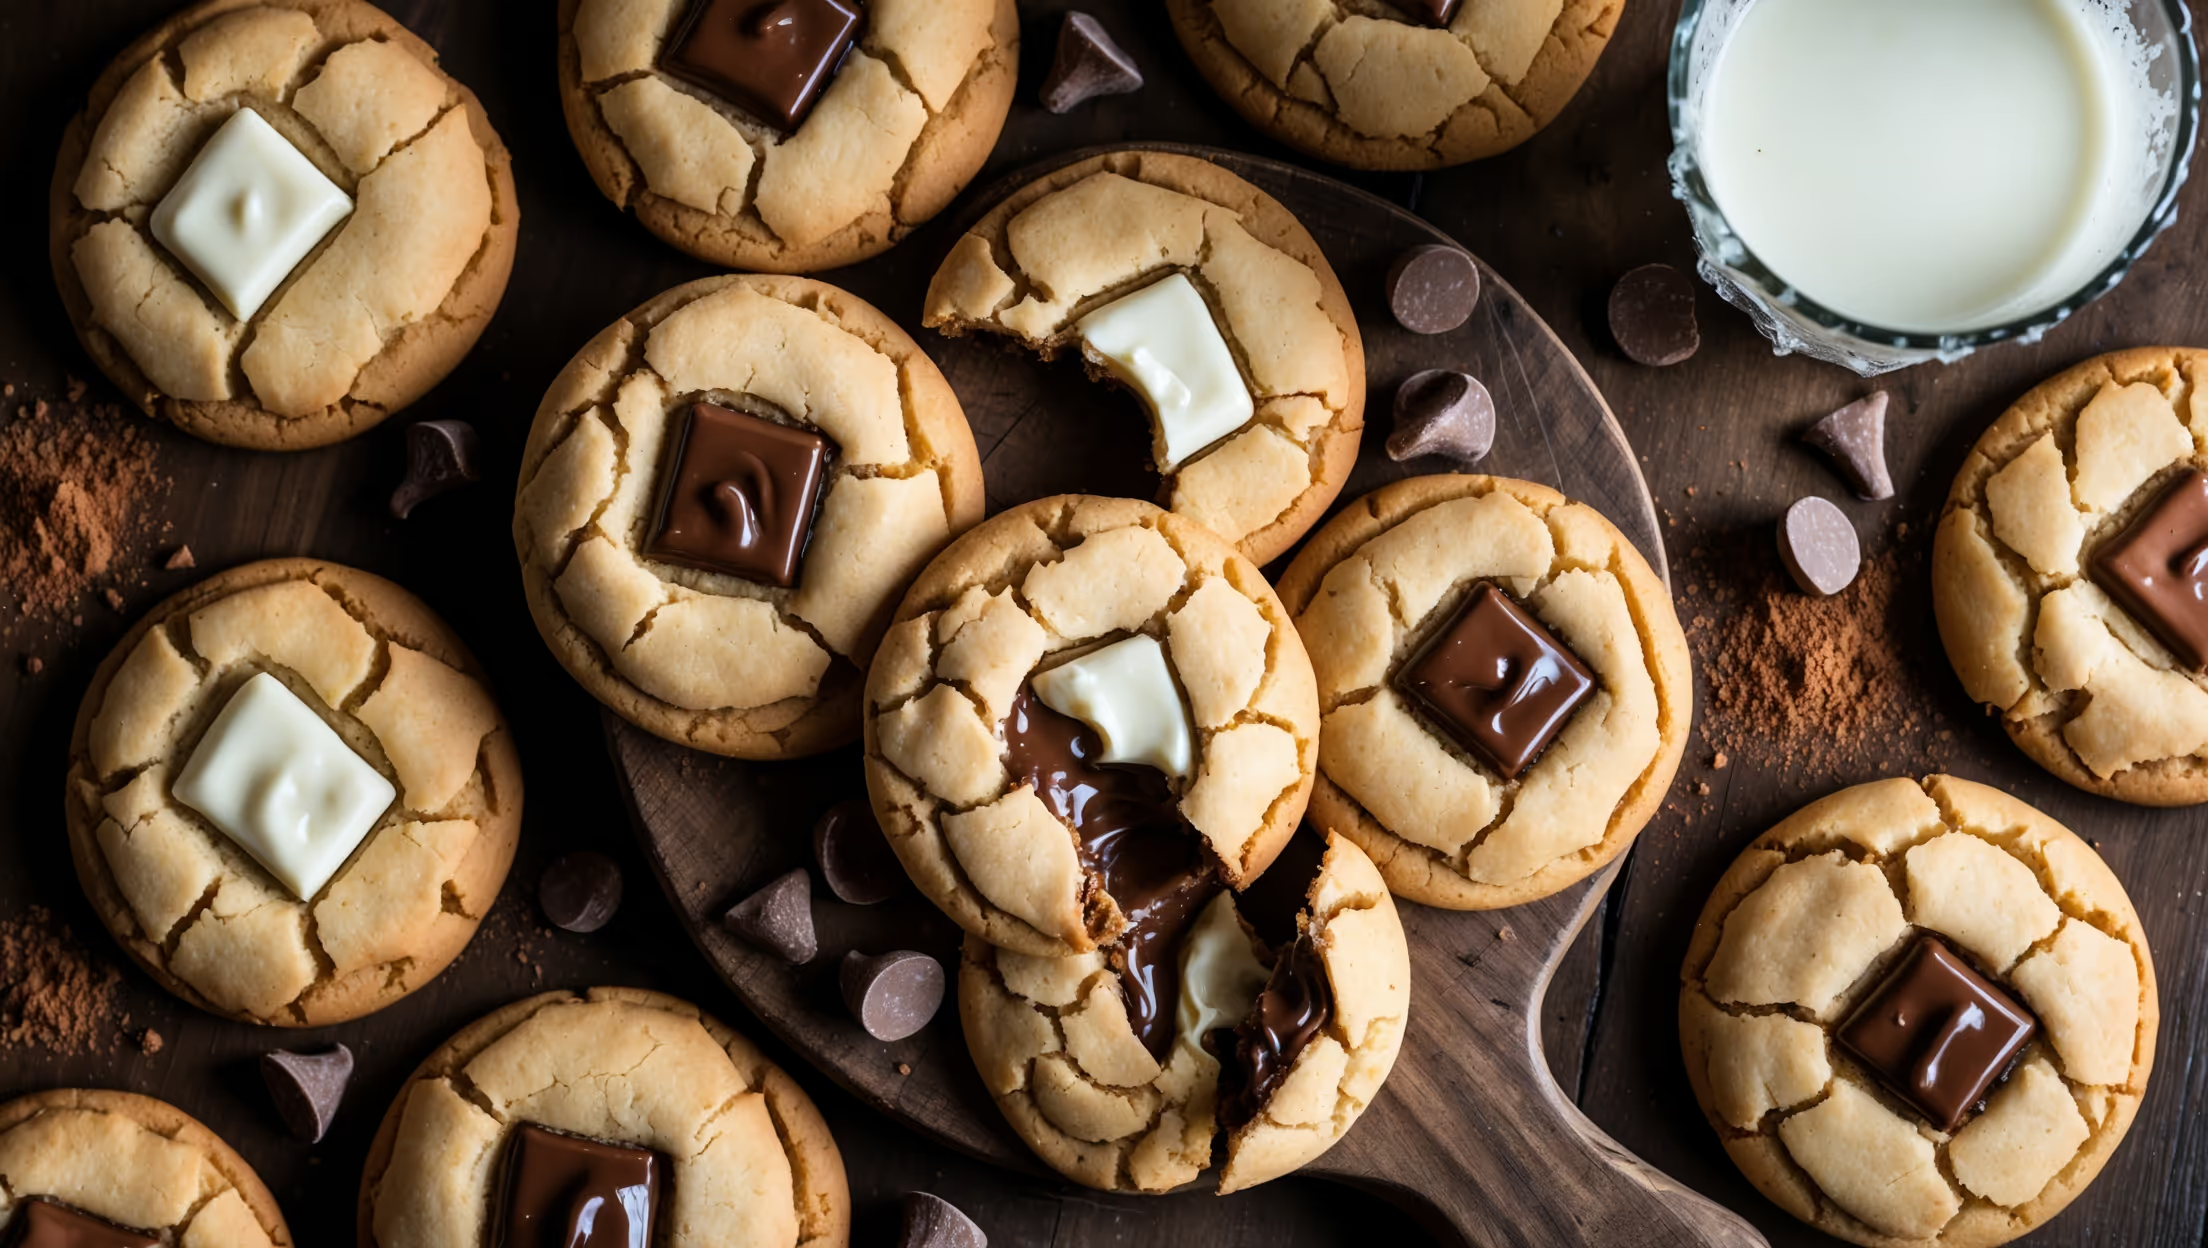
An overhead shot of perfectly round triple chocolate chip cookies arranged on a rustic wooden board, with several cookies deliberately broken to reveal their gooey chocolate centers. The cookies have a golden-brown outer rim with crackled tops, showcasing chunks of glossy melted chocolate in three distinct colors: creamy white, rich milk, and deep dark chocolate. Scattered cocoa powder and additional chocolate chunks surround the cookies, while warm afternoon light casts subtle shadows, highlighting the cookies' textured surface. A vintage glass of milk sits beside the arrangement, with condensation forming on its surface, suggesting the cookies are still slightly warm from the oven.

Ingredients

<ul class="ingredients-main-list"><li class="ingredients-single-item">225g unsalted butter, softened</li><li class="ingredients-single-item">200g light brown sugar</li><li class="ingredients-single-item">100g granulated sugar</li><li class="ingredients-single-item">2 large eggs, room temperature</li><li class="ingredients-single-item">2 tsp vanilla extract</li><li class="ingredients-single-item">300g all-purpose flour</li><li class="ingredients-single-item">50g cocoa powder</li><li class="ingredients-single-item">1 tsp baking soda</li><li class="ingredients-single-item">½ tsp salt</li><li class="ingredients-single-item">100g dark chocolate chunks (or chips)</li><li class="ingredients-single-item">100g milk chocolate chunks (or chips)</li><li class="ingredients-single-item">100g white chocolate chunks (or chips)</li></ul>

Equipment

<ul class="equipment-main-list"><li class="equipment-single-item">Electric mixer (stand or handheld)</li><li class="equipment-single-item">Baking sheets</li><li class="equipment-single-item">Parchment paper or silicone baking mats</li><li class="equipment-single-item">Cookie scoop or tablespoon measure</li></ul>
BAKE SMARTER

Kitchen Converter

Quickly switch between common baking units without leaving the recipe.

Convert
Result—

Volume uses US cups, tablespoons, and teaspoons. Converting weight to volume depends on the ingredient.

Directions

<ol class="no-list-style"><li class="MethodStepper"><h4 class="step-title">Step 1</h4>In a large bowl, cream together the softened butter, light brown sugar, and granulated sugar for 3-4 minutes until light and fluffy. This extended creaming incorporates air into the mixture, which gives your cookies structure and helps them spread properly during baking.</li><li class="MethodStepper"><h4 class="step-title">Step 2</h4>Add the eggs one at a time, mixing well after each addition. Stir in the vanilla extract until completely incorporated. The mixture should look smooth and glossy at this stage.</li><li class="MethodStepper"><h4 class="step-title">Step 3</h4>In a separate bowl, whisk together the flour, cocoa powder, baking soda, and salt. The cocoa powder not only adds chocolate flavor but also contributes to the tender texture of these cookies.</li><li class="MethodStepper"><h4 class="step-title">Step 4</h4>Gradually add the dry ingredients to the wet mixture, mixing on low speed just until no flour streaks remain. Over-mixing will develop too much gluten, resulting in tough cookies, so be gentle at this stage.</li><li class="MethodStepper"><h4 class="step-title">Step 5</h4>Fold in the dark, milk, and white chocolate chunks by hand using a spatula, distributing them evenly throughout the dough. The different chocolates create delicious flavor complexity in every bite.</li><li class="MethodStepper"><h4 class="step-title">Step 6</h4>Cover the dough and refrigerate for at least 1 hour, or preferably overnight. This resting time allows the flour to fully hydrate and the flavors to develop, resulting in a richer-tasting cookie with better texture.</li><li class="MethodStepper"><h4 class="step-title">Step 7</h4>When ready to bake, preheat your oven to 180°C and line baking sheets with parchment paper. Remove the dough from the refrigerator and let it sit at room temperature for about 10 minutes to soften slightly.</li><li class="MethodStepper"><h4 class="step-title">Step 8</h4>Using a cookie scoop or tablespoon, portion the dough into balls about 45g each (roughly the size of a golf ball). Place them on the prepared baking sheets, leaving about 5cm between each cookie to allow for spreading.</li><li class="MethodStepper"><h4 class="step-title">Step 9</h4>For bakery-style cookies with perfect ripples, gently press a few extra chocolate chunks onto the tops of each dough ball before baking. This ensures beautiful chocolate pools on top of the finished cookies.</li><li class="MethodStepper"><h4 class="step-title">Step 10</h4>Bake for 10-12 minutes, until the edges are set but the centers still look slightly underdone. The cookies will continue to cook on the hot baking sheet after removal from the oven. For chewier cookies, bake for 10 minutes; for crispier edges, bake for 12 minutes.</li><li class="MethodStepper"><h4 class="step-title">Step 11</h4>Allow the cookies to cool on the baking sheets for 5 minutes before transferring to a wire rack to cool completely. The cookies will firm up as they cool, achieving that perfect balance of crisp edges and soft centers.</li><li class="MethodStepper"><h4 class="step-title">Step 12</h4>Store in an airtight container at room temperature for up to 5 days. To refresh slightly stale cookies, microwave for 10 seconds for that fresh-baked gooey texture. Enjoy with a cold glass of milk for the ultimate chocolate cookie experience!</li></ol>
Nutrition Facts (per serving)

🍽️ Serving Size: 1 cookie
🔥 Calories: 225 calories
🥑 Fat: 13 g
🧈 Saturated Fat: 8 g
🍞 Carbohydrates: 26 g
🍭 Sugar: 17 g
🍗 Protein: 3 g
🫀 Cholesterol: 35 mg
🧂 Sodium: 120 mg

Chef’s Notes

A few helpful details for making this recipe.

Why should I chill cookie dough before baking?

Chilling cookie dough allows the flour to fully hydrate and flavours to develop, resulting in cookies with better texture, enhanced taste, and less spreading during baking. For chocolate chip cookies, at least 1 hour of chilling time produces richer, more complex flavours.

What's the secret to getting perfectly chewy chocolate cookies with crisp edges?

The secret lies in the proper balance of sugars (using more brown sugar than white), slightly underbaking the cookies, chilling the dough thoroughly, and ensuring your butter is softened but not melted. Removing cookies when the edges are set but centres remain soft is crucial.

Can I freeze chocolate chip cookie dough for later baking?

Yes! Roll the dough into balls, place on a baking sheet to freeze until solid, then transfer to freezer bags for up to 3 months. When ready to bake, place the frozen dough balls directly on baking sheets and add 1-2 extra minutes to the baking time.

Want to try something else in ...

More recipes you might like

Keep exploring with more recipes from What's Baking.