Single-Origin Chocolate Varietal Tasting Flight Cookies Recipe
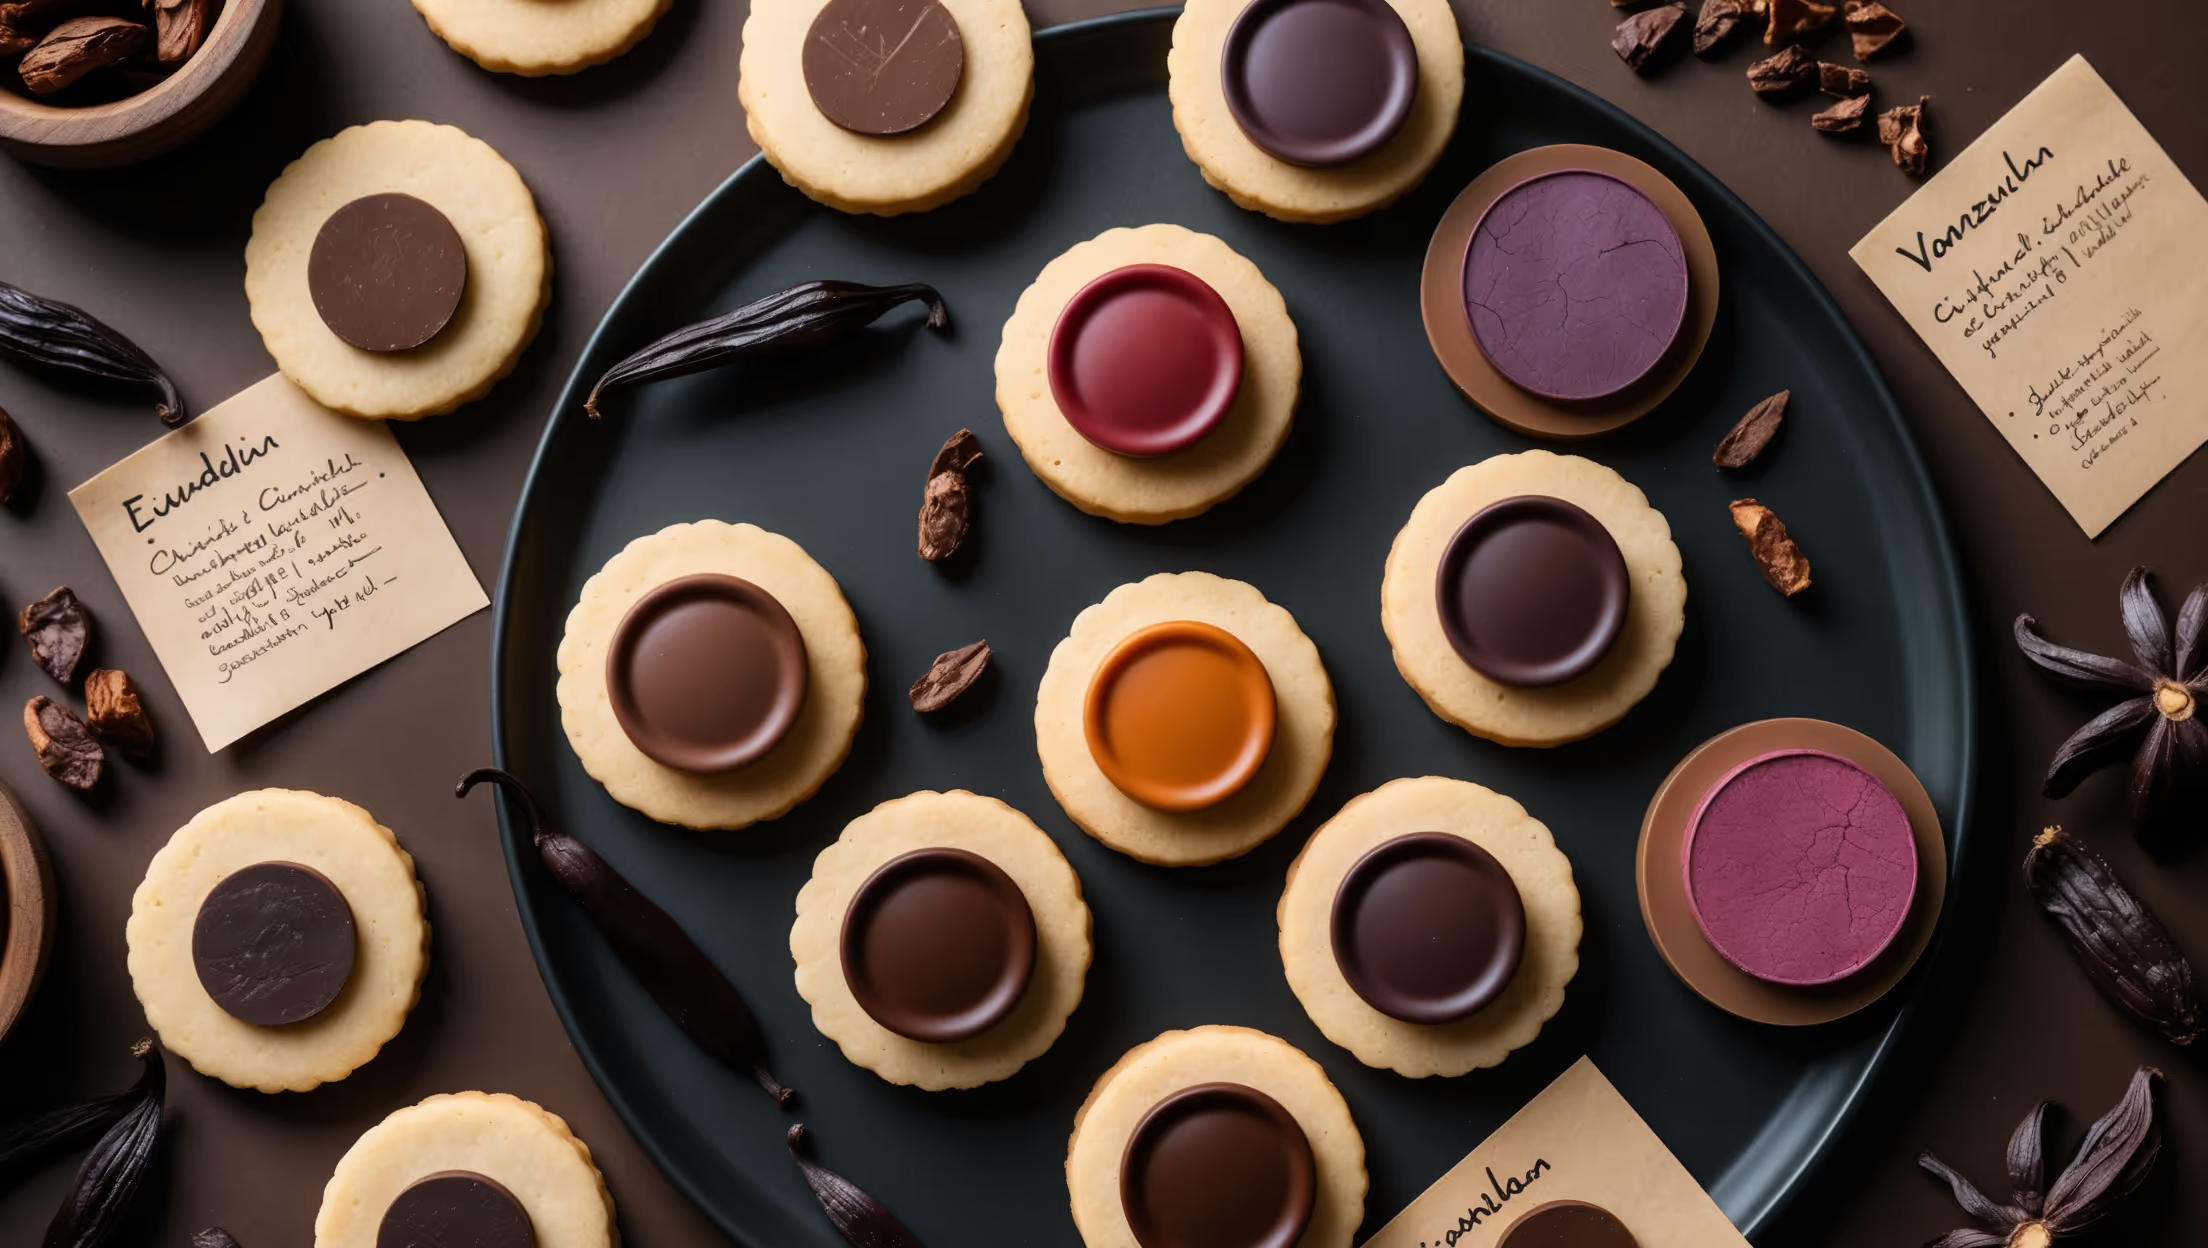
Learn how to make these elegant homemade butter cookies featuring the best single-origin chocolate varieties. This easy baking recipe showcases how different growing regions affect chocolate flavors—from fruity to nutty to floral notes—creating an impressive tasting experience perfect for chocolate connoisseurs.
Difficulty:
Intermediate
Prep Time:
45 mins
Cook Time:
12 mins
Serves:
24 cookies
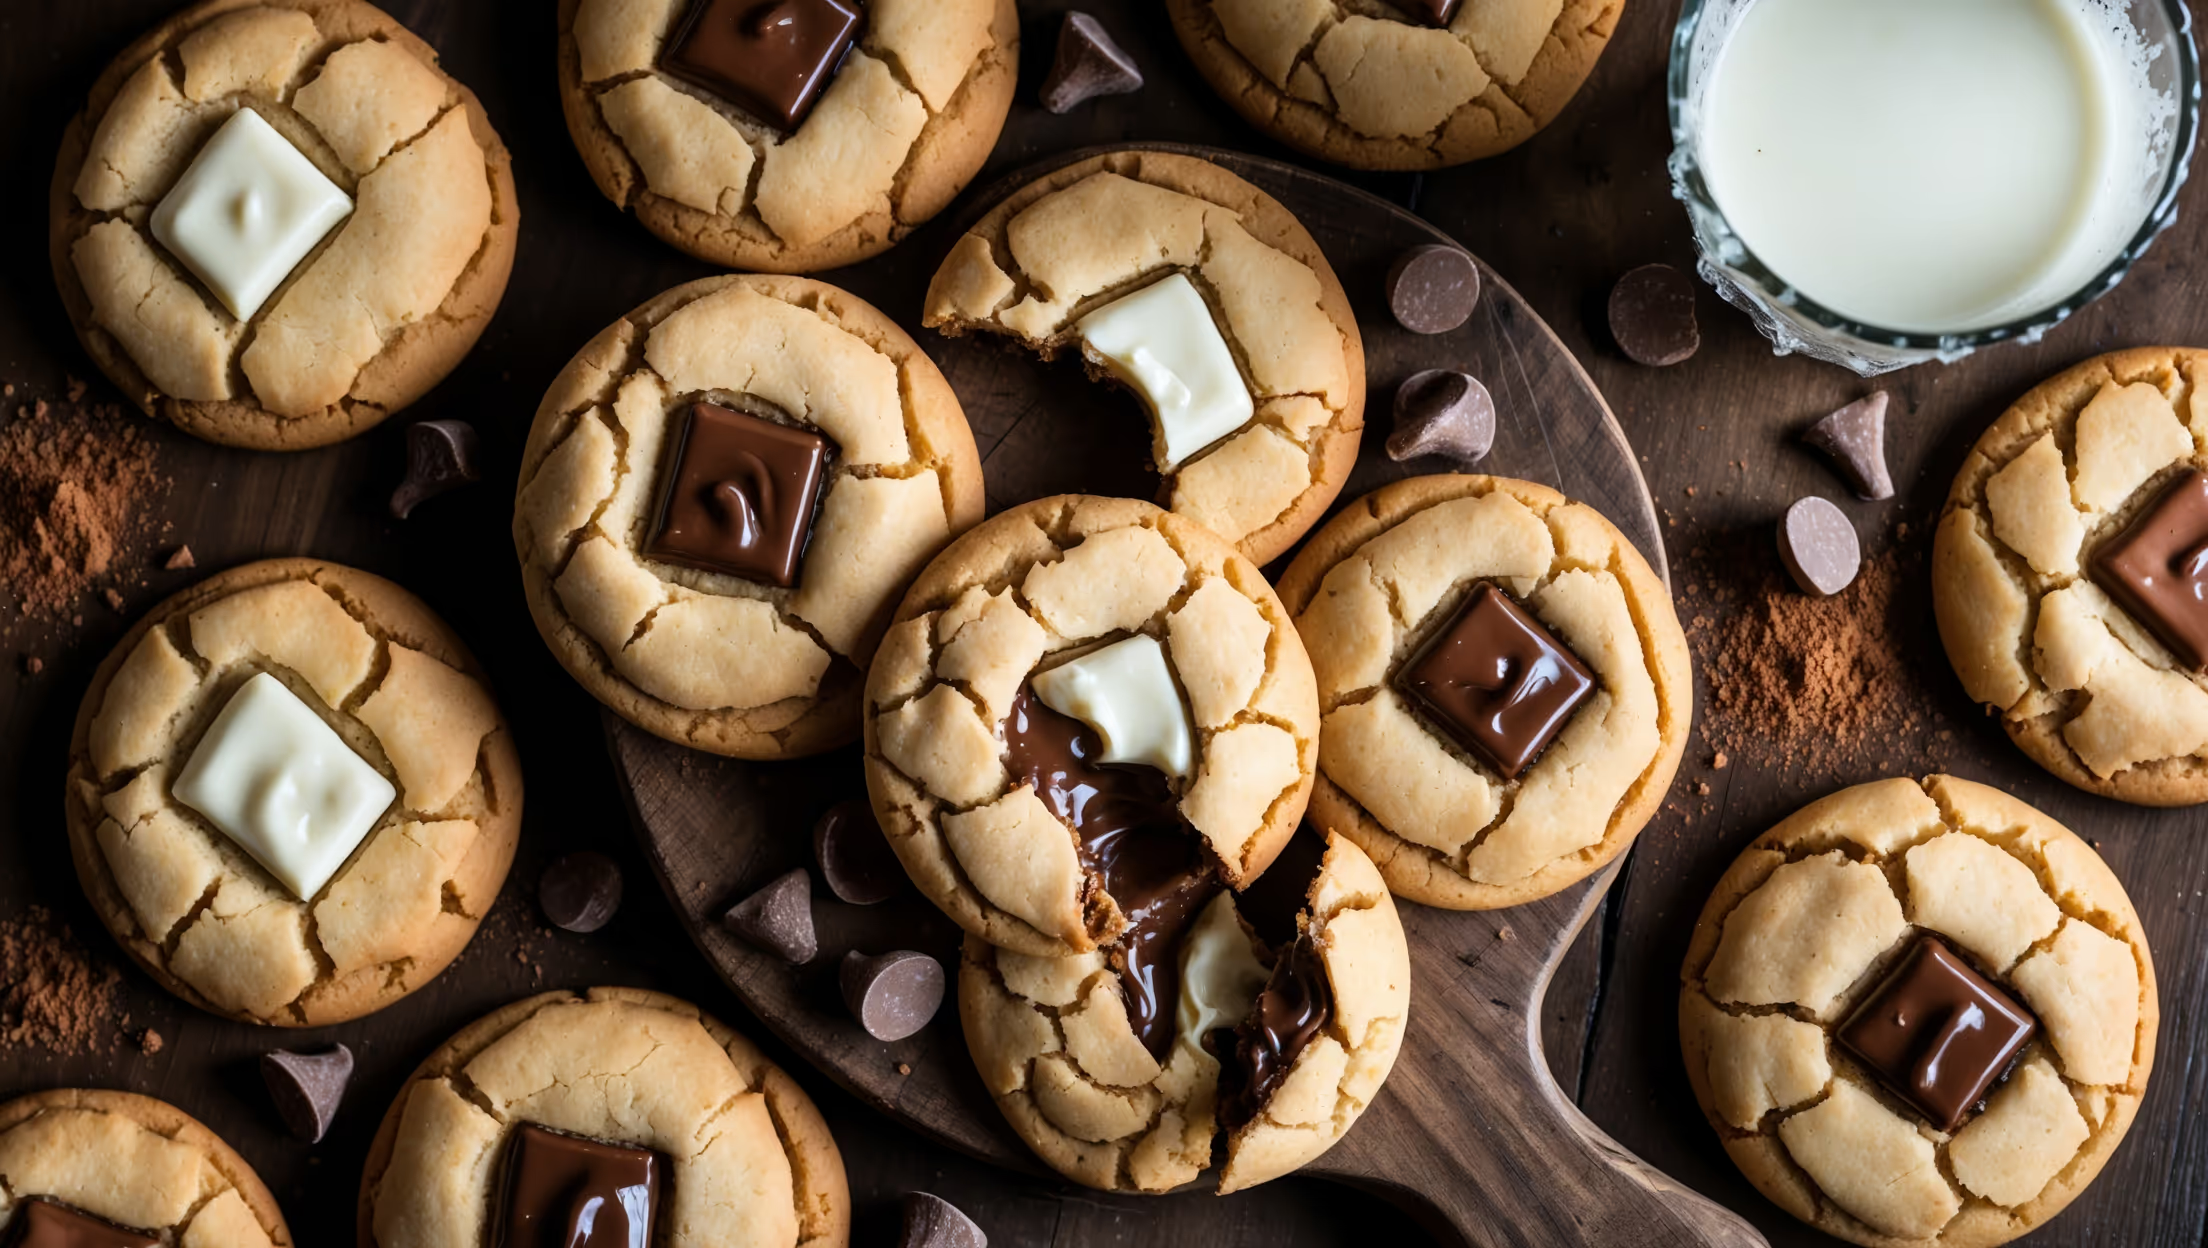
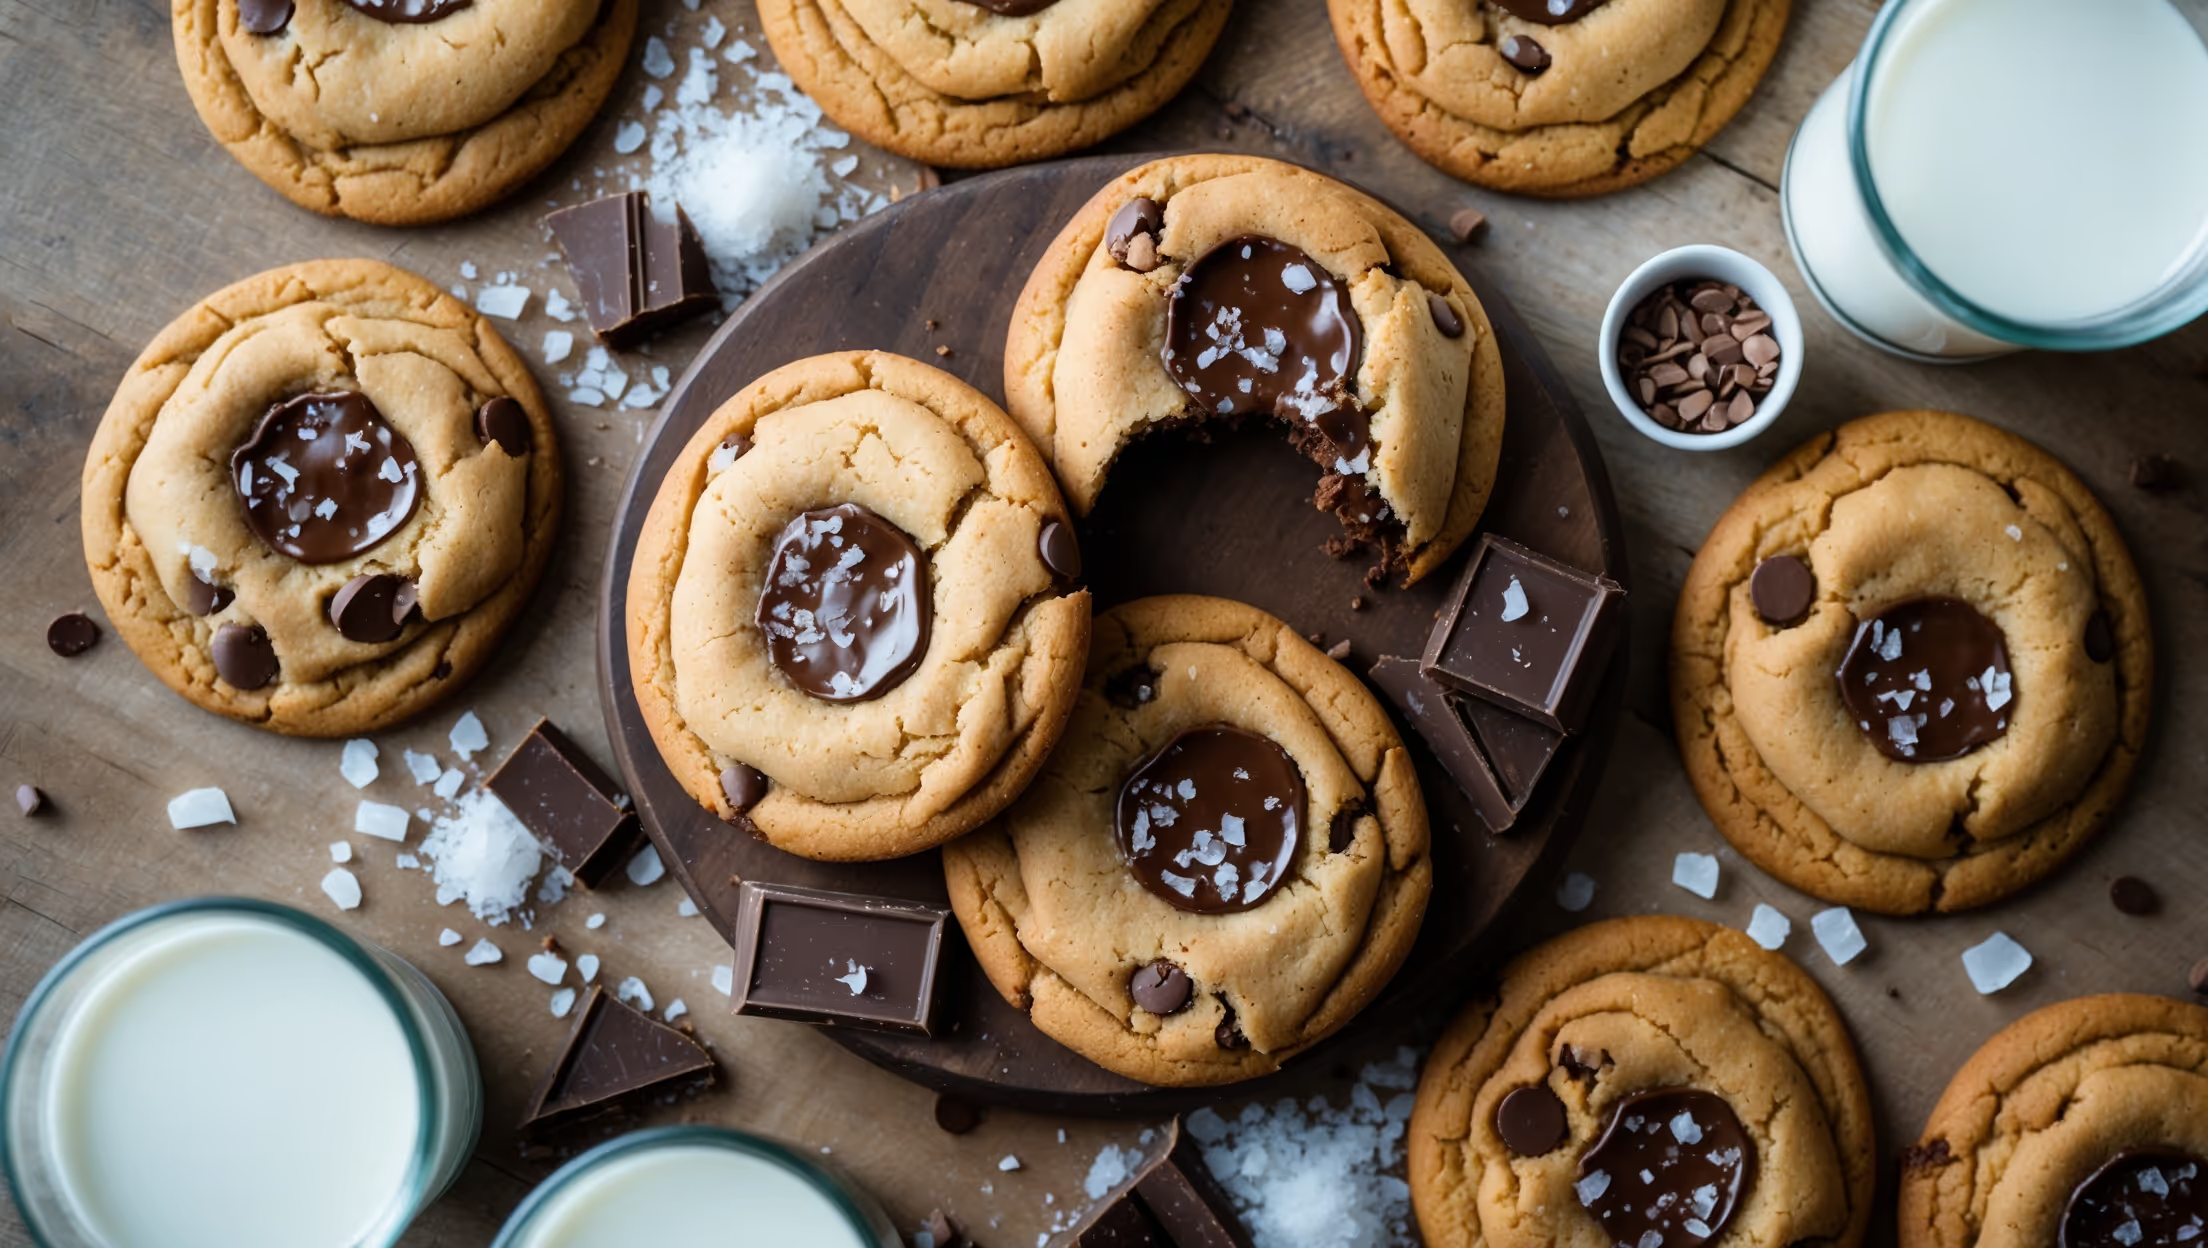
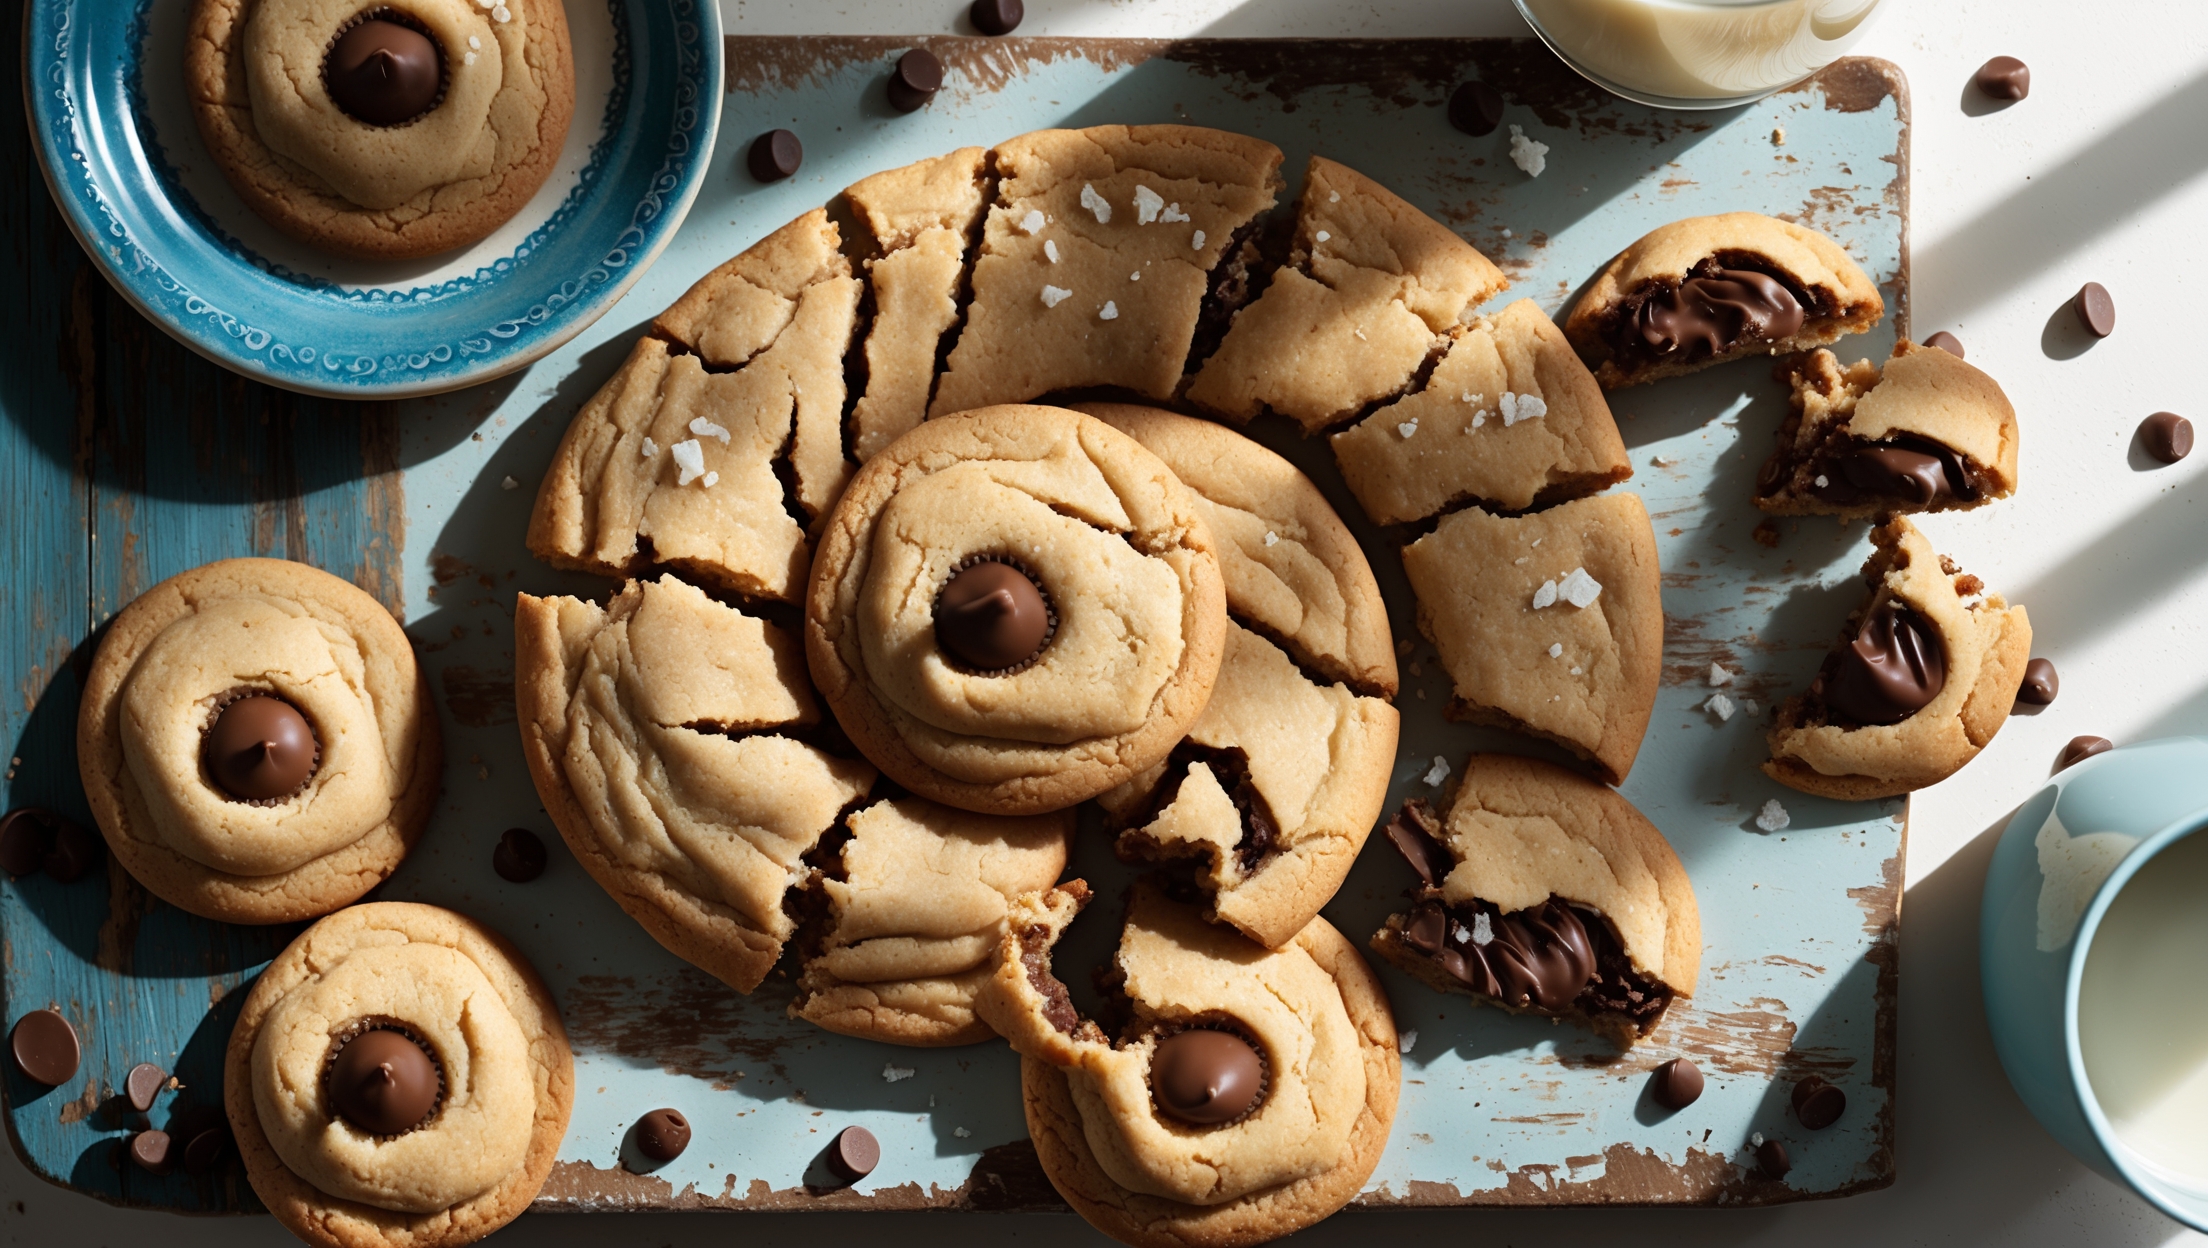
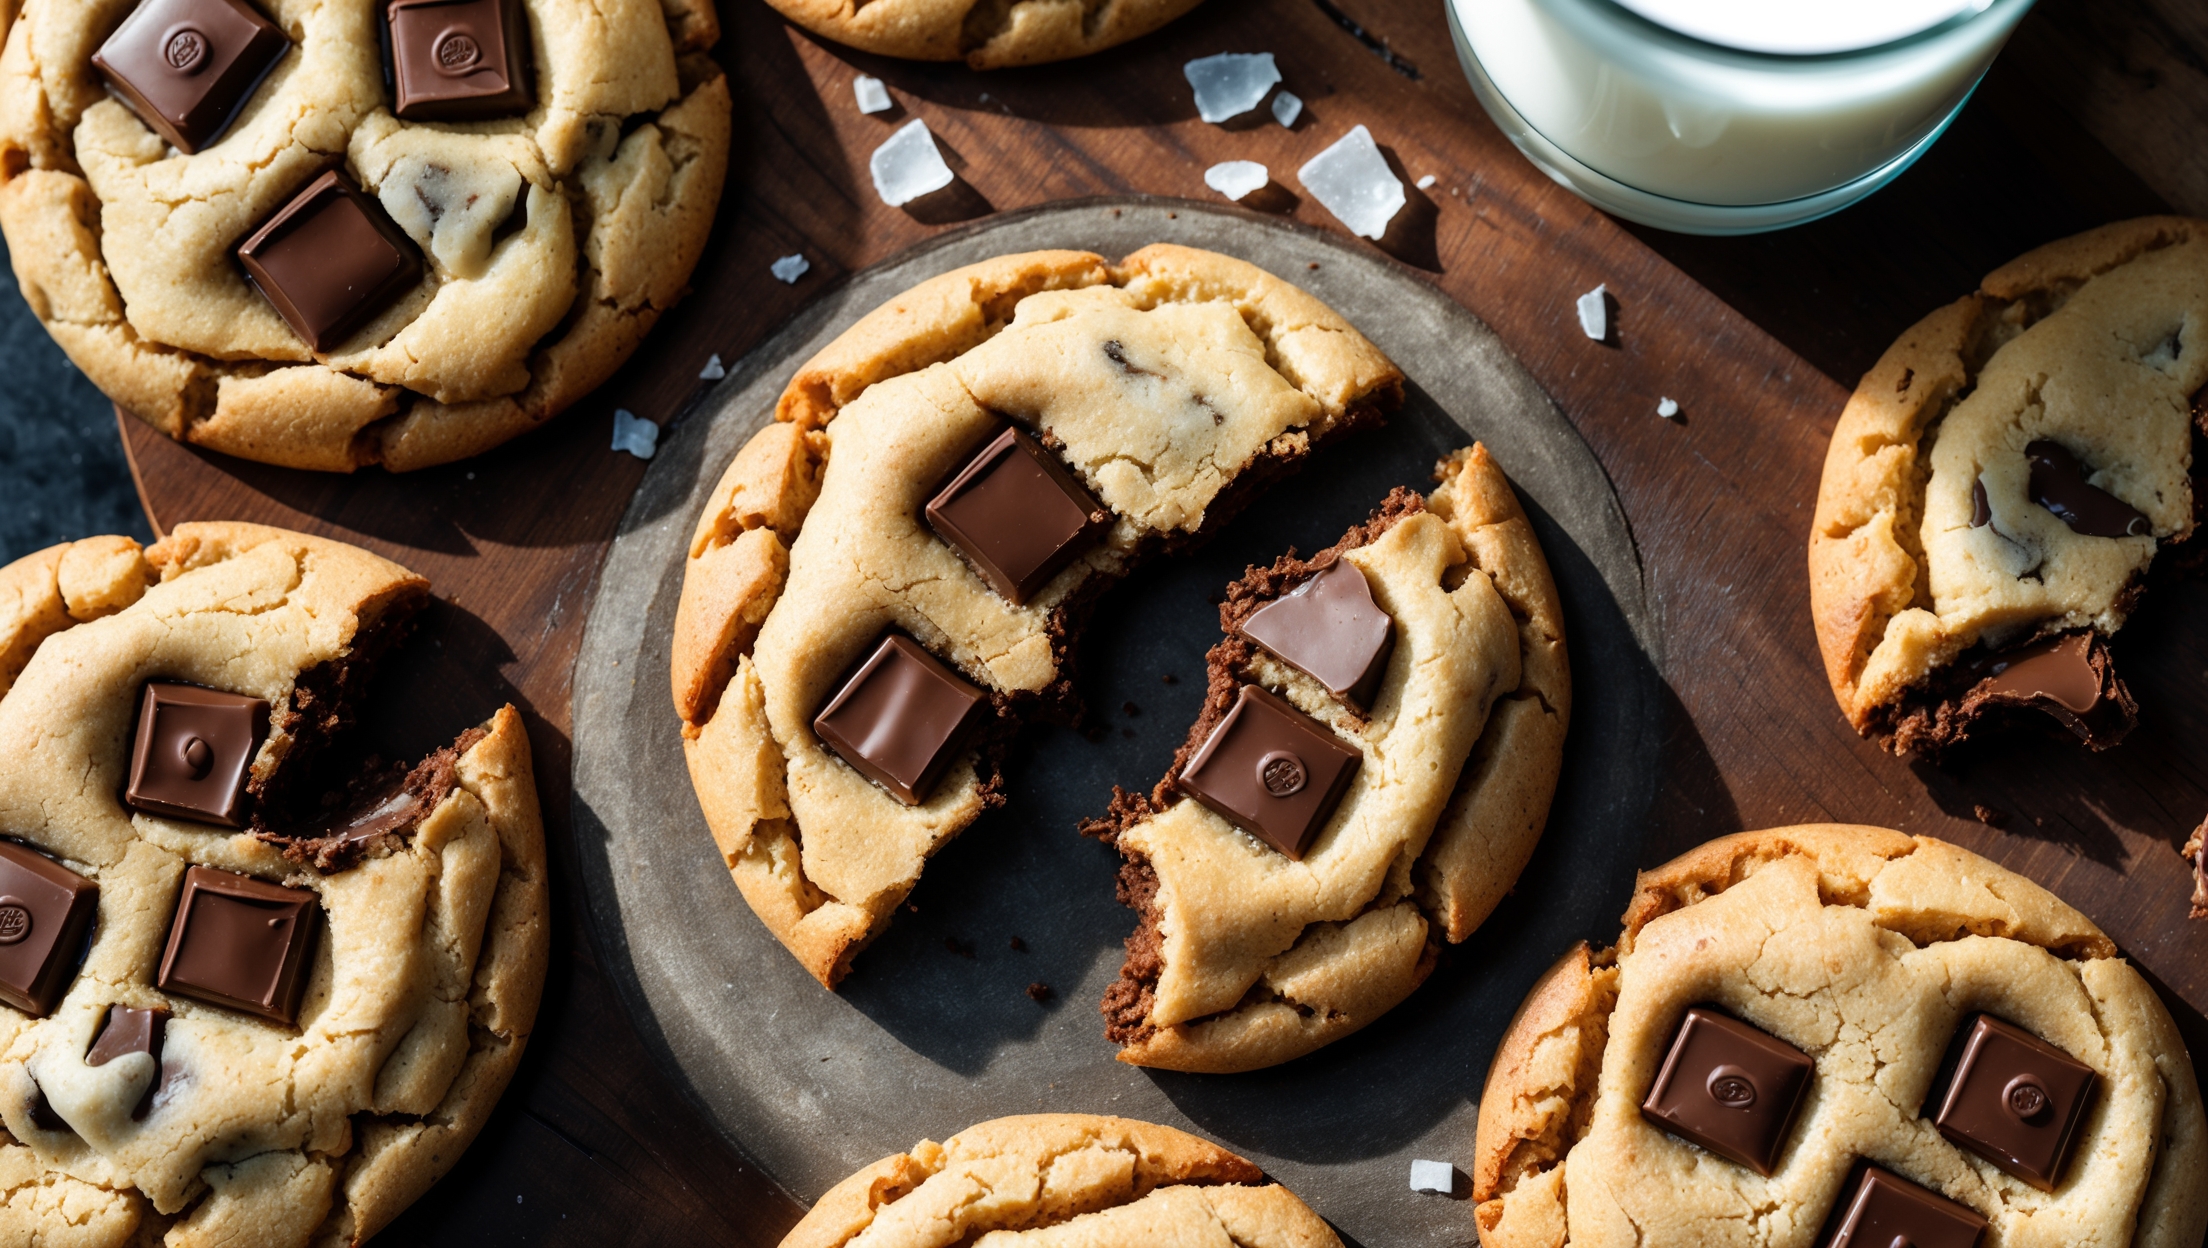
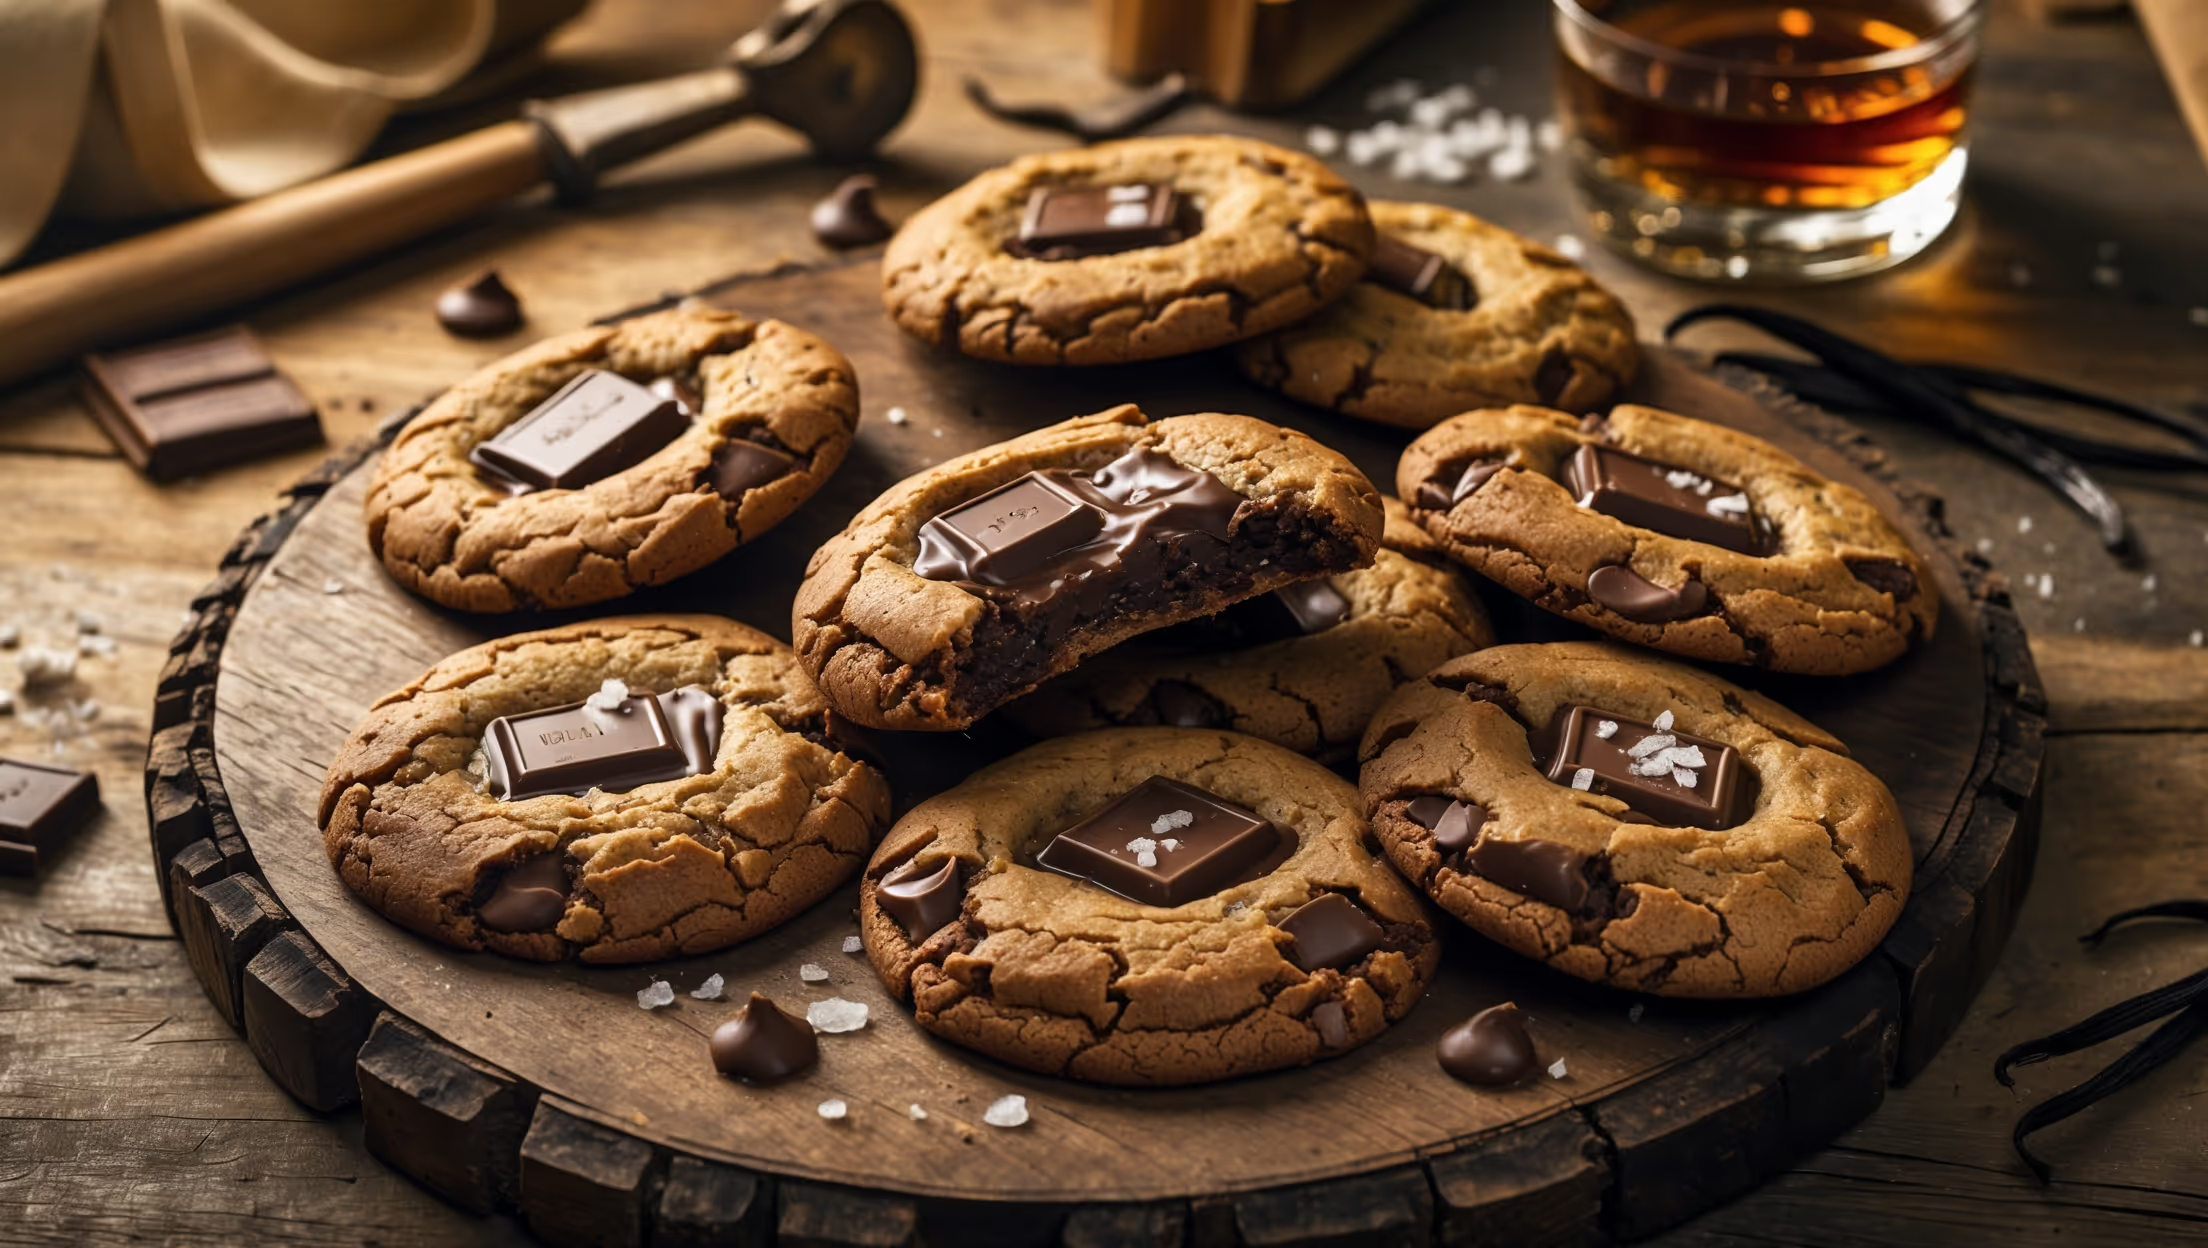
An overhead shot reveals a sophisticated arrangement of uniform round cookies on a matte black ceramic platter, each cookie featuring a glossy chocolate disc centered perfectly on top. The warm, diffused natural light highlights the varied chocolate hues—from deep mahogany Ecuadorian to reddish Madagascar and purple-tinged Venezuelan varieties. A scattered backdrop of cacao nibs, vanilla pods, and small regional maps printed on kraft paper tags provide context for the different chocolate origins. A cross-section view of one cookie reveals the buttery, shortbread-like texture beneath the chocolate disc, with visible vanilla bean specks. The composition suggests a guided tasting experience, with small handwritten notes describing each chocolate's flavor profile placed beside their respective cookies.

Ingredients

<ul class="ingredients-main-list"> <li class="ingredients-single-item">For the cookie base:</li> <li class="ingredients-single-item">200g unsalted butter, softened</li> <li class="ingredients-single-item">100g caster sugar</li> <li class="ingredients-single-item">1 teaspoon vanilla bean paste (or extract)</li> <li class="ingredients-single-item">1 large egg yolk</li> <li class="ingredients-single-item">250g plain flour</li> <li class="ingredients-single-item">30g cornflour (cornstarch)</li> <li class="ingredients-single-item">¼ teaspoon fine sea salt</li> <li class="ingredients-single-item">For the chocolate toppings (30g each):</li> <li class="ingredients-single-item">Madagascar single-origin chocolate (70-75% cocoa)</li> <li class="ingredients-single-item">Ecuador single-origin chocolate (70-75% cocoa)</li> <li class="ingredients-single-item">Venezuela single-origin chocolate (70-75% cocoa)</li> <li class="ingredients-single-item">Dominican Republic single-origin chocolate (70-75% cocoa)</li> <li class="ingredients-single-item">Ghana single-origin chocolate (70-75% cocoa)</li> <li class="ingredients-single-item">Peru single-origin chocolate (70-75% cocoa)</li> <li class="ingredients-single-item">1 tablespoon neutral oil (like grapeseed), for tempering</li> </ul>

Equipment

<ul class="equipment-main-list"> <li class="equipment-single-item">5cm (2-inch) round cookie cutter</li> <li class="equipment-single-item">Silicone baking mats or parchment paper</li> <li class="equipment-single-item">Digital kitchen thermometer</li> <li class="equipment-single-item">Small silicone chocolate molds (optional)</li> <li class="equipment-single-item">Double boiler or heatproof bowl and saucepan</li> </ul>

Directions

<ol class="no-list-style"> <li class="MethodStepper"> <h4 class="step-title">Step 1</h4> Begin by preparing your workspace to prevent cross-contamination between chocolate varieties. Each single-origin chocolate should have its own preparation area, bowl, and tools to preserve its distinct flavor profile. Preheat your oven to 170°C (340°F) and line two baking sheets with silicone mats or parchment paper. </li> <li class="MethodStepper"> <h4 class="step-title">Step 2</h4> In a large bowl, cream together the softened butter and caster sugar for about 4-5 minutes until very pale and fluffy. The extended creaming creates air pockets that will give your cookies their delicate, melt-in-your-mouth texture. Add the vanilla bean paste and egg yolk, beating until just combined. </li> <li class="MethodStepper"> <h4 class="step-title">Step 3</h4> Sift together the plain flour, cornflour, and salt in a separate bowl. Using a gentle folding motion with a spatula, gradually incorporate the dry ingredients into the butter mixture until just combined. Avoid overmixing, which would develop gluten and toughen your cookies – the dough should come together without being sticky. </li> <li class="MethodStepper"> <h4 class="step-title">Step 4</h4> Turn the dough onto a lightly floured surface and gently roll it to a 5mm (¼ inch) thickness. Use your cookie cutter to cut rounds, re-rolling scraps no more than once (subsequent re-rolling will develop too much gluten). Transfer cookies to prepared baking sheets, spacing them 3cm (1 inch) apart. </li> <li class="MethodStepper"> <h4 class="step-title">Step 5</h4> For even baking with minimal spread, chill the cut cookies in the refrigerator for 20 minutes. This solidifies the butter, ensuring your cookies maintain their shape. Bake for 10-12 minutes until the edges are just set but showing minimal color – we want a pale, neutral base that won't compete with the chocolate flavors. </li> <li class="MethodStepper"> <h4 class="step-title">Step 6</h4> Allow cookies to cool for 5 minutes on the baking sheets before transferring to wire racks to cool completely. The cookies will be soft when first removed but will firm up as they cool, creating the perfect texture to support the chocolate discs. </li> <li class="MethodStepper"> <h4 class="step-title">Step 7</h4> Now for the chocolate work: For each single-origin variety, chop 30g into small pieces. Working with one variety at a time, melt about ¾ of the chocolate over a double boiler, ensuring the water doesn't touch the bowl and keeping the temperature below 50°C (122°F) to preserve flavor compounds. Once melted, remove from heat and add the remaining ¼ of chopped chocolate, stirring until smooth (this is a simplified tempering method). Add a few drops of neutral oil if needed to achieve a smooth consistency. </li> <li class="MethodStepper"> <h4 class="step-title">Step 8</h4> For each chocolate variety, either pour a small amount (about 1 teaspoon) into silicone molds to create discs, or dollop directly onto parchment paper and spread into 3cm (1.25 inch) circles. Allow to set completely at room temperature for the best flavor development. Label each chocolate variety as you work to avoid confusion. </li> <li class="MethodStepper"> <h4 class="step-title">Step 9</h4> Once the chocolate discs have set and cookies are completely cool, place one disc of each variety on top of a cookie. For presentation, arrange cookies on a serving platter with small signs identifying each chocolate's origin and its characteristic flavor notes (e.g., "Madagascar: bright berry notes with citrus acidity" or "Venezuela: complex nutty profile with earthy undertones"). </li> <li class="MethodStepper"> <h4 class="step-title">Step 10</h4> For the best tasting experience, serve cookies at room temperature, guiding guests to taste from milder chocolates (often Ghana or Dominican Republic) to more intense varieties, cleansing the palate between tastes with water or plain crackers to fully appreciate the distinctive terroir of each origin. Store any remaining cookies in an airtight container at room temperature for up to 5 days. </li> </ol>

FAQs

Find answers to your most pressing questions about this delicious recipe right here.

What ingredients are used in Single-Origin Chocolate Varietal Tasting Flight Cookies?

These elegant cookies feature soft butter dough made with unsalted butter, caster sugar, vanilla, egg yolk, flour, cornflour and sea salt. The star ingredients are six varieties of single-origin chocolate (70-75% cocoa) from regions like Madagascar, Ecuador, Venezuela, Dominican Republic, Ghana and Peru.

How to cook Single-Origin Chocolate Varietal Tasting Flight Cookies at home?

Learn how to cook Single-Origin Chocolate Varietal Tasting Flight Cookies by first creating a delicate butter cookie base, then properly tempering different single-origin chocolates to create distinctive discs. The key is preserving each chocolate's unique flavour profile by preventing cross-contamination and maintaining proper melting temperatures below 50°C.

What's the best way to temper chocolate for decoration without professional equipment?

The simplest home method is the "seeding" technique: melt about 75% of your chopped chocolate over a double boiler (keeping below 50°C), then remove from heat and stir in the remaining 25% until smooth. Adding a few drops of neutral oil can improve consistency for a glossy finish that sets properly.

How do flavour profiles differ between single-origin chocolates?

Each region produces distinct flavour profiles: Madagascar chocolate typically offers bright berry and citrus notes; Ecuadorian varieties have floral qualities; Venezuelan chocolate presents nutty, earthy undertones; Ghanaian chocolate provides classic cocoa flavours; while Peruvian varieties often display complex fruity and spicy characteristics.

Can I substitute regular chocolate if I can't find all the single-origin varieties?

While specialty single-origin chocolates deliver the intended tasting experience, you can substitute with high-quality dark chocolates of varying cocoa percentages (65-85%). Choose brands that specify bean origins when possible, or select chocolates with distinctive flavour descriptions to create contrast between varieties.

Want to try something else in ...

Chocolate Chip Cookies

Try following recommended recipes
{ "@context": "http://schema.org/", "@type": "Recipe", "name": "Single-Origin Chocolate Varietal Tasting Flight Cookies Recipe", "author": { "@type": "Person", "name": "Gurbir Aujla", "brand": "What's Baking?", "jobTitle": "Baker" }, "datePublished": "2024-06-18", "description": "Learn how to make these elegant homemade butter cookies featuring the best single-origin chocolate varieties. This easy baking recipe showcases how different growing regions affect chocolate flavors—from fruity to nutty to floral notes—creating an impressive tasting experience perfect for chocolate connoisseurs.", "prepTime": "PT45M", "cookTime": "PT12M", "totalTime": "PT57M", "keywords": "single-origin chocolate, butter cookies, chocolate tasting, gourmet baking, chocolate varieties", "recipeYield": "24", "recipeCategory": "Dessert", "recipeCuisine": "International", "nutrition": { "@type": "NutritionInformation", "calories": "175 calories", "carbohydrateContent": "18 g", "proteinContent": "2 g", "fatContent": "11 g", "saturatedFatContent": "6 g", "cholesterolContent": "32 mg", "sodiumContent": "75 mg", "sugarContent": "11 g", "servingSize": "1 cookie" }, "recipeIngredient": [ "200g unsalted butter, softened", "100g caster sugar", "1 teaspoon vanilla bean paste (or extract)", "1 large egg yolk", "250g plain flour", "30g cornflour (cornstarch)", "¼ teaspoon fine sea salt", "30g Madagascar single-origin chocolate (70-75% cocoa)", "30g Ecuador single-origin chocolate (70-75% cocoa)", "30g Venezuela single-origin chocolate (70-75% cocoa)", "30g Dominican Republic single-origin chocolate (70-75% cocoa)", "30g Ghana single-origin chocolate (70-75% cocoa)", "30g Peru single-origin chocolate (70-75% cocoa)", "1 tablespoon neutral oil (like grapeseed), for tempering" ], "recipeInstructions": [ { "@type": "HowToStep", "name": "Prepare", "text": "Begin by preparing your workspace to prevent cross-contamination between chocolate varieties. Each single-origin chocolate should have its own preparation area, bowl, and tools to preserve its distinct flavor profile. Preheat your oven to 170°C (340°F) and line two baking sheets with silicone mats or parchment paper." }, { "@type": "HowToStep", "name": "Cream Butter and Sugar", "text": "In a large bowl, cream together the softened butter and caster sugar for about 4-5 minutes until very pale and fluffy. The extended creaming creates air pockets that will give your cookies their delicate, melt-in-your-mouth texture. Add the vanilla bean paste and egg yolk, beating until just combined." }, { "@type": "HowToStep", "name": "Mix Dry Ingredients", "text": "Sift together the plain flour, cornflour, and salt in a separate bowl. Using a gentle folding motion with a spatula, gradually incorporate the dry ingredients into the butter mixture until just combined. Avoid overmixing, which would develop gluten and toughen your cookies – the dough should come together without being sticky." }, { "@type": "HowToStep", "name": "Cut Cookies", "text": "Turn the dough onto a lightly floured surface and gently roll it to a 5mm (¼ inch) thickness. Use your cookie cutter to cut rounds, re-rolling scraps no more than once (subsequent re-rolling will develop too much gluten). Transfer cookies to prepared baking sheets, spacing them 3cm (1 inch) apart." }, { "@type": "HowToStep", "name": "Chill and Bake", "text": "For even baking with minimal spread, chill the cut cookies in the refrigerator for 20 minutes. This solidifies the butter, ensuring your cookies maintain their shape. Bake for 10-12 minutes until the edges are just set but showing minimal color – we want a pale, neutral base that won't compete with the chocolate flavors." }, { "@type": "HowToStep", "name": "Cool Cookies", "text": "Allow cookies to cool for 5 minutes on the baking sheets before transferring to wire racks to cool completely. The cookies will be soft when first removed but will firm up as they cool, creating the perfect texture to support the chocolate discs." }, { "@type": "HowToStep", "name": "Temper Chocolate", "text": "Now for the chocolate work: For each single-origin variety, chop 30g into small pieces. Working with one variety at a time, melt about ¾ of the chocolate over a double boiler, ensuring the water doesn't touch the bowl and keeping the temperature below 50°C (122°F) to preserve flavor compounds. Once melted, remove from heat and add the remaining ¼ of chopped chocolate, stirring until smooth (this is a simplified tempering method). Add a few drops of neutral oil if needed to achieve a smooth consistency." }, { "@type": "HowToStep", "name": "Create Chocolate Discs", "text": "For each chocolate variety, either pour a small amount (about 1 teaspoon) into silicone molds to create discs, or dollop directly onto parchment paper and spread into 3cm (1.25 inch) circles. Allow to set completely at room temperature for the best flavor development. Label each chocolate variety as you work to avoid confusion." }, { "@type": "HowToStep", "name": "Assemble Cookies", "text": "Once the chocolate discs have set and cookies are completely cool, place one disc of each variety on top of a cookie. For presentation, arrange cookies on a serving platter with small signs identifying each chocolate's origin and its characteristic flavor notes (e.g., "Madagascar: bright berry notes with citrus acidity" or "Venezuela: complex nutty profile with earthy undertones")." }, { "@type": "HowToStep", "name": "Serve", "text": "For the best tasting experience, serve cookies at room temperature, guiding guests to taste from milder chocolates (often Ghana or Dominican Republic) to more intense varieties, cleansing the palate between tastes with water or plain crackers to fully appreciate the distinctive terroir of each origin. Store any remaining cookies in an airtight container at room temperature for up to 5 days." } ], "aggregateRating": { "@type": "AggregateRating", "ratingValue": "5", "ratingCount": "178" }, "review": [ { "@type": "Review", "author": "Mei-Lin Chang", "datePublished": "2024-06-10", "reviewBody": "These cookies were the highlight of our dinner party! Everyone was fascinated by the different chocolate flavors. The Madagascar variety was my personal favorite with its bright fruity notes. The cookie base was perfectly buttery without overwhelming the chocolate.", "name": "Perfect chocolate education on a cookie!", "reviewRating": { "@type": "Rating", "ratingValue": "5" } }, { "@type": "Review", "author": "Arnaud Leclerc", "datePublished": "2024-06-05", "reviewBody": "As a self-proclaimed foodie, I was thrilled to find this recipe. I sourced specialty chocolates from a local importer and the results were spectacular. My guests were genuinely impressed by the nuanced flavors of each variety. Worth every minute of preparation!", "name": "Impressed my foodie dinner guests!", "reviewRating": { "@type": "Rating", "ratingValue": "5" } }, { "@type": "Review", "author": "Fatima Al-Zahrani", "datePublished": "2024-06-08", "reviewBody": "I never realized how different chocolate could taste depending on its origin! This recipe opened my eyes to the world of fine chocolate. The shortbread base is perfectly delicate and allows the chocolate to shine. I'm converted to chocolate appreciation!", "name": "Each chocolate tastes remarkably different!", "reviewRating": { "@type": "Rating", "ratingValue": "5" } }, { "@type": "Review", "author": "Sven Johansson", "datePublished": "2024-06-12", "reviewBody": "I made these for my monthly book club and they were a hit! Everyone loved tasting the different chocolates and discussing the flavor profiles. The cookies themselves have a wonderful delicate texture. I'll definitely be making these again for special occasions.", "name": "Worth sourcing specialty chocolate varieties!", "reviewRating": { "@type": "Rating", "ratingValue": "5" } }, { "@type": "Review", "author": "Isabella Rossi", "datePublished": "2024-06-15", "reviewBody": "As a wine enthusiast, I was skeptical about chocolate tasting, but this recipe converted me! The subtle differences between origins are fascinating, and the cookie base is the perfect neutral canvas. I loved how the Ecuadorian chocolate had such different notes from the Ghana variety. Better than wine tasting indeed!", "name": "Now I understand terroir in chocolate!", "reviewRating": { "@type": "Rating", "ratingValue": "5" } } ] }
{ "@context": "https://schema.org", "@type": "FAQPage", "mainEntity": [ { "@type": "Question", "name": "What ingredients are used in Single-Origin Chocolate Varietal Tasting Flight Cookies?", "acceptedAnswer": { "@type": "Answer", "text": "These elegant cookies feature soft butter dough made with unsalted butter, caster sugar, vanilla, egg yolk, flour, cornflour and sea salt. The star ingredients are six varieties of single-origin chocolate (70-75% cocoa) from regions like Madagascar, Ecuador, Venezuela, Dominican Republic, Ghana and Peru." } }, { "@type": "Question", "name": "How to cook Single-Origin Chocolate Varietal Tasting Flight Cookies at home?", "acceptedAnswer": { "@type": "Answer", "text": "Learn how to cook Single-Origin Chocolate Varietal Tasting Flight Cookies by first creating a delicate butter cookie base, then properly tempering different single-origin chocolates to create distinctive discs. The key is preserving each chocolate's unique flavour profile by preventing cross-contamination and maintaining proper melting temperatures below 50°C." } }, { "@type": "Question", "name": "What's the best way to temper chocolate for decoration without professional equipment?", "acceptedAnswer": { "@type": "Answer", "text": "The simplest home method is the \"seeding\" technique: melt about 75% of your chopped chocolate over a double boiler (keeping below 50°C), then remove from heat and stir in the remaining 25% until smooth. Adding a few drops of neutral oil can improve consistency for a glossy finish that sets properly." } }, { "@type": "Question", "name": "How do flavour profiles differ between single-origin chocolates?", "acceptedAnswer": { "@type": "Answer", "text": "Each region produces distinct flavour profiles: Madagascar chocolate typically offers bright berry and citrus notes; Ecuadorian varieties have floral qualities; Venezuelan chocolate presents nutty, earthy undertones; Ghanaian chocolate provides classic cocoa flavours; while Peruvian varieties often display complex fruity and spicy characteristics." } }, { "@type": "Question", "name": "Can I substitute regular chocolate if I can't find all the single-origin varieties?", "acceptedAnswer": { "@type": "Answer", "text": "While specialty single-origin chocolates deliver the intended tasting experience, you can substitute with high-quality dark chocolates of varying cocoa percentages (65-85%). Choose brands that specify bean origins when possible, or select chocolates with distinctive flavour descriptions to create contrast between varieties." } } ] }